
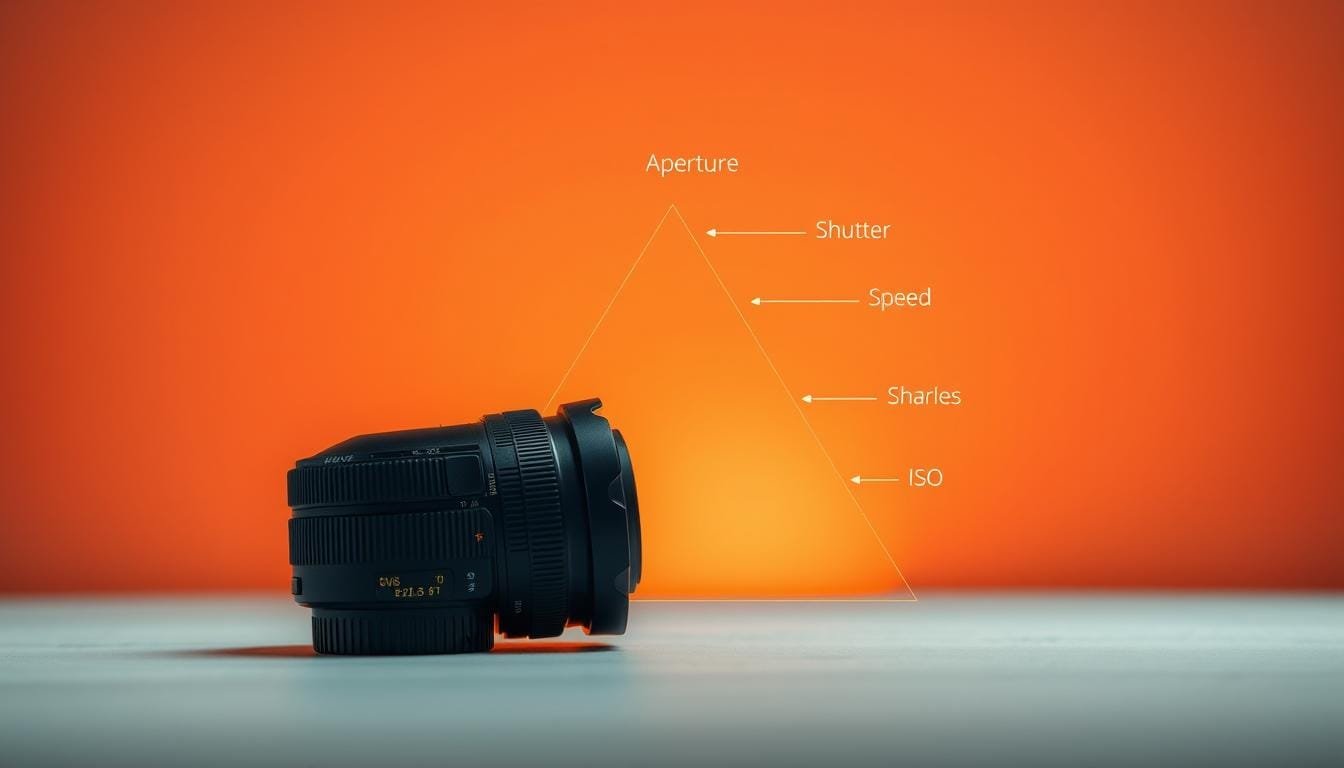
Have you ever taken a photograph that looked promising, only to be disappointed by a dark face or a blurred subject? I certainly have. There was a time when I relied heavily on Auto mode, thinking it was my safety net. But then I discovered the power of manual camera settings, and everything changed.
By switching to manual mode, I learned to control ISO, aperture, and shutter speed independently. This newfound control allowed me to create images that truly reflected my vision. I realized that the exposure triangle—comprising aperture, shutter speed, and ISO—was a useful model for understanding how light affects my images.
In this guide, I’ll share a clear workflow that begins with your creative priorities. We’ll explore practical examples, from shooting at ISO 100 in daylight to using a 1/1000-second shutter speed to freeze action. You’ll gain confidence in your ability to capture stunning images in any situation.
Understanding the Power of Manual Control
When I embraced the concept of manual control, my approach to photography evolved dramatically. This journey begins with understanding three key elements: aperture, shutter speed, and ISO. Each plays a crucial role in how I capture images and express my vision.
Aperture is defined by its f-number. A wide opening, like f/1.4, allows more light in, creating a shallow depth of field. In contrast, a smaller opening, such as f/22, keeps more of the scene in focus. This difference is essential for setting the mood in my photographs.
Shutter speed determines how long the sensor is exposed to light. For instance, a fast shutter speed of 1/1000 second freezes action, while a slower speed, like 1/10 second, captures motion blur. This choice directly impacts how I convey movement in my images.
Finally, ISO amplifies the sensor’s response to light. While a higher ISO can introduce noise, using it wisely allows me to shoot in less light without sacrificing too much quality. By mastering these elements, I can create a balanced exposure that reflects my artistic intent.
Overcoming the Common Fears of Manual Photography
Many aspiring photographers feel a wave of anxiety when transitioning from Auto to Manual mode. It’s a big step that can leave you feeling uncertain. However, real stories from fellow photographers reveal that this journey is not as daunting as it seems.
Real Stories from Fellow Photographers
One self-taught photographer shared how friends, mentors, and free YouTube videos were invaluable in learning the basics. They emphasized that confidence grows through accessible practice rather than costly instruction. “Manual mode felt difficult initially, but it became easier with practice,” they noted.
How Manual Mode Builds Confidence in My Practice
It’s important to understand that early mistakes with shutter speed, aperture, or ISO provide useful feedback. Each failed image teaches you about the technical trade-offs involved. To ease into manual mode, I recommend a low-pressure exercise:
- Choose one stationary subject.
- Incorporate one moving subject.
- Experiment with several deliberate setting changes to compare results.
Confidence in photography comes from predicting how a setting will affect your image, not from the expectation that every shot will be perfect on the first try. Remember, it’s all part of the learning process.
For more tips on overcoming fear in photography, check out this helpful resource.
Quick Answer and Five Key Takeaways
Mastering the art of photography opens up a world of possibilities, allowing you to capture your vision. In manual mode, I can select aperture, shutter speed, ISO, and white balance to shape the look of my images. For depth of field, I prioritize aperture; for sharpness or blur, I adjust shutter speed; and I set ISO last to enhance brightness when needed.
Here are five key takeaways:
- Protect creative intent: Stay true to your vision.
- Watch the exposure meter: It guides your adjustments.
- Avoid unnecessary ISO: Use it only when light is low.
- Check focus: Ensure your subject is sharp.
- Review test images: Learn from your results.
Remember, three one-third-stop adjustments equal one full stop of light, so small dial movements can significantly impact exposure. When light changes rapidly or a subject moves unpredictably, using Aperture Priority or Shutter Priority can be a sensible choice.
| Setting | Purpose | Adjustment Order |
|---|---|---|
| Aperture | Control depth of field | First |
| Shutter Speed | Determine subject sharpness or blur | Second |
| ISO | Adjust exposure brightness | Last |
Practical Steps for Setting Up Your Camera’s Manual Mode
Switching to manual mode can feel overwhelming, but it opens up a world of creative possibilities. Here’s how to set up your camera effectively.
How to Switch from Auto to Manual Mode
Begin by turning the mode dial to M. This indicates manual mode. Many cameras use A or Av for Aperture Priority and P for Program mode. Familiarize yourself with your camera’s specific interface.
Determining Your Ideal Exposure Variables
Set the aperture first based on your desired depth of field. A wider opening creates a blurred background, while a narrower one keeps more in focus.
Next, choose your shutter speed. For stationary subjects, start around 1/125 second. For moving subjects like joggers, aim for 1/250 to 1/500 second. If you’re photographing small birds in flight, consider a speed of at least 1/1600 second.
Finally, set the ISO to its lowest practical value, often ISO 100. Increase it only if necessary, after adjusting aperture and shutter speed. After making these adjustments, take a test image. Review the highlights and shadows, and make deliberate changes to see how they affect your exposure.
Nailing Exposure with a Balanced Settings Triangle
Nailing exposure requires a solid grasp of the settings triangle. This triangle consists of three key elements: aperture, shutter speed, and ISO. Understanding how these elements interact is essential for capturing stunning images.
Techniques for Adjusting Aperture and Depth of Field
A wider aperture, like f/2.8, creates a narrow depth of field, which beautifully blurs the background. In contrast, stopping down to f/11 keeps more of the scene in focus, ideal for landscapes. For instance, a waterfall photographed at 1.3 seconds appears smooth, while at 1/80 second, it shows more defined water structure.
Using Shutter Speed for Freezing or Blurring Motion
Shutter speed plays a crucial role in capturing movement. A fast shutter speed freezes action, while a slower speed can record motion over time, creating a dynamic effect. For example, using a 1/30-second shutter can create intentional blur when the camera is stabilized. Remember, changing only one variable at a time helps diagnose the effects of each setting.
Advanced Techniques with Manual Camera Settings
Creative adjustments can transform challenging lighting situations into stunning photographs. Understanding how to manipulate light is crucial for any photographer looking to enhance their work. Here are some effective techniques to consider.
Creative Adjustments for Challenging Lighting Conditions
When shooting in tricky lighting, such as during a sunset or in shade, consider the following:
- For fast-moving subjects, like a motorcycle, aim for a shutter speed of at least 1/2000 second. If the image is too dark, open the aperture or increase the ISO.
- Use Tungsten white balance on overcast days to create cool blue hues that enhance the scene.
- Experiment with Shade white balance at sunset to intensify warm golden tones. Always take a comparison frame to ensure your choice is intentional.
- Manual mode shines in stable lighting, but consider switching to Aperture Priority or Shutter Priority when subjects move between light and shadow.
- After each adjustment, check highlights, skin tones, and shadow details. A beautiful color shift won’t save an image that lacks essential detail.
Photography Tips for Portraits, Landscapes, and Street Scenes
Capturing the essence of a scene requires thoughtful adjustments to your settings. Each photography genre, whether it’s portraits, landscapes, or street scenes, has unique demands. Understanding these nuances can elevate your images significantly.
For portraits, I often start with a wide aperture of around f/1.8 to f/2.2. This setting beautifully blurs the background, ensuring the subject stands out. It’s crucial to confirm that both eyes are sharp before moving on. For group shots, increasing the f-number to around f/3.2 helps enhance depth of field, as seen in a recent wedding group photograph where I used ISO 160 and a shutter speed of 1/400 second.
When shooting landscapes or street scenes, I prioritize the depth and motion character of the scene. Utilizing the exposure meter and taking a test frame allows for precise adjustments rather than simply copying portrait settings. In indoor environments, consistent light placement and a stable background are key for maintaining focus.
Substitution Tip: If natural light is lacking, try positioning your subject near a large bright wall or in open shade. This simple change can provide softer light without the need for additional equipment.
Understanding and Troubleshooting Exposure Challenges
Photographers often face unique challenges when trying to capture images in low-light situations. Understanding how to tackle these challenges can elevate your photography skills significantly.
When shooting in low light, my first step is to protect the shutter speed necessary for a sharp subject. I then open the aperture before increasing the ISO, as long as preserving depth of field remains acceptable.
Strategies for Low-Light Photography
For instance, during a night shoot, I used ISO 1250 with flash and a slower shutter speed to balance available light. In Adaly and Zach’s wedding, I captured sparkler images at ISO 4000, with settings of f/1.6 at 1/100 second and f/2.2 at 1/160 second. The Canon Mark IV handled ISO 4000 well, proving it can be a viable option.
Managing ISO and Noise Trade-Offs
Applying the doubling rule, a 100 mm lens suggests approximately 1/200 second as a minimum shutter speed. It’s crucial to remember that noise is amplified, not magically created, by ISO adjustments. Therefore, achieving correct exposure is vital. Aggressively brightening an underexposed file can reveal unwanted texture.
For more insights on mastering exposure challenges, visit this resource.
Insights into the Exposure Triangle for Better Control
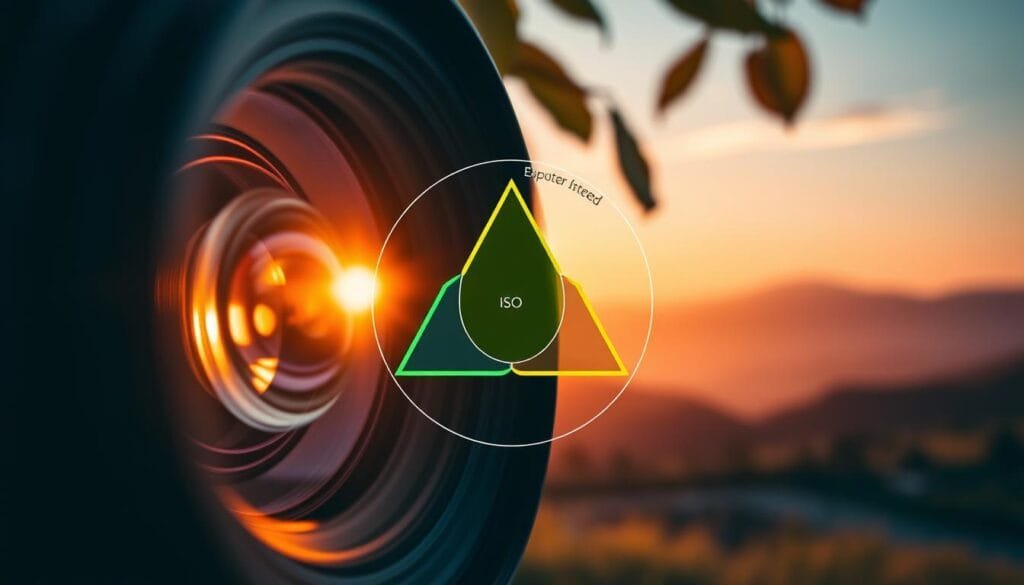
Understanding the intricacies of the exposure triangle can significantly enhance your photography skills. This triangle consists of three key elements: aperture, shutter speed, and ISO. Each plays a vital role in determining the final brightness of your images.
One stop doubles or halves the amount of light hitting the sensor. For instance, if you open the aperture wider, slow the shutter speed, or increase the ISO, you can effectively change the brightness in your images. However, it’s crucial to remember that these controls are interconnected and should not be treated as identical.
When shooting a portrait, if you widen the aperture for a blurred background, you may need to increase the shutter speed to maintain similar brightness. This is where compensation comes into play.
Moreover, it’s essential to distinguish between exposure and brightness. A bright image can still lack detail in highlights or exhibit excessive noise. By following a repeatable decision order—selecting your creative priority first, adjusting the second control, and finally using ISO to balance brightness—you can achieve the desired effect more consistently.
My Personal Journey into Mastering Manual Mode
My journey into photography began with a heavy reliance on Auto mode. At first, I let my camera make all the decisions, thinking it was the easiest way to capture moments. However, I soon realized that taking control could better express my creative intentions.
As I explored this path, I connected with self-taught photographers who shared their experiences. Friends and mentors, along with countless free YouTube videos, became invaluable resources. One photographer shared, “I struggled at first, but regular practice transformed my skills.” This resonated with me deeply.
During my practice sessions, I focused on changing one setting at a time. I would photograph the same subject multiple times, comparing brightness, sharpness, and depth of field. Each unsuccessful image became a lesson, helping me identify issues like focus or camera shake.
Mastery is not about memorizing every setting. Instead, it’s about making predictions and correcting them over time. Embracing this mindset allowed me to improve my skills gradually.
Video-Ready Segments and Shorts: Condensing Key Photography Lessons
Creating engaging content for social media can help share photography lessons effectively. I find that breaking down complex topics into bite-sized segments makes them more accessible. Here’s how I turn my process into shareable content.
First, I start with a visual question: “Why is this frame blurry?” This immediately captures attention. Then, I show the shutter speed changing from 1/10 second to 1/1000 second alongside the resulting images. This clear demonstration highlights the impact of shutter speed on image clarity.
Next, I create a segment comparing f/2.8 and f/11. Using a flower or portrait subject, I make the depth-of-field change visually evident. This helps viewers understand how aperture affects background blur.
In another segment, I explain ISO by showcasing ISO 100 next to ISO 4000. I clearly describe the increased amplification and potential noise. This comparison helps demystify how ISO settings influence image quality.
Finally, I compile a checklist based on my workflow:
- Choose aperture
- Set shutter speed
- Adjust ISO
- Check focus
- Review the exposure meter
- Repeat
When displaying or adapting cheat-sheet material from the London School of Photography, I ensure to credit the source. Each frame remains free from unnecessary text overlays or repeated imagery, keeping the focus on the learning experience.
Wrapping Up with Final Thoughts and Inspirations
Every image tells a story, and mastering your tools helps convey that narrative. Remember to choose aperture for depth of field, adjust shutter speed for sharpness or movement, and modify ISO as needed. Your settings should reflect the light, subject, and creative intent.
From ISO 160 portraits to ISO 4000 sparkler images, practical settings depend on the situation. I encourage you to practice with one stationary scene, one moving subject, and a long-exposure experiment. Don’t wait for the perfect moment; seize the opportunity to learn!
Send this to a friend who still lets Auto mode make every creative decision. Explore more in the PBT photography category for related practical guides, including Photography Tips.
FAQs:
- Should beginners use Manual mode? Yes, it helps understand exposure better.
- Which setting should I choose first? Start with aperture for depth of field.
- Is high ISO always bad? Not necessarily; it can be useful in low light.
- When is Aperture Priority more practical? Use it when depth of field is crucial.
References: Photographing in Manual Mode; Manual Mode Photography Basics; Exposure Triangle and Manual Camera Settings; London School of Photography Cheat Sheets.
Thank you for reading! I hope you feel inspired to explore photography further.
FAQ
What is the exposure triangle?
How do I know which shutter speed to use?
What should I consider when adjusting aperture?
How can I improve my low-light photography?
What are some common mistakes to avoid in manual photography?
How does manual mode enhance my photography skills?
Struggling to get consistent photography clients?
Get More Photography Clients