
Have you ever wondered why some images come out beautifully clear while others appear fuzzy and dull? The answer often lies in understanding the right adjustments to your equipment. Mastering the right camera settings is crucial for achieving the stunning clarity you desire.
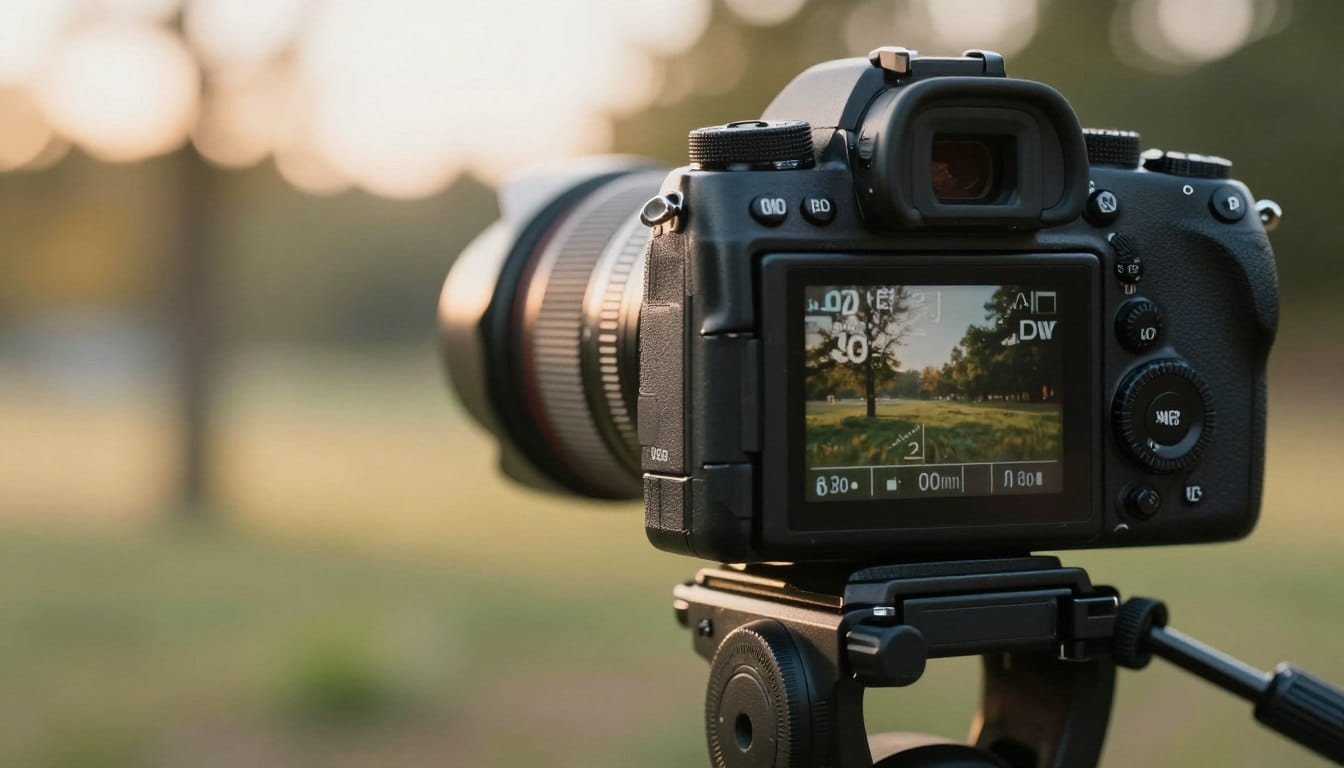
If you’re tired of blurry images, you’re not alone. Many beginners struggle with achieving crisp results. With the right approach, even a Fujifilm XH2s paired with a 33mm lens can deliver impressive clarity at a shutter speed of just 1/30. This article will guide you through essential adjustments to enhance your photography.
Stop wasting time on disappointing images. By learning how your device processes light and movement, you can start capturing the detail you deserve. Let’s dive into the techniques that will elevate your photography to the next level.
Key Takeaways
- Understanding adjustments is key to clear images.
- Even beginner-friendly equipment can yield impressive results.
- Mastering light and movement enhances your photography.
- Essential techniques can transform blurry images into stunning visuals.
- Don’t settle for less; clarity is achievable with the right knowledge.
Understanding the Importance of Sharp Camera Settings
Why do some images pop with clarity while others seem to fade into a blur? The answer lies in mastering your equipment. Achieving sharpness is not merely about having the latest gear. Even a 100mp medium format camera will not save a poorly focused image if your adjustments are off.
The role of aperture, shutter speed, and ISO is fundamental. These settings control how your device captures the subject and the overall image quality. For instance, a wider aperture can create a beautiful depth of field, enhancing the sharpness of your picture across the frame.
Moreover, selecting the right focus mode is crucial. This ensures your device locks onto the subject, preventing the common issue of a soft or blurry image. Proper focus is the foundation of photography. Without it, even the most expensive lens will fail to produce a clear image.
“The key to capturing stunning visuals is understanding your device’s capabilities.”
Optimizing Camera Settings for Sharp Photos
Ever wonder why some visuals are strikingly clear while others look washed out? The secret often lies in your aperture choices. Selecting the right aperture can make a significant difference in the detail captured. Lenses typically achieve their best sharpness between f8 and f11. This range helps ensure that your images are consistently crisp.
In addition to aperture, leveraging manual controls is crucial. When you switch to manual mode, you can override automatic adjustments. This control allows you to maintain the ideal depth field for your subject. Relying solely on auto settings may lead to wide apertures that compromise clarity.
Many photographers discover that they achieve better results by taking charge of their lens settings. Proper light management, combined with the right aperture, significantly enhances the detail captured in every shot. Below is a summary of key strategies:
| Technique | Description | Benefit |
|---|---|---|
| Best Aperture | Set lens between f8 and f11 | Ensures maximum detail |
| Manual Mode | Override auto settings | Control depth field precisely |
| Light Management | Adjust settings based on lighting | Improves image clarity |
Reducing Camera Shake and Eliminating Blurry Images
Have you experienced the frustration of capturing a moment only to see it come out less than clear? Reducing camera shake is essential for achieving the clarity you desire. Maintaining a 1/500 shutter speed is often the sweet spot for handheld work, helping to prevent blurriness.
Using a tripod is one of the most effective ways to stabilize your device. This is especially true when you need to use slower shutter speeds, such as for landscapes. A sturdy tripod allows for greater precision and clarity.
Additionally, consider using a remote shutter button. This prevents micro-vibrations that occur when your finger touches the camera body during a shot. Effective techniques for stabilizing your device include:
- Tucking your elbows in to minimize shake when a tripod isn’t available.
- Matching your shutter speed to your focal length to ensure clarity.
- Practicing good posture to maintain stability while shooting.

Enhancing Perceived Sharpness with Lighting and Focus
Have you ever noticed how some images seem to have a vibrant clarity while others fall flat? The key often lies in the interplay of light and focus. Proper lighting can significantly elevate the perceived sharpness of your images, even when your adjustments aren’t perfect.
Understanding how natural light affects image clarity is essential. A well-lit scene allows your sensor to perform at its best. Moreover, achieving proper exposure is crucial. It provides enough contrast, which can trick the eye into perceiving greater sharpness in the final picture.
When you prioritize the quality of light, you can enhance the overall sharpness of your shot. Here are some effective strategies:
- Utilize an unsharp mask in software like Photoshop, starting with settings of 100% amount and 1.5 radius.
- Ensure your sensor is clean, as dust can detract from image clarity.
- Focus on capturing images in optimal lighting conditions for better results.
- Remember that good light is vital for achieving a sharp image that requires minimal post-processing.
| Technique | Description | Benefit |
|---|---|---|
| Unsharp Mask | Photoshop settings: 100% amount, 1.5 radius | Enhances perceived sharpness |
| Lighting | Utilize natural light effectively | Improves sensor performance |
| Exposure | Ensure proper contrast in images | Tricks the eye into seeing sharpness |
Practical Tips for Handheld Photography
Isn’t it frustrating when your efforts to take a clear shot result in a blurry image? Handheld photography can be tricky, but there are effective techniques to improve your results.
One reliable method is using a 3-second self-timer. This allows the camera to stabilize after you press the shutter button, reducing any shake when capturing still life.
Another excellent tip is to utilize burst mode. This feature increases your chances of getting at least one sharp image in a series of shots. When you activate burst mode, hold down the shutter button until the camera completes the sequence.
Additionally, consider using a single focus point instead of zone mode. This gives you greater precision in where your device focuses, enhancing the clarity of your images.
Lastly, always use the viewfinder as a third point of contact. This simple adjustment can significantly improve the stability of your shots and help you achieve clearer images.
Advanced Techniques: Mirror Lock-up and Vibration Reduction
Have you ever considered how internal vibrations might affect your images? Using advanced techniques can greatly enhance your results. One such method is mirror lock-up, which is essential for preventing unwanted camera shake during long exposures.
This feature, found in most digital SLRs, allows the mirror to rise before the shutter opens. This minimizes vibrations that could blur your image. For landscape photography, where precision is crucial, using a tripod is highly recommended. It helps ensure the sharpest focus point in your shots.
Additionally, it’s important to know when to disable image stabilization. When your device is mounted on a tripod, the stabilization system may attempt to compensate for movement that isn’t there. This can lead to a less sharp outcome.
- Utilizing mirror lock-up is key to avoiding shake during long exposures.
- Disable image stabilization when using a tripod to maintain clarity.
- For long focal lengths, even minor movements can ruin your shot.
- Modern cameras often have built-in vibration reduction, but knowing when to turn it off is essential.

Quick Troubleshooting for Blurry Shots
Have you ever been puzzled by why some of your images come out looking less than ideal? Understanding common focus and exposure issues can help you get the clarity you seek.
Identifying Common Focus and Exposure Issues
When a photo appears blurry, it’s essential to zoom in to 100% on your LCD screen. This helps you identify if the focus point was missed entirely. Often, focus issues arise when the camera selects the wrong subject. Switching to a single focus point can fix this.
If your exposure is too dark, the image may look muddy, which can be mistaken for a lack of sharpness. Simple fixes for out-of-focus photos include:
- Checking your lens for dust, as a dirty front element can significantly reduce clarity.
- Ensuring your shutter speed is appropriate; if everything looks smeared, it’s likely due to camera shake.
Simple Fixes for Out-of-Focus Photos
Addressing these issues can greatly improve your results. Always remember to check your settings and adjust accordingly. Taking a moment to assess these factors can lead to more successful shots in your photography journey.
Real-World Applications and Equipment Considerations
Have you ever thought about how the right equipment can elevate your photography? Choosing the appropriate lens is a significant factor. For instance, a modern Sony G Master lens is considerably sharper than a 40-year-old vintage Minolta lens. Investing in high-quality lenses provides your device with the best optical data, resulting in clearer images.
Accessories also play a crucial role. A sturdy tripod or a remote shutter button is essential for those aiming to capture sharp images in various environments. These tools help stabilize your device, minimizing camera shake and ensuring clarity.
Real-world applications show that even mid-level cameras produced in the last five years can yield professional results. Additionally, always consider the weight of your lens. Holding it from underneath can offer more stability during handheld shooting.
- Choose modern lenses for better sharpness.
- Invest in a tripod for stability.
- Use a remote shutter button to reduce shake.
- Mid-level cameras can achieve professional results.
- Consider lens weight for better handling.
For more tips on capturing clear images, check out this informative guide.
Wrapping Up Sharp Photos and Next Steps
Have you ever found yourself wondering how some images achieve a striking level of clarity while others fall short? By applying the right techniques, you can significantly enhance your results.
Key takeaways include using a tripod for stability, setting your aperture between f8 and f11, and always checking your focus point at 100% zoom.
Here are some frequently asked questions:
- How do I fix blurry images? Check your shutter speed and focus point.
- Does gear matter? Yes, but technique is more important.
- Should I use a tripod? Yes, for maximum sharpness.
- What is the best aperture? Usually f8 to f11.
Disclaimer: Photography results may vary based on equipment and environmental conditions; these tips are for educational purposes only.
References: Information adapted from the professional photography insights of Schristia, Motographer, and Adam Correia.
Want to Start Your Own Photography Business?
By consistently applying these techniques, you will transform your photography and stop worrying about blurry images forever. Remember that practice is the final ingredient to mastering your craft.
FAQ
What is the best shutter speed for capturing sharp images?
How does aperture affect the sharpness of a photo?
What focus mode should I use for moving subjects?
How can I reduce camera shake while shooting handheld?
What is the advantage of using a tripod?
How does lighting affect the sharpness of an image?
When should I use burst mode?
What is mirror lock-up and why is it important?
How can I troubleshoot blurry photos?
What should I consider when choosing a lens for sharp images?
Struggling to get consistent photography clients?
Get More Photography Clients