
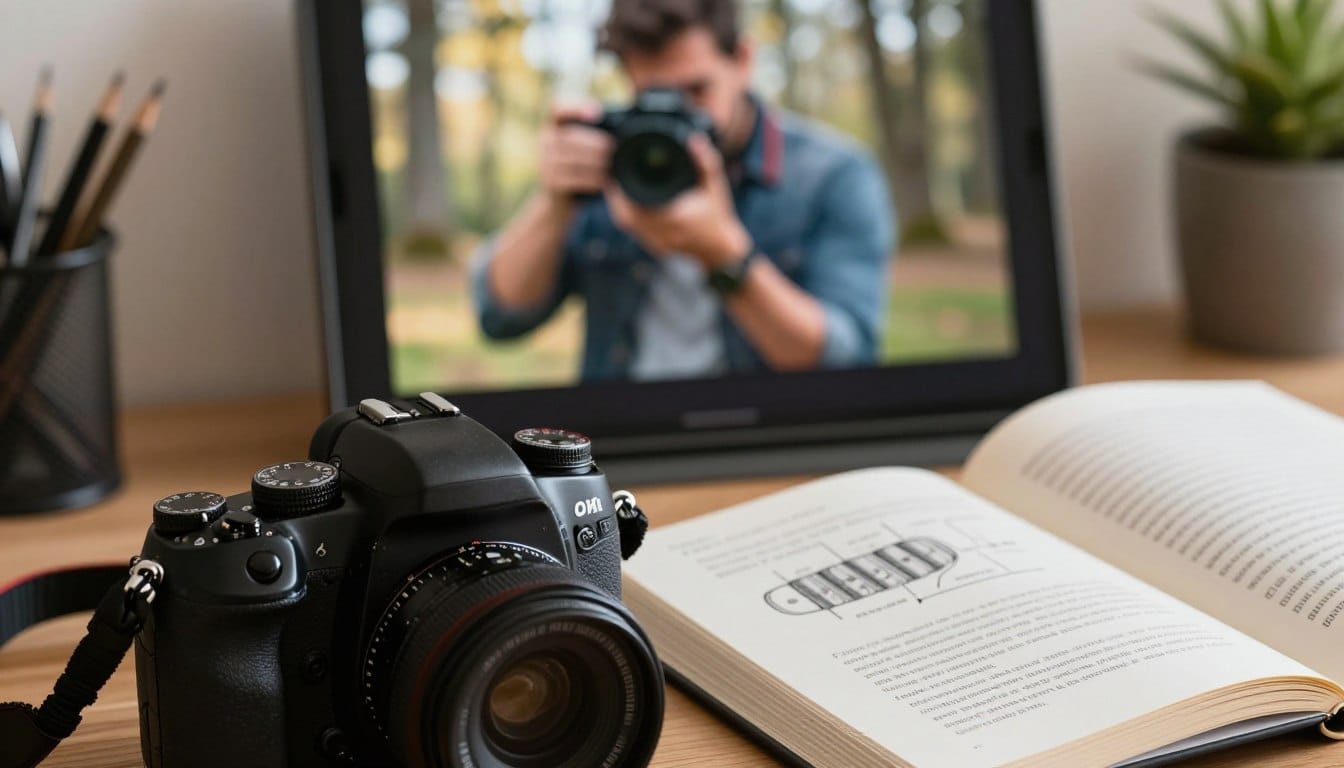
Have you ever wondered why your camera seems to make poor choices, leaving you with blurry or grainy images? This is a common struggle for many beginners, especially those in my photography Meetup group in London. When relying on automatic settings, your creativity can be stifled by your camera’s limitations.
Transitioning from auto to manual settings may feel daunting, but it’s as straightforward as learning to drive a car. By understanding how your camera captures light, you can take control of your images. This approach allows you to move beyond the constraints of automatic software.
If you’re tired of inconsistent results, this resource is designed to help you master your camera settings. You can enhance your creative output and capture stunning images that reflect your vision.
Ready to elevate your photography skills? Let’s dive into the essentials of taking control of your camera!
Key Takeaways
- Understanding light is key to mastering your camera.
- Moving from auto to manual settings empowers your creativity.
- Consistent results are achievable with practice and knowledge.
- Control over settings leads to improved image quality.
- Engaging with a community can enhance your learning experience.
Recognizing Your Photography Challenges
Do you find yourself frustrated when your camera produces images that don’t meet your expectations? Many photographers face this issue, especially when relying on automatic settings. When you let your camera make decisions, it often results in blurry images, particularly in low light.
The London School of Photography emphasizes that understanding basic concepts is essential for overcoming the frustration of inconsistent results. Your camera may struggle in non-ideal lighting, leading to a lot of wasted time trying to capture a sharp shot.
A bit of practice with manual settings can significantly improve your outcomes. By taking control, you can prevent the camera from constantly re-evaluating the light, which can ruin your composition. This approach ensures that your photography remains consistent, allowing you to express your creative intent effectively.
Unpacking the Exposure Triangle: Aperture, Shutter Speed, and ISO
Is your camera’s interpretation of light often leaving you with disappointing results? Understanding the exposure triangle is crucial for achieving the perfect shot. This triangle consists of three elements: aperture, shutter speed, and ISO. Together, they determine how much light your camera captures.
Aperture is represented by an F-number. For example, F22 signifies a small opening, allowing minimal light, while F1.2 indicates a wide opening that lets in a lot of light. This setting directly affects your image’s depth of field, determining which parts are in focus.
Shutter speed plays a vital role in controlling motion. Ranging from 1/8000 of a second for freezing fast action to 30 seconds for long exposures, it is measured in increments of time. Balancing these settings is essential to ensure your camera captures the correct exposure for every unique scene.
For a deeper understanding of the exposure triangle, visit this resource.
manual mode photography guide
Have you ever felt restricted by your camera’s automatic settings, leaving your creative vision unfulfilled? Shooting in manual mode empowers you to make decisions that align with your artistic intent. It allows you to adjust your settings to capture stunning images that automatic settings might overlook.
Here are some key benefits of taking back control:
- Creative Choices: Using manual settings enables you to make creative choices that your camera cannot replicate in auto.
- Unique Scenarios: When shooting manual, you can adjust your settings to capture stars at night or light trails from moving cars.
- Practice Makes Perfect: You will find that shooting manual is not as difficult as it seems once you spend a bit of time practicing the basics.
- Control in Low Light: Real-world scenarios, such as shooting in a dark room, demand that you take back control to avoid poor settings.
- Artistic Vision: By mastering these settings, your images will reflect your artistic vision rather than the camera’s default interpretation of light.
| Scenario | Recommended Settings | Tips |
|---|---|---|
| Night Sky | Low ISO, Wide Aperture, Long Exposure | Use a tripod for stability. |
| Moving Cars | Fast Shutter Speed, Medium ISO | Experiment with panning for motion blur. |
| Indoor Events | Higher ISO, Wide Aperture | Use a flash if necessary. |
Setting Your Camera for Manual Success
Are you struggling to capture the perfect shot in varying lighting conditions? Understanding how to optimize your camera settings is essential for achieving stunning images. One of the key elements in this process is ISO, which determines your camera sensor’s sensitivity to light.
When shooting in low-light environments, you may need to increase your ISO. However, be cautious, as this can introduce a bit of grain into your images. The goal is to keep your ISO as low as possible while still capturing enough light for a clear shot.
Adjusting your settings manually allows you to tackle challenging lighting conditions that could confuse an automatic camera. It’s important to practice shooting in different scenarios to see how your specific camera handles various ISO levels and noise.
| Lighting Condition | Recommended ISO Settings | Tips |
|---|---|---|
| Bright Daylight | 100-200 | Keep ISO low for best quality. |
| Indoors with Natural Light | 400-800 | Use a wider aperture for more light. |
| Low Light | 1600+ | Be aware of potential grain. |
Diving into Aperture: Shaping Your Visual Narrative
Aperture is a crucial element in photography that can dramatically alter the outcome of your images. By adjusting the aperture, you control the size of the opening in your lens, which directly influences the amount of light that enters your camera. This adjustment allows you to shape your visual narrative effectively.
When you set a low F-number, you create a shallow depth of field. This results in a beautiful background blur, making your subject stand out. It’s particularly useful in portraits where you want to draw attention to the subject without distractions.
On the other hand, a narrow aperture, such as F16, is ideal for landscapes. This setting ensures that both the foreground and background are in focus, allowing the viewer to appreciate the entire scene.
However, precision is key. When shooting at wide apertures, the focus window is extremely narrow. You must be very careful with your focus point to avoid missing the shot.
- Aperture controls light: The size of the hole in your lens directly impacts the light entering your camera.
- Shallow depth of field: A low F-number creates a lovely background blur.
- Deep depth of field: A narrow aperture like F16 keeps everything in focus, perfect for landscapes.
- Focus precision: Wide apertures require careful attention to your focus point.
- Visual narrative: Adjusting your aperture helps you guide the viewer’s eye to the most important parts of your images.
| Aperture Setting | Depth of Field | Best For |
|---|---|---|
| F1.8 | Shallow | Portraits |
| F8 | Moderate | Street Photography |
| F16 | Deep | Landscapes |
Mastering Shutter Speed to Freeze or Blur Motion
Are you curious about how to control motion in your shots to enhance your storytelling? Mastering shutter speed is essential for capturing both fast-moving subjects and creating artistic blur effects. The right speed can dramatically change the outcome of your images.
Here are some key points to consider:
- Freezing Action: A fast shutter speed, like 1/4000 of a second, is perfect for capturing athletes in motion.
- Handheld Shooting: Always use a shutter speed that matches or exceeds the focal length of your lens. For instance, with a 50mm lens, use at least 1/50 of a second to avoid blur from hand shake.
- Creative Long Exposures: Slower shutter speeds allow more light, ideal for capturing stunning long exposure shots.
- Stability Matters: Remember, using a slower shutter speed increases the risk of blur from camera shake unless you’re on a stable tripod.
Balancing Light and Noise: The Role of ISO in Image Quality
Are you aware of how your camera’s ISO settings can impact the quality of your images? Increasing your ISO makes the sensor more sensitive to light, but it also introduces noise or grain into the final result. This is a critical aspect of photography that can make or break your shot.
Modern cameras typically offer an ISO range up to 6400. However, using higher settings can often degrade image quality. It’s essential to find a balance between light and noise.
To minimize grain in low light conditions, consider these techniques:
- Keep ISO Low: Use the lowest ISO possible for your lighting conditions to maintain clean images.
- Adjust Aperture: Instead of increasing ISO, open your aperture to let in more light.
- Control Shutter Speed: Slower shutter speeds can also help brighten images without raising ISO.
- Understand Digital Noise: This occurs when the sensor struggles to find detail in dark areas, similar to stretching pixels too far.
- Be Cautious with Higher ISO: When pushing your camera to ISO 3200 in dark settings, be prepared for increased noise.
| ISO Setting | Lighting Condition | Image Quality |
|---|---|---|
| 100-200 | Bright Daylight | High Quality |
| 400-800 | Indoors with Natural Light | Good Quality |
| 1600+ | Low Light | Possible Noise |
Creative Techniques for Manual Mode Photography
Are you ready to explore creative techniques that elevate your photography to new heights? In manual settings, the possibilities are endless. One popular approach is using a tripod for capturing long exposures. This technique helps you avoid unwanted camera shake, resulting in sharp images.
For instance, you can create stunning light trails by using a slow shutter speed while your subject moves through the frame with a light source. A great example is when my friend Lennit swung an LED light for 30 seconds, creating a unique artistic image of motion.
Utilizing a tripod allows you to use very slow shutter speeds, perfect for capturing landscapes or night scenes with low light. Experimenting with these settings enables you to move beyond standard snapshots and create images that truly stand out from the lot.
For more insights on taking control of your camera settings, check out this resource.
Practical Settings for Different Photography Styles
Understanding the right settings for your camera can transform your photography experience. Tailoring your settings to your specific photography style is the best way to ensure you get the results you want every time.
For portraits, prioritize a wide aperture like F1.8, with a shutter speed of 1/100s and ISO 100. This combination creates a beautiful background blur, making your subject stand out.
When it comes to landscapes, especially at night, use a narrow aperture of F16, a shutter speed of 1/4s, and ISO 400. This setup ensures deep focus across the scene.
Action photography requires a very fast shutter speed, such as 1/8000s with an aperture of F2.8 and ISO 200, to freeze your subject in motion.
For events in dim venues, balance a wide aperture of F2, a shutter speed of 1/100s, and ISO 1600 to capture sharp images despite the low light.
By practicing these specific settings, you will gain the confidence to adjust your camera on the fly for any subject you encounter.
Quick Fix Tips: Adjusting Your Settings on the Fly
Have you ever felt overwhelmed by your camera settings, unsure of how to achieve the perfect shot? Adjusting your settings quickly can make a significant difference in your results. Here are some quick tips to help you improve your images on the fly.
- If your images are too dark, try widening your aperture or slowing your shutter speed before you resort to a higher ISO.
- Remember the rule of thumb: your shutter speed should be at least as fast as your lens focal length to avoid blur.
- Always check your exposure bar in the viewfinder to ensure your settings are balanced for the light in your current scene.
Three Key Takeaways for Instant Improvements
- Prioritize aperture for portraits, shutter speed for action, and ISO only when you have no other light options.
- Use a tripod whenever you are using a slow shutter speed to keep your images sharp and professional.
- Practice changing your settings manually until it becomes second nature, just like changing gears in a car.
Wrapping Up Your Journey to Manual Mastery
You have now completed this manual mode photography guide and are ready to take full control of your creative process. Embrace the opportunity to experiment with your camera settings in various light conditions.
Practice is the only way to truly master these settings, so grab your camera and start shooting today!
- FAQ: Can I use manual mode for everything? Yes, but it is best for deliberate shots where you have time to adjust.
- FAQ: Does manual mode guarantee better photos? It gives you the tools, but your creative choices ultimately define the quality of your images.
- FAQ: Is high ISO always bad? It introduces noise, but modern camera sensors handle it much better than older models.
- FAQ: What if I get stuck? Refer back to the exposure triangle and adjust one setting at a time until the light is balanced.
Disclaimer: All photos in this post are copyright of Aby-Joanne Photography; please respect intellectual property rights when sharing content.
Want to Start Your Own Photography Business?