
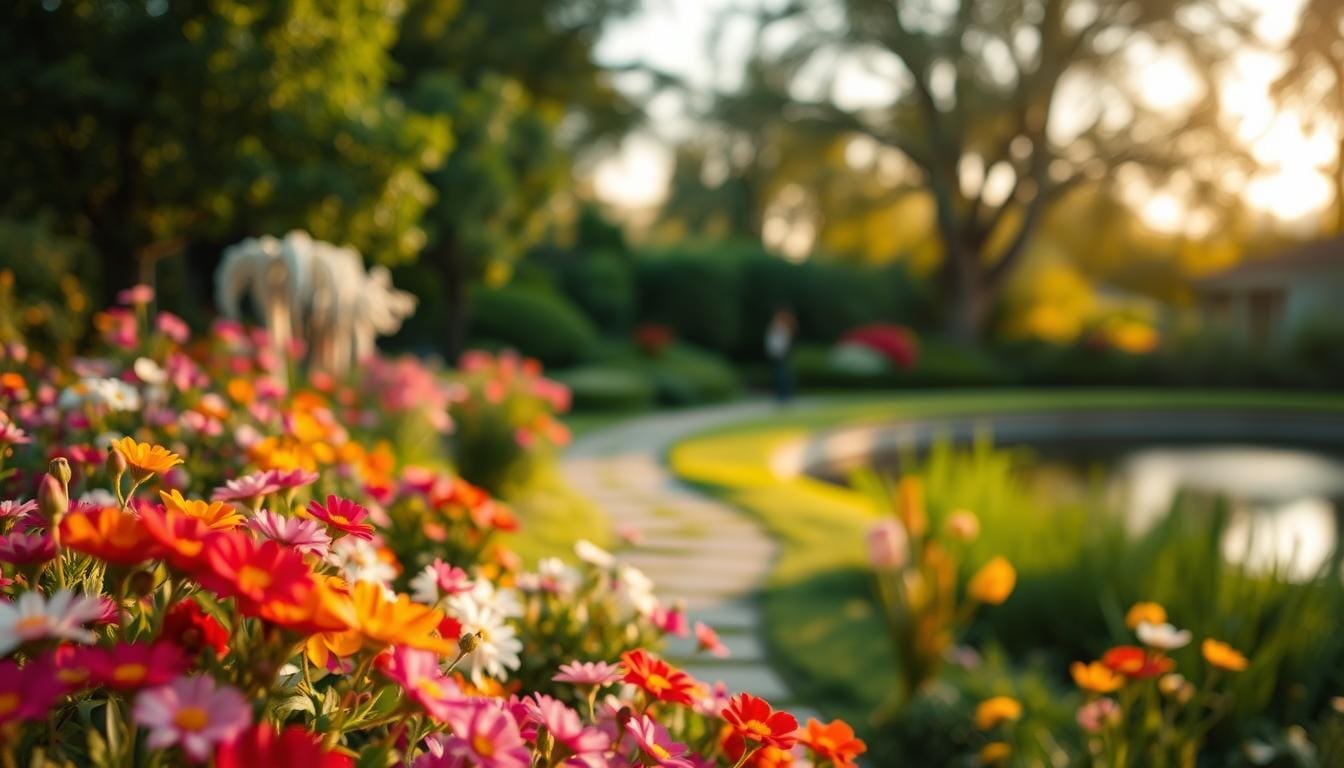
Have you ever taken a stunning portrait, only to find that the subject’s eyes are soft and out of focus? Or captured a breathtaking landscape, only to see the foreground blurred? These common frustrations can leave any photographer feeling defeated. Fortunately, there’s a way to take control of your images.
Understanding the concept of acceptable sharpness can transform your approach to capturing stunning visuals. This guide will help you navigate the intricate balance between focus and blur. By mastering your camera’s aperture, lens choice, and shooting distance, you can achieve the desired results every time.
For instance, a 50mm lens can yield a mere 0.8cm of sharpness at f/1.4, while that number expands to 12.4cm at f/22. This variation highlights the importance of settings in your creative process. Whether you aim for a shallow depth that isolates your subject or a deeper field that encompasses the entire scene, the choice is yours.
Key Takeaways
- Mastering sharpness can enhance your photography skills.
- Understanding aperture and lens choice is crucial.
- Shallow depth isolates subjects, while deeper fields capture more detail.
- Adjusting settings can significantly impact your images.
- Experimenting with focus points leads to better results.
Understanding the Basics of Depth of Field
Have you ever captured a moment, only to discover that your subject is out of focus? Understanding how focus works is crucial for achieving the desired sharpness in your images. In essence, only one exact plane can be perfectly sharp, while objects nearby can appear blurred. This blur can often be visually indistinguishable from points, affecting the overall quality of your photograph.
The circle of confusion is a key concept here. It is commonly defined as 0.25mm for an image viewed from 25cm away. This definition helps in understanding how perceived sharpness can change based on the final use of the image. The acceptable focus area can expand or contract around your subject, depending on whether you’re working with a shallow or deep depth field.
Several elements influence this effect: aperture, focal length, camera-subject distance, and sensor size. For instance, historical practices in 35mm motion pictures used a 0.05mm circle-of-confusion limit, while modern practices have adjusted this to 0.025mm. These variations highlight the importance of output size and viewing conditions in determining how sharp your images will appear.
Key Components: Aperture, Focal Length, and Camera-Subject Distance
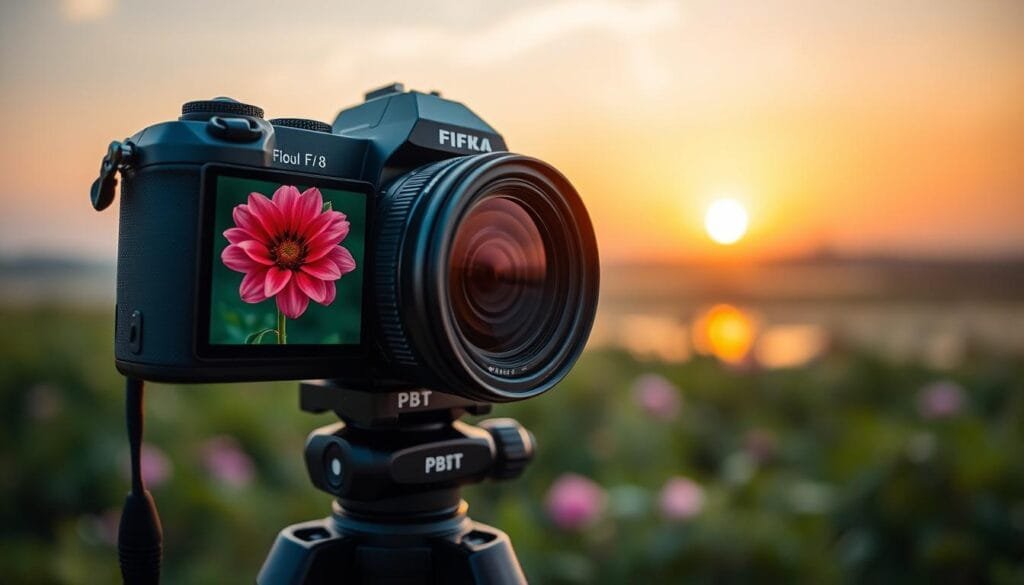
Understanding the main controls in photography is essential for achieving the results you desire. Three key components significantly influence your images: aperture, focal length, and camera-subject distance.
Aperture settings are crucial. A low f-number opens the aperture wider, creating a shallow depth that blurs the background. Conversely, a high f-number narrows the opening, resulting in a sharper area across the image.
When using an approximately 80mm-or-longer telephoto lens, separating your subject from the background becomes easier. This lens allows for a beautiful portrait effect, enhancing focus on the subject.
On the other hand, wide-angle lenses around 35mm or shorter provide a deeper depth, emphasizing perspective in expansive scenes. This is ideal for landscapes where you want everything in focus.
Distance also plays a role. Moving closer to a subject makes the depth shallower, while stepping back increases it. For macro photography, the focus range can change by just a few millimeters, making precision vital.
| Lens Type | Aperture Effect | Typical Use |
|---|---|---|
| Telephoto Lens (80mm+) | Shallow depth, blurred background | Portraits |
| Wide-Angle Lens (35mm-) | Deeper depth, expansive perspective | Landscapes |
| Macro Lens | Shallow depth, precise focus | Close-up shots |
Using Aperture Settings to Master Shallow and Deep Depth
Are you looking to elevate your images by mastering aperture settings? Understanding how to manipulate your camera’s aperture can greatly enhance your photos. The f-stop number plays a critical role in determining the sharpness of your subject and the background blur.
For strong subject isolation, consider using f/2 or f/2.8. This creates a shallow depth that allows your subject to stand out, but be cautious—the focus area can become very narrow.
On the other hand, if you need a broader sharpness across the scene, use f/8 or f/11. Just remember to check your shutter speed to avoid motion blur when shooting handheld.
For example, a 50mm lens at f/1.4 offers about 0.8cm of sharpness, while at f/22, this increases to 12.4cm. However, stopping down too much can lead to diffraction, reducing overall sharpness.
To achieve natural background blur, separate your subject from the background. A telephoto lens, ideally 80mm or longer, can help you create that desired effect. Additionally, moving closer to your subject can enhance the blur and focus.
Practical Guide to Depth of Field Photography
When I set out to capture an image, I often ponder whether to focus on a single subject or embrace the entire scene. This decision can dramatically affect the outcome of my photograph. Here’s a practical workflow to help guide my choices.
First, I determine if the scene calls for a shallow depth field for isolation or a deep depth field for comprehensive detail. Then, I place the focus point on the most important detail and inspect the image at magnification before adjusting aperture or distance.
- For landscapes, I combine a shorter focal length with a smaller aperture. Hyperfocal focusing ensures that both the foreground and infinity remain sharp.
- In macro photography, tiny adjustments in distance can lead to significant changes in focus. The usable sharp area may vary over just a few millimeters.
- Lastly, I record two or three variations of settings instead of relying on a single guess. Monitoring shutter speed and diffraction at narrow apertures is crucial.

Capturing Creative Shots: Shallow Depth of Field for Portraits
Capturing the essence of a subject in a portrait can be challenging, especially when focus isn’t quite right. A shallow depth is essential for creating expressive portraits that draw attention to the subject’s features.
To manage the bokeh effect, it’s crucial to place the focus point on the nearer eye. Using a low f-number, like f/2 or f/2.8, will create significant background blur, enhancing the subject’s prominence.
Utilizing an approximately 80mm-or-longer telephoto lens can further separate the subject from a busy background. This separation helps keep the viewer’s focus where it belongs.
It’s also important to understand that not all background blurs are equally attractive. Bokeh refers to the aesthetic quality of out-of-focus areas, which can greatly influence the overall impact of your photograph.
To increase separation without using the widest aperture, move the subject farther from the background. Lastly, always check the sharpness of the hair, nose, and eyes together, as the near-to-far depth ratio can approach 1:1 at typical portrait distances.
Studio and Setup Tips for Better Image Quality
Setting up a photography studio requires careful planning to achieve the best image quality. A well-thought-out setup can significantly impact the sharpness and clarity of your images. Here are some essential tips to enhance your studio environment.
Lighting Considerations: Proper lighting is crucial for any shoot. Use soft, diffused light to minimize harsh shadows. Position your lights to create a balanced illumination across your subject. This helps in achieving a more natural look and can enhance the overall effect of your images.
Essential Equipment Setup: Building a stable setup is key. Use a sturdy tripod to prevent camera shake, especially when using longer focal lengths. Select a clearly defined focus point to ensure your subject remains sharp. If you find that one aperture setting cannot keep both the nearest and farthest details sharp, consider using focus stacking. This technique combines multiple images focused at different planes, creating a greater apparent depth.
Additionally, tilt-shift movements can be beneficial. These movements alter the plane of focus, allowing for more creative control over your images. Remember to keep your exposure consistent across stacked frames, as changes in light can lead to visible transitions during blending.
For specialized workflows, plenoptic cameras can capture 4D light-field information, enabling focus adjustments after the shot. However, these advanced techniques are best reserved for experienced photographers.
Quick Answer and 5 Must-Know Photography Takeaways
Isn’t it frustrating when your intended focus point becomes blurry in your images? Depth of field refers to the acceptable sharpness range around the focus point. You can control it through aperture settings, focal length, and the distance between your camera and subject.
Quick Answer: Depth of field is the acceptable sharpness range around the focus point; control it with aperture, focal length, and camera-subject distance.
| Takeaway | Description |
|---|---|
| Takeaway 1 | A low f-number such as f/2 creates shallow depth field, while f/8 or f/11 creates a broader sharp area. |
| Takeaway 2 | Moving closer to the subject makes the depth field shallower, while moving farther away generally increases it. |
| Takeaway 3 | A longer focal length, especially around 80mm or more, can strengthen background separation for portraits. |
| Takeaway 4 | A 50mm example changed from 0.8cm at f/1.4 to 12.4cm at f/22, demonstrating the scale of aperture control. |
| Takeaway 5 | Very high f-numbers can introduce diffraction, so maximum depth field does not always equal maximum image sharpness. |
Adjusting Camera Settings: Focus Point and Substitution Tips
Choosing the right focus point is vital for capturing stunning images. I always select the focus point based on the most important detail in my scene. This ensures that the subject stands out, rather than letting the camera pick high-contrast background elements.
When I encounter a shallow depth situation, I focus on a nearby eye or a product edge. After setting the focus, I carefully recompose the shot to maintain the desired effect.
Creative substitution tip: If a single exposure cannot cover the necessary depth, I opt for a controlled focus stack. This involves taking several frames at different focus distances, which can later be combined for optimal sharpness.
For landscapes, I use hyperfocal focusing to ensure both the foreground and distant background are sharp. This method saves time by reducing the need for repeated autofocus adjustments.
Additionally, plenoptic cameras are a fantastic option. They capture 4D light-field information, allowing for focus adjustments after the shot. This feature is especially useful when traditional focusing techniques fall short.
Enhancing Creativity with Light Australian Humour and a Warm Story Tone
Every photographer has that moment when they realize the magic of storytelling through their images. I remember my first attempt at a portrait with a wide aperture. I set my lens to f/1.4, hoping for that dreamy background blur. Yet, to my surprise, one eye was soft while the other was sharp! It felt like my camera was playing tricks on me, much like a cheeky cockatoo stealing a snack.
Choosing a shallow depth field isn’t just about fashion; it’s about telling a story. It helps emphasize the subject and creates an emotional connection. For environmental portraits, consider using a 35mm-or-shorter lens. This allows you to capture the surrounding space, making the subject feel part of the scene.
On the other hand, when separation is key, an approximately 80mm-or-longer lens works wonders. It provides compression and a quieter background, enhancing focus on your subject. Remember, even the fanciest camera can’t save a focus point placed on the wrong detail!
Learning from Real-World Examples and Evidence-Based Practices
Every great photographer can benefit from real-world examples and tried-and-true practices. For instance, the Nikon 28mm f/2.8 lens at its f/22 hyperfocal setting produces acceptable focus from below 0.7m to infinity. This demonstrates how precise settings can significantly enhance image clarity.
Additionally, a cited example using a 35mm lens at f/11 can cover approximately 1m to 2m when focus is set near 1.33m. This technique ensures that both foreground and background elements remain sharp, making it ideal for landscapes.
The history of hyperfocal distance dates back to Thomas Sutton and George Dawson in 1867, with further developments by Louis Derr in 1906 and Rudolf Kingslake in 1951. Their contributions laid the groundwork for understanding focus in various settings.
In studio settings, I apply a distance strategy by moving the background farther away. This approach often allows me to achieve a desired effect without resorting to a wider aperture or longer focal length. Such techniques can elevate the quality of my images.
Moreover, the development of Light Scanning Photomacrography in the 1960s, refined in the following decades, has allowed photographers to achieve high-magnification sharpness. This innovation is particularly beneficial for capturing intricate details.
Parting Thoughts and Sending This to a Friend
In closing, let’s reflect on the journey through focus and clarity in our photography. Remember, depth field is a creative choice controlled through aperture, focal length, and camera-subject distance. A shallow depth can beautifully isolate a portrait, while a deep depth preserves context in landscapes and studio scenes.
Before you hit the shutter, always review your images at magnification. Ensure the chosen focus point, subject detail, background treatment, and shutter speed support the story you want to tell.
For more insights, explore our PBT Photography category, and check out the guide on the Bokeh Effect.
Lastly, send this to a friend who is forever blaming the camera when the real culprit is a wandering focus point!
FAQ
What is the difference between shallow and deep depth of field?
How does aperture affect depth of field?
What role does focal length play in depth of field?
How can I achieve a blurred background in my photos?
What is the bokeh effect?
How can I improve my image quality in the studio?
What are some essential camera settings for depth of field photography?
Can I use a telephoto lens for shallow depth of field?
How does distance from the subject impact depth of field?
What tips can I use for better focus techniques?
Struggling to get consistent photography clients?
Get More Photography Clients