
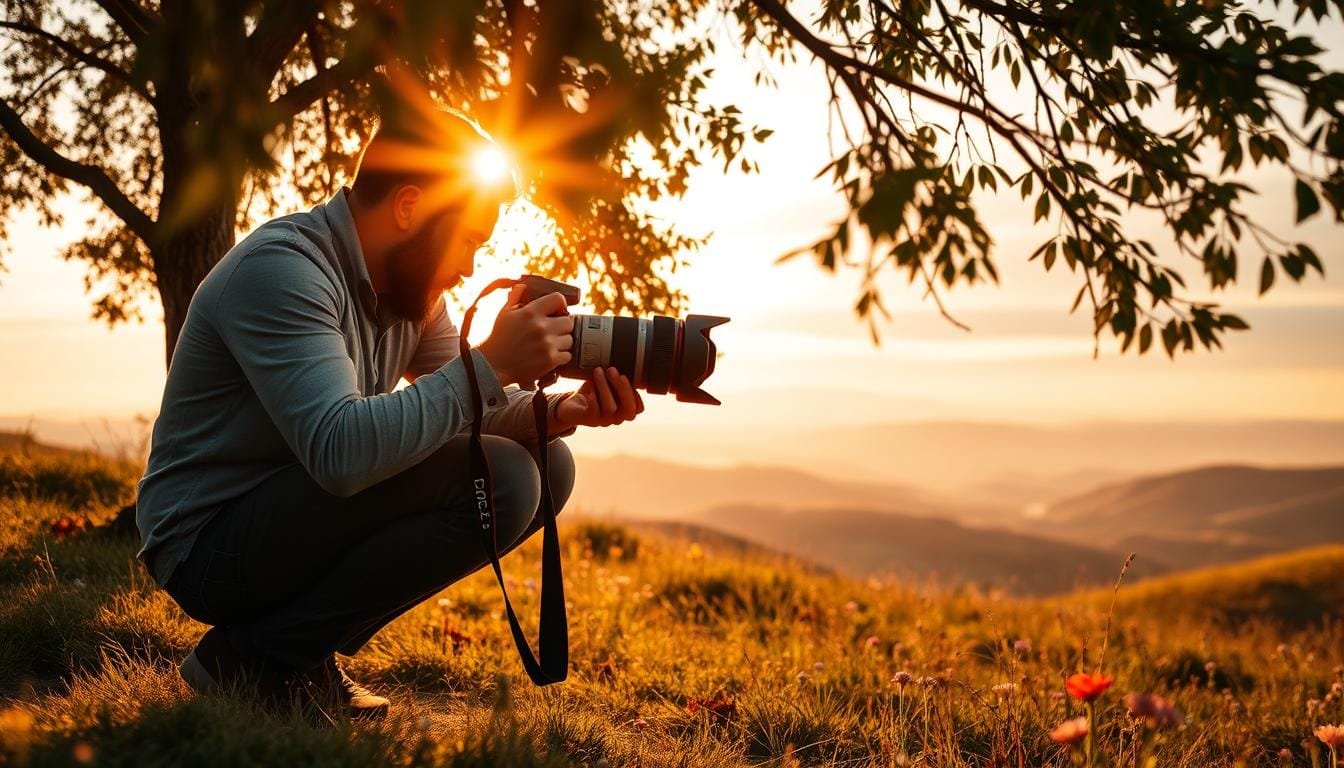
As a photographer, I’ve often found myself racing against the clock, desperately trying to capture the perfect shot. I remember one evening, I arrived at my favorite spot just as the sun dipped below the horizon. The light was fading fast, and I could see the vibrant colors in the sky transforming every minute. I had only moments to adjust my camera settings and position my subject before the golden light vanished.
That’s the challenge many of us face when shooting outdoors. The ideal lighting conditions typically occur just before sunset or after sunrise, often referred to as the golden hour. However, the most intense colors may only last for about 15 minutes. This means planning is essential. I’ve learned to check the times for sunrise and sunset ahead of time, scout locations, and arrive early to make the most of that fleeting light.
In this guide, I’ll share tips on camera settings, positioning, and how to capture stunning images without the stress of racing against time. So, let’s dive into the art of using soft light effectively!
Key Takeaways
- Timing is crucial; check sunrise and sunset times.
- Scout locations in advance for the best angles.
- Arrive early to capture the warm light.
- Understand that the best colors may only last a few minutes.
- Plan your camera settings to adapt quickly.
Understanding the Allure of Golden Hour Photography
Finding the perfect light can transform an ordinary scene into something extraordinary. During the golden hour, the sun sits low in the sky, casting a warm glow that enhances the beauty of any landscape. This magical time occurs just before sunset or after sunrise, when shorter violet and blue wavelengths scatter, allowing the reds, yellows, and oranges to shine through.
The soft light creates gentle shadows that add depth and dimension to your images. This is particularly flattering for skin tones, making portraits feel more inviting. A low-angle sun can stretch shadows across a horizon or cityscape, providing unique shapes and textures.
As the golden hour fades, it transitions into the blue hour, where cooler tones dominate the scene. While the warm palette of the golden hour evokes feelings of nostalgia and happiness, the blue hour brings a sense of calm and dreaminess. Remember, the mood of your photo still relies on your composition, subject placement, and chosen angle.
Recognizing the Challenges and Opportunities of This Fleeting Time
The fleeting moments of soft light can present both challenges and opportunities for photographers. A typical session during this time lasts about 45-60 minutes, but it can feel much shorter due to various factors.
For instance, light intensity, weather changes, and the presence of children can all impact your shooting experience. In Hawaii, sunsets range from approximately 5:45-6:00 PM in winter to 7:00-7:15 PM in summer. This variation means you need to plan accordingly.
Focus on the 15-20 minutes before sunset as your priority window. Use the earlier time for composition and test shots. Overcast skies can diffuse light evenly, creating a soft glow, although it may diminish the vivid golden hues.
When deciding between sunrise and sunset, consider the quieter atmosphere of dawn versus the busier feel of dusk. Each has its unique charm and can lead to stunning images.
Essential Camera Settings and Techniques for Golden Hour Photography
Capturing stunning images during the fleeting moments of soft light requires precise camera settings. As the sun sets or rises, the lighting conditions can change rapidly. Here are some key settings to consider:
- ISO: Start with ISO 100 for clean files. Increase it to 1600-3200 during the last 15 minutes, especially when shooting moving subjects.
- White Balance: Use a cloudy setting or adjust to approximately 5600K-6500K to enhance warm tones.
- Aperture: An aperture of f/2.8 creates beautiful bokeh, while f/14 keeps both foreground and background sharp.
- Shutter Speed: Suggested speeds range from 1/250 to 1/500 seconds. Adjust as needed based on light changes.
Mastering manual mode is crucial during this time. It allows you to quickly adapt to changing conditions by checking highlights, shutter, aperture, and ISO. Tools like MIOPS Smart+ and MIOPS FLEX can help automate exposure adjustments for time-lapse photography.
Finally, I recommend shooting in RAW format. This preserves flexibility for post-processing, allowing you to adjust exposure and colors effectively. For more tips, check out this complete guide on golden hour photography.
My Personal Journey and Practical Tips for Shooting at Dawn and Dusk
There’s something exhilarating about planning for those magical moments when the light transforms the landscape. To make the most of these precious hours, I’ve developed a checklist that helps me prepare effectively.
- Check the forecast: Knowing the weather can make or break your shoot.
- Confirm access: Ensure you can reach your chosen location.
- Charge batteries: Always have your gear ready to go.
- Pack backups: Bring extra memory cards and batteries.
- Arrive early: Aim for 30-45 minutes before sunset.
For stunning beach settings, I recommend locations like Hapuna Beach and Mauna Kea Beach. These spots offer unique perspectives during the golden hour. Websites like timeanddate.com provide precise sunset times, while apps like PhotoTime and Golden Hour One help plan your shoot.
For those early risers, Hawaii’s sunrise sessions often start around 5:30 AM. This timing is perfect for families with young children, allowing for a peaceful morning shoot.
As you plan, keep in mind that peak travel periods in Hawaii are December-January and June-August. Booking three to six months in advance is wise during these times.
| Location | Best Time | Features |
|---|---|---|
| Hapuna Beach | 30-45 mins before sunset | Stunning sunsets with vibrant colors |
| Puako Beach | 30-45 mins before sunset | Tranquil waters, ideal for reflections |
| Mauna Kea Beach | 30-45 mins before sunset | Unique rock formations and warm tones |
Harnessing Natural Light: Silhouettes, Backlight, and Sun Flare Techniques
Utilizing natural light effectively can elevate your images to new heights. During the golden hour, various techniques can enhance your photos. Silhouettes, backlighting, and rim lighting can create striking effects that tell a story.
To achieve a silhouette, place the sun behind your subject. This technique darkens the subject while highlighting the vibrant sky. For a softer look, use controlled exposure to maintain some detail in the subject. Rim light adds a beautiful glow around the edges of your subject, perfect for capturing hair or textured clothing.
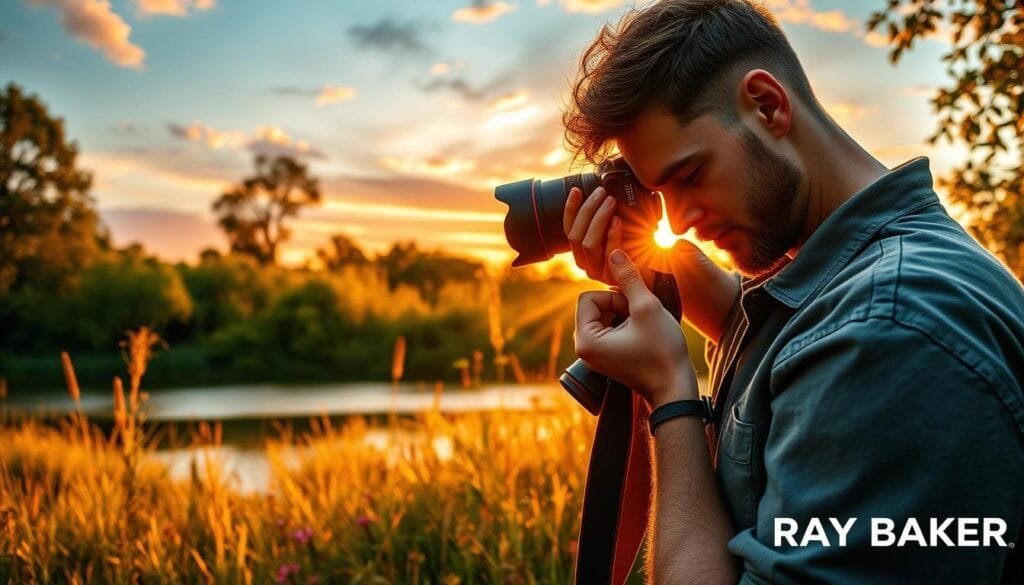
Sun flare can be a stunning addition to your composition. Position your lens so the subject partially blocks the sun, creating a dramatic effect. Bella Falk recommends using reflections in lakes or puddles for symmetry and added interest. Finally, don’t forget to stay 5-10 minutes after sunset to capture the enchanting afterglow, where colors shift and the sky softens.
Optimizing Your Setup: Outdoor Studio and Shooting Tips
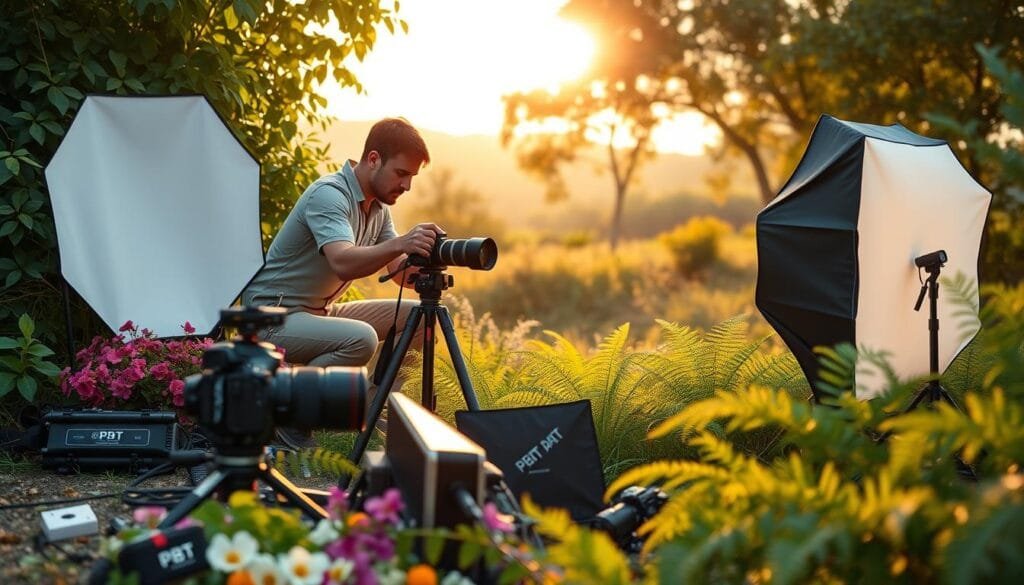
Creating an effective outdoor studio involves thoughtful positioning and careful planning. Start by selecting a clean background that won’t distract from your subject. Position your subject near filtered light from trees, tall grass, or rocky cliffs. This softens harsh illumination and creates a flattering effect.
Locations like Hapuna Beach and Kaanapali are excellent for this type of lighting. Remember, direct midday light can cast unflattering shadows beneath brows and chins, so it’s essential to find a way to diffuse that light.
Here’s a quick checklist for your setup:
- Stable camera position: Ensure your camera is steady for sharp images.
- Spare batteries: Always have extras to avoid interruptions.
- Lens cleaning: A clean lens ensures clarity in your photos.
- Lens hood: This helps prevent lens flare.
- Room to move: Allow space to adjust as the sun shifts.
Keep your subject comfortable and avoid asking them to look directly into the sun. This helps maintain natural expressions during those fleeting moments of soft light.
How to Shoot “Golden Hour Photography” with Confidence
Every photographer knows that the right light can make or break a shot. During the golden hour, mastering your approach can lead to stunning images. A confident workflow is essential to capture the beauty of this fleeting moment.
Start by metering the background. Next, place your subject and make a test image. Check highlights to ensure proper exposure, then adapt quickly as the light changes. Remember to keep the sun slightly off to one side to avoid harsh glare while maintaining warm backlight around your subject.
As Wilde Sparrow suggests, facing the direction of a subject’s shadow can keep the sun behind them, creating softer facial lighting. For backlit subjects, adjust your screen brightness or exposure to avoid dark images.
Substitution tip: Use a reflector for natural fill light when you have assistance or a stable setup. Opt for fill flash when distance, wind, or deep shadows complicate reflected light.
For smartphone users, tap and hold on the face to adjust brightness for backlit subjects. This simple technique can make a significant difference in your photos.
Editing Insights, Quick Answer Summary, and 5 Key Takeaways
Editing is where the magic happens, transforming raw captures into stunning visuals. To make the most of your images, arrive early, shoot in RAW, and check exposure carefully. Use low-angle light to enhance your subject and refine your edits with restraint. Aim to maintain the natural beauty of the scene without oversaturating colors.
Quick Answer
Golden hour photography works best when I arrive 30-45 minutes before sunset or sunrise, scout the background, and expose for the brightest sky without losing the subject. I start near ISO 100, adjust aperture and shutter speed as light changes, and raise ISO rather than accept motion blur. I use backlight, reflections, or silhouettes deliberately, shoot RAW, stay 5-10 minutes after sunset when practical, and edit warmth and saturation with restraint.
Send This to a Friend
Send this to a friend who keeps arriving after the best light has gone—share the timing, scout early, and save a little room for the afterglow.
5 Key Takeaways
- Arrive early to maximize your shooting time.
- Protect highlights by checking exposure regularly.
- Keep the sun off-axis for flattering light.
- Choose shutter speed based on subject movement.
- Stay briefly for the afterglow to capture unique colors.
FAQs
- How long does a session typically last during golden hour? Sessions can last about 45-60 minutes, but the best light may only last 15-20 minutes.
- Can I shoot in cloudy weather? Yes, overcast skies can provide soft, even lighting.
- What if I’m photographing babies or toddlers? Plan for shorter sessions, as they may not tolerate long waits.
- Should I stay after sunset? Yes, the afterglow can offer beautiful lighting for additional photos.
For more PBT photography tips, check out our resources.

Wrapping Up with Warm Reflections and Future Inspirations
As I reflect on my experiences, I realize that successful work in this fleeting light comes from preparation and observation. It’s essential to be flexible with your settings rather than racing the sun with a rigid formula.
Consider revisiting the same location at both sunrise and sunset. The changing direction of light can yield entirely different images, revealing new perspectives.
Silhouettes, reflections, and soft portraits are creative choices you can explore within this short natural-light window. Remember, a small amount of noise from a higher ISO is often preferable to blurred faces when time is limited.
I encourage you to practice with your phone or interchangeable-lens camera, applying the principles of RAW shooting, exposure, and restrained editing as a reliable foundation.
Happy shooting!
FAQ
What is the best time to shoot during the golden hour?
How can I achieve the best exposure for my photos?
What techniques can I use to create silhouettes?
Should I use a tripod during golden hour shoots?
How do I choose the right location for my shoot?
What are some tips for shooting portraits during this time?
How can I incorporate reflections in my photos?
What editing tips do you recommend for enhancing golden hour photos?
Struggling to get consistent photography clients?
Get More Photography Clients