
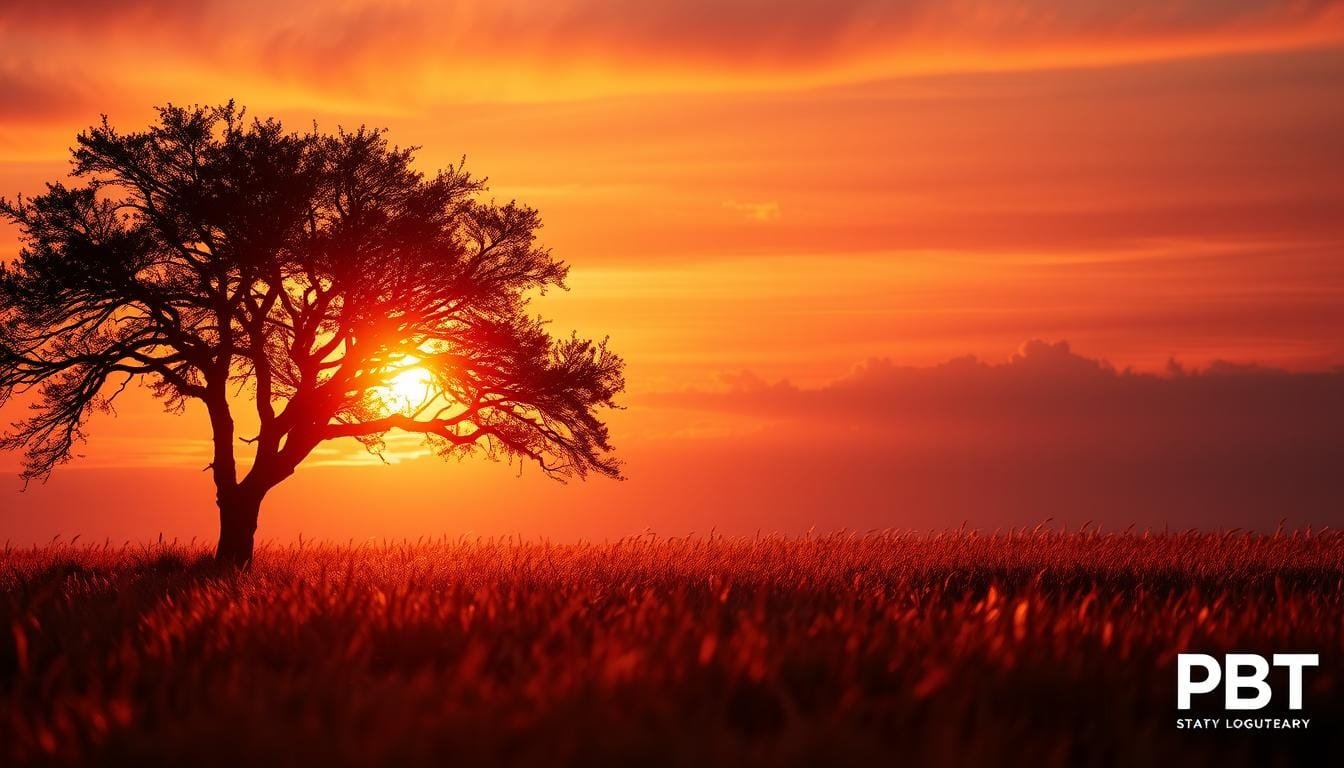
Have you ever stepped outside on a bright sunny day, only to find your subject nearly swallowed by shadows? It’s a common frustration for many photographers. The sky is radiant, yet your subject appears almost black. This is where backlighting photography comes to the rescue. By positioning the light source behind your subject, you can create stunning images that showcase a bright background and highlight the details of your subject.
For instance, using a Nikon D750 with a 200mm lens at 1/4000s, f/22, and ISO 100, you can control the highlights and add drama to your shots. It’s not just about guesswork; it’s about mastering your exposure workflow. The key is to expose for the highlights, ensuring you protect the important details while still allowing shadows to be recovered from RAW files.
This article will guide you through the essentials of using natural sunlight and artificial light sources, manual settings, and practical tips for achieving the best results. Let’s dive into the world of backlighting and discover how to transform your photography.
Key Takeaways
- Backlighting creates a bright background and highlights your subject.
- Master your exposure workflow to avoid guesswork.
- Use specific camera settings for controlled highlights.
- Exposing for highlights helps protect details in your images.
- Learn how to use both natural and artificial light sources effectively.
Understanding Backlighting Photography
Ever notice how a bright sunny day can cast your subject into deep shadows? This is a common challenge in backlighting photography. Here, the light source is positioned behind the subject, creating dramatic effects. However, it differs from background lighting, which focuses on illuminating the backdrop instead of the rear of the subject.
In this three-part lighting arrangement-camera, subject, and light source-understanding how to balance these elements is crucial. A bright background paired with a darker foreground can create depth and separation. However, the strong sun can also produce unwanted shadows.
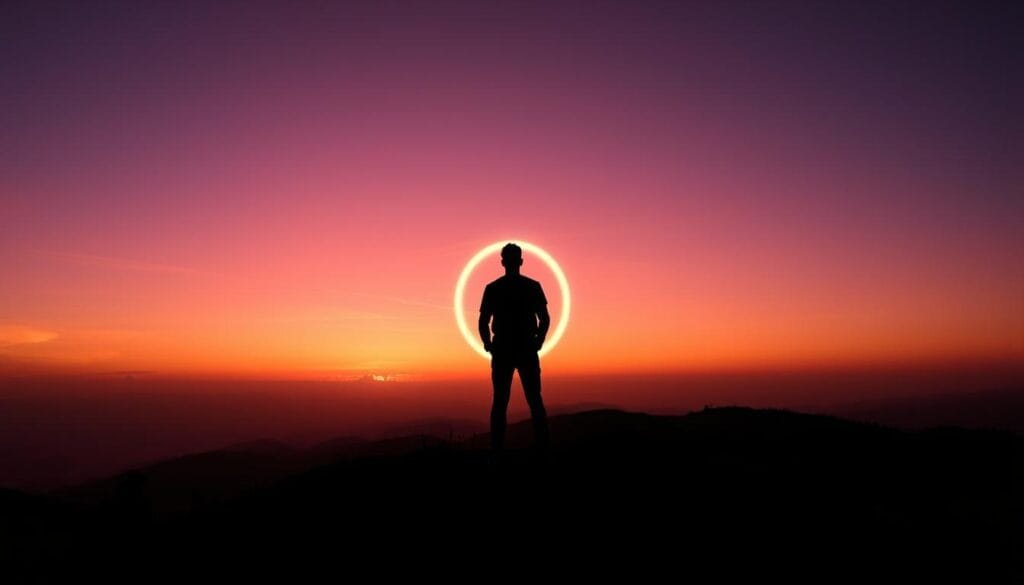
To tackle exposure and focus issues, I recommend taking test frames. This helps you compose your shot deliberately, allowing you to choose between preserving subject detail or silhouette shape. You may notice a glowing outline around hair or shoulders when light reaches the subject from behind. This effect adds a captivating touch to your images.
Ultimately, backlighting is an artistic choice, ideal for creating dramatic visuals. In contrast, frontlighting or sidelighting often works better for documentation purposes.
When and Why to Use Backlighting in Your Shots
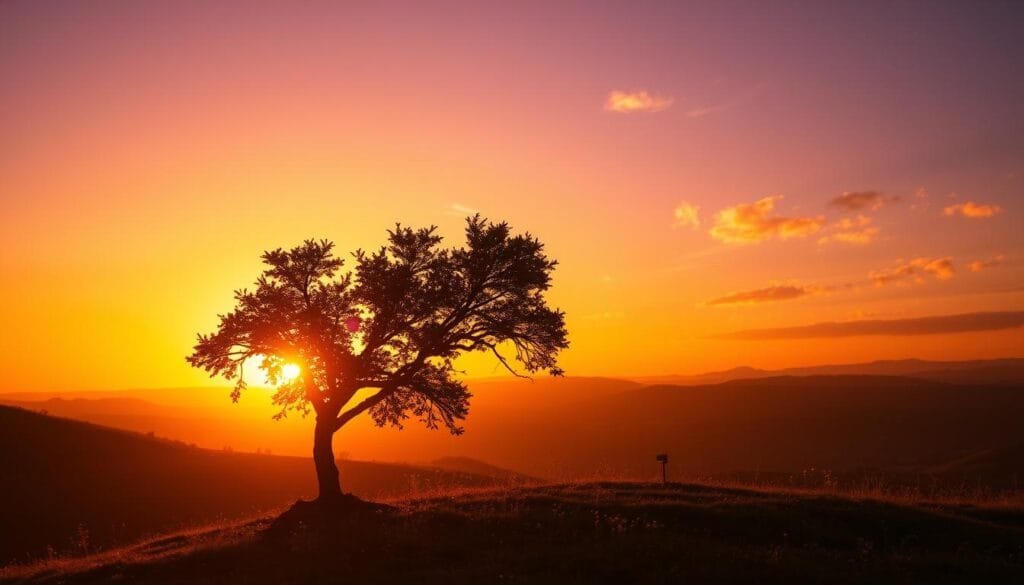
Isn’t it frustrating when the bright sun creates shadows that obscure your subject? Backlighting can be a game-changer in these situations. It works best during the golden hour, right after sunrise or just before sunset. At this time, the sun is lower and casts a softer glow, enhancing your images.
For instance, using a Nikon D7100 at 50mm, 1/1500s, f/2.8, and ISO 100, you can transform ordinary subjects into luminous visuals. This technique is particularly effective with translucent elements like grass, leaves, and hair, which reveal beautiful textures when light travels through them.
While backlighting is ideal for creative silhouettes and bokeh effects, it’s essential to know when to avoid it. For detailed shots, such as architecture or wildlife, frontlighting or sidelighting often preserves more subject detail. Additionally, consider partially hiding the sun behind an object to control flare and adjust the brightness of your background.
Mastering Camera Settings for Backlighting
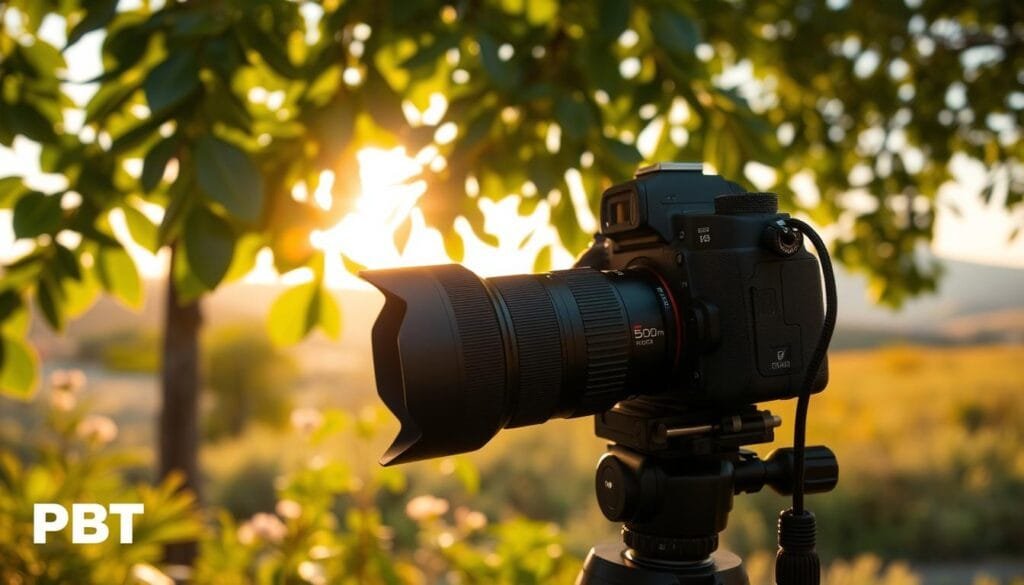
Ever struggled to photograph a subject with the sun glaring directly behind them? Mastering your camera settings is essential for capturing stunning images in these challenging conditions. Starting in manual mode is crucial, as the camera may misinterpret the bright background, leading to incorrect exposure.
For optimal results, experiment with an aperture between f/2.8 and f/5.6, a shutter speed of 1/100 to 1/640, and ISO 100. These settings serve as a guideline rather than a strict rule. Always check your histogram to ensure you’re exposing for highlights while preserving shadow details in your images.
Utilizing spot metering can help you focus on specific areas, like your subject’s face or eyes. This technique is particularly effective when you want to create a deliberate silhouette against a bright background. For example, using a Nikon D750 with settings of 200mm, 1/180s, f/2.8, and ISO 320 can yield beautiful results as you adjust for changing light conditions.
Creative Techniques and Studio Setup Tips
Finding the right balance between light and shadow can be tricky on bright days. Utilizing rim lighting can create a stunning contour around your subject. This effect highlights features like hair, shoulders, and edges, providing clear separation from the background.
For striking silhouettes, choose a clean background and position your subject with spaced-out limbs. This ensures that arms and legs do not merge into a single dark shape. For example, using a Nikon D7100 with an 85mm lens at 1/1000s, f/4, and ISO 200 can yield captivating results.
Creating sun stars is another fun technique. Use a small aperture, typically between f/8 and f/11, and position your subject so the sun peeks around the edges. Always check your frames for unwanted flare.
In studio settings, place a strobe behind your subject to simulate natural light. Testing a 45-degree angle for your key light can add depth. If daylight fades, consider using an off-camera flash to maintain that backlit effect.
| Technique | Camera Settings | Notes |
|---|---|---|
| Rim Lighting | Varies | Enhances subject edges |
| Silhouettes | 85mm, 1/1000s, f/4, ISO 200 | Use a clean background |
| Sun Stars | f/8 to f/11 | Check for flare |
| Studio Backlight | Varies | Strobe at 45-degree angle |
Practical Photography and Studio/Setup Tips for Dramatic Backlit Images
Capturing the perfect shot can often feel like a balancing act, especially when light sources compete for attention. To create stunning images, it’s essential to blend natural sunlight with artificial light sources effectively. Using fill flash can help define your subject while preserving the glow from the sun. However, ensure that the artificial light is weaker than the rear source to maintain a natural look.
When you need to soften shadows on your subject’s face, consider using reflectors. A white or silver reflector can bounce soft light into the shadows, enhancing the overall quality of your image. If a fill flash isn’t available, this substitution tip can be a lifesaver.
For studio setups, position a strobe behind your subject to mimic natural backlighting. Use a flag to prevent lens flare and adjust your front fill through test frames to achieve the desired effect. For more insights on lighting techniques, check out our lighting guide. Explore our PBT photography category for additional resources to enhance your skills.
Final Thoughts on Backlighting Photography
As you explore the world of light and shadow, remember that the placement of your light source is key. Position the sun or an artificial light behind your subject to create captivating images. Decide if you want to preserve detail, emphasize a rim, or capture a silhouette.
Start your sessions during the golden hour. For example, the Nikon D200 silhouette used settings of 1/6000s, f/4, and ISO 200. Adjust your settings based on the actual conditions you encounter.
Protect your highlights by capturing in RAW format. This allows for better shadow recovery in post-processing. Use manual exposure and spot metering to balance a luminous background with a clear subject.
Practice with various subjects, like leaves, grass, and portraits. You’ll discover that even simple elements can become striking when lit creatively. For more detailed insights, check out this guide.
Takeaways:
- Place the light source behind your subject for various effects.
- Utilize golden hour for softer light and adjust settings accordingly.
- Capture RAW files to protect highlights and recover shadows.
- Employ manual exposure and spot metering for better control.
- Experiment with different subjects to enhance your skills.
FAQs:
- Does backlighting always create a silhouette? No, it can retain subject detail with the right exposure and fill light.
- When is the best time to shoot? Early morning and before sunset are ideal for softer light.
- Is a flash necessary? Not necessarily; natural light can suffice, but a strobe can help indoors.
- How can I avoid a washed-out background? Focus on highlights to prevent clipping and recover shadows in post-processing.
Send this to a friend who keeps getting glowing skies and mysterious black faces in the same frame.
Stay focused, / Ray Baker.