

Have you ever come home from a thrilling game, only to find your memory card filled with blurry shots? It’s a frustrating experience, especially when you were hoping to capture those unforgettable moments. I remember a day at the local soccer field, chasing a ball as it zipped past players. I clicked away, but the images were nothing but a blur. That’s when I learned the importance of a good shutter speed.
Setting the right speed can make all the difference. A starting point of 1/500 second is often recommended to freeze action effectively. However, if you’re at a motor racing event, you might need to crank it up to 1/1000 second or faster. Understanding these settings is crucial for any photographer who wants to avoid the heartbreak of missed moments.
In this guide, we’ll explore not just camera settings, but also how to position yourself, anticipate the action, and even the right lenses to use. It’s all about being prepared before the event starts. Trust me, discovering the wrong settings while dodging a muddy sideline and a runaway ball is not the best time to make adjustments!
Understanding the Importance of Shutter Speed in Sports Photography
There are moments when I leave a game, only to realize my shots are more hazy than heroic. The key to capturing crisp images lies in understanding how to freeze action effectively. Fast-moving moments, like a footballer’s foot striking the ball or a swimmer’s hand slicing through water, require precise settings. These details can make or break your shot.
To illustrate, consider the difference in motion during a game. A football kick demands a quick response, as the foot moves faster than the torso. Similarly, in swimming, the hand moves rapidly compared to the rest of the body. This is why it’s essential to focus on freezing the fastest-moving part of the action.
| Action Type | Recommended Shutter Setting | Notes |
|---|---|---|
| Warm-ups | 1/250 second | Static lineups |
| Running Play | 1/1000 second | Fast action shots |
| Tennis Serve | 1/1000 second | Quick movements |
Relying on editing software to fix motion blur is rarely effective. It’s far better to adjust your settings beforehand. I recommend taking test frames before the action starts. This allows you to check sharpness and increase the speed if you notice any blur.
“The best way to capture action is to anticipate it and adjust your settings accordingly.”
Essential Camera Settings for Sharp Sports Shots
After a long day at the field, I often find myself sifting through a gallery of blurred images. To avoid this, understanding the exposure triangle is vital. The shutter speed is the first decision, followed by the aperture, and lastly, the ISO as light conditions change.
Rob Keeley, with over 30 years in action photography, suggests starting around 1/1600 second. He often adjusts based on the sport and available light. For example, he shot Australian Rules football at 1/2000 second, f/7.1, and ISO 1600 on a gray day. A wide aperture, like f/2.8 or f/4, helps let in light and separate the subject from the background.
For beginners, Shutter Priority mode simplifies settings, while experienced photographers may prefer Manual mode for consistent exposure. Continuous autofocus is essential for moving subjects, using Canon AI Servo or Nikon AF-C settings. In contrast, older cameras might rely on a central focus point.
Finally, consider your file format. JPEG is great for larger bursts, but I prefer RAW files for their flexibility in editing. You can learn more about perfect settings in this guide.
Mastering “shutter speed for sports photography” Techniques
Returning from a game, I often find my shots lack the clarity I hoped for. Optimizing fast settings is crucial in capturing sharp images. Different sports require tailored approaches to achieve the best results.
For example, indoor sports typically need an aperture of f/2.8 and ISO settings between 1600-6400. A starting point of 1/640 to 1/1000 second is ideal for these environments. In contrast, outdoor events like football and rugby benefit from settings around 1/1000 second.
- Cricket: Aim for 1/1000-1/1600 second.
- Athletics: Use 1/1000 second or faster.
- Equestrian action: Target 1/800-1/1600 second.
- Swimming: Stick to 1/1000 second or faster.
For motorsport and cycling, a range of 1/1000-1/2000 second can freeze action, while panning at 1/60-1/250 second creates dynamic effects. Understanding these settings will enhance your focus on players and the background, ensuring the motion is captured effectively.
“Mastering your settings is the first step to capturing unforgettable moments.”
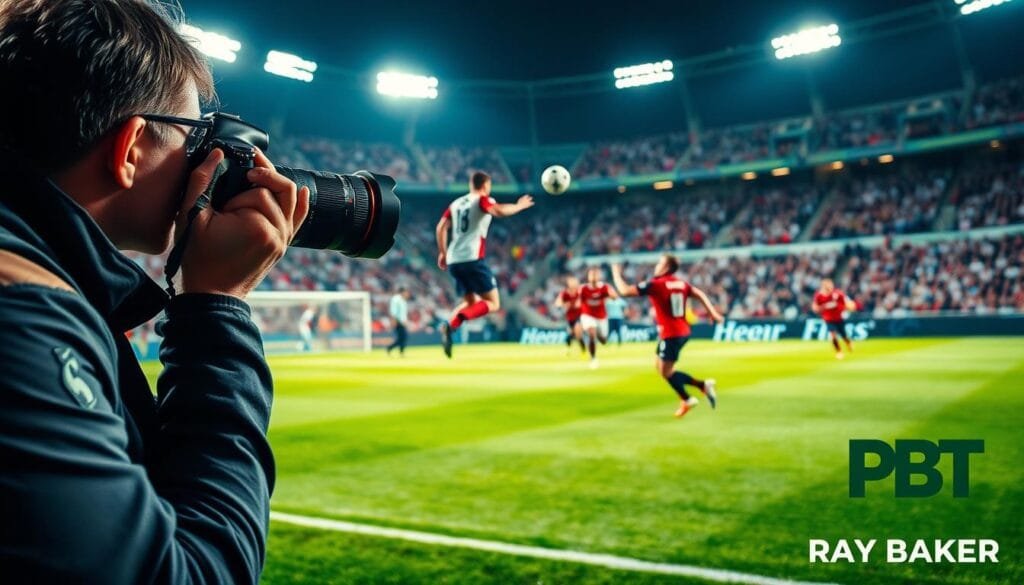
Positioning and Anticipation: Key Techniques for Dynamic Action
Every time I step away from a game, I find myself wishing I had captured those pivotal moments more clearly. Understanding where to be and when to click is crucial. Positioning yourself effectively can lead to striking images that tell a story.
One technique I recommend is to watch the game for a few minutes without your camera. This helps you identify where key moments will likely occur. Pay attention to crowd reactions and the flow of play. In Australian Rules football, for instance, look for scoring opportunities, tackles, and high marks.
Choosing a low sideline position can enhance your shots. It allows you to capture players’ faces and eye lines more effectively than shooting from a standing height. If possible, position yourself behind the goal or at the attacking end. This way, players move toward you, revealing their expressions during critical moments.
- Observe the game for five minutes before kickoff.
- Utilize a low angle to enhance perspective.
- Position yourself strategically for peak moments.
Remember to respect officials, spectators, and access boundaries, especially at professional events. Anticipation and positioning are free improvements that can significantly enhance your action shots.
“The best way to capture action is to anticipate it and adjust your settings accordingly.”
Optimizing Lighting and Weather Adjustments for Sports Events
After attending various events, I often find myself frustrated by the poor lighting in my shots. Understanding how to manage different lighting conditions can significantly improve your images. Whether you’re shooting indoors or outdoors, adapting to the environment is key.
Floodlit fields often have uneven illumination, creating bright and dark zones. It’s essential to base your exposure on the area where the action is most concentrated. When the play moves into dimmer sections, don’t hesitate to raise your ISO. This adjustment helps avoid underexposed faces and jerseys.
Indoor venues can present their own challenges. Many sports halls have mixed artificial color temperatures, leading to unwanted color casts. Testing your white balance with fluorescent or Tungsten settings can help. Alternatively, consider using a custom white balance to achieve accurate colors.
- Use a rain cover for long lenses to protect your gear during wet conditions.
- Bring spare batteries for those chilly mornings when you’re outdoors.
- Embrace overcast conditions creatively; they can provide soft, shadow-free lighting.
“Lighting is everything in capturing the perfect moment.”
Utilizing Burst Mode and Continuous Focus for Unforgettable Action
In the heat of the game, I often wish I could just freeze time to get that shot. Utilizing burst mode can significantly enhance your chances of capturing those decisive moments. Short bursts of 3-6 frames allow you to select the perfect image from a sequence of action.
However, it’s essential to manage your memory card capacity. Burst shooting fills cards faster than single-frame shooting, so be prepared. Pairing this technique with continuous autofocus ensures that your camera keeps updating focus as players move.
- Use continuous-high drive mode and deliberate bursts around key moments like contact, takeoff, or celebration.
- Avoid long sprays of 20 or more frames; they create duplicates and complicate selection later.
- Carry ample card capacity and a spare to accommodate burst mode’s demands.
- Utilize timeouts or halftime to delete obvious failures when storage is limited.
“Timing is everything in capturing the perfect moment.”
Tips on Lens Selection and Substitution Strategies in Sports Photography
When I look back at my sports images, I often wish I had better lens options to capture the action. Choosing the right lens can significantly impact the quality of your shots. Understanding how to utilize teleconverters and zoom lenses can enhance your reach and versatility.
A 1.4x teleconverter changes a 70-200mm lens into 100-280mm, but it costs one stop of light. Meanwhile, a 2x teleconverter transforms the same lens into 140-400mm, reducing light by two stops. This reduction can be crucial in low-light situations, like indoor games or under floodlights.
Rob Keeley, a seasoned photographer, successfully used a second-hand 400mm f/2.8 lens along with a 70-200mm f/2.8 zoom. A 100-400mm zoom is also a versatile option for amateur action photography.
| Lens Type | Application | Notes |
|---|---|---|
| 70-200mm Zoom | Basketball, Tennis | Ideal for smaller fields |
| 100-400mm Zoom | Football, Rugby | Better for wider outdoor coverage |
| 1.4x Teleconverter | Enhances reach | Reduces light by one stop |
| 2x Teleconverter | Max reach | Reduces light by two stops |
For heavy telephoto equipment, I recommend using a monopod. It provides stability, especially during long matches. Also, consider investing in a carefully inspected second-hand 70-200mm f/2.8 lens. This option can be more budget-friendly than buying new.
By understanding these lens choices and strategies, you can elevate your action shots to the next level.
Integrating Studio and Setup Techniques for Consistent Results
The unpredictability of outdoor events makes me crave a more structured practice space. Setting up a controlled environment can help refine your skills and boost your confidence before the main event.
Practicing in a studio or gym with a moving volunteer can be invaluable. Marked floor positions and repeatable distances allow you to test your camera settings effectively.
Setting Up a Controlled Environment When Possible
- Test shutter speed, autofocus tracking, burst timing, and white balance before facing unpredictable outdoor conditions.
- Utilize a monopod during controlled telephoto practice to assess framing and handling without constant repositioning.
- Gradually recreate lower-light conditions by reducing available illumination, then increase ISO until movement remains sharp.
- Carry the same pre-event checklist from studio practice to the field, including charged batteries, formatted cards, disabled flash, and tested focus.
Practical Photography and Setup Tips for US/Australian Photographers
After countless hours capturing moments at events, I often find myself wishing I had nailed the perfect shot. To help you achieve clarity in your images, here’s a quick recap: start with a setting of 1/1000 second, opt for faster settings when limbs are in motion, use wide apertures, raise your ISO as needed, and rely on continuous autofocus.
5 Key Takeaways
- Set shutter speed first: Prioritize your settings to capture action effectively.
- Anticipate rather than react: Predict movements for better timing.
- Get low: Use a lower angle for more dynamic shots.
- Use short bursts: Capture sequences for the best moment.
- Accept higher ISO: Don’t hesitate to raise ISO before accepting blur.
Realistic Examples to Inspire Your Next Shoot
During an Australian Rules game, Rob Keeley often shoots over 1,500 images, editing one-third to one-half of them. He captures player reactions on the field, creating web-ready images at around 900 pixels on the longest side. For instance, at a local VFL match, he focused on the players’ expressions, which added depth to his shots.
In the U.S., imagine photographing an indoor basketball game. Here, using a faster ISO and a low angle can help capture the energy of the game effectively.
For more insights, check out our guide on what shutter speed is in photography. This guide can help you refine your techniques further. Don’t forget to explore our Photography category for more tips!
As you refine your skills, remember to review edges, faces, ball positions, and subtle contrasts before exporting selected images. This practice will ensure you create stunning visuals every time.
“The key to great images lies in preparation and understanding your equipment.”
Parting Thoughts: Send This to a Friend and Keep Capturing the Moment
Every time I review my game photos, I often feel a twinge of regret over missed opportunities. Remember, anticipation, positioning, light management, and disciplined settings can greatly enhance your results. Before investing in an expensive camera upgrade, focus on mastering these fundamentals.
Take a moment to explore the works of:
- Al Bello for timing insights.
- Michael Willson for capturing reactions in AFL.
- Chris Burkard for stunning adventure imagery.
Missing frames is part of the learning process. With deliberate practice on settings and focus, your keeper rate will improve over time.
Send this to a friend who keeps blaming the lens for blurry images, then compare notes at the next game. Keep watching the sport, prepare before kickoff, and capture the next genuine moment!
FAQ
What shutter speed should I use for capturing fast-moving athletes?
How can I ensure my images are sharp during a game?
What is the advantage of using shutter priority mode?
How do I choose the right lens for sports photography?
What should I consider when shooting in different lighting conditions?
How can burst mode enhance my sports photography?
Are there any tips for anticipating action during a game?
What should I do if I can’t afford new lenses?
How can I create a controlled environment for sports photography?
What are some key takeaways for aspiring sports photographers?
Struggling to get consistent photography clients?
Get More Photography Clients