
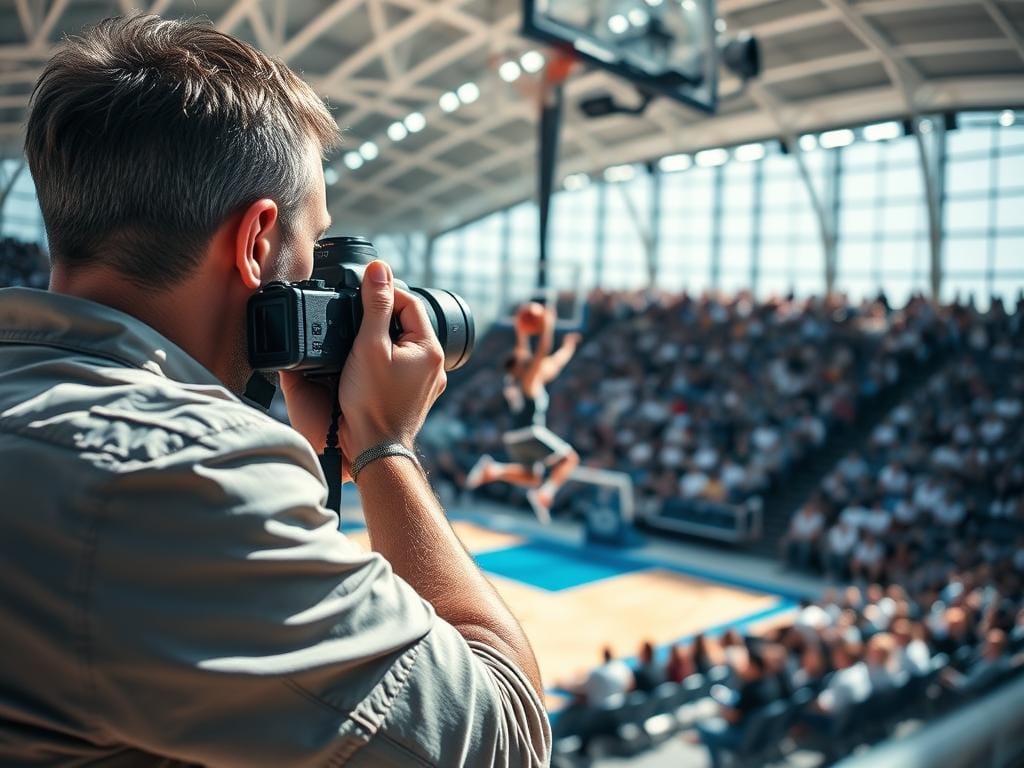
Do your action shots look like a blur or a stiff photo? Many photographers struggle with shutter speed. They either make everything blurry or freeze it too much.
This article will teach you how to capture movement right. You’ll learn about shutter-speed ranges for different shots. You’ll see how to choose the right settings for your photos.
Learn to keep the moment alive in your photos. You’ll know how to show every detail clearly. And you’ll learn to control how motion looks in your photos.
Key Takeaways
- Shutter speed is the main control for how motion appears — faster freezes, slower reveals motion.
- Practical example settings range from 1/6400s to 1/1600s depending on subject and lens.
- Subject direction, distance, and lens magnification hugely affect needed shutter speed.
- Entry-level DSLRs and common lenses can achieve pro-looking freeze motion photography.
- Balancing ISO and aperture lets you expose for speed without excessive noise.
- Decide early if you want frozen, blurred, or panned results and set shutter speed accordingl
Quick answer: How to freeze motion without killing the photo
Do you struggle with blurry athletes or bikes? Use a fast shutter speed and the right controls for sharp photos. Start with 1/500s and go up to 1/1000–1/4000s for the fastest subjects. Use continuous/servo AF, focus on the face, and increase ISO instead of lowering shutter speed.
60–90 word quick fix
For runners and cyclists, aim for 1/500s. For faster machines, go to 1/1000s+. Use continuous AF and focus on the face. Open the aperture to f/2.8–f/5.6 and raise ISO to 400–1600. For motion, pan at 1/30–1/125s. Follow these tips and practice in different sports settings to freeze motion perfectly.
Shareable
Send this to a friend: “For bikes, use 1/500s; for fast cars, 1/1000s. Use continuous AF and focus on the face.”
- Aim for at least 1/500s for bikes and running subjects; increase to 1/1000–1/4000s for very fast subjects like jets.
- For cross-frame motion require faster shutter speeds than toward/away movement.
- Use wide apertures (f/2.8–f/5.6) to let light in and allow fast shutter speeds.
- Raise ISO (ISO 400–1600 as needed) instead of letting shutter slow below target.
- Use continuous/servo AF and single-point focus on the face to ensure eyes/head are sharp.
- When you want motion, use panning with slower shutter speeds (1/30–1/125s depending on subject).
For more tips on framing, pre-focusing, and flash-and-blur methods, check out this guide: 9 easy steps for taking great action.
| Subject | Recommended Shutter | Aperture | ISO Range |
|---|---|---|---|
| Running / Cycling | 1/500s | f/2.8–f/5.6 | 400–800 |
| Fast cars / Motorbikes | 1/1000–1/2000s | f/2.8–f/5.6 | 400–1600 |
| Aircraft / High-speed action | 1/2000–1/4000s | f/4–f/8 | 400–3200 |
| Panning for motion | 1/30–1/125s | f/5.6–f/11 | 100–800 |
Why shutter speed matters in action photography shutter speed
Shutter speed is key in action photos. It makes moving things look sharp or blurry. Fast shutter speeds freeze motion, while slow ones blur it.
Shutter speed works with aperture and ISO to control light. This trio helps you decide if you want sharp or blurry photos. Think of shutter speed as the main way to show motion.
H3: Shutter speed as the primary control of motion depiction
How fast something moves affects shutter speed. A fast runner needs a quicker shutter than someone walking. Movement across the frame blurs more than moving towards or away.
H3: Examples from real shoots
I used a Canon EOS R5 for a bike ride. I chose a 70–200mm lens for tight shots and a wide-angle for background. I set shutter speed to 1/2500s for sharp riders and 1/1600s for soft backgrounds.
Helicopter shots are different. A fast shutter makes the blades look unnatural. But a slower shutter creates streaks that show movement.
Understanding how subject speed and direction affect shutter needs
Choosing the right shutter speed for action photos depends on how the subject moves. If the subject moves across your frame, it covers more distance than if it moves towards or away from you. This affects how fast you need to set the shutter.
Subjects moving across your frame need the fastest shutter speeds. A soccer player running sideline to sideline can blur quickly. For sports photos, use high shutter speeds or pan to keep the subject sharp.
The distance and lens choice also matter. A motorcycle looks faster up close than far away. Telephoto lenses make subjects seem to move faster, so you need to increase the shutter speed.
Here are some quick comparisons to help you understand shutter speed changes. These ranges match the guide’s suggested speeds. They help you decide if to raise ISO, open aperture, or pan.
| Scenario | Lens / Distance | Perceived speed | Typical shutter range |
|---|---|---|---|
| Road bike, close (30 ft) | 70–200mm telephoto | High | 1/1000s – 1/2000s |
| Road bike, distant (0.5 mile) | Wide or long distance | Low | 1/250s – 1/500s |
| Baseball runner, lateral | 85mm prime, close | High | 1/800s – 1/1600s |
| Football player, sprint toward camera | 24–70mm, mid distance | Moderate | 1/500s – 1/1000s |
| Soccer goal celebration, mixed directions | 35–70mm, variable | Variable | 1/400s – 1/1600s |
Practical tip: when a subject crosses the frame, choose a faster shutter speed. Or, use a tracking pan. This keeps the action sharp and freezes the motion without losing context.
Picking shutter speeds: practical ranges for common sports photography settings
Choosing the right shutter speed starts with the sport and the look you want. Here are some practical ranges for most photographers. Start with these and adjust for movement, light, and creative effect.
Suggested shutter speeds by activity
Walking or slow jogging: 1/125–1/500s. A slow walk looks sharp at 1/125s. Speed up the shutter as subjects move faster.
Cycling and club road racing: 1/500–1/2500s, with 1/1000s a common sweet spot. This freezes riders and spokes well.
Motorbikes and cars broadside: 1/250–1/1000s when panning to keep motion trails. Faster speeds freeze wheels and details better.
Jets and fast aircraft: 1/1000–1/4000s to stop high-speed airframes cleanly. Props on older planes may need different choices for desired blur.
Helicopter rotors: about 1/30–1/100s for realistic rotor blur. To freeze rotors, push to 1/250s or faster, but it looks unnatural.
Adjusting for light and desired look
Sunny conditions let you shoot at ISO 100–200 and wide apertures. This allows for high shutter speeds without added noise.
Low light forces ISO upward. Modern DSLRs and mirrorless bodies often give clean results at ISO 800. For indoor arenas, you may need ISO 400–3200. In extreme cases, photographers crank to ISO 25,600 to hit 1/1000s at f/2.8.
If you want motion blur or panning, slow the shutter and stabilize the camera. Use a monopod or tripod. Artistic intent should guide these camera settings for movement choices.
Quick workflow tips
- Set a baseline shutter speed for the sport, then expose by adjusting aperture and ISO.
- Use shutter-priority or manual mode when you must control the action photography shutter speed precisely.
- Check results on the LCD, tweak ISO for cleaner images, and remember that a small aperture can help if noise becomes an issue.
Camera modes and settings that help you control motion
Choosing the right camera mode is key when you’re chasing action. Pick a mode that fits your scene. Keep an eye on readouts and pair settings with your lens to keep subjects sharp. Here are some easy tips to follow on the field.
Aperture Priority (Av / A)
Aperture Priority is great in good light. It lets you control depth and speed. Set a wide aperture to blur backgrounds. Let the camera choose a shutter speed.
Watch the shutter readout to avoid slow speeds. Use this mode for cycling, track, and outdoor team sports. It’s good when light is steady and you want to separate subjects.
Shutter Priority (Tv / S)
Shutter Priority is for when you need a fixed shutter speed. Choose a speed from 1/1000s to freeze fast limbs to 1/250s for milder motion. The camera will adjust aperture for you.
This mode is perfect for sprinting, motocross, and sports photography. It helps control motion consistently.
Manual mode
Manual mode is for when lighting changes or you want creative control. It lets you control shutter speed and aperture. Set ISO first, then choose shutter speed and aperture to keep exposure right.
This is great for tracking subjects across changing backgrounds or under mixed lights.
Continuous drive and burst shooting
- Enable high frame-rate burst mode to increase the chance of capturing decisive moments.
- Combine bursts with shutter priority when you want repeated frames at a fixed action photography shutter speed.
AF modes and focus strategy
Use continuous AF modes (AF-C on Nikon, AI Servo on Canon) to track moving subjects reliably. Set a single focus point on the subject’s face or head for consistent results. Move the focus point to match where the subject will be in the frame.
Back-button AF and focus points
- Back-button AF separates focus from the shutter release so you can track without refocusing on every frame.
- Choose a cluster of focus points or a single point depending on how erratic the movement is. Tight sports moments benefit from a single point on the subject’s face.
Blend these choices into your sports photography settings and workflow. Practice switching among Av, Tv, and Manual quickly. Test continuous drive with AF-C and back-button AF to see which combo works best for you.
ISO and aperture: exposing for speed without adding noise
To get the right shot, balance shutter, ISO, and lens. Push shutter speed to freeze motion. Then, use ISO and aperture to get more light.
Think of ISO as a tool, not a problem. Raise it to keep shutter speed fast and image quality good.
ISO as a tool, not a villain
Start with the lowest ISO for your shutter speed. If it’s below 1/500s, go to ISO 400, then ISO 800. Modern Nikon and Canon DSLRs handle ISO 800 well in daylight.
In dim places or at night, you might need ISO 25,600 to get 1/1000s for events.
Keep ISO low for better image quality. Don’t choose low ISO over sharp subjects. Use noise reduction in post to clean up images without losing detail.
Aperture choices for sharp subjects vs. background separation
Use a wide aperture for faster shutter speeds. A 70–200mm f/2.8 lens is good for strong subject separation. Wide apertures help keep shutter speeds high while keeping ISO low.
Stop down for more depth of field. For groups or when subjects move, use f/5.6–f/8. A skier shot at 1/2500s with ISO 500 and f/7.1 keeps both freeze and detail.
When adjusting aperture, think about blur and focus. Wider aperture for isolation; smaller for sharpness. Mix these with camera settings to match your scene and style.
Here’s a quick guide: start with shutter, then aperture, then ISO. For daytime sports, aim for 1/500s–1/2000s. Use f/2.8–f/5.6 for singles, f/5.6–f/8 for groups. ISO helps when light is low.
Panning and intentional blur: when to slow the shutter on purpose
Panning is a skill that lets you show speed while keeping your subject readable. Follow a moving subject with a smooth turn of the hips and a twist at the waist. Start tracking before you press the shutter and keep following past the capture point to avoid a chopped look.
Use a steady stance and a relaxed grip. Set your camera for a lower action photography shutter speed than you would to freeze motion photography. Continuous drive helps you shoot many frames. Expect a low hit rate; getting one strong frame from 20 to 30 attempts is normal.
Suggested shutter speeds vary by subject speed. For bikes and cars try 1/30–1/125s. Horse racing often looks sharp with 1/100s for the face. Slower subjects may need 1/20–1/15s to create dramatic background streaks while keeping the subject recognizable.
Lens choice affects the blur. Telephoto lenses compress the scene and yield longer, smoother background streaks. Wide-angle lenses reduce apparent movement and give shorter blur lines. For heavy telephotos, a monopod smooths the motion and reduces arm fatigue.
Frame tightly on the subject, leaving space in the direction of travel. Combine a mid-tele focal length with steady panning and you raise the chance of a sharp face and blurred background. Practice in safe, controlled environments such as empty parking lots or practice tracks before shooting live events.
Common problems and quick fixes on location
On fast shoots, you need quick fixes for common problems. Use small adjustments to keep shooting fast. Here are quick fixes for three common issues and some extra tools for location shoots.
First, check the shutter readout in the viewfinder. If it’s too low, like under 1/500s for fast motion, raise ISO or open the aperture. Going up to ISO 400–800 usually works without too much noise. If it’s very dark, use a flash if you can or find a brighter spot.
Focus on wrong area
Switch to single-point focus and place it on the subject’s head or eyes. Use Continuous AF (AF-C or Canon’s AI Servo) to follow movement. Try back-button AF if your camera has it; it helps avoid focus hunting. Focus on the face first for the best results during fast action.
Frozen props or unnatural results (rotors, wheels)
Fast shutters can make rotors and wheels look static. For helicopters, aim for 1/30–1/100s to show rotor motion. Propellers are best at 1/80–1/100s. For vehicles, use panning to blur wheels while keeping the body sharp. Adjust shutter speed to show believable motion without losing sharpness.
Other quick fixes
- Use a monopod or tripod with long telephotos to steady the frame and reduce camera shake.
- Change shooting angle; a 45-degree approach often improves detail and reduces sky or background clutter.
- If your exposure is tight, widen aperture, raise ISO, or add permitted flash to maintain required action photography shutter speed.
Gear and lens choices that make freezing action easier
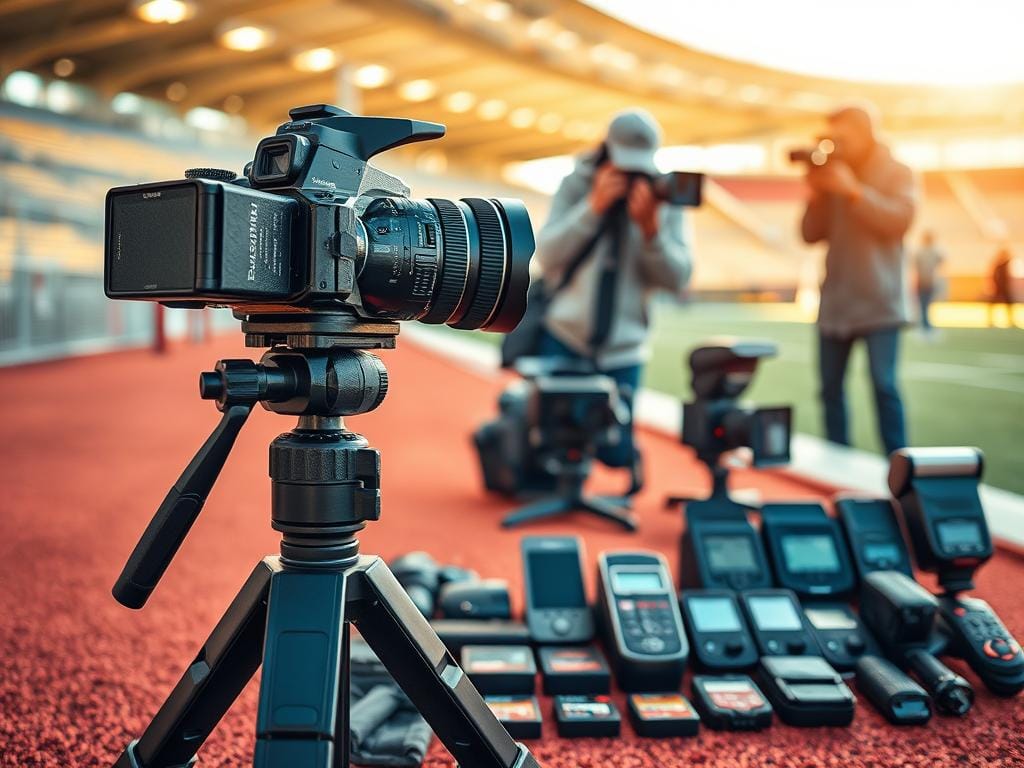
Choosing the right kit is key to getting sharp photos. Pick bodies and lenses that fit your style and settings. Look for tools that help you keep a fast shutter speed without high ISO.
Fast zooms vs. kit lenses
Fast zoom lenses, like a 70–200mm f/2.8, are great for events. They have wide apertures for quick shutters and clear photos. These lenses are perfect when light is low.
Kit zooms, like 55–200mm, are also useful. They don’t have the f/2.8 aperture but can be sharp with the right technique. A stabilized 70–300mm is good for those on a budget.
Stabilization, monopods, and support tactics
Image stabilization helps when you handhold, even at long lengths. It lets you use slightly slower shutters for better exposure. Monopods help with fatigue and smooth panning.
Tripods are best for slower shutter work or practice. Use a monopod for sidelines and a tripod for motion blur or fixed points.
Camera bodies and useful accessories
High-end Canon, Nikon, and Sony bodies have fast drive rates and strong AF tracking. This means more keepers in fast scenes. Even entry-level cameras can freeze action with the right settings and timing.
Fast memory cards reduce buffer times during long shots. Bring extra batteries for long games and use rain covers outside. Small upgrades can make a big difference in your photos.
Practice drills and homework to master shutter speed for movement
Mastering action photography shutter speed needs focused practice and a plan. Here are exercises you can do with common gear. Each one builds on the last, teaching you timing, exposure, and framing in real situations.
Progressive exercises
1) Tripod, shutter-priority walk/run tests: Set your camera to S or Tv. Use shutter speeds from 1/15 to 1/500s. Photograph a person walking, then jogging, at 10, 20, and 50 feet. Note blur, freezing, and subject sharpness.
2) Roadside car tests at safe distance: Use shutter-priority and vary speeds across the same range. Try wide, normal, and slight telephoto lenses to see how focal length affects perceived motion. Record settings and results.
3) Hand-held panning repeats: Practice panning slower subjects like walkers, cyclists, and cars. Start at 1/60s and work toward 1/125s while keeping the subject aligned in the frame. Focus on smooth rotation from the hips.
4) Water motion study: Shoot waterfalls and streams using long exposures from 10s down to 1/125s. Compare silky water at long exposures with partial blur at faster shutter speeds.
5) Event escalation: Move from walkers and bikes to cars, motorcycles, and small aircraft. Attend community track days, organized airshows, or motocross meets to apply sports photography settings in real time.
Where to practice safely
Choose public parks, closed tracks, community events, or organized airshows like Wings Over North Georgia. Stay away from live traffic and private property. Practice on sidewalks, parking lots, or designated spectator zones at racetracks.
Start with slow, low-risk subjects such as children on bikes, dogs, or joggers. Progress to faster subjects as your confidence grows. Keep notes on shutter speeds, lenses, and results so you can repeat successful sports photography settings later.
These practice drills for photographers create muscle memory for shutter control, panning rhythm, and exposure choices. Repeat them weekly to build reliable instincts for freezing motion without losing composition or sharpness.
Composing action shots: framing, angle, and story
Good composition makes a sharp image into a compelling moment. Use framing, angle, and context to guide how viewers see the action. Keep sentences short for a clean read and a lively pace.
Why 45-degree angles often work
Positioning a subject at about a 45-degree angle shows form and motion. This view avoids flat silhouettes and prevents a flat profile look. Nikon and Canon workshops often suggest this for portraits and sports.
Pairing a 45-degree angle with the right shutter speed keeps limb and facial details. Start with a sharp frame at that angle before trying blur or zooms.
Background selection and separating subject
Choose backgrounds that contrast in tone and texture to make the subject stand out. Use wide apertures and selective focus to blur distractions. In low light, balance aperture with ISO for clean motion photography.
Leave lead room in the frame to show direction and intent. Cyclists or snowboarders need space ahead to look like they’re moving. Tight framing is good for gear or expressions. Wider frames show environment and context.
Use moving backgrounds like rushing water or smoke to add motion cues. If clutter is a problem, change your angle or distance. Use color contrast to separate the subject.
Practical framing tips and workflow
Shoot a classic frame first: 45-degree angle, clean background, solid action, and right exposure. This gives you a good image before trying longer exposures or dramatic shots.
Try bursts at high frame rates to catch the best motion. For scenes with blur, look at techniques and examples from experienced photographers on this guide.
| Situation | Suggested Angle | Composition Tip | Shutter Guidance |
|---|---|---|---|
| Skier mid-air | About 45 degrees | Leave space in front, show slope for context | Fast shutter to freeze; try slight trail blur for landing |
| Runner sprint | Three-quarter angle | Tight frame for intensity or wider to show track | Use fast shutter for freeze motion photography; pan at 1/60–1/125 for motion feel |
| Campfire sparks | Low, angled to show spark trails | Include foreground elements for scale | Slow shutter (1/5–10s) for motion trails with tripod |
| Wildlife approach | 45-degree or slightly off-axis | Compress background with longer lens to isolate subject | Adjust shutter to animal speed; higher for flight, lower for slow grazing |
Editing tips to enhance frozen motion shots
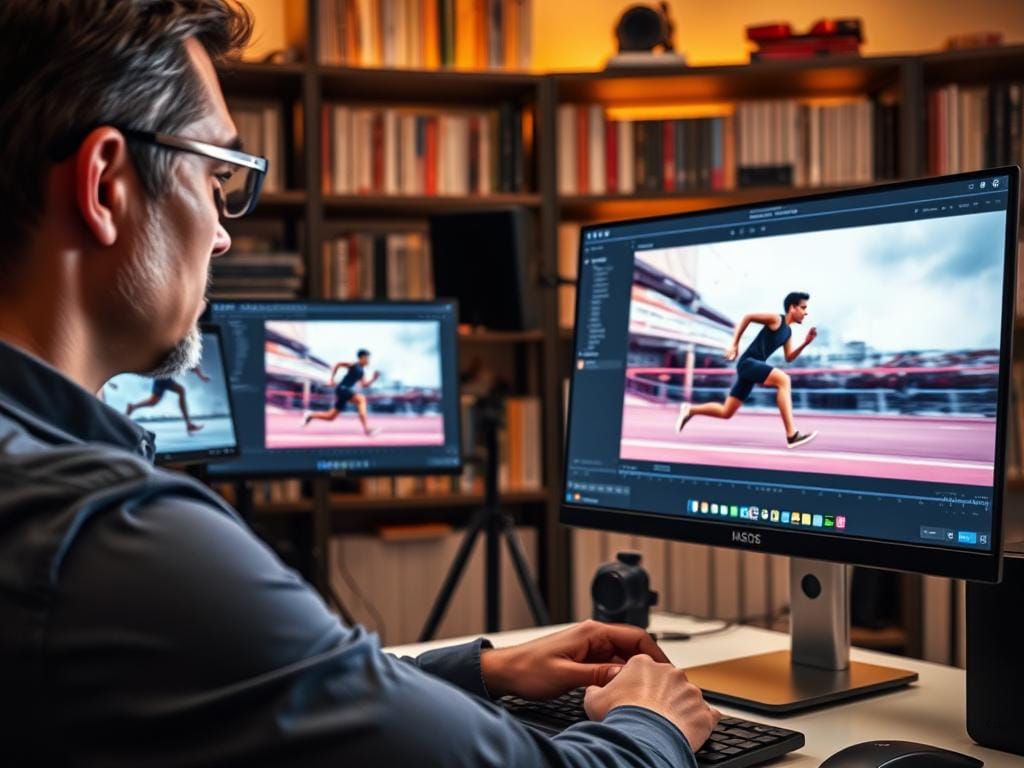
Editing frozen action needs a plan. Open the RAW file first. Look at the subject at 100% to check sharpness and exposure.
This check tells you if you need to sharpen or reduce noise. It’s important for action photos.
Assessing sharpness and selective sharpening
Zoom in on the subject’s eyes, face, or where they touch something. This helps see if it’s sharp enough. If it’s a bit soft, use selective sharpening.
Use masks in Adobe Lightroom or Photoshop to sharpen just the right parts. This means the face, eyes, and textured areas like jerseys.
Be careful with sharpening. Don’t make halos around edges. If using Capture One, adjust Detail sliders slowly and check at 100% before saving.
Noise reduction and exposure tweaks
High shutter speeds mean higher ISO, so you need to reduce noise. Start with Lightroom’s Noise Reduction sliders, DxO PureRaw, or Topaz DeNoise AI for better results.
Balance noise reduction with sharpening to keep details sharp. Avoid making skin look blotchy or waxy.
Recover highlights and open shadows from RAW to bring back lost details. Adjust exposure and contrast carefully. Use clarity and texture to enhance midtone detail without adding grit to smooth areas like skies.
Crop to strengthen the composition after checking all corrections. Make small perspective fixes to correct the horizon or foreshortening. Save edits as separate files to keep the original RAW for future changes.
| Task | Recommended Tools | Quick Settings |
|---|---|---|
| Selective sharpening | Adobe Lightroom, Photoshop, Capture One | Mask subject; Amount 40–70; Radius 0.8–1.2 |
| Noise reduction for action photos | Lightroom, DxO, Topaz DeNoise AI | Luminance 20–50; Detail 50–70; Smoothness 10–30 |
| Highlight recovery | RAW converter (Lightroom, Camera Raw) | Highlights −20 to −80 depending on clipping |
| Shadow recovery | RAW converter | Shadows +10 to +60 to reveal detail |
| Cropping and perspective | Lightroom, Photoshop | Crop to subject balance; Lens Correction on |
| Final export | Lightroom export, Photoshop Save As | Keep 16-bit TIFF or high-quality JPEG; embed edits |
Short disclaimer and references
The tips here are always good for action photos and freezing motion. But, your camera and lens might act differently. So, test them and practice to find the best settings for your gear and light.
Always follow the law, venue rules, and safety when you shoot events.
For tips, we looked at Mickey Rountree and Instagram. We also used notes from a pro event photographer. They helped us with shutter speeds, panning, and adjusting for noise and exposure.
Here’s a tip list and a message to share: “Start at 1/1000s for sports, 1/500s for closer action. Raise ISO before widening aperture.” And, “Try the quick fix: set Shutter Priority, pick 1/800s, use continuous AF and high drive; adjust ISO as needed.”
Want to Start Your Own Photography Business?
Stay focused,
Ray Baker.
FAQ
What shutter speed should I start with to freeze action?
Why is shutter speed the most important control for motion?
How does subject direction affect the shutter I need?
How does distance and focal length change shutter speed requirements?
What are practical shutter-speed ranges for common sports photography settings?
How should I balance aperture and ISO to maintain fast shutter speeds?
When should I use Aperture Priority, Shutter Priority, or Manual?
Which autofocus and drive settings help freeze moving subjects?
What shutter speeds work best for panning to show motion intentionally?
How do I avoid freezing props like rotors or wheels so they show natural motion?
Can entry-level DSLRs and kit lenses freeze action effectively?
What do I change when light is low but I need a fast shutter?
How do I troubleshoot blurry subjects on location?
What framing and composition choices help convey motion?
How should I edit frozen-action shots for the best results?
What drills help improve shutter-speed control and panning skills?
Are there safety or legal considerations when practicing action photography?
What are quick fixes I can use on the spot to freeze action?
Who are the sources behind these recommendations?
Struggling to get consistent photography clients?
Get More Photography Clients