
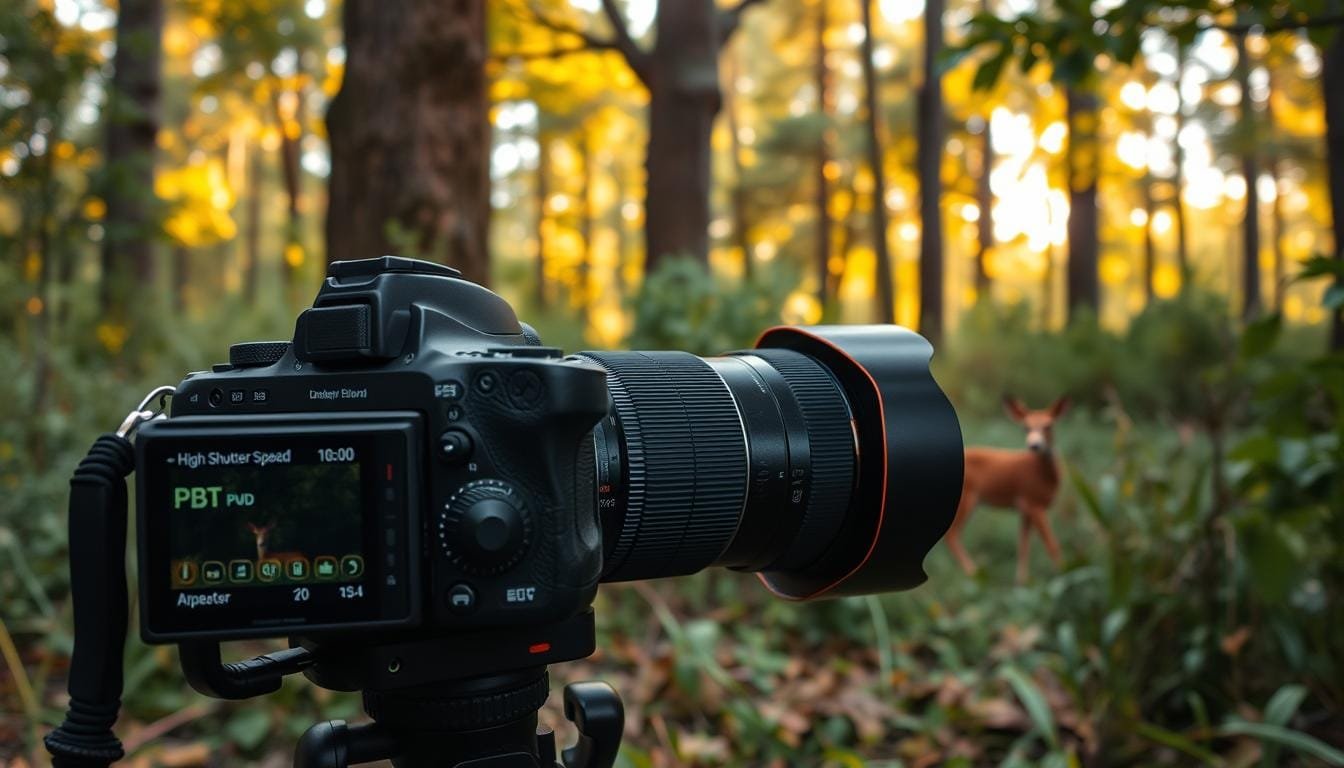
As I stood in the golden light of dusk, I felt a familiar pang of frustration. A stunning springbok leaped gracefully across my frame, yet my shutter was too slow. That fleeting moment slipped away, and all I had was a blurry memory. It was a lesson learned the hard way.
Then I remembered Paolo Sartori’s advice: embrace high ISO settings. He once captured backlit springboks at ISO 20,000, a revelation that changed my approach to capturing the moment. In today’s fast-paced environment, every second counts. A leopard or wallaby can change direction before you can adjust your exposure settings.
Modern photography rewards quick decisions. My focus shifted to ensuring subject sharpness first, selecting the right aperture for depth, and allowing ISO to rise when light dwindles. No longer was I afraid of high ISO; it became a tool for creativity, rather than a risk.
In this guide, I will share tips on shutter speed, aperture, Auto ISO, and more. Together, we’ll navigate the challenges of capturing stunning shots in dynamic scenes without getting lost in gear debates.
Key Takeaways
- Embrace high ISO settings for fast-paced moments.
- Prioritize subject sharpness over other settings.
- Use aperture to achieve desired depth in your shots.
- Learn to adjust quickly to changing light conditions.
- Explore techniques for shutter speed and Auto ISO.
Setting the Scene: Overcoming Wildlife Photography Challenges
The tranquility of my backyard often gave way to the unexpected thrill of a field encounter. My Grandad Bill always said to change one setting at a time. This simple advice became my calm workflow amidst the chaos of nature.
Bright skies can dazzle the eyes, while shaded animals hide in the underbrush. Tangled vegetation and reflective water can distort what I see. These elements can make my camera’s record look different from my visual impression.
Carol Leather’s framework prioritizes motion, separation, and brightness. This approach serves as a decision tree, whether I’m in U.S. parks, Australian wetlands, or suburban birding spots. Keeping brief notes about my chosen settings helps me identify useful patterns over time.
After all, wildlife rarely waits politely while I debate every dial like it’s a committee meeting! A quick adjustment can mean the difference between a missed shot and a memorable capture.
| Condition | Challenge | Solution |
|---|---|---|
| Bright Skies | Overexposure | Lower ISO |
| Shaded Animals | Underexposure | Increase Aperture |
| Tangled Vegetation | Distracting Background | Use Shallow Depth of Field |
| Reflective Water | Glare | Adjust Angle |
Understanding Wildlife Photography Camera Settings
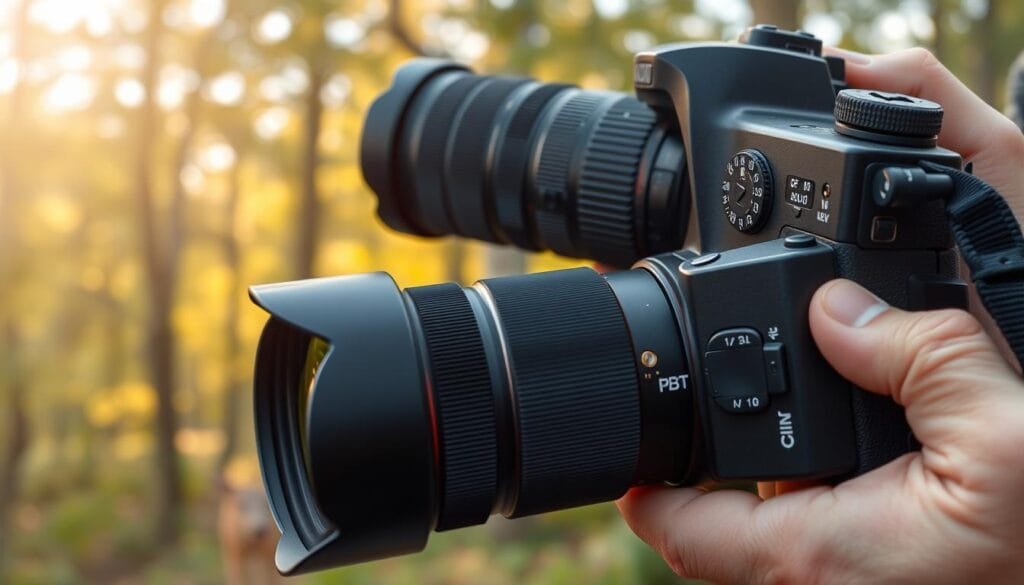
In the quiet moments before dawn, I often ponder the art of capturing fleeting scenes. The relationship between shutter speed, ISO, and aperture forms the exposure triangle, essential for every photographer. Shutter speed controls motion blur, while aperture shapes light and depth. Meanwhile, ISO amplifies the light to support both choices.
When dealing with calm subjects, I often reference Leather’s recommended range of 1/250 to 1/500 seconds. This is comparable to a general wildlife range of 1/400 to 1/1,000 seconds. However, understanding the subject’s behavior is crucial; it’s not just about numbers.
For instance, I once photographed a kingfisher at ISO 2,000 on a murky morning at Paxton Pits. Accepting some visible noise allowed me to capture a moment that a cautious ISO choice might have lost. The right aperture also affects background separation, especially with a long lens or a near subject.
Choosing between aperture priority, shutter priority, and manual mode with Auto ISO is essential. Each mode protects different creative decisions in rapidly changing situations. Always check your exposure using your eye, histogram, and highlight warnings instead of relying solely on the rear screen.
| Setting | Recommended Range | Purpose |
|---|---|---|
| Shutter Speed | 1/250 – 1/500 | Calm subjects |
| Shutter Speed | 1/500 – 1/1,000 | Feeding or moving subjects |
| ISO | 2,000 | Low light conditions |
| Aperture | Wide (f/2.8 – f/5.6) | Shallow depth of field |
Mastering Shutter Speed for Fast-Moving Subjects
To freeze a moment in time, mastering shutter speed is essential. When dealing with fast-moving subjects, I rely on specific numerical starting points to guide my settings. For instance, I typically set my shutter speed between 1/1,600 and 1/2,500 for running animals. This range helps to capture the dynamic motion without blur.
For birds in flight, I might increase the speed to 1/3,200 to 1/4,000, sometimes even 1/5,000. I recall using a shutter speed of 1/1,600 to photograph a bathing robin, which allowed me to capture individual water droplets. A slightly slower speed could have preserved wing movement but would risk losing detail.
Starting with a faster shutter speed is wise when the animal’s behavior is unpredictable. As I gain confidence in their movements, I may lower the speed for a more atmospheric effect. It’s also important to note that animals approaching the camera often require faster speeds than those moving sideways. This is due to the challenges of autofocus tracking and focus placement.
Utilizing continuous autofocus, short bursts, and a stable panning posture are techniques that complement shutter speed adjustments. Each plays a vital role in ensuring I capture the moment effectively.
Optimizing Aperture for Depth and Subject Isolation
When I focus on depth and isolation, I realize how crucial aperture settings can be. For instance, Carol Leather used f/7.1 to keep a robin crisp against a messy field background. This example illustrates that background control comes from both aperture and positioning, not merely from opening the lens as wide as possible.
Using f/2.8 or f/4 can beautifully isolate a subject, but these settings can leave the beak, eye, and body vulnerable when the animal is angled toward the camera. Thus, it’s essential to consider the angle of the subject when selecting these apertures.
For sequences of approaching wildlife, I find f/5.6 and f/6.3 to be useful middle-ground choices. They provide a little more focus tolerance, allowing for a greater chance of capturing the subject sharply.
In wide scenes featuring elephants or giraffes, using f/8 or higher helps retain environmental context. This is crucial for conveying the habitat and scale of these magnificent creatures.
Before sacrificing shutter speed solely to achieve a softer backdrop, I recommend changing position, increasing distance behind the subject, and simplifying the background. These adjustments can often yield better results than merely adjusting the aperture.
Leveraging Auto ISO and Modern Noise Reduction
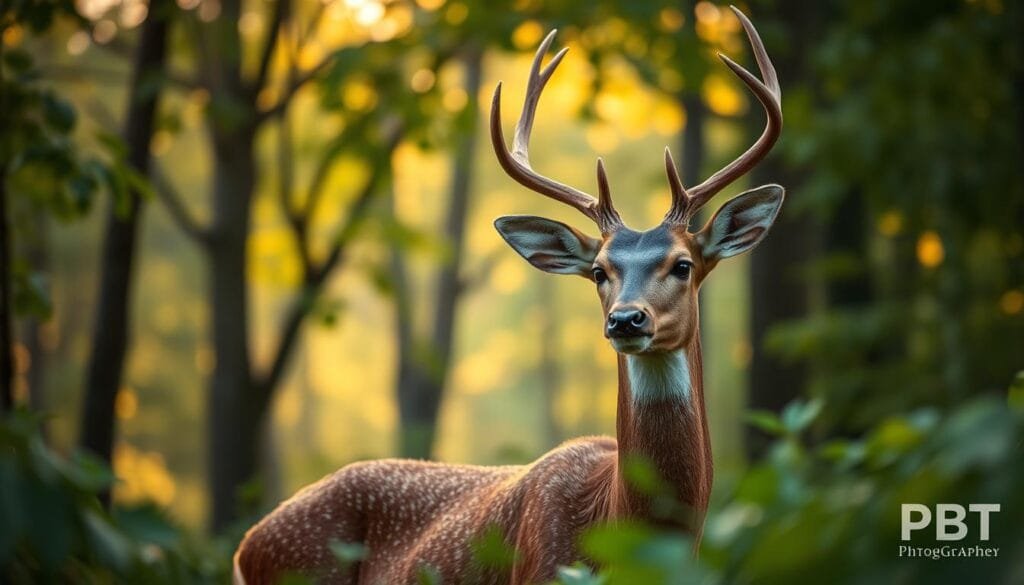
Capturing images in low light often feels like a delicate dance with my camera. Using Manual mode with Auto ISO is a game-changer. I select the shutter speed and aperture manually, allowing the camera to adjust the ISO as lighting conditions shift. This setup helps me stay responsive to changes in light, whether it’s clouds passing by or the transition from shade to sunlight.
For my Canon R5 and R3, I set a maximum ISO of 25,600. This limit ensures I can capture detail without excessive noise. If a scene appears too dark or bright, I use exposure compensation to maintain the desired depth and motion-freezing settings.
Modern noise reduction techniques enhance images shot at high ISO levels. A properly exposed ISO 20,000 file often responds better to denoising than an underexposed lower-ISO file. However, I must monitor the Auto ISO closely. Bright backgrounds, dark animals, and reflective water can mislead the camera’s metering system.
Quick Answer for Reactive Wildlife Shots
To seize those spontaneous moments, knowing how to adjust settings quickly is crucial. For walking mammals, aim for a shutter speed of approximately 1/500. For running animals, increase it to 1/1,000-1/2,000. When photographing birds in flight, set your speed between 1/1,600-1/3,200.
Choose an aperture like f/5.6 for additional focus tolerance, while a wider aperture is ideal for separation and low light. Use Manual exposure with Auto ISO to adapt to changing conditions, and remember to set a maximum ISO to avoid noise.
A sharp, noisy frame is often more valuable than a blurry, technically clean one when the behavior cannot be repeated. These quick adjustments can lead to remarkable captures.
Practical Photography and Studio/Setup Tips
Every outing presents a new opportunity to refine my approach to capturing images. Preparation is key, especially when it comes to outdoor setups and controlled environments. Before heading out, I recommend setting up custom modes, adjusting autofocus behavior, and configuring drive settings. This way, I spend less time navigating menus when action unfolds.
Utilizing high-speed continuous drive is essential. I often follow Sartori’s practice of using it about 90 percent of the time. This technique encourages short, intentional bursts rather than indiscriminate spraying, which can lead to unnecessary sorting work later.
Creating a controlled setup can also be beneficial. By using a perch, birdbath, or a known wildlife route, I can safely compare shutter speed, aperture, and ISO changes before an important trip. This practice helps build confidence and consistency.
As for adjustments on the fly, if my camera cannot maintain shutter speed at the chosen aperture, I open the aperture slightly before raising ISO. Alternatively, I may raise ISO before accepting motion blur. For instance, Leather’s settings for a hare at 400mm, using f/5.6, 1/1,000, ISO 1,000, and +2/3 EV, serve as a realistic starting point rather than a one-size-fits-all recipe.
| Tip | Advice | Example |
|---|---|---|
| Custom Modes | Prepare before entering the field | Set autofocus and drive settings |
| High-Speed Continuous | Use 90% of the time | Short bursts for action |
| Controlled Setup | Use known routes or perches | Compare settings safely |
| Substitution Tip | Open aperture before raising ISO | Adjust for motion blur |
Real-World Examples and Field Scenarios
Every encounter with an animal in the wild presents a new challenge and opportunity. For instance, Carol Leather captured a puffin in strong winds using settings of 1/1,250, f/9, and ISO 200. This example illustrates how abundant light can support both high shutter speed and useful depth.
Another scenario involved Leather using a 600mm lens from a hide at f/11, 1/800, and ISO 6,400. Here, the subject’s movement justified a higher ISO to ensure clarity.
In low light, I recall photographing a kingfisher at Paxton Pits at ISO 2,000 on a murky morning. This decision prioritized capturing the moment over maintaining a low ISO number.
Lastly, comparing Sartori’s dusk springboks at ISO 20,000 with Leather’s backlit hare at 1/3,200 shows how behavior and background brightness alter priorities in the field.
Remember to always practice ethical behavior: avoid using flash where it may disturb animals, let them determine the distance, and stop repositioning if they show signs of stress.
Enhancing Images with Post-Production Techniques
In the realm of digital imaging, post-production can transform a good shot into a great one. One of the most effective tools at our disposal is Lightroom AI Denoise. This software can significantly reduce luminance noise in high-ISO files while preserving the detail that motivated the faster shutter choice.
Photographer Paolo Sartori has noted that when comparing Lightroom with Capture One, he found that Adobe’s software produced stronger results. However, it’s essential to remember that properly exposed files retain more useful signal beyond the noise floor. Thus, making sound exposure decisions in the field is crucial.
Sartori emphasizes that denoising cannot reliably restore clipped white fur, blown skies, or severe motion blur. This makes exposure and shutter decisions even more important than software rescue. I recommend processing a correctly exposed high-ISO RAW file before applying sharpening or aggressive cropping. Excessive enhancement can make noise more visible.
To connect post-production to field technique, always protect highlights and inspect your histogram. Retaining the original RAW file allows for later software improvements, ensuring that your hard work in the field pays off in the editing room.
Additional Wildlife Photography Tips for U.S. Photographers
The varied environments of the U.S. inspire me to adapt my approach to each unique scene. Whether I’m in wetlands, prairies, forests, or coastal parks, understanding local conditions is vital. These principles also apply to Australian subjects like kangaroos and wallabies.
Before traveling, I encourage photographers to practice with familiar local subjects. Observing robins or kingfishers can teach valuable technical skills. They serve as excellent teachers in the art of capturing fleeting moments.
It’s crucial to check how my camera behaves in different lighting conditions, such as shade or backlight. Establishing a reliable personal baseline is far more beneficial than merely copying another photographer’s ISO limit.
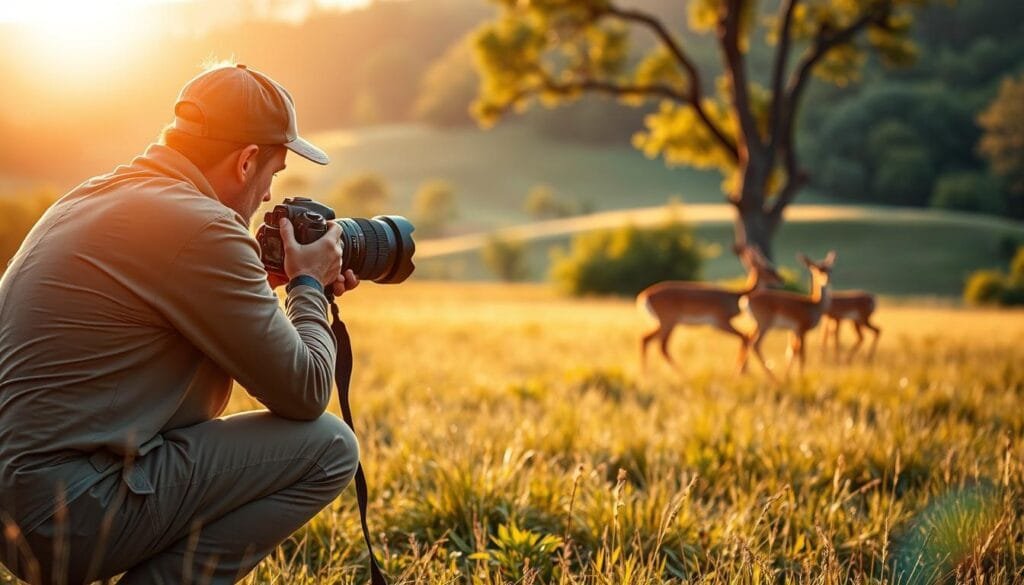
Remember, maintaining an ethical distance and moving calmly is essential. This approach protects the subject, especially when animals like birds or deer react to my presence.
For more practical guides, I gently point readers toward the PBT photography category. This article focuses on responsive settings rather than equipment shopping, ensuring you’re prepared for every moment.
Final Reflections and Takeaways: Send This to a Friend
Reflecting on my experiences, I find that every moment in the field offers valuable lessons. As I conclude this guide, here are five key takeaways:
- Protect shutter speed: Always prioritize a fast shutter to capture movement.
- Use aperture deliberately: Choose your aperture based on the desired depth and isolation.
- Treat ISO as flexible: Adjust ISO to maintain exposure without fear of noise.
- Validate exposure: Regularly check your exposure settings for accuracy.
- Let ethical fieldcraft guide the encounter: Respect the subject and environment during your sessions.
Remember, sharp noise is often better than blur when a moment won’t repeat. Following Leather’s advice, change one setting at a time to streamline your workflow.
FAQs:
- What is a good starting shutter speed? Aim for 1/500 seconds for moving subjects.
- How does Auto ISO work? It adjusts ISO automatically based on lighting conditions while you set shutter speed and aperture.
- Is high ISO always bad? No, it can be beneficial in low light; just manage noise in post-processing.
- What aperture should I use for depth? Use f/5.6 for a balance between depth and subject isolation.
Send this to a friend who keeps lowering ISO just when the wildlife starts moving.
FAQ
What shutter speed should I use for capturing fast-moving animals?
How can I improve my shots in low light conditions?
What is the best aperture for wildlife photography?
Should I use autofocus or manual focus for wildlife shots?
How do I reduce motion blur in my images?
What are some tips for photographing birds in flight?
How do I handle noisy images after shooting at high ISO?
What should I consider when choosing a lens for wildlife photography?
How can I adapt my settings quickly in changing environments?
What are some common mistakes to avoid in wildlife photography?
Struggling to get consistent photography clients?
Get More Photography Clients