
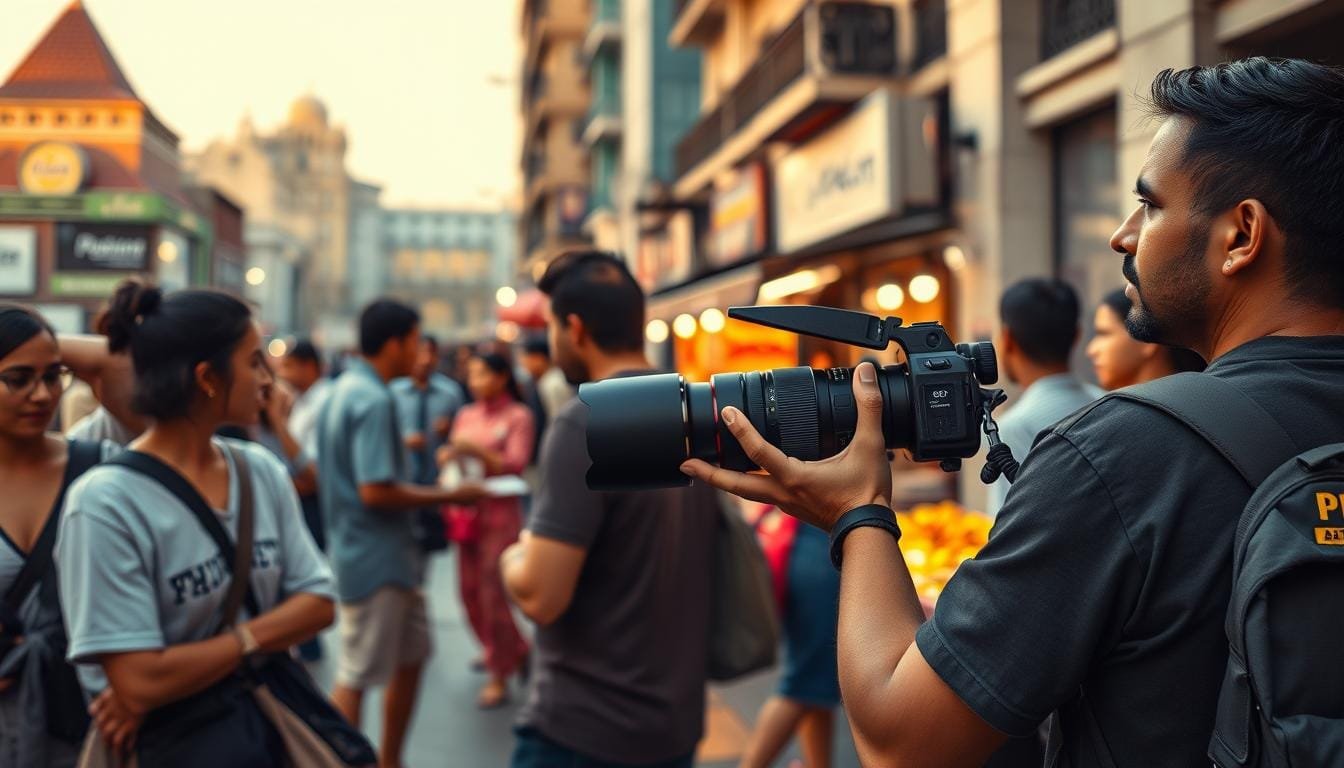
As I wandered through the bustling streets of London, a moment caught my eye. A stranger, lost in thought, paused just as the golden light bathed the scene. My heart raced. Would I capture this fleeting moment or let it slip away? I felt the familiar freeze that many photographers experience when faced with a compelling subject. But then, I remembered my commitment to capturing life as it unfolds.
With my lighter gear in hand and faster settings dialed in, I took a deep breath. I stepped closer, focusing on the interplay of light and shadow. This was not just about taking a photo; it was about documenting the essence of everyday life. My journey in this art form has taught me that each moment holds a story, waiting to be told through the lens.
Over the past decade, I’ve embraced this challenge, transitioning from a side hustle to a full-time passion. Moving from Canada to London, I dedicated myself to capturing the vibrant life around me. This guide is crafted from my experiences, offering practical insights to help you confidently document your own moments.
Key Takeaways
- Street photography allows you to document everyday life.
- Lightweight gear and fast settings enhance your shooting experience.
- Focus on capturing genuine moments with your subjects.
- Practice low-pressure walks to improve your confidence.
- Every image tells a story; pay attention to your surroundings.
Introduction: Embracing the Challenge of Candid Street Photography
Amidst the chaos of urban life, a single glance revealed a story waiting to be captured. Many photographers, including myself, often face challenges when approaching strangers. I remember feeling awkward and trying to shoot discreetly, which sometimes affected the quality of my images.
Identifying common pain points can help you improve your skills. Hesitation, missed focus, flat light, cluttered frames, and fear of being noticed are common issues for beginners. However, you can overcome these hurdles with practice and patience.
Quick Answer: To enhance your candid shooting, choose a small camera setup, preset a fast shutter speed, find good light, and practice waiting for the right moment. Henri Cartier-Bresson’s concept of the “decisive moment” emphasizes the importance of aligning light, background, and subject, often requiring you to wait for 5, 10, or even 15 minutes.
Key Takeaways for Immediate Practice
- Travel light to enhance mobility.
- Pre-set exposure settings for quick adjustments.
- Watch the edges of your frame to avoid distractions.
- Respect your subjects and their space.
- Review your images after each walk to learn and improve.
Setting Up Your Camera and Gear for Urban Adventures
Navigating the vibrant urban landscape, I found myself considering the best gear for capturing spontaneous moments. Choosing the right camera can make a significant difference in your experience. For discreet shooting, I often rely on the Fujifilm X100V. This compact camera is perfect for blending into the crowd while still delivering stunning images.
On the other hand, my primary setup includes the Canon R5 paired with an RF 24-70mm f/2.8 lens. While larger, it offers exceptional versatility. Both setups can produce striking results, but the choice depends on your comfort and willingness to explore.
When it comes to lenses, I recommend using a 35mm or 50mm prime lens. These focal lengths help you visualize composition before raising the camera. If you find yourself in crowded spaces or feeling fatigued, consider switching to a 50mm f/1.8 lens. This small, high-quality option is easy to carry and perfect for discreet shooting.
Before heading out, check your batteries, clear your memory cards, and prepare one spare lens. Avoid overloading yourself with gear; simplicity can lead to better focus on your subject.
Mastering street photography techniques
Amid the rhythm of daily life, a striking moment caught my attention and urged me to click. Mastering focusing methods is crucial for capturing spontaneous shots effectively. One reliable method is zone focusing. This technique involves manually pre-focusing your lens to about 8-10 feet. When a subject enters this sharp zone, you can quickly release the shutter.
Using an aperture between f/8 and f/16 enhances depth of field, allowing for better focus in fast-paced scenes. However, it requires practice and awareness of distance to achieve the best results.
On the other hand, shooting from the hip can be an exciting experiment. This method involves aiming and capturing images while walking, but it can lead to inconsistent focus and framing. To improve this technique, wrap the camera strap around your wrist and hold the camera at a 45-degree angle. This keeps it ready without being overly visible.
As a practice exercise, walk one block while pre-focusing at a set distance. Compare the hip-shot frames with those taken through the viewfinder. This will help you understand the strengths and weaknesses of each approach.
Harnessing Natural Light and Urban Shadows
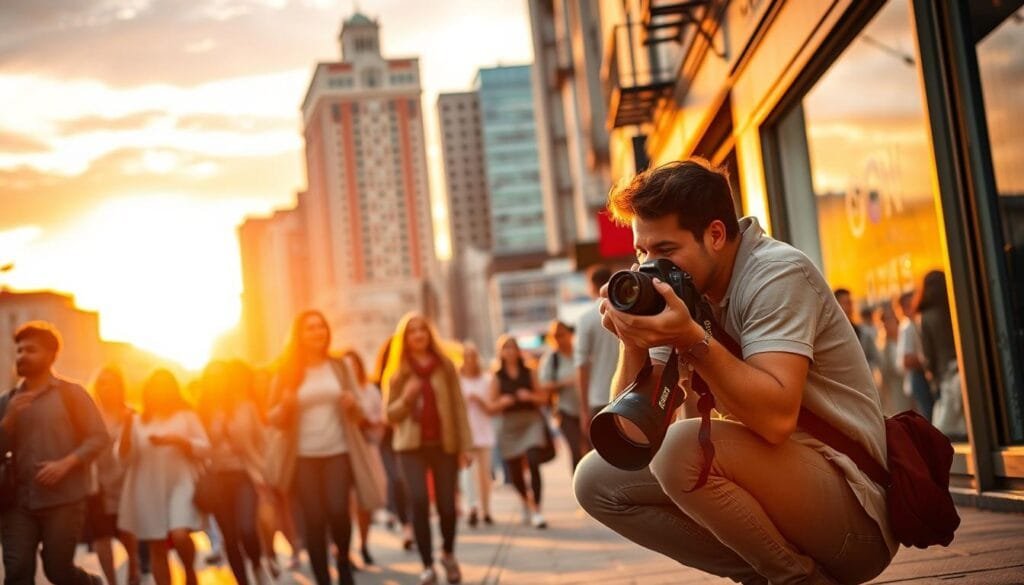
While exploring vibrant cityscapes, I’ve learned that natural light plays a crucial role in capturing compelling images. Understanding how light interacts with your surroundings can elevate your photography. Look for directional light and shadows, as they create depth and texture in your shots.
For instance, I once witnessed a sudden rain shower in Brisbane. Strangers opened their umbrellas in unison, creating a layered moment filled with emotion. This unexpected scene highlighted how weather can synchronize people, making for a powerful photograph.
Backlighting and deep shadows can add drama to your images. However, be cautious; flat lighting can weaken even the most interesting subjects. As the sun sets, the blue hour offers a unique opportunity. This period, just after sunset, casts a rich blue hue across the sky, enhancing your photos.
When venturing out at night, prioritize safety. Stick to well-lit areas and use a higher ISO setting to maintain clarity. A steady hand is essential, so practice holding your camera firmly. Bright storefronts can provide excellent lighting without venturing into risky locations.
Framing and Composing Candid Moments
In the heart of the city, I often find that a single moment can reveal layers of meaning. Understanding composition is key to capturing these fleeting instances. By applying the rules of thirds and leading lines, you can create images that tell a richer story.
The rules of thirds can help position a subject off-center, allowing for the surrounding urban environment to enhance the narrative. For example, a face or gesture placed away from the center can draw attention to the context in which it exists.
Leading lines from sidewalks, windows, and vehicles guide the viewer’s eye toward the focal point of your image. In Bangkok, I captured a son’s face reflected in a motorcycle mirror, showcasing how framing within reflective surfaces adds depth and layers to a photograph.
Instead of chasing every subject, consider pre-composing a scene and waiting for someone to enter it. This approach can lead to more impactful images. Remember, a strong candid frame may even include an accidental obstruction, provided it enhances the visual tension.
| Composition Technique | Description | Example |
|---|---|---|
| Rules of Thirds | Position subjects off-center for a balanced composition. | Subject placed on one-third line with surrounding context. |
| Leading Lines | Use natural lines to direct attention. | Sidewalks leading to a subject. |
| Reflective Framing | Utilize mirrors or glass for added depth. | Reflection of a person in a motorcycle mirror. |
Expressing Yourself Through Body Language and Interaction
As I strolled through lively public spaces, I discovered that my demeanor could either invite or deter engagement. Relaxed shoulders, an open stance, and an unhurried pace can make a photographer seem less threatening. This is crucial in crowded settings where people may feel uneasy.
Understanding the difference between candid moments and requested portraits is vital. When you ask someone for a portrait, it alters the relationship between you and your subject. This change can lead to more intimate and meaningful images.
When approaching someone, a smile, simple hand gestures, or a polite verbal request can break the ice. In Cuba, I found that dancing with a local or buying food from a vendor created a connection that made it easier to ask for a photo. These interactions lower barriers and foster trust.
Always respect your subject’s wishes. If someone declines your request, accept it immediately without argument or pressure. This respect for personal boundaries is essential in building rapport and ensuring a positive experience for both parties.
Quick and Effective Photography Tips for Fast-Paced Streets
In the bustling heart of the city, every corner holds a potential moment waiting to be captured. To seize these fleeting instances, your camera settings must be on point. Start with a shutter speed of 1/250 second for ordinary movement. If the scene features runners or cyclists, increase it to 1/500 second for sharper images.
Utilizing Auto ISO can be a game-changer. Allow it to rise to approximately 6400 to maintain your shutter speed as lighting conditions change. For optimal results, consider these starting ISO points: 400 in sunlight, 800 in light shade, 1600 in dark shade, 3200 at dusk, and 6400 at night.
To enhance stability, practice a quick stutter-step: pause briefly in your stride to stabilize your camera before shooting. This technique helps capture the moment without a theatrical pause. Always keep your camera powered on and lens cap off when entering an active area. Remember, some grain is acceptable when timing is crucial.
Studio and Setup Tips for Controlled Street Portraits
Amid the bustling environment, I found ways to capture striking portraits without a formal studio. Creating a mini-studio in urban settings can be surprisingly effective. You can use a quiet wall, a shaded doorway, or a reflective storefront to achieve this.
During a recent fashion shoot in Brisbane, our stylist canceled at the last minute. This experience taught me the importance of having a wardrobe backup, a reliable contact list, and alternative locations. It’s crucial to have a realistic timetable for such situations.
Before taking portraits, always check for bright distractions in the background. Take a few test exposures to ensure the lighting is consistent. Position your subject where the available light remains steady for the best results.
Using a small prime lens simplifies posing and movement, especially in crowded areas. This approach allows you to work effectively without lugging around a full lighting kit. Remember, controlled portraits can still convey a sense of spontaneity.
The first source photographer, who started with this approach, later showcased their work at London Fashion Week. This evolution illustrates how controlled setups can lead to remarkable outcomes while maintaining a distinct style.
| Setup Element | Function | Example |
|---|---|---|
| Quiet Wall | Acts as a backdrop for portraits. | Simple wall with neutral color. |
| Shaded Doorway | Provides soft, diffused light. | Entryway with overhang. |
| Reflective Storefront | Adds depth and interest. | Mirror reflection of the subject. |
Overcoming the Fear of Capturing Strangers
In the crowded atmosphere of urban life, I once found myself hesitating to approach unfamiliar faces. This fear often felt like a barrier, preventing me from capturing genuine moments. However, I learned that overcoming camera shyness is a skill that can be developed.
Initially, I avoided approaching strangers. But as I practiced with a wide 28mm lens, I found myself more comfortable engaging with subjects. This lens encouraged closer interactions, transforming my fear into confidence.
When someone asks if they were photographed, I respond calmly. I explain the project and offer to share or delete the image if they prefer. This respectful approach often eases any tension.
Over 15 years of frequent shooting, I’ve only encountered one or two uncomfortable situations. It’s important to remember that local laws regarding photography vary. I recommend starting in busy public areas, photographing architecture first, and gradually moving towards brief, respectful interactions as your confidence builds.
Creative Techniques for Unique Urban Narratives
In the hustle and bustle of city life, I discover intriguing stories waiting to be told. To truly capture the essence of urban experiences, I encourage you to experiment with unusual subjects. For instance, a Brisbane bubble performer can create a whimsical juxtaposition that adds depth to your narrative.
Building a visual series around repeated patterns, gestures, or expressions observed across cities like Tokyo, Hanoi, Brisbane, and London can be enlightening. This approach helps in developing a cohesive story that resonates with viewers.
Additionally, I’ve found that mounting a GoPro on my Canon R5 allows me to record a first-person photo walk. This setup is perfect for creating video content or Shorts while still focusing on capturing still images.
Studying influential photographers like Greg Girard and Fred Herzog can enhance your understanding of long-term visual ideas and color relationships. Their work emphasizes the importance of documentary consistency beyond fleeting social media trends.
Remember, even unusual or imperfect photographs can become meaningful when grouped into a sequence with a clear emotional or geographic thread.
| Creative Approach | Description | Example |
|---|---|---|
| Unusual Juxtapositions | Seek out unexpected subjects to enhance narratives. | Brisbane bubble performer. |
| Visual Series | Build stories around patterns and gestures. | Expressions in Tokyo. |
| Video Integration | Record photo walks for dynamic content. | GoPro on Canon R5. |
Exploring Low-Angle and Diagonal Perspectives
Every shift in perspective can transform an ordinary scene into something extraordinary. Utilizing low-angle and diagonal compositions can enhance your visual storytelling. These deliberate choices allow for a more dynamic presentation of your subjects.
A low camera position can elongate a person, emphasizing movement and helping them fill the frame without needing a long lens. This technique creates a sense of grandeur and draws the viewer’s eye directly to the subject.
A slight diagonal angle can inject energy into your images. It allows the viewer’s eye to move fluidly between the subject and the surrounding architecture, adding depth to the narrative. For instance, a Bangkok motorcycle reflection beautifully combines foreground structure with human expression.
Before using these angles with moving subjects, test them on stationary architecture. This practice will help you master timing and framing, which become less forgiving with action. Remember, a low or diagonal perspective should enhance the story rather than serve as a mere visual trick.
Integrating Advanced Camera Settings for Crisp Images
While capturing the vibrant energy of the city, I realized the importance of mastering my camera settings. Achieving sharp images requires a careful balance of ISO, aperture, and shutter speed. I recommend starting with a baseline shutter speed of 1/250 second. For more energetic scenes, increase it to 1/500 second.
Using Auto ISO can be invaluable, especially when lighting conditions change quickly. This setting may rise to around 6400 in darker environments. For optimal depth of field, zone focusing typically uses apertures between f/8 and f/16, allowing for better focus on moving subjects.
When tracking a subject in motion, I find that continuous autofocus works best. However, if discretion is necessary, zone focusing allows for anticipation and preparation. Remember, while my main setup is a Canon R5 with an RF 24-70mm f/2.8 lens, the brand doesn’t define the quality of your images.
Reflecting on Your Work and Evolving Your Style
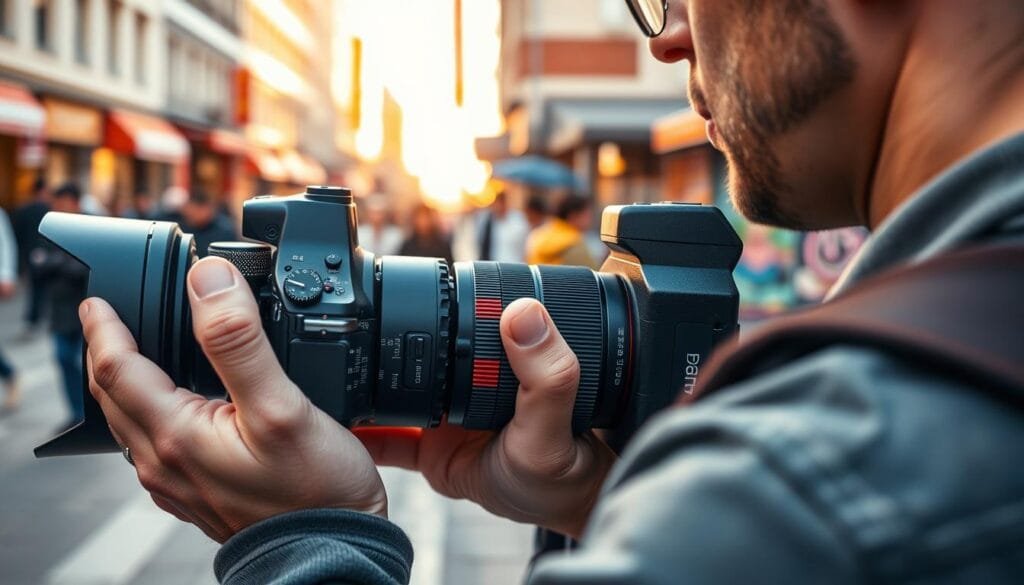
In the quiet moments after a shoot, I realize how important it is to assess my images. Reviewing each photo walk soon after returning helps me separate technically weak frames from those that contain genuine emotional or narrative potential. This practice allows me to learn from my experiences and grow as a photographer.
As I group photographs by feeling, location, recurring gestures, or light, patterns emerge naturally. This approach prevents me from forcing a style too early in my journey. For instance, my one-year project in London, documented in “Street Photography London: One Year Walking the City,” revealed a coherent body of work through sustained practice.
Constructive feedback is invaluable. Communities like Framelines offer a supportive environment for sharing work and receiving insights. I also found inspiration in Paulie B.’s “Walkie Talkies” series, which helped refine my perspective.
Engaging with others fosters community learning and enhances my skills. If you’re interested in expanding your knowledge, consider exploring our guide on black-and-white photography for more insights.
| Review Habit | Benefit | Example |
|---|---|---|
| Post-Walk Review | Identifies strengths and weaknesses. | Separating emotional images from technical flaws. |
| Grouping Photos | Reveals patterns in work. | Organizing by location or gesture. |
| Seeking Feedback | Enhances learning through community. | Engaging with Framelines. |
Final Thoughts: Capturing the Essence of Everyday Life
In the quiet moments after a shoot, I realize how important it is to assess my images. Summarizing the workflow is essential: travel-light preparation, fast exposure settings, deliberate observation, respectful interaction, patient composition, and regular review.
The Fujifilm X100V and Canon R5 showcase two effective approaches, highlighting that camera brands ultimately come down to personal preference.
- Does street photography require permission? Yes, always consider local laws and practice respectful consent.
- Which focal length should I start with? A 35mm or 50mm lens is ideal for beginners.
- Is shooting from the hip reliable? It can be hit-or-miss, so practice is key.
- What shutter speed suits moving subjects? Aim for 1/250 second or faster for best results.
Send this to a friend who keeps spotting great moments but never carries a camera.
References: Henri Cartier-Bresson, Greg Girard, Fred Herzog, Paulie B., Framelines, James Maher, Jaymes Dempsey.
Stay focused,
Ray Baker.