
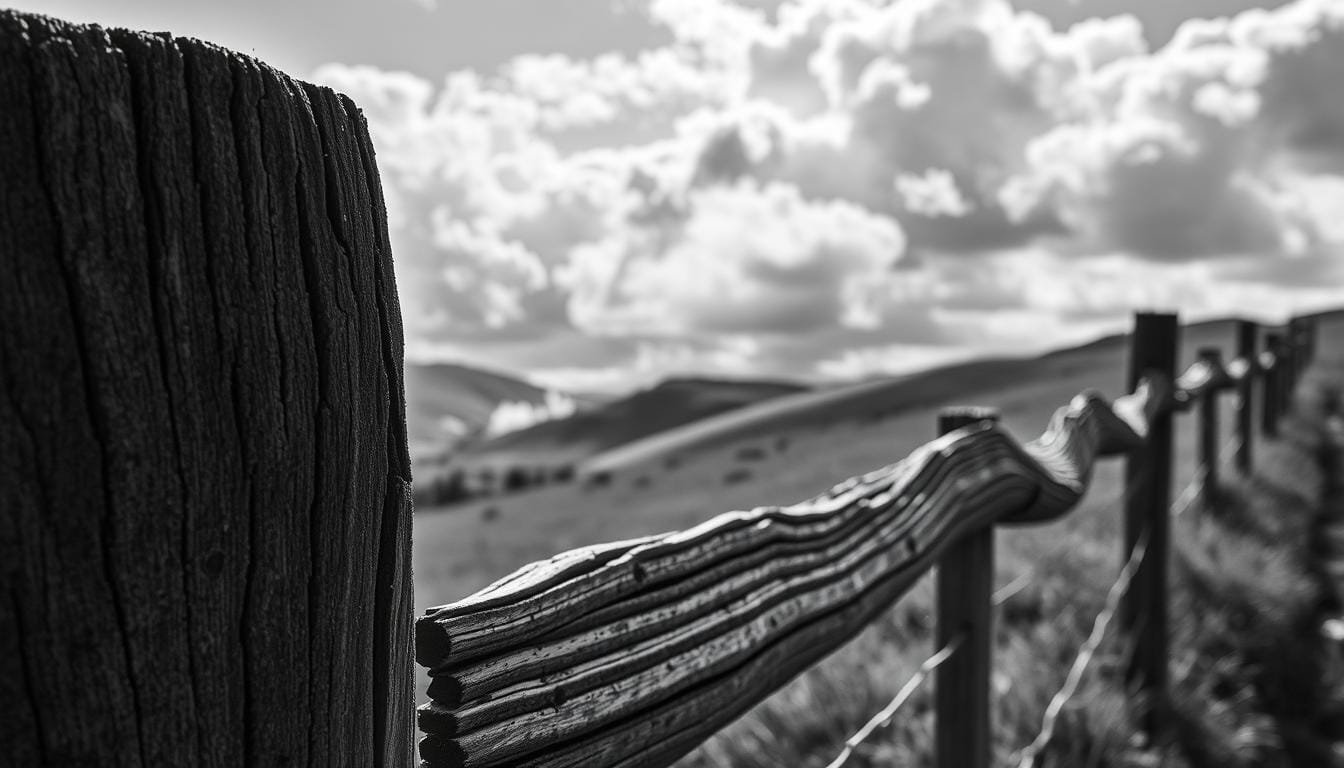
As a photographer, I often find myself in a vibrant scene, filled with color and life. Yet, when I glance through my camera, the image can turn flat and lifeless. This common frustration is something many of us face. How can we capture the beauty we see without losing its essence? The answer lies in understanding black and white photography techniques.
These methods allow us to visualize tonal relationships, shape, and contrast before pressing the shutter. Instead of rescuing a lackluster frame in post-processing, we can make informed decisions while shooting. One helpful tip is to set your digital camera to a monochrome preview while recording in RAW. This way, you retain the original color data for later editing.
Reflecting on my early days with film, I realize how a limited medium can sharpen visual discipline. Today’s digital cameras make experimentation easy and affordable. With the right approach, you can transform your images into striking black and white photos that truly resonate.
Key Takeaways
- Visualizing tone and contrast is crucial before shooting.
- Using monochrome preview helps in assessing tonal relationships.
- Recording in RAW preserves color data for flexible editing.
- Experimentation is easier with modern digital cameras.
- Understanding visual discipline enhances photography skills.
Addressing the Common Challenges in Black & White Photography
Capturing images in monochrome can often present unique challenges. Many photographers encounter issues like flat in-camera JPEGs, confusing midtones, clipped highlights, and buried shadows. These obstacles can hinder the learning process when shooting in monochrome.
To overcome these issues, consider the advantages of shooting in RAW format. RAW files contain more information for lifting shadows and recovering highlights than JPEG files. However, it’s essential to be cautious, as a grossly overexposed RAW file can still lead to veiled highlights that no editing slider can fully repair.
Using a histogram is crucial. It helps avoid unnecessary clipping at both ends of the exposure spectrum. A deliberate exposure decision can boost your confidence, contrasting with the risky habit of assuming monochrome will automatically improve a poorly structured subject.
For a practical demonstration, compare a flat default JPEG with a carefully processed RAW conversion from the same camera position. This exercise can reveal the significant differences in quality and detail.
| Challenge | Solution | Notes |
|---|---|---|
| Flat JPEGs | Shoot in RAW | More editing flexibility |
| Confusing midtones | Use a histogram | Avoid clipping |
| Buried shadows | Adjust exposure settings | Focus on shadow detail |
The Timeless Appeal of Monochrome: A Personal Journey
In my journey as a photographer, I discovered a profound connection with monochrome images. Growing up, I often turned to black and white film because it was affordable and accessible. It was the practical choice for a school kid eager to explore the world through a camera.
The absence of color in these images creates a unique mood and draws attention to shapes and light. It allows me to concentrate on the essence of the scene without distractions. However, I want to emphasize that choosing monochrome is a creative option, not a universal upgrade.
Through my exploration, I found inspiration in the works of great photographers like Ansel Adams and Henri Cartier-Bresson. Their mastery in capturing emotion and detail in monochrome encouraged me to experiment with my toy and pinhole cameras. You don’t need an expensive setup to create impactful images.
Monochrome can enhance many genres, but not every color image translates well. For those interested in expanding their skills, consider the broader world of photography techniques beyond just monochrome.
Understanding the Role of Tone, Shape, and Contrast
Every photograph tells a story, and understanding the elements of tone, shape, and contrast can enhance that narrative. These components are vital in creating impactful monochrome images.
First, let’s explore tonal nuances. Tone is the gradual shift from black through gray to white. It is essential in defining the subject’s presence. Contrast separates a subject from its surroundings, allowing the viewer to focus on what matters without the distraction of color.
Next, consider texture. I recommend getting close to various surfaces, such as rocky terrain, wood, or even fabric. These textures reveal intricate details through small shadows, adding depth to your images.
Shapes also play a crucial role. For instance:
- Circles can suggest movement.
- Rectangles and squares convey stability.
- Lines can guide the viewer’s eye.
- Triangles may indicate a pointed destination.
For practical reference, using a Nikon D700 with a 90mm lens at 1/50 second, f/3.2, and ISO 800 can yield excellent results when exploring these elements. Always inspect whether texture, shape, and tonal contrast remain visible after conversion to ensure a compelling final image.
black and white photography techniques
Exploring the art of monochrome can reveal powerful storytelling elements. Mastering high contrast settings is essential for creating striking images. It’s important to apply these settings selectively, focusing on bold architecture, graphic street scenes, and textured subjects. This approach helps maintain enough midtone information to retain depth.
For instance, consider the Nikon Z7, which I used at 1/3200 second, f/4.5, and ISO 400 in bright, contrasty light. This setting effectively captured the scene’s intensity. In contrast, the Nikon D3s at 1/30 second, f/5.6, and ISO 800 transformed dull morning light into a moody monochrome opportunity.
When enhancing shadows and highlights, be cautious. Recovering these elements sparingly helps preserve strong contrast. A monochrome picture mode can assist in previewing tonal relationships, but relying on a RAW file is a safer option for later adjustments.
| Camera Model | Settings | Light Condition |
|---|---|---|
| Nikon Z7 | 1/3200 sec, f/4.5, ISO 400 | Bright, contrasty |
| Nikon D3s | 1/30 sec, f/5.6, ISO 800 | Dull morning |

Choosing the Right Equipment and Camera Settings
Choosing the right gear can make a significant difference in capturing stunning monochrome images. The debate between RAW and JPEG formats is essential for any photographer. RAW files offer maximum control, preserving color-channel information for later tonal separation. In contrast, JPEG-only monochrome eliminates the option to manipulate colors during editing.
Shooting in RAW while also capturing monochrome JPEGs gives you the best of both worlds. You can preview your image in black and white while retaining a flexible source for adjustments. However, this approach does require more storage space.
Filters can also enhance your monochrome shots. Traditional options like yellow, orange, and red filters help control blue skies and improve tonal separation. A 0.6 soft graduated neutral-density filter provides about two stops of control, balancing bright skies with darker foregrounds. Remember, a polarizer is most effective when positioned 90 degrees from the sun, though ultra-wide lenses may cause uneven polarization.
Leveraging Post-Processing to Elevate Your Images
In the world of monochrome images, post-processing plays a vital role in enhancing visual storytelling. Using software like Adobe Lightroom can dramatically improve your black white photos. Here’s a streamlined workflow to help you get started.
Begin in Lightroom by selecting the Black & White treatment. Then, use the Red, Orange, Yellow, Green, and Blue sliders to separate similar brightness values. This step is crucial for achieving depth and texture in your images.
Essential Editing Techniques in Adobe Lightroom
- Adjust Exposure first while monitoring the histogram.
- Refine Contrast, Clarity, Blacks, Shadows, and Whites in measured stages.
- Access Lightroom’s Adjustment Brush with the K shortcut for local adjustments.
- Use a restrained vignette to guide the viewer’s eye.
- Avoid excessive clarity or contrast, which can make images appear overly processed.
For a practical demonstration, consider using one original color RAW file. Show the neutral conversion, channel mix, local adjustment, and final tonal check. This approach will highlight the transformative power of editing in your monochrome photography journey.
| Editing Step | Tool/Adjustment | Purpose |
|---|---|---|
| Initial Treatment | Black & White Mix | Separate brightness values |
| Exposure | Histogram Monitoring | Ensure balanced light |
| Local Adjustments | Adjustment Brush (K) | Refine specific areas |
Essential Photography Tips for Stunning Monochrome Shots
To create impactful monochrome photos, one must appreciate the subtle play of light and shadow. Here are some practical tips to enhance your images:
- Before shooting, consider if the scene has texture, shape, or strong tonal separation that can withstand the removal of color.
- Use flat or cloudy light intentionally for moody landscapes, then enhance contrast during editing.
- Experiment with harsh midday light for architecture and graphic subjects, where deep shadows can create stronger structures.
- Focus on subjects like rusty metal, cracked books, or weathered wood. Side light reveals more detail than front light.
Practical Studio and Setup Tips for Indoor Shoots
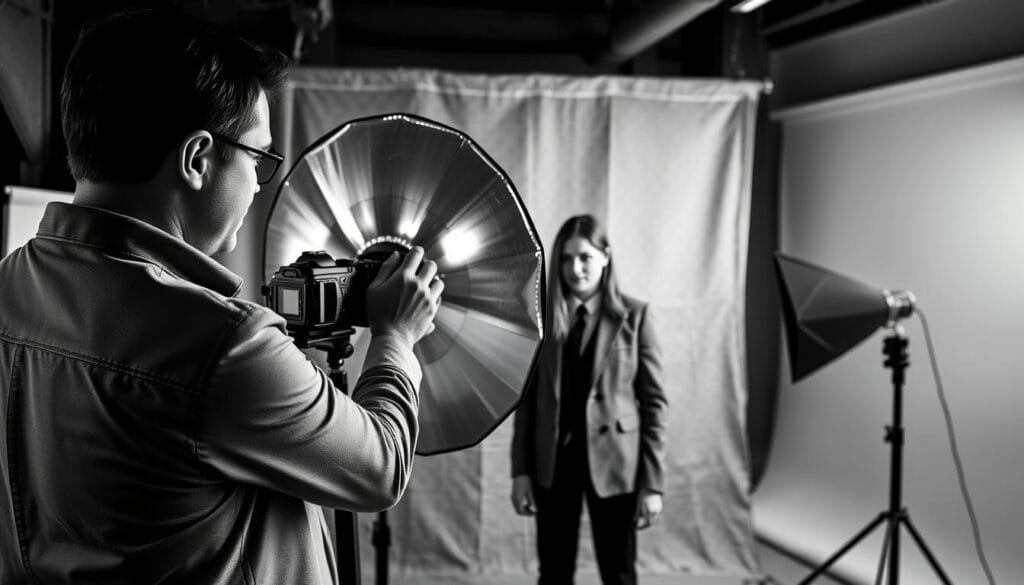
Creating stunning monochrome images in a studio setting requires thoughtful preparation. The right setup can enhance your results significantly. A key aspect of this is the use of reflectors and external flash. These tools can help you manipulate light effectively.
Reflectors are an affordable way to lift shadows in your shots. Start with a reflector to brighten selected areas, then adjust it when deeper tonal contrast is needed for portraits. This flexibility can make a noticeable difference in your images.
External flashes offer more options for lighting angles. They allow you to move the light source away from the camera axis, creating dimensional side or Rembrandt-style lighting. This technique adds depth and interest to your photographs.
Continuous studio lights are another great option. They let you see the illumination on your subject while setting up. This visibility ensures you can adjust lighting to your liking before capturing the shot.
For a practical example, consider using a Nikon D810 with flash settings of 1/125 second, f/5.6, and ISO 100. This setup provides a solid foundation for controlled indoor exposure.
Substitution Tip: Shooting in Color Then Converting to Black & White
The process of shooting in color and later transforming images into monochrome offers unique flexibility. This method allows you to keep your options open for both color and black white photography.
When you capture a JPEG-only monochrome file, you lose the original color information. However, shooting in RAW retains this data, making it available for channel-based conversion later.
Using software like Lightroom, you can convert a color file to monochrome with just one click. This initial conversion is a great starting point, allowing you to refine the tonal mix afterward.
Before deciding on the final version, compare the original color image with the monochrome conversion. Look for distractions, texture, contrast, and subject separation to determine which communicates your vision best.
Consider this workflow a practical safeguard, not a strict rule. Some photographers may prefer the discipline of an in-camera JPEG process or a film-based approach.
| Aspect | RAW Format | JPEG Format |
|---|---|---|
| Color Data Retention | Yes | No |
| Editing Flexibility | High | Low |
| Conversion Capability | Channel-based | None |
Composition and Visual Storytelling in Black & White Photography
In the realm of monochrome images, composition is a powerful tool for storytelling. The way we arrange elements in our frame can dramatically influence the narrative of our photos. By utilizing repetition, patterns, and leading lines, we can create compelling visual stories that resonate with viewers.
Repeated patterns can create a sense of calm. For instance, consider fences, windows, or steps. When these elements are used rhythmically, they can set a tranquil tone. However, breaking these patterns introduces tension and unease, effectively altering the viewer’s emotional response.
Utilizing Repetition, Patterns, and Leading Lines
- Use repetition in fences, windows, or fabric to create rhythm, then interrupt the pattern to add tension.
- Place diagonal lines deliberately; they can move the viewer’s eye through the frame more forcefully than static horizontal structures.
- Circles and rounded forms suggest movement, while squares and rectangles provide stability in your composition.
- Triangles can act as directional devices, guiding attention toward their point, especially when the subject is near the implied destination.
- Consider building a composition video around one frame, showing how a small change in camera position alters the pattern, line, and subject hierarchy.
Mastering Light and Shadow for Dynamic Images
The relationship between light and shadow plays a vital role in crafting dynamic images. Understanding high-key and low-key methods can enhance your monochrome photography significantly. High-key photography is characterized by bright tones, while low-key photography focuses on shadow and depth.
For instance, a four-minute exposure with a Nikon D800 at f/11 and ISO 100 can beautifully contrast moving water against stationary objects. When dealing with challenging skies, I recommend capturing one correct exposure and another underexposed by one or two f-stops. This technique allows you to merge the best sky details in post-processing.
Using a tripod is essential for precise registration. However, if conditions don’t allow for it, handheld bracketing can still yield good results. Additionally, graduated neutral-density and polarizing filters can influence tonal balance. Remember, the polarizer works best when positioned 90 degrees from the sun.
Navigating Diverse Photography Genres with Monochrome
Diving into different photography genres reveals how monochrome can transform a scene. Each style presents unique opportunities to express creativity without the distraction of color.
For street photography, I focus on bold shapes and strong contrast. An example is my use of the Fujifilm X-T2 with an 18mm lens, at 1/680 second, f/5.6, and ISO 400. This setup captures the vibrancy of urban life in striking detail.
In landscapes, I emphasize cloud structures and textured foregrounds. Controlled underexposure works well when the weather is flat, allowing the essence of the scene to shine through.
Architecture benefits from monochrome by removing competing hues. This lets repeating windows and shadows become the primary visual language, enhancing the subject’s impact.
When photographing interiors, such as churches, monochrome neutralizes distracting artificial color casts. This approach allows the architectural beauty to stand out.
Lastly, in nature photography, I draw inspiration from Nick Brandt’s work. His monochrome images reinterpret wildlife, showcasing its essence rather than just documenting it.
Inspiring Stories from Iconic Monochrome Photographers
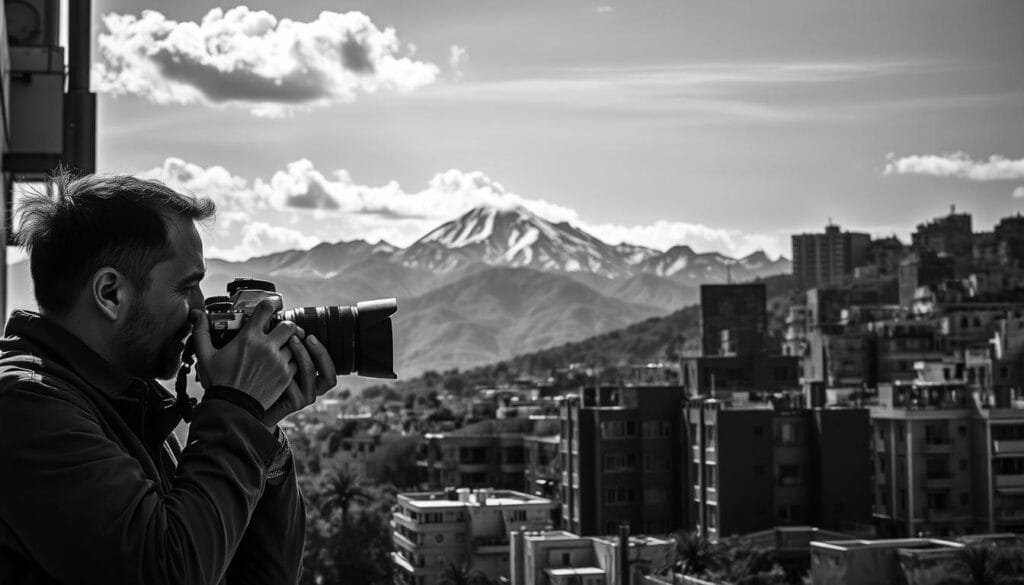
Throughout the history of photography, many legendary figures have shaped the art of monochrome. Their unique perspectives and techniques can inspire us to elevate our own work. One essential lesson comes from Ansel Adams, who emphasized that visualization is the single most important factor in photography. This principle encourages us to think critically about our shots before we even press the shutter.
Studying the works of renowned photographers like Bill Brandt, Henri Cartier-Bresson, Duane Michals, Arnold Newman, Irving Penn, and Sebastião Salgado can reveal various approaches to form and mood. It’s crucial to observe their methods and intentions rather than merely imitating their styles.
My own experience with film has shown me how today’s digital tools can enhance our ability to see tonal relationships. Using digital previews allows us to practice without the limitations of traditional darkroom processing. I recommend creating a small reference portfolio categorized by texture, shadow, architecture, portraiture, and street composition. This way, we can better understand the elements that resonate in monochrome.
Quick Answer: Key Insights in Under 90 Words
The strongest black-and-white photographs begin before the shutter: look for tone, shape, texture, and contrast rather than color. Set your camera to a monochrome preview, but record RAW so the original color data remains available. Use side light for texture, simple compositions for clarity, and filters carefully for sky control. In Lightroom, adjust the Black & White mix by color channel, protect highlights, and refine shadows gradually. Practice across street, landscape, portrait, and architectural subjects.
| Key Element | Importance | Action |
|---|---|---|
| RAW Format | Preserves color data | Allows for later monochrome conversion |
| Lightroom | Editing flexibility | Utilize color-channel sliders |
| Graduated Filter | Sky control | Use a 0.6 soft filter for balance |
Five Takeaways to Transform Your Monochrome Photography
Transforming your approach to monochrome can lead to breathtaking results. Here are five essential takeaways that balance creativity, technique, and practical advice.
Creative, Technical, and Practical Highlights
- Visualize tone, shape, texture, and contrast before shooting. Ansel Adams emphasized visualization as photography’s most important factor.
- Record in RAW, even when using a monochrome preview. RAW retains color information and provides greater adjustment latitude than JPEG.
- Shape light intentionally with reflectors, flash, or continuous studio lights. Start with an affordable reflector to enhance your shots.
- Use filters with restraint. Yellow and orange filters traditionally produce more natural effects than stronger red options.
- Practice one focused exercise each week, such as exploring textures or shadows. Save your strongest results to a portfolio.
Send this to a friend who keeps blaming the camera for flat monochrome images; the better starting point is usually visualization, exposure, and tonal structure.
Final Reflections and Next Steps for Your Photography Journey
As you embark on your journey in monochrome, remember that success begins with understanding the relationships between tone, shape, texture, light, and shadow. Each element plays a vital role in crafting compelling images.
Establish a repeatable practice cycle: preview in monochrome, record in RAW, review the histogram, process your images deliberately, and compare them with the original color files. This method enhances your learning experience.
Return to familiar locations under different conditions. This approach helps you discover how harsh sunlight, clouds, or artificial lighting can transform tonal possibilities. Continue studying the works of iconic photographers and build a personal portfolio that highlights your visual decisions.
Finally, explore the broader PBT photography category for ongoing composition and camera practice. Happy shooting!