
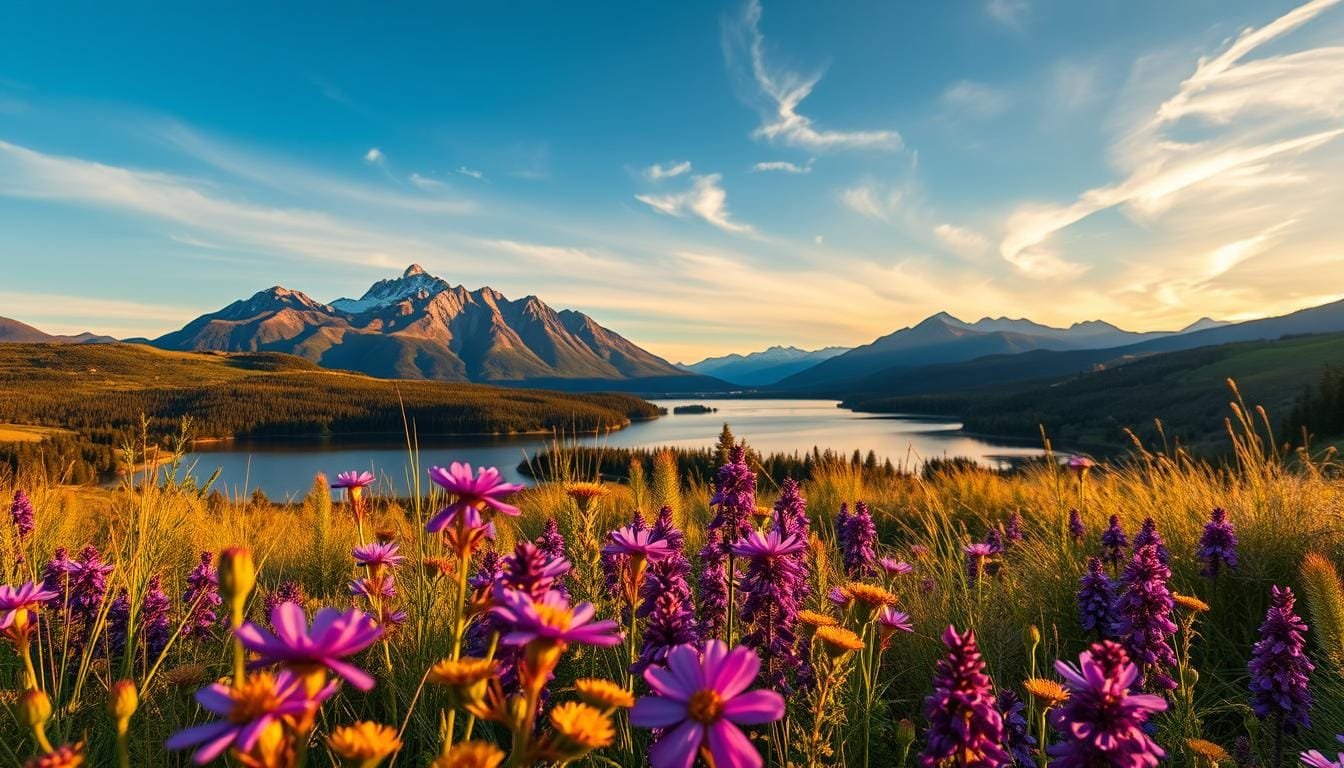
Have you ever returned from a breathtaking spot, only to find your images just don’t capture the magic you felt? I know the feeling all too well. I once stood in -40°C in Finnish Lapland, waiting for the perfect light. After hours of shivering, I clicked the shutter, but the resulting image felt flat. It was a reminder that good framing is crucial.
In this article, we’ll explore how to enhance your images through thoughtful arrangement. Composition is about the deliberate placement of elements within your frame, including the foreground, background, and main subject. It’s not something you can fully fix in post-processing, and cropping can sometimes compromise quality.
Through this listicle, you’ll learn to create stronger scenes before you even press the shutter. I’ll share insights from my three-hour hike in the Dolomites for just one shot, emphasizing that the decisions made in the field matter immensely. Think of composition as a form of visual art that encourages personal expression and experimentation.
Key Takeaways
- Good composition is essential for capturing the essence of a scene.
- Decisions made in the field greatly affect the final image.
- Composition can’t be fully repaired in post-processing.
- Experimentation leads to unique and personal interpretations.
- Understanding principles helps in instinctively applying them.
Confronting the Challenge: Transforming Frustration into Creative Mastery
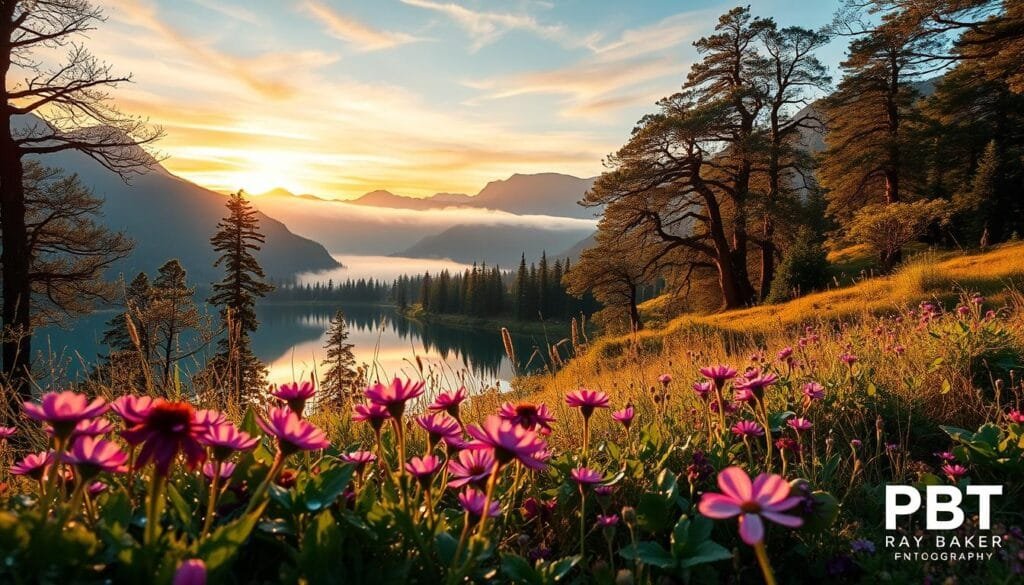
It’s frustrating to leave a picturesque spot with photos that don’t reflect the experience. Many of us aim our cameras at stunning vistas, yet forget to prioritize the main subject. This can lead to cluttered images that lack focus.
To tackle this, I often remove distractions by simplifying the frame. Instead of relying on a crop that may sacrifice resolution, I carefully choose what elements to include. Searching for leading lines at my feet-like roads, paths, or streams-helps guide the viewer’s eyes toward a meaningful destination.
Another handy tip is to activate your camera’s grid overlay. This makes the rule of thirds a conscious choice rather than a vague suggestion. Remember, it’s not about obeying every rule but understanding why certain arrangements work. Outdoor photography can be unpredictable, and I’ve learned that dropping a camera into a lake or dozing off on a hay bale is all part of the adventure!
| Common Issues | Practical Solutions |
|---|---|
| Cluttered images | Remove distractions from the frame |
| Lack of focus | Identify the main subject |
| Ignoring composition rules | Use grid overlays for guidance |
Quick Answer & Essential Takeaways for Photography Enthusiasts
To master your images, start by selecting a main subject. Next, add depth with purposeful foreground elements and arrange the horizon. This technique enhances your composition before adjusting exposure settings.
5 Key Takeaways to Elevate Your Work
- Embrace the Rule of Thirds: Use the three-by-three grid to position your main subject at one of the four intersections.
- Utilize Leading Lines: Incorporate curved, diagonal, or zigzag lines to guide the viewer’s eyes toward your subject.
- Add Foreground Interest: Include elements in the foreground to create depth and enhance the overall scene.
- Implement Negative Space: Use plain areas like sky or sand to isolate your subject and emphasize its importance.
- Experiment Deliberately: Try different arrangements and techniques to find what resonates with your style.
Mastering landscape photography composition: Essential Rules and Techniques
Capturing the essence of a breathtaking scene can sometimes feel elusive. To enhance your images, understanding the rule of thirds is crucial. This technique involves dividing your frame into a three-by-three grid. By positioning your main subject along these lines or at their intersections, you create a more dynamic composition.
In contrast, the golden ratio offers a different approach. It uses proportions of 1:0.618:1, which can create a more harmonious balance. Leonardo Fibonacci’s connection to this ratio in the 12th century shows its historical significance in art. Many renowned works, like the Mona Lisa, are believed to incorporate this principle.
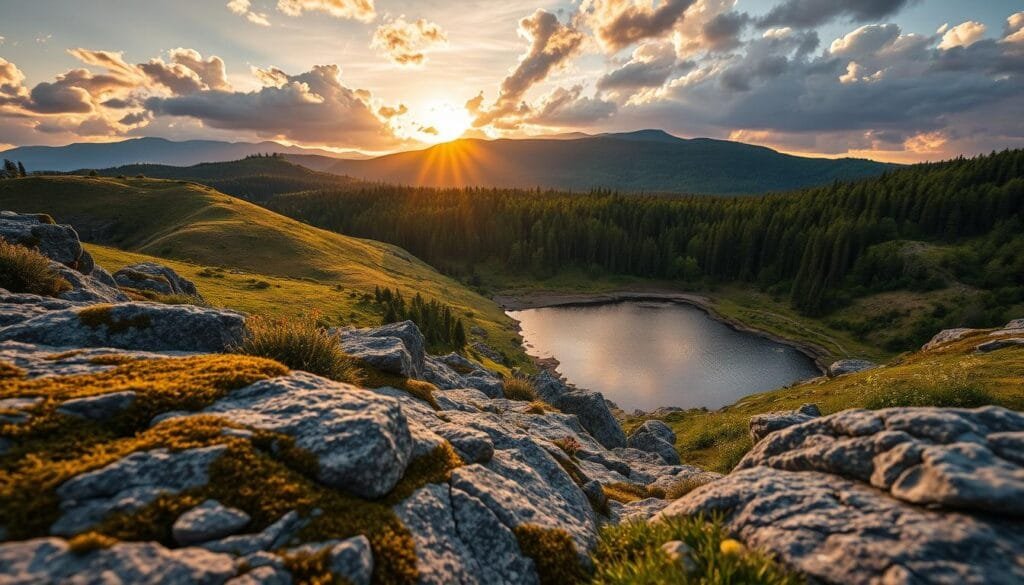
Light also plays a vital role in your images. Side or directional light reveals texture and shadows, enhancing depth. Flat overhead light can make your arrangements appear lifeless. To ensure you capture the best light, consider using tools like PhotoPills or The Photographer’s Ephemeris to predict sun direction before you arrive.
Lastly, understanding perspective is essential. Vanishing points can strengthen depth, making roads or tracks appear to converge. To practice, try photographing the same subject at different times of the day. This exercise will help you compare texture, depth, and mood in your images.
Harnessing Leading Lines and Natural Framing for Depth
Have you ever stood in awe of a scene, only to find your photos fail to convey its true beauty? Using leading lines can significantly enhance your images by guiding the viewer’s eyes through the frame. These lines can be straight, curved, diagonal, or zigzag. For example, at Fairhead in Northern Ireland, a cliff edge can lead the viewer’s gaze toward the horizon, creating depth.
To make the most of leading lines, ensure they lead to a meaningful destination. A road or stream that vanishes into clutter can weaken your image. Consider getting low and changing your position to let a jetty or waterfall start near the edge of your frame.
Natural framing is another powerful technique. Use elements like trees, rock arches, or overhanging foliage to isolate your main subject. For instance, slot canyons in Arizona and roadside stops in Canada serve as excellent examples of how one element can frame another without artificial borders.
Try this exercise: capture three versions of the same scene-one with straight lines, one with curves, and one framed by natural elements. This will help you explore different perspectives and improve your compositional skills.
Integrating Foreground Elements, Negative Space, and Symmetry
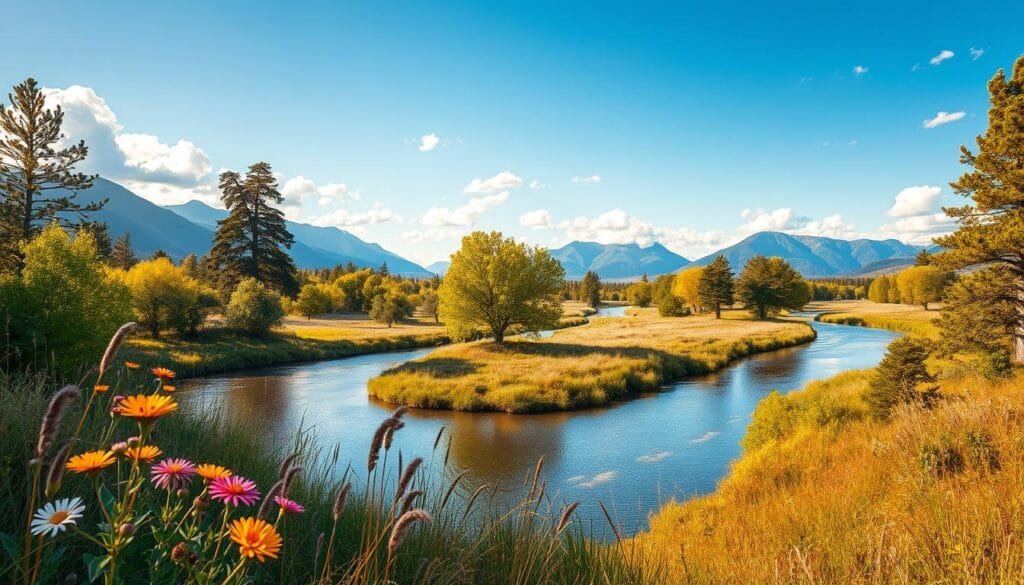
It’s often a challenge to convey the depth and scale of a scene through your lens. By integrating foreground elements, you can create layers that add interest and dimension to your images. For instance, using rocks, logs, or even a person can effectively separate the foreground from the middle ground and background. This technique helps the viewer understand the scene’s scale.
Consider the stunning example of a flower in the foreground, with a lake and mountains behind it in Banff, Canada. This arrangement not only provides a sense of depth but also showcases the relationship between elements. Similarly, in New Zealand, warm yellow grasses can balance the blue of a lake and sky, stabilizing the overall scene.
Implementing negative space is another powerful tool. It creates intentional visual quiet around your subject, using plain areas like sky or water to enhance isolation and scale. Centered compositions work well for symmetrical reflections, especially in still water, where the horizon can become part of the visual balance.
For a unique twist, think about reflections, such as Mount Kilimanjaro seen in a companion’s sunglasses. This unusual perspective connects your travel story with the surrounding landscape. I recommend testing both layered and simplified versions of the same scene to see which elements truly earn their place in your frame.
Optimizing Equipment & Setup: From Lens Choices to Studio Tips
Translating the beauty of a remarkable scene into a photograph often requires careful thought. Selecting the right equipment can significantly enhance your results. For expansive views and detailed foregrounds, a 10-35mm wide-angle lens is ideal. This range captures grand scenes while maintaining strong depth from front to back.
When using wide-angle lenses, consider apertures from f/8 to f/16. This ensures a broad depth of field, allowing both the foreground and distant elements to remain sharp. For isolating distant subjects, such as mountains or buildings, longer focal lengths from 70mm to 400mm are effective.
Telephoto lenses can work from f/2.8 to f/8, providing useful depth of field while compressing the distance between your main subject and the background.
Here’s a practical setup sequence to follow:
- Turn on the grid overlay in your camera for better alignment.
- Vary the tripod height to find the best angle.
- Adjust your distance to the subject for optimal framing.
- Test both horizontal and vertical compositions.
Substitution tip: If a wide-angle lens makes the foreground dominate, switch to a 70-400mm telephoto lens to isolate a distant detail instead of forcing the entire vista into one image.
In the studio, review your field options by comparing contact sheets from different focal lengths and camera positions. This will help you select the strongest composition for your work.
| Lens Type | Focal Length | Aperture Range | Best Use |
|---|---|---|---|
| Wide-Angle | 10-35mm | f/8 to f/16 | Grand scenes, close foreground work |
| Telephoto | 70-400mm | f/2.8 to f/8 | Isolating distant subjects |
Final Reflections & a Note to Pass On to a Friend
It’s often disheartening to realize that a camera can’t fully capture the essence of a moment. The choices we make in framing our images are crucial for clear communication. Practice in familiar settings can enhance your visual judgment far more than waiting for that perfect exotic trip.
My experiences in Finnish Lapland, the Dolomites, and the Faroe Islands remind me that strong results come from thoughtful decisions made inside the frame. Remember, rules are tools, not laws. Symmetry, negative space, or an unexpected viewpoint might be just what your scene needs.
For more insights, check out [7 Easy Ways to Improve Your Image Composition](/photography-tips/image-composition). Send this to a friend who keeps blaming the camera when the real improvement may begin with the frame. Explore more tips in our photography category. Stay focused, Ray Baker.