
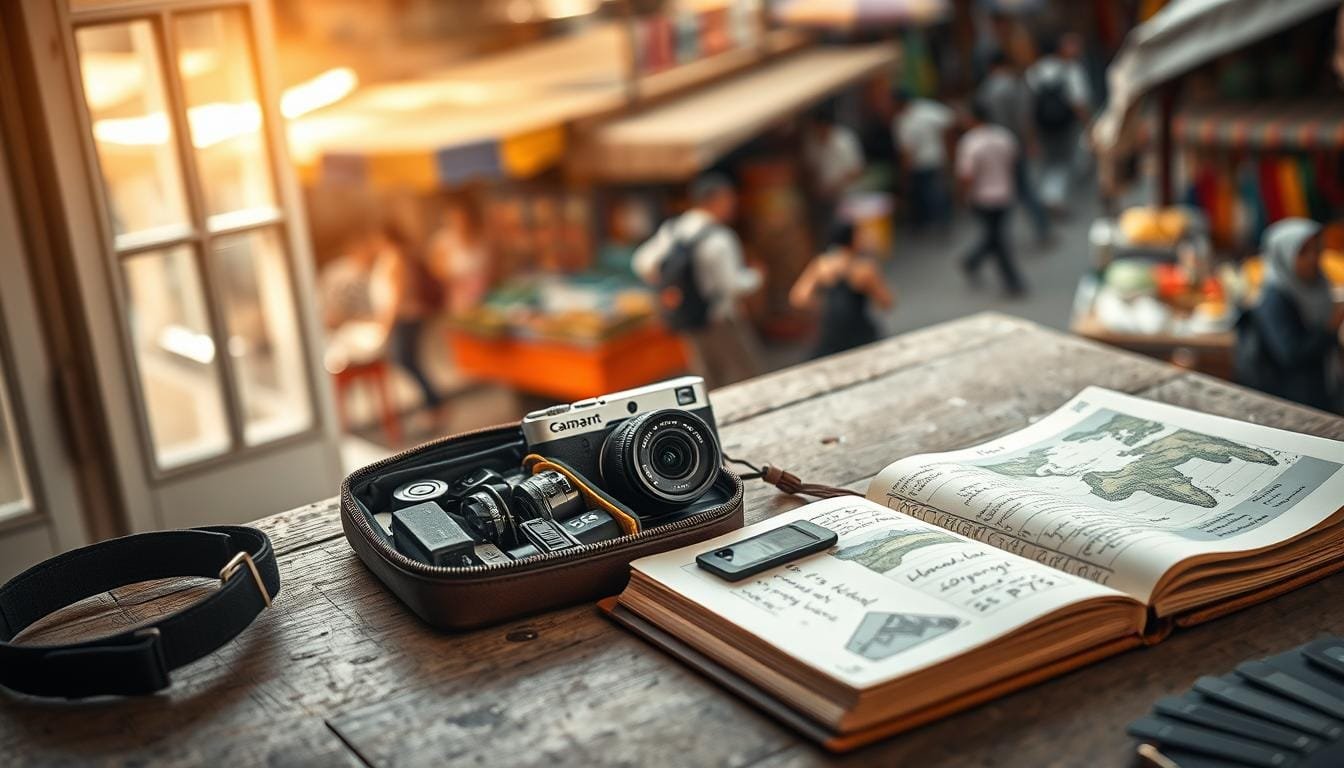
Picture this: you’re navigating the bustling streets of New York City, your bag heavy with gear. Every step feels like a workout, and the thought of capturing stunning images weighs on your mind. It’s a common struggle for many of us. We want to document our adventures, but lugging around a hefty camera kit can turn excitement into exhaustion.
What if I told you that you don’t need to carry everything to get great shots? Instead, I’ve found that a lighter approach can yield even stronger images. By focusing on timing, composition, and the context of your surroundings, you can create memorable photos without the extra baggage. Whether you have a smartphone, a mirrorless camera, or a dedicated device, the best camera is simply the one you have with you.
In this article, I’ll share practical insights that can transform your photography experience. Let’s dive into the world of capturing moments that matter, without turning your trip into an equipment-hauling expedition.
Key Takeaways
- Lighten your load by choosing essential gear.
- Focus on timing for the best lighting, especially during sunrise and sunset.
- Composition and context enhance the storytelling of your photos.
- The best camera is the one you have on hand.
- Research locations for unique photographic opportunities.
Starting With the Right Gear for Your Journey
Consider how the right gear can elevate your journey. When it comes to capturing moments, having the essential equipment is crucial. A dependable camera paired with a versatile lens can significantly enhance your experience.
For instance, the Sony A7 III offers full-frame image quality, while the iPhone XS provides convenience for quick shots. The GoPro Hero 7 Black excels in underwater settings, and the DJI Mavic Air captures stunning aerial views.
As a starting point, a general-purpose mirrorless camera with a 24-70mm zoom lens is highly flexible. Alternatively, a 20mm or 28mm lens can immerse you in the scene. This setup often outperforms an overloaded bag, especially when moving between locations.
Compact tripods like the Peak Design Travel Tripod and Manfrotto Befree Tripod are excellent for low-light conditions and self-portraits. Remember, mastering your current camera before upgrading is essential. Often, a skill gap is mistaken for a gear problem.
| Camera | Best For | Key Feature |
|---|---|---|
| Sony A7 III | Full-frame quality | Excellent low-light performance |
| iPhone XS | Convenience | Quick and easy access |
| GoPro Hero 7 Black | Underwater shots | Durable and waterproof |
| DJI Mavic Air | Aerial photography | Compact and portable |
Addressing the Pain Point: Travel Hassles and Overpacked Bags
Imagine strolling through vibrant streets with only your camera and a single lens. This simple approach can transform your experience. A lighter bag reduces fatigue, allowing you to stay out longer and capture more moments.
By focusing on just one camera and one lens, you encourage intentional framing. This means you’ll be less tempted to zoom constantly and more likely to compose thoughtful shots. As I’ve learned, wandering beyond tourist markers often reveals my favorite images.
When packing, prioritize spare batteries, memory cards, and weather protection. Organizing your gear efficiently can save you time and hassle. Instead of treating your itinerary like a military exercise, leave room for exploration and unexpected discoveries around iconic locations like the Eiffel Tower or Colosseum.
Ultimately, choose your equipment based on the story you want to tell. The saved weight can be spent on time, observation, and movement. As I always say, “The journey is just as important as the destination.”
For more insights on travel photography, check out this comprehensive guide.
Expert travel photography tips for Capturing Unforgettable Moments
Capturing unforgettable moments is an art that every aspiring photographer can master. With the right techniques, you can transform ordinary scenes into stunning visuals. Here are some essential strategies to elevate your skills.
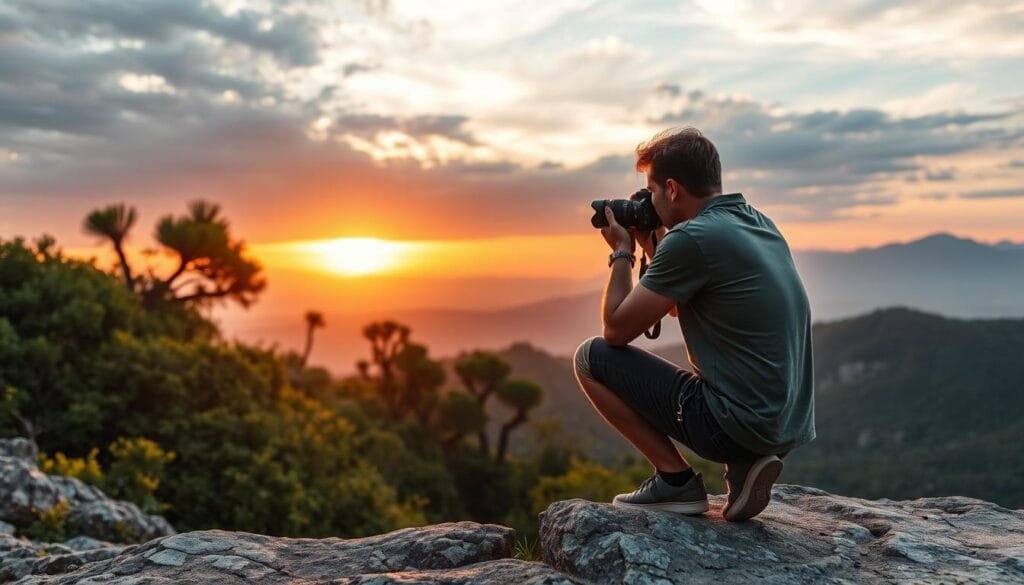
First, timing is everything. The golden hour, which occurs shortly after sunrise and before sunset, provides the best lighting for your shots. This soft, warm light enhances colors and adds depth to your photos.
Next, simplify your gear. A lightweight kit allows for more freedom and creativity. Focus on one camera and a versatile lens to encourage intentional framing and composition.
Lastly, pay attention to what draws the eye in a scene. Observe the angles and lines that can guide your viewer’s gaze. Remember, “Composition is the strongest way to tell your story.”
| Technique | Description | Benefit |
|---|---|---|
| Golden Hour | Photograph during the hour after sunrise or before sunset. | Soft lighting enhances colors. |
| Simplify Gear | Use a lightweight camera kit. | Encourages creativity and reduces fatigue. |
| Pay Attention | Observe angles and lines in your surroundings. | Improves composition and storytelling. |
Scouting and Researching the Best Locations
To create captivating visuals, knowing where to shoot is essential. Scouting locations in advance can enhance your photography experience. Utilizing mapping tools can streamline this process, making it easier to find the best spots.
For instance, both Google Maps and Apple Maps allow you to save promising locations. This way, your route, distance, and planned shot list remain visible during your trip. Additionally, apps like PhotoPills and The Photographer’s Ephemeris can help you check the sun and moon positions for your chosen dates.
Researching various sources is key. Use Google Image Search, Instagram, and Pinterest to gather ideas. Local guidebooks and postcards can also provide inspiration. For example, in Washington, D.C., you can find photographer-created lists of stunning locations.
By combining these tools, you can create a manageable sequence of locations. This preparation allows you to focus on capturing great shots without feeling rushed. For more detailed sunrise planning, check out PBT’s related Sunrise Photography Tips: Camera Settings for Sunrise.
| Tool | Purpose | Key Feature |
|---|---|---|
| Google Maps | Location saving | Visual shot list |
| PhotoPills | Sun position tracking | Sun and moon mapping |
| The Photographer’s Ephemeris | Lighting planning | Map-based sun tracking |
Mastering Composition and Creative Angles
Mastering the art of composition can elevate your images to new heights. Two essential techniques are the rule of thirds and leading lines. The rule of thirds suggests dividing your frame into a grid, placing subjects off-center for a more dynamic shot. Many cameras have a grid overlay to help with this.
Leading lines, such as roads and fences, guide viewers’ eyes toward a focal point. This technique adds depth and draws attention to the subject. For example, capturing Charles Bridge in Prague from a unique angle can reveal stunning details that standard shots miss.
Experimenting with unique perspectives can transform your photos. Low viewpoints or high angles can create striking compositions. Consider incorporating foreground elements like leaves or reflections to add layers to your images. Always remember to prioritize safety when trying new angles.
A 20mm or 28mm lens can help you get closer to your subject while maintaining context. This approach allows for immersive shots that tell a story. With these techniques, you can enhance your travel photography and create captivating visuals.
Embracing Lighting: The Magic of Golden and Blue Hours
Lighting plays a crucial role in capturing stunning images. The golden hour, occurring just before sunset, bathes scenes in warm orange and red tones. In contrast, the blue hour, which follows sunset, offers cooler, moodier hues. These times of day can significantly enhance the quality of your shots.
Sunrise presents a unique opportunity to combine dynamic light with fewer tourists. Iconic locations like the Eiffel Tower and Colosseum are perfect examples. Arriving early can provide cleaner shots, especially if you wait about 60 seconds for crowds to clear. This patience often pays off with breathtaking images.
For optimal results, set up your tripod with an aperture of f/8, ISO 100, and use aperture priority mode. A two-second timer can help reduce camera shake, ensuring sharp, low-noise photos. Staying after sunset can also be rewarding, as the blue hour creates dramatic skies that enhance your images.
| Time of Day | Lighting Effects | Recommended Settings |
|---|---|---|
| Golden Hour | Warm tones, enhances colors | f/8, ISO 100, tripod |
| Blue Hour | Cooler, moodier scenes | f/8, ISO 100, tripod |
| Sunrise | Dynamic light, fewer tourists | f/8, ISO 100, two-second timer |
| Sunset | Vibrant colors, dramatic skies | f/8, ISO 100, two-second timer |
Incorporating Human Elements for Authentic Storytelling
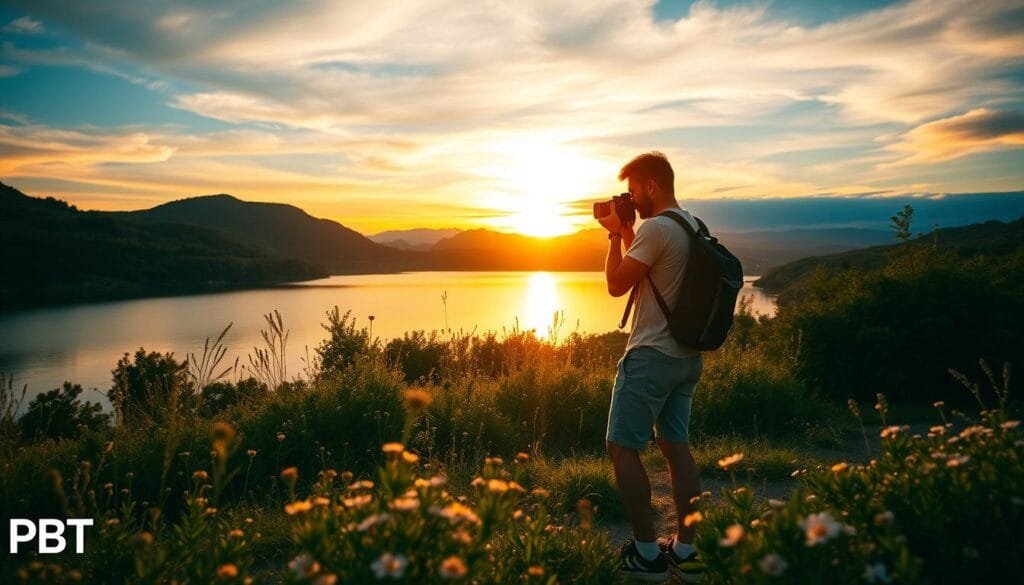
Bringing human elements into your shots adds depth and context to your photos. Including people can provide scale, helping viewers feel present in the moment. A distant silhouette or a family member can make a landscape feel lived in rather than empty.
Local culture can be captured through food, signage, clothing, and architecture. For example, photographing a baker in Malta can reveal traditional practices and flavors. A respectful request for a portrait can lead to a warm smile and a genuine connection.
Similarly, in Santiago de Cuba, engaging with a fruit vendor while purchasing produce can create an authentic image. These interactions often result in rich storytelling that resonates with viewers.
However, it’s essential to respect local customs, privacy, and dignity. Always pay attention to the comfort of individuals, especially in vulnerable situations. By prioritizing consent, you can create compelling and respectful images that honor the places and people you encounter.
Quick Setup Tips for Studio and On-the-Go Photography
Efficient setups can make a significant difference in your photography experience. Whether you are in a studio or out capturing moments, a well-organized approach is essential.
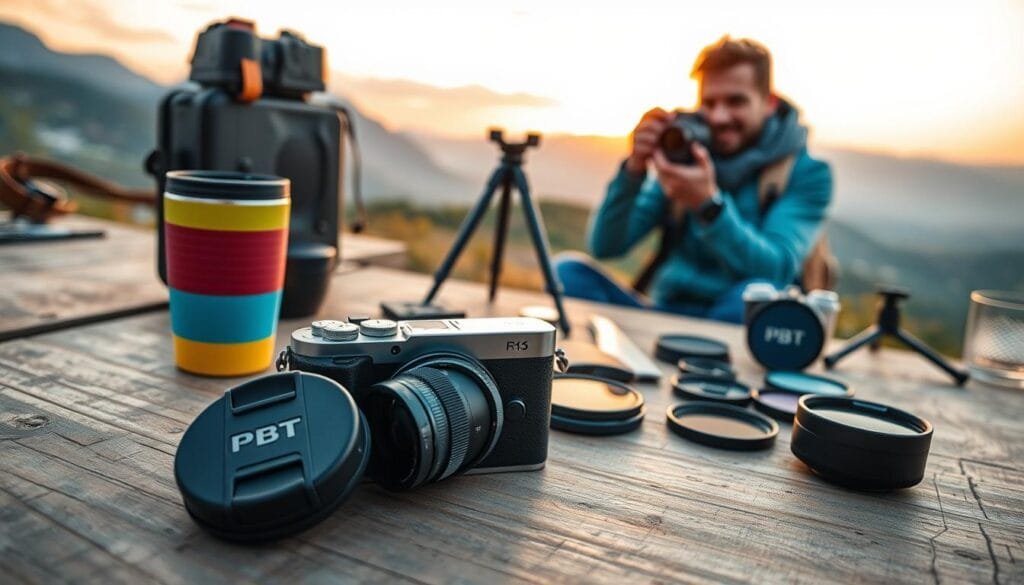
Start by packing batteries, memory cards, and cables in fixed compartments. This way, you can begin shooting quickly upon arrival. A lightweight phone tripod is perfect for casual self-portraits, while a stronger camera tripod is better for heavier equipment, especially in windy conditions.
The Peak Design Travel Tripod and Manfrotto Befree Tripod are excellent choices for compact support, allowing you to transition smoothly from a hotel room to an outdoor viewpoint.
For an on-the-go studio setup, find a stable surface and use a simple background with natural window light. This setup allows for repeatable camera positions without the need for elaborate equipment.
Utilizing a two-second timer or a remote shutter can help reduce camera vibration. This technique allows you to include yourself in the frame without relying on awkward arm’s-length photos.
| Setup Type | Best Use | Key Features |
|---|---|---|
| Lightweight Phone Tripod | Casual self-portraits | Portable and easy to use |
| Camera Tripod | Heavy equipment support | Sturdy and stable |
| Two-Second Timer | Reduce vibration | Helps with self-portraits |
| Remote Shutter | Convenient shooting | Allows for hands-free operation |
Substitution Techniques and Alternative Approaches
Exploring alternative methods can enhance your photographic journey in unexpected ways. For instance, if a tripod is unavailable, simply place your camera on a stable surface and use the self-timer. This approach is safer than balancing it on an edge.
Additionally, using a circular polarizing filter can intensify colors in bright conditions. If you want to create smooth, long exposures, a 10-stop ND filter is your best friend. These tools can dramatically improve your shots.
Modern cameras often have a bracketing feature, allowing you to create HDR images that extend your dynamic range. This technique offers a practical alternative to investing in a new camera body.
It’s important to distinguish useful substitutions from risky shortcuts. Always prioritize stable support and careful exposure. Finally, consider using Samsung T7 and T9 portable SSDs for backing up your originals. This ensures you won’t lose important files before your cards or drives fail.
Optimizing Your Editing Workflow for Standout Shots
Crafting standout images begins with a solid editing workflow. Choosing the right tools is crucial. I recommend starting with RAW files whenever possible. RAW capture offers flexibility for adjusting exposure, color, and detail.
For editing, Lightroom is my go-to. It excels in cropping, adjusting highlights and shadows, and color grading. Its Auto adjustments, Generative Remove, and AI Lens Blur features are particularly useful for enhancing images.
On mobile, apps like Photoshop Fix, VSCO, and Facetune are great for quick edits. Apple’s built-in Clean Up tool is handy for basic object removal on iPhones.
When comparing mobile and desktop workflows, consider this: mobile editing is perfect for fast selects and social sharing. In contrast, desktop editing provides a larger screen for consistent color, masking, and detailed corrections.
Ultimately, focus on subtle edits that preserve the essence of the place, people, and lighting. Avoid turning your images into unrealistic composites, as authenticity is key in capturing the moment.
Building a Visual Story with Quality Images
Creating a narrative through your images can transform the way you share your experiences. A cohesive body of photos is often more powerful than random attractive images. To achieve this, consider the sequence of your shots.
Start with an establishing scene, followed by a human interaction, a cultural detail, and conclude with a closing image. This approach ensures your gallery communicates more than isolated landmarks.
For example, in Santiago de Cuba, capturing street vendors and food can reveal local culture and daily life. Repeated images of food and work can create a coherent story about a place.
Incorporating food and drink, such as French cured meats, wine, and locally brewed beer in Barcelona, provides sensory context within your sequence. This adds richness to your narrative.
Editing should maintain consistent exposure, color, and crop decisions. This way, your collection feels intentional rather than a mix of unrelated camera settings. Finally, favor images that reveal atmosphere, relationships, and a distinct sense of place over technically perfect but emotionally empty frames.
Signing Off with Heart: Your Journey Awaits
Your journey is a canvas waiting for your unique perspective. Embrace the adventure that unfolds with each click of your camera. As you explore, remember to leave unscheduled time for spontaneous discoveries, just like Anthony Quintano suggests.
Takeaway 1: Use the camera already available; a phone or mirrorless body can preserve meaningful memories when carried consistently.
Takeaway 2: Research locations and light with Google Maps, PhotoPills, or The Photographer’s Ephemeris, then allow your itinerary to breathe.
Takeaway 3: Simplify your gear, focus on strong composition, and try different viewpoints instead of chasing identical tourist shots.
Takeaway 4: Include people and cultural details respectfully, asking permission when appropriate and protecting privacy when sharing images online.
Takeaway 5: Back up originals, edit consistently, and select a cohesive sequence that communicates how the place felt rather than merely where the camera was pointed.
Send this to a friend who always packs three lenses for a one-day walk. For more practical guidance, explore the PBT photography category.