
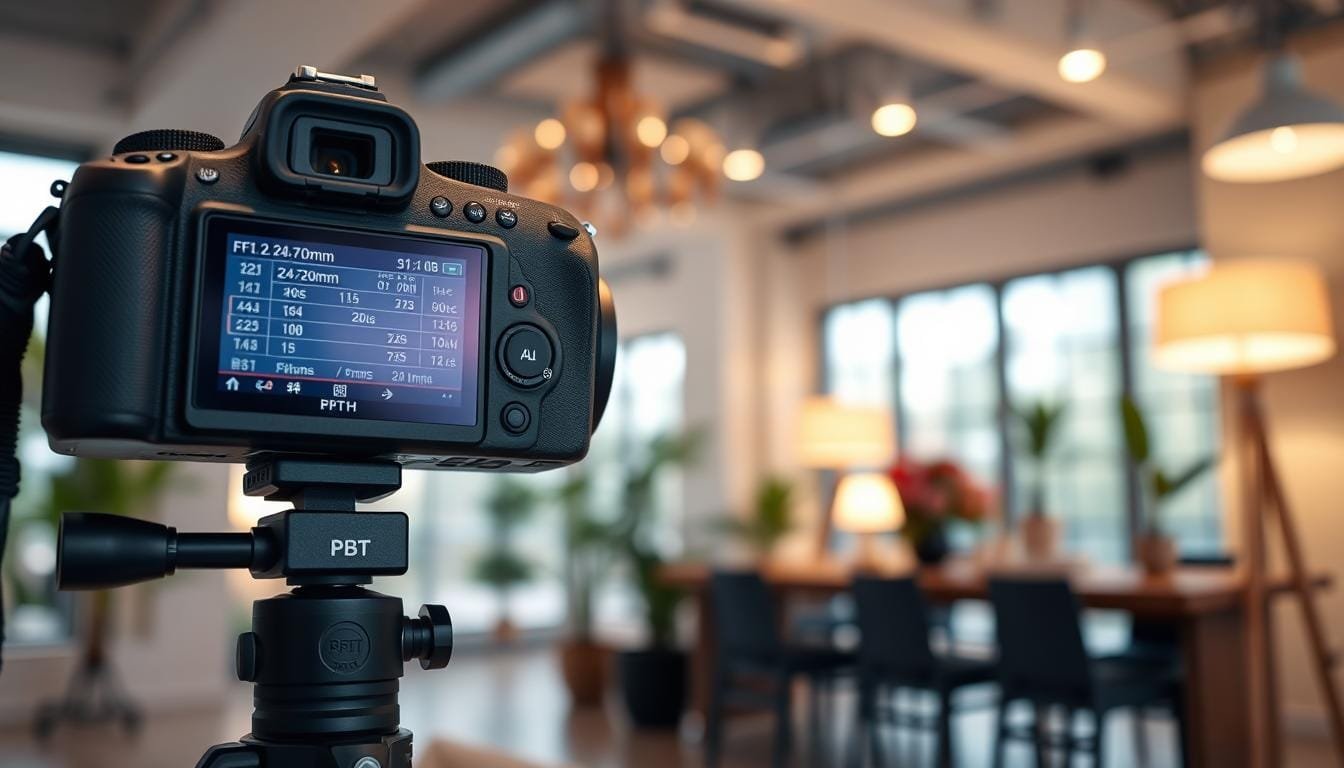
Have you ever tried to capture a moment indoors, only to be met with dark, blurry images? I remember a family gathering where I thought I could snap some great photos of my cousins playing in the living room. Instead, I ended up with a collection of fuzzy memories. The frustration was real! But fear not, there’s a practical solution.
To achieve stunning results, I learned to identify the light source first. Finding the brightest window and positioning my subjects close to it made all the difference. I now use Manual Mode, open the aperture wide, and choose a motion-freezing shutter speed. If the light is still low, I raise the ISO to ensure proper exposure. Trust me, a sharp image with a bit of noise is far better than a blurry one!
This guide will walk you through the essential camera settings for indoor photography, helping you capture those precious moments with ease. With a few tips and tricks, you’ll be on your way to taking photos that truly shine!
Key Takeaways
- Identify the light source before adjusting your settings.
- Use large windows or open doors to maximize natural light.
- Utilize Manual Mode for better control over your images.
- Open your aperture to let in more light.
- Choose a shutter speed that freezes motion for sharp images.
- Raise ISO when necessary to achieve proper exposure.
- For more tips, check out this helpful guide.
Understanding the Challenge of Indoor Photography
The struggle to achieve bright, sharp images indoors is a common experience. Unlike outdoor settings, where natural light is abundant, indoor environments can significantly reduce available light. Factors like walls, ceilings, and furniture can block or absorb light, creating shadows that complicate exposure.
To maximize natural light, I recommend positioning your subject near a large window. Ideally, this window should be larger than the subject to allow ample light to illuminate the scene. When outdoor conditions are overcast, this becomes even more crucial.
Moving your subject closer to the window can enhance exposure without altering any settings. However, remember that capturing moving subjects, like children, can make it challenging to maintain sharp focus. Motion blur can mimic missed focus or introduce noise, making it essential to diagnose the issue before adjusting the ISO.
Why Manual Mode is Essential for Indoor Photography
Capturing vibrant moments indoors can often feel like an uphill battle. However, using Manual Mode can make all the difference. This mode allows you to adjust the aperture, shutter speed, and ISO independently. As lighting conditions change across a room, this control is vital.
Unlike Auto Mode, where the camera makes decisions for you, Manual Mode gives you the flexibility to balance all three exposure settings. This is especially important in indoor environments where light can vary significantly.
If you’re still getting comfortable with Manual Mode, consider using Aperture Priority. This setting allows you to control the aperture while the camera selects the appropriate shutter speed and ISO.
To achieve the best results, follow this simple sequence:
- Identify the light source.
- Set your aperture to let in more light.
- Select a shutter speed that suits your subject’s motion.
- Adjust the ISO as needed for proper exposure.
Using Manual Mode helps maintain consistent exposure, even when your subject moves between a bright window and darker areas.
Essential camera settings for indoor photography
Taking stunning images in low-light environments can often present unexpected challenges. To achieve the best results, I recommend starting with a baseline of f/1.4 to f/2.2 for your aperture. This setting maximizes available light while creating a softer background, enhancing the emotional connection in your photos.
For moving subjects, aim for a shutter speed around 1/250. This speed helps freeze motion, ensuring you capture sharp images. If you’re using a kit lens, which may only open to f/4.5, consider switching to a 50mm f/1.8 lens that allows more light in at a wider aperture.
In situations where you need several people in focus, f/2.8 or higher may be more appropriate. Always check your histogram and focus confirmation after test shots. Relying solely on the rear-screen brightness can be misleading. Remember, “The best camera is the one you have with you,” so practice makes perfect!
Optimizing Aperture, Shutter Speed, and ISO Indoors
Capturing images in low light can often be tricky, but understanding the exposure triangle makes it manageable. Each component-aperture, shutter speed, and ISO-plays a crucial role in achieving well-exposed photos.
Choosing the Right Aperture for Low Light
The aperture controls how much light enters your lens. For most indoor situations, an aperture of f/1.4 to f/2.2 is ideal. This range allows plenty of light while creating a pleasing depth of field. When photographing still subjects, you might even opt for f/2.8 or higher.
Balancing Shutter Speed to Avoid Blur
To keep moving subjects sharp, start with a shutter speed of 1/250 or faster. This speed helps freeze action, especially with active children. For still moments, you can use a slower shutter speed to create intentional motion blur.
Managing High ISO for Clean Images
In well-lit homes, starting at ISO 2,500 is reasonable. In darker environments, I’ve successfully used ISO 4,000-8,000. While higher ISO can introduce noise, it often provides better results than underexposing and later lifting shadows, which can exacerbate noise issues.
| Setting | Recommended Value | Notes |
|---|---|---|
| Aperture | f/1.4 - f/2.2 | Maximizes light intake |
| Shutter Speed | 1/250 or faster | Freezes motion for sharp images |
| ISO | 2,500 - 8,000 | Higher values may be necessary in low light |
Leveraging Natural and Artificial Light in Home Setups
Indoor environments can often create challenges for achieving clear, bright images. To tackle this, I focus on utilizing both natural and artificial light effectively.
Start by positioning your subject near a large window or open door. This follows my light-first method, allowing natural light to illuminate your subject beautifully. The direction of light is crucial; turning your subject slightly toward or away from the window can dramatically change facial shadows and enhance the overall image.
Maximizing Window Light and Other Sources
Using lamps can also help improve your lighting setup. Move lamps closer to your subject, and avoid mixed-color lights to maintain consistency. If reflections from glass or glossy surfaces are an issue, try adjusting your angle to minimize them.
Handling Shadows and Reflections
White walls, curtains, or even a pale sheet can serve as gentle reflectors, bouncing light back onto your subject. This simple trick can brighten up your images without needing expensive equipment.
| Light Source | Best Use | Notes |
|---|---|---|
| Natural Light | Near windows/doors | Maximizes soft light |
| Artificial Light | Close to subject | Avoid mixed colors |
| Reflectors | Enhance brightness | Use white surfaces |
Photography and Studio Setup Tips for a Faster Workflow
Have you ever found yourself frustrated by the lack of light when trying to capture moments at home? To improve your workflow, start by scouting the brightest part of the room. Position your subject close to that light before adjusting any settings.
Moving your subject nearer to the window can often yield better results than immediately increasing ISO or slowing down the shutter speed. This simple adjustment can help you achieve brighter images with minimal effort.
Positioning Your Subject Near the Light
When photographing children or active subjects, aim for a shutter speed of 1/250 or higher to freeze their movement. Conduct short test sequences to ensure you capture those fleeting moments.
Practical Lighting Adjustments for Home Environments
For still details or quiet moments, a slower shutter speed may suffice. This approach allows more light without introducing motion blur.
A Substitution Tip: Using a Tripod for Stability
For stationary subjects or still-life shots, consider using a tripod. It can provide stability when using slower shutter speeds. However, don’t rely on it to freeze moving children.
Using Practical Techniques for Exposure and Noise Control
Finding the right balance between exposure and noise can transform your images. Proper exposure is crucial for capturing the essence of your subjects. Sabrina suggests raising ISO as high as necessary to achieve correct exposure in-camera. This method can lead to clearer images than relying solely on post-processing adjustments.
Audrey warns that underexposure lifted during editing often makes noise more apparent. A correctly exposed image at ISO 5,000 can look cleaner than a darker ISO 1,600 image brightened in post-processing. To avoid issues, review skin tones, shadows, and the histogram right after test shots.
It’s essential to distinguish between luminance noise and motion blur. This distinction helps prevent misinterpretation of sharp, grainy files as incorrectly focused images. Below is a practical Lightroom workflow to manage exposure and noise:
| Step | Action | Notes |
|---|---|---|
| 1 | Correct Exposure | Adjust exposure settings as needed |
| 2 | Selective Shadow Adjustments | Enhance details in shadows |
| 3 | Apply Denoise | Only if necessary for final image |
Remember, while post-processing can manage noise, blurry images generally cannot be restored to true sharpness.
Incorporating Real-World Experiences and Tips for Success
Throughout my journey in capturing family moments, I’ve learned that every home presents unique challenges and opportunities. Sabrina, a seasoned photographer with over 10 years of experience, emphasizes the importance of starting at ISO 2,500 in well-lit spaces. This approach often leads to clearer images than one might expect.
In darker environments, Sabrina has found success by raising ISO to between 4,000 and 8,000. This challenges the common belief that you need outdoor-level light for clean images. The flexibility of your settings should be guided by the light available, the movement of your subjects, and the feeling you want to convey.
From my perspective, if I were to photograph a family in a dimly lit room, I would start at ISO 4,000, ensuring I capture the warmth of the moment without sacrificing quality. It’s about finding that sweet spot where light meets emotion.
For those eager to explore more photography tips, check out the PBT photography category for a wealth of resources.
| Experience | ISO Starting Point | Notes |
|---|---|---|
| Sabrina’s Experience | ISO 2,500 | Ideal for good natural light |
| Dark Home Photography | ISO 4,000 - 8,000 | Challenges assumptions about light |
| Guided by Light | Flexible settings | Adapt to movement and feeling |
Final Thoughts and a Friendly Send-Off
In conclusion, mastering the art of capturing bright images in low light can be achieved with a few essential strategies. Here are five key takeaways:
- Find the light first to enhance your shots.
- Use Manual Mode for greater control.
- Open the aperture to let in more light.
- Protect your shutter speed to freeze motion.
- Expose properly before reducing ISO.
Remember, the baseline of 1/250 is a practical starting point for moving subjects, but it’s not a strict rule. Also, Sabrina’s examples of ISO 2,500, 4,000, and 8,000 show that focusing on the final image is more important than fearing a number.
Here are some frequently asked questions:
- What starting settings should I use indoors?
- What shutter speed is suitable for moving subjects?
- What ISO is acceptable in low light?
- Can a tripod replace a faster shutter speed?
If you know someone who struggles with capturing moments in low light, send this to a friend! Thank you for joining me on this journey, and happy shooting!