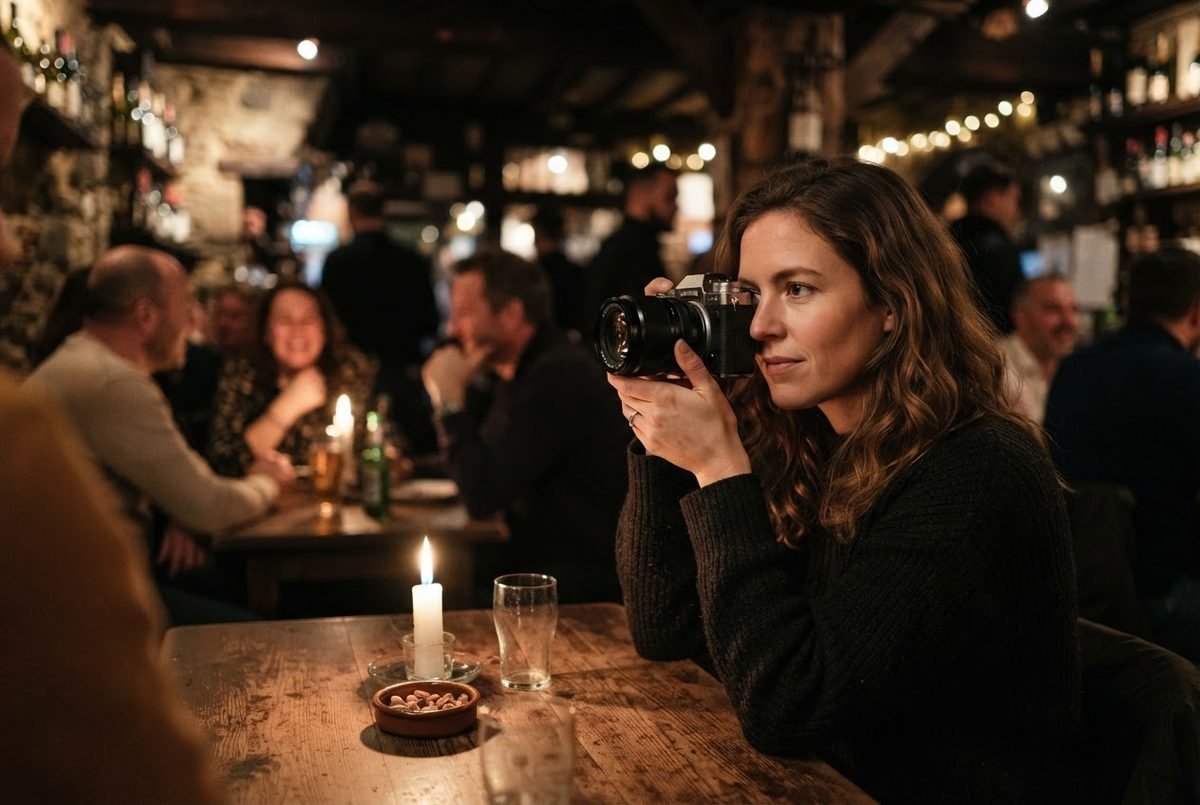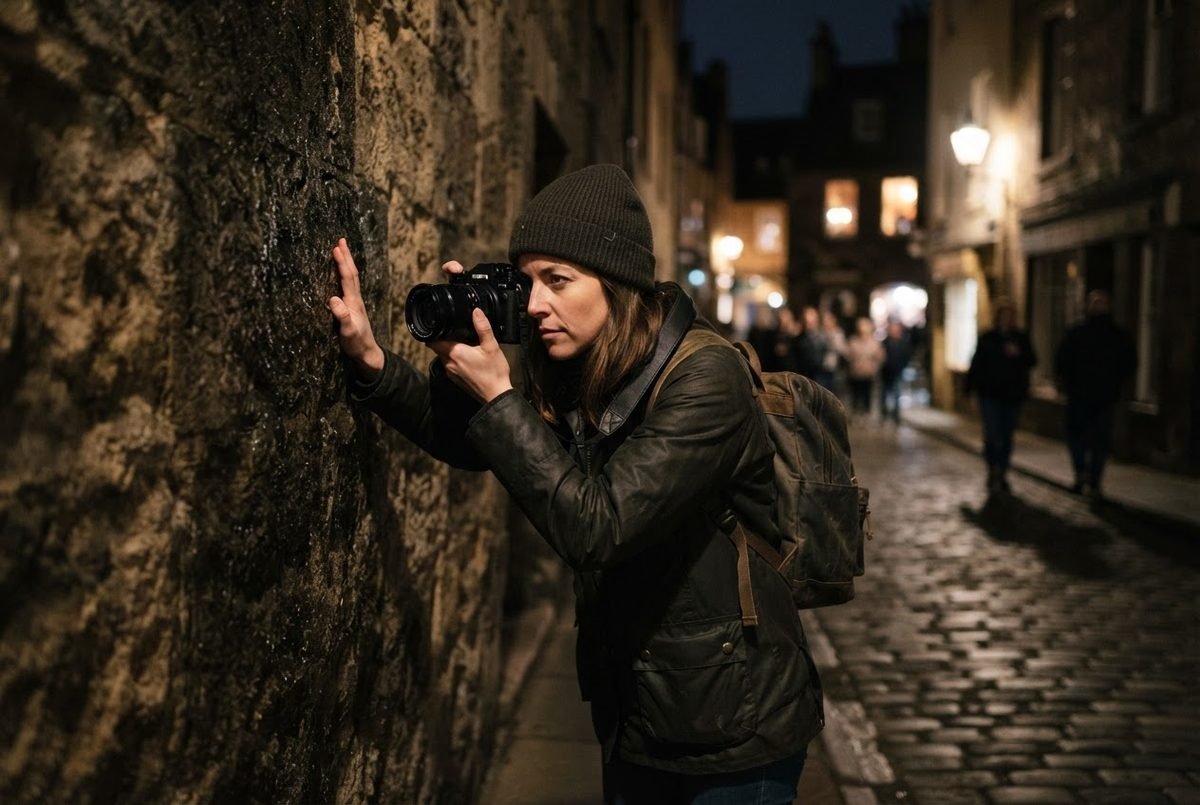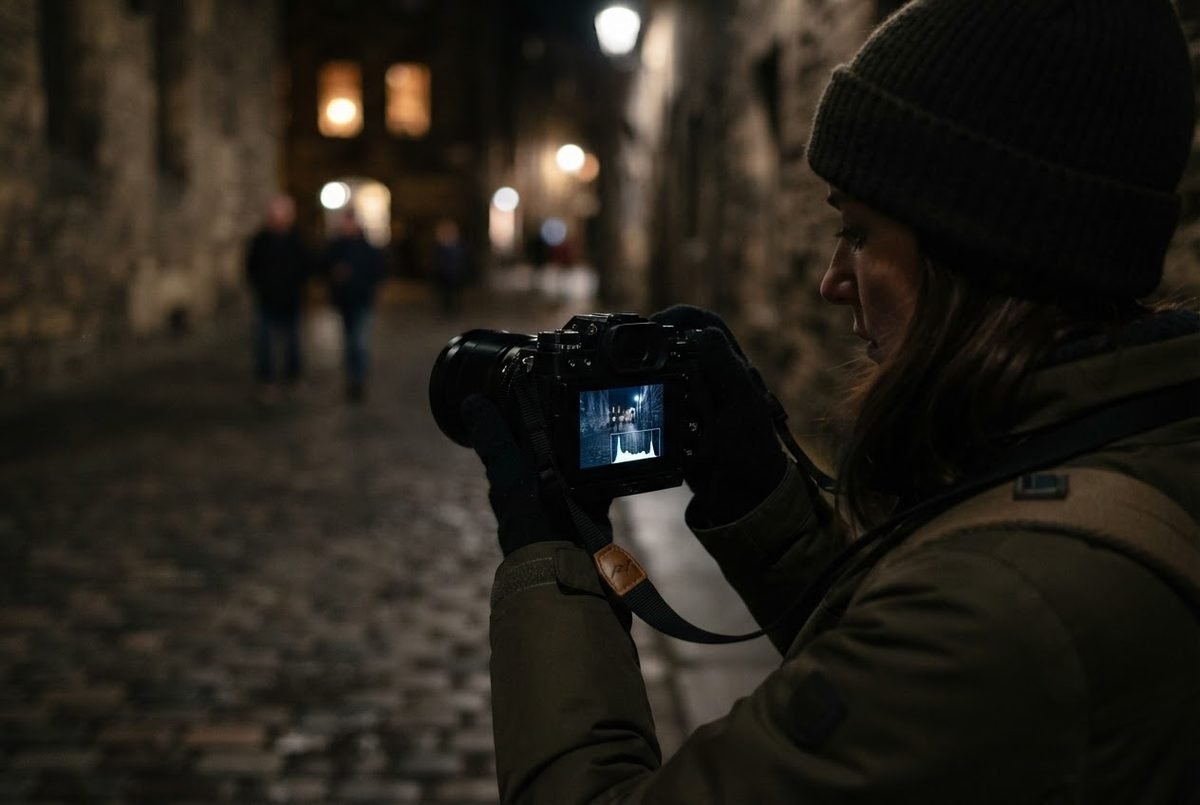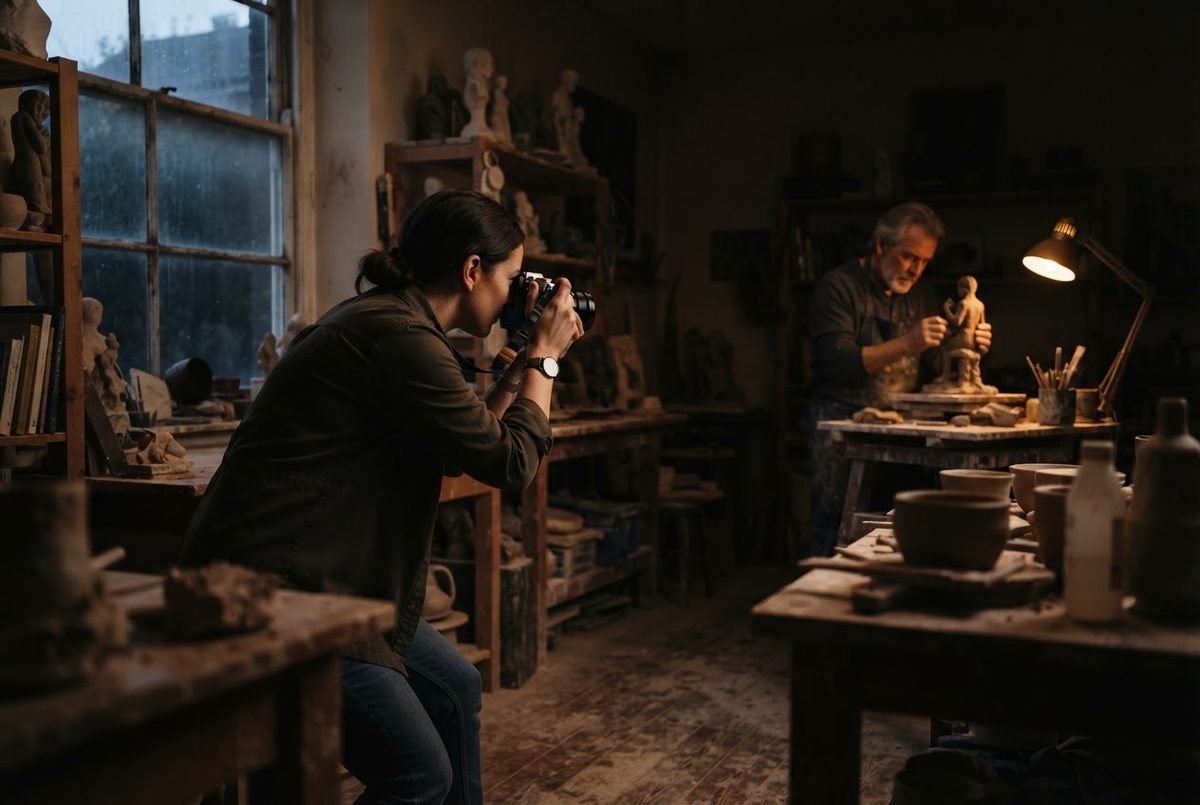
Do you struggle with blurry, noisy photos in dim places? Don’t chase the flash. Learn to use the light you have to get sharp photos fast.
This section will show you what to change on your camera. You’ll learn how to place subjects to avoid blurry photos. You’ll discover the three main camera settings: aperture, shutter speed, and ISO. Plus, simple habits like bracing, using fast lenses, and shooting RAW to fix shadows later.
Key Takeaways
- Balance aperture, shutter speed, and ISO to trade depth of field, motion blur, and noise.
- Use fast lenses (f/1.4–f/2) and position subjects near windows or lamps for cleaner images.
- Image stabilization helps with camera shake but won’t freeze subject motion.
- Shooting RAW is essential for shadow recovery and better noise reduction in post.
- Brace, lean, or use a tripod when shutter speeds drop below handheld limits to secure sharp photos in low light.
Why low light photography without flash is worth mastering — problem and quick fix
Photographers face a big challenge in dim places. They must choose between using a flash or getting soft, noisy photos. Indoor light is much dimmer than daylight.
Cameras struggle with autofocus, exposure, and noise in these conditions. Yet, clients want sharp, good photos at events where flash is not allowed.
Pain point for photographers
Motion blur and focus issues are common problems. Colour casts and ISO noise are also big issues. Missing a key moment or giving out bad photos can hurt trust.
The emotional stress of losing a special shot is real. It happens when you make a mistake with your gear or settings.
Quick fix in 60–90 words
Open your aperture to the widest setting. Choose a shutter speed that works for the movement. Then, increase ISO until the histogram looks good.
Shoot in RAW, use a tripod, and place subjects near light sources. A fast prime lens, like a 50mm f/1.8, is a great upgrade for low light.
Three key takeaways to remember before you shoot
1. Focus on shutter speed to freeze motion. A sharp but noisy photo is better than a soft one.
2. Use the widest aperture and accept a shallow depth of field. Focus on eyes for portraits. This is a key tip for indoor shots.
3. Shoot in RAW and check histograms to avoid losing detail. Use gentle noise reduction in post. Check your camera settings before each shot.
| Problem | Immediate Action | Why it helps |
|---|---|---|
| Motion blur | Increase shutter speed to 1/60–1/125s or faster | Keeps subjects sharp; reduces keeper loss at events |
| Focus hunting | Use single-point AF, back-button focus, or manual focus | Faster, more reliable focus on low-contrast subjects |
| Underexposed shadows | Open aperture, raise ISO, shoot RAW | Preserves mood while keeping detail recoverable |
| Excessive noise | Balance ISO with shutter speed; denoise selectively in post | Maintains detail where it matters and avoids plastic look |
Understanding the exposure triangle in dim light: aperture, shutter speed, ISO
Working in low light means making smart choices. The exposure triangle — aperture, shutter speed, and ISO — controls how much light your camera gets. Aperture is like a light catcher, shutter speed controls movement, and ISO is the sensitivity level.
Together, these settings help you take good photos in dim places without a flash.
How aperture gathers light and affects depth of field
Aperture lets in more light. A lens at f/1.8 lets in four times more light than f/3.5. This is like going from ISO 800 to 3200.
Fast lenses like the 50mm f/1.8 and 35mm f/1.8 are great for indoor shots and low light.
Wide apertures make the background blurry. For portraits, focus on the closest eye. For groups, use f/2.8–f/4 to keep everyone sharp.
Start with a wide aperture and only narrow it down if needed.
Shutter speed tradeoffs: freezing motion vs. letting light in
Shutter speed decides if motion is frozen or blurry. Choose a speed based on your subject and lens. For standing people, use 1/125s. For moving subjects, try 1/160–1/250s.
For dancing, aim for 1/250–1/500s. Performers need 1/320–1/640s.
Use the handhold rule: shutter speed is 1/(focal length) or 1/(focal length × 2) for small sensors. Image stabilization helps but can’t freeze motion. First, set aperture, then shutter speed, and lastly, ISO.
ISO realities: modern sensor performance and acceptable ranges
Modern cameras can handle ISO 3200–6400 well. Pros often shoot here when light is scarce. ISO 12800 and up work in very dark places but add noise.
Test your camera from ISO 100 to 12800. See where noise starts to ruin your photos. That’s your limit for low light shots.
Choose higher ISO over slower shutter speeds. Shoot RAW to keep detail when reducing noise. Use base ISO with strobes or extra lighting, then raise ISO for sharp low light shots.
| Control | Primary effect | Low-light guideline |
|---|---|---|
| Aperture | Light gathered and depth of field | Start wide (f/1.8–f/2.8). Stop down to f/2.8–f/4 for groups or more DOF. |
| Shutter speed | Motion freeze vs. blur | Standing ~1/125s; walking ~1/160–1/250s; active ~1/250–1/500s; use 1/(focal length) rule for handholding. |
| ISO | Sensor sensitivity and noise | ISO 100–200 for strobes; 200–800 mixed light; 3200–6400 usable on modern full-frame; test for limits. |
For a quick guide on the exposure triangle, check out the exposure triangle. Use these tips to improve your low light photography without flash.
Best camera settings low light photographers use as a starting point
Getting good photos in dark places starts with some key settings. First, check a photo right away. Look at it big to see if it’s sharp and clear. Then, make changes as needed.
Practical starting settings for indoor available light
For portraits, use f/1.8–f/2.8, 1/125s, and ISO 1600–3200. For parties, try f/1.8, 1/160–1/250s, and ISO 3200–6400. For static shots, use f/4–f/8, slow shutter, and ISO 100–800.
Use center or spot metering for small subjects. For bigger scenes, use matrix or evaluative metering. Always check the histogram to avoid losing shadows.
When to use Manual mode versus Aperture Priority
Manual mode is best when the light doesn’t change. It’s great for stages and events with steady lighting. This way, your camera won’t keep changing the exposure.
Aperture Priority is better when the light changes or you need to keep focus. Set your aperture first. Then, let the camera choose the shutter speed. Use exposure compensation to adjust the brightness.
Manual is good for steady light. Aperture Priority is better for changing light. It lets you adjust quickly.
Why shooting RAW helps recover shadows and correct white balance
RAW files keep more detail than JPEGs. You can fix shadows and white balance without losing quality. This is key in low light, where different lights mix together.
RAW files also help with noise reduction. This is useful in post-processing. Shooting RAW makes fixing photos safer and more flexible.
Lens and gear priorities for cleaner images without flash
Choosing the right glass and support makes a big difference in low light photography. A good plan for lenses, stabilization, and camera choices will help you get better photos. You can use kinder camera settings without losing image quality.
Fast prime lenses are a big help for most photographers. They let in more light, use lower ISO, and often give sharper images. This is better than kit zooms.
Why a fast prime is the best first upgrade
Start with a 50mm f/1.8 for general use or a 35mm f/1.8 for portraits and events. These lenses cost under $300 and let in four times more light than kit lenses. This means you can use faster shutter speeds and lower ISO for less noise.
For headshots, an 85mm f/1.8 or a 24mm f/1.4–1.8 for wide shots are great. A dedicated lens for low light helps control depth of field. This lets you use less extreme camera settings.
When a professional f/2.8 zoom makes sense for events
Professional zooms like 24–70mm f/2.8 and 70–200mm f/2.8 are flexible for changing focal length fast. They cost more and are heavier. But, pro shooters at events find them worth it.
These zooms might lose a stop of light compared to primes. But, their convenience and faster handling are often better. This is true when paired with robust bodies and smart indoor photography tips.
Image stabilization (IBIS/lens IS): benefits and limitations
Image stabilization reduces camera-shake blur. It can extend handheld shutter speeds by two to five stops. Use IS to steady shots of static subjects and for cleaner frames when using lower shutter speeds.
Stabilization doesn’t stop subject motion. Moving people need enough shutter speed, even with IS. Some systems might show minor image-quality trade-offs with IS on. Test your gear and match IS use to the scene: steady for posed or static scenes, faster shutter speeds for action.
- Fast primes first for best light per dollar.
- f/2.8 pro zooms when focal range and speed matter.
- Use image stabilization to rescue handheld shots, not to freeze motion.
Steady technique and bracing to get sharp photos in low light
Small changes in how you stand and breathe can make a big difference. Use a steady technique and body bracing. This helps get sharp photos in low light without using too much ISO or flash.
Handholding tips and the focal length rule of thumb
Follow the focal-length rule: set shutter speed to 1 divided by focal length. For crop-sensor cameras, increase the denominator. Many experts double this number for extra safety.
Turn on IBIS or lens IS to get a few stops. With a 50mm lens, try 1/50–1/125s. Use good camera settings to avoid high ISO.
Bracing, leaning, and breathing techniques to reduce camera shake
Keep elbows in, camera to your face, and feet wide apart. Use a strap under your forearm or a tight sling strap for support.
Lean against walls or sturdy furniture for stability. Rest elbows or the camera on tables when you can. This helps a lot.
Control your breathing: inhale, exhale halfway, then hold while you click the shutter. Time your exhale with the click for sharper photos in low light.
Using burst mode and remote triggers to increase your keeper rate
Burst mode helps get sharp photos in low light. The first frame often blurs. Later frames might be clearer.
Use burst mode with pre-focus or back-button focus. This locks focus and fires multiple frames without refocusing. It’s great for events and portraits.
Use a remote trigger or self-timer to avoid shake from pressing the shutter. Remote triggers are good when you can’t brace well or need slower shutter speeds.
Focus strategies when autofocus struggles in the dark
Low light makes choices harder. When autofocus fails, a good plan helps. Use central point AF for the best lock. Add back-button focus to keep focus steady while changing shots.
For moving subjects, set AF-C/Continuous. For static shots, use AF-S/Single.

Center point AF, back-button focus, and focus-and-recompose
Center point AF is quick in dark scenes. Lock focus, then adjust your shot. Back-button focus helps during fast shots.
Focus-and-recompose is good for portraits. But for wide shots, choose your focus point carefully.
When to switch to manual focus and use focus peaking or magnified live view
Autofocus often fails in low contrast or mixed light. Switch to manual focus when it hunts. Many cameras have focus peaking to show focus edges.
Use magnified live view for precise focus. This is great for posed shots and static scenes.
Pre-focusing zones for events and predictable action
Pre-focus on likely spots: stage edges, podiums, or entryways. Lock focus, then wait for the action. For fast event shots, use zone focusing or hyperfocal distances.
This way, more shots will be in focus. Pre-focusing with burst mode captures more moments.
Working with available indoor light: windows, lamps, and practicals
Indoor light is a great tool for portraits and photos of things. Window light makes skin look good and shapes faces. Move subjects closer to the window or turn them 45° to get more light.
For photos of things, put highlights near the window. This makes texture and contrast look good. Don’t put your subject right between the camera and a very bright window unless you want a silhouette. These tips help control contrast and mood without extra gear.
Window setups that work fast
Face subjects toward the glass for even light or use side light to add depth. Short focal-length lenses let you work closer while keeping a wide aperture. If autofocus struggles, switch to single-point AF and focus on the nearest eye.
Practical lights as creative sources
Table lamps, floor lamps, and bar fixtures are great for photos. Place a lamp just outside the frame for rim light or include it to build atmosphere. Practicals warm a scene; incandescent bulbs cast orange tones that pair nicely with warm skin tones.
Candlelight and small-source strategy
Candlelight portraits need wide apertures and higher ISO settings. Embrace the color casts from flames and small bulbs; they add intimacy. Use candles for accent light, not the only source, when you need clean catchlights and clearer eyes.
Managing mixed color temperatures
Mixed lighting photography is common indoors when daylight meets tungsten and LEDs. Shoot RAW so you can adjust white balance low light situations without degrading image quality. Choose a dominant source and set a custom white balance when practical, or use Auto WB as a starting point and refine later in RAW.
When severe casts like magenta or green appear, accept them when they add mood and grade creatively during editing. For technical control, gel a lamp or move subjects to favor one light type. For more detailed examples and setups, consult a practical guide on indoor low light techniques at indoor low light.
| Situation | Recommended Approach | Typical Settings |
|---|---|---|
| Window portrait, soft daylight | Face subject 45° to window, use sheer curtain if needed | Aperture f/1.8–f/2.8, Shutter 1/60–1/125s, ISO 400–1600 |
| Practical lamp as main/rim light | Place lamp near shoulder or behind subject; include lamp for atmosphere | Aperture f/1.8–f/2.8, Shutter 1/60s, ISO 800–3200 |
| Candlelight portraits | Use wide aperture, accept warm cast, add small reflector for fill | Aperture f/1.4–f/2.8, Shutter 1/30–1/60s, ISO 1600–6400 |
| Mixed lighting photography (day + tungsten) | Choose dominant source, set custom white balance or correct in RAW | Aperture f/2–f/4, Shutter 1/60s, ISO 800–3200 |
| Low light without flash, action or movement | Prioritize shutter speed, brace or use stabilization, raise ISO as needed | Aperture f/1.8–f/2.8, Shutter 1/125–1/250s, ISO 1600–6400 |
Low-light event and action tactics used by professionals
Pro photographers plan before the first guest arrives. They look for the brightest spots and test camera settings. This helps them know how high to set ISO for restaurants or theatres.
They arrive early to check the lighting. A quick walk helps them find the best spots. This lets them capture important moments.

They start with aperture and shutter speed, then adjust ISO. For portraits, use the 1/[focal length] rule. For moving subjects, double that number.
This helps balance sharpness and noise. So, they can take great photos in low light without flash.
Shutter speeds vary by motion. Use the table below to find a safe starting speed and ISO. Adjust based on lens and scene contrast.
| Subject / Movement | Minimum Event Shutter Speed | Typical Camera Settings Low Light (ISO Range) | Practical Tip |
|---|---|---|---|
| Standing people / posed portraits | 1/125s | ISO 800–1600 (well-lit venues) | Use a fast prime and pre-focus zones near lamps |
| Walking or gesturing | 1/160–1/250s | ISO 1600–3200 (restaurants, function rooms) | Brace against a wall and shoot bursts through motion |
| Dancing and active movement | 1/250–1/500s | ISO 3200–6400 (dim bars, clubs) | Open aperture and choose higher ISO to freeze motion |
| Stage performers and concerts | 1/320–1/640s (depending on motion and lights) | ISO 3200–12800+ (very dark theatres) | Meter for highlights from spotlights, protect detail in faces |
Keep moving to find better angles. Stand near light sources and avoid strong backlight. Use back-button focus for quick lock-on.
Program focus points for speeches and dances. Anticipate moments by watching body language. This helps you capture key expressions.
For restaurants, start with ISO 1600–3200. Use f/1.8–f/2.8 lenses if you can. For theatres, ISO might go up to 6400 or more. Trust your camera’s sensor and shoot RAW to recover shadows later.
Shoot in bursts during key moments. Switch to wider apertures for lower shutter speeds. Practice these tips to get sharp, usable photos from low light events without flash.
How to reduce noise and salvage images in post-processing
Start with RAW files from low-lit shoots. Open them at 100% to see noise and detail. First, fix exposure and white balance. Then, work on noise and detail.
Noise reduction workflow in Lightroom and Camera RAW
Start in Lightroom’s Develop module or Adobe Camera Raw. Slowly raise the Luminance slider to reduce grain. Use Luminance Detail to keep texture and Luminance Contrast for balance.
Work at 100% while adjusting. Toggle before/after view to check for detail loss.
When Lightroom can’t do more, try Topaz DeNoise or DxO PhotoLab. Test side by side. Protect eyes and hair from too much smoothing.
Shadow recovery, selective sharpening, and preserving detail
Use Luminance slider to lift Shadows and adjust Blacks. This reveals hidden info. Use local masks or Adjustment Brush to target subjects without brightening backgrounds.
After reducing noise, sharpen key areas. Mask sharpening for textures like eyes and fabric. Check at 100% to balance noise reduction and sharpening.
Batch processing for event shoots and consistency tips
Set global defaults for exposure, white balance, and noise reduction. Sync these settings across the set. Then, fine-tune favorites. This makes batch processing event photos quick and keeps editing consistent.
Create presets for common venues like restaurants and theatres. This speeds up your workflow. Export test images for client review to avoid over-processing.
| Step | Action | Why it matters |
|---|---|---|
| 1 | Inspect RAW at 100% | Shows real noise and detail before edits |
| 2 | Global exposure & white balance | Creates consistent base for all files |
| 3 | Apply conservative luminance reduction | Reduces grain while preserving texture |
| 4 | Use local masks for shadows | Targets subject without brightening noisy areas |
| 5 | Selective sharpening with masking | Sharpens subjects, avoids grain boost in smooth zones |
| 6 | Batch process event photos with presets | Delivers consistent editing low light and saves time |
| 7 | Export test images for client review | Prevents surprises from over-processing |
Keep camera settings consistent for less surprises in post. Use these tips for better Lightroom workflow and shadow recovery. The right balance between noise reduction and sharpening preserves detail and look.
low light photography without flash: creative choices and realistic expectations
Mastering low light photography without flash is all about making the most of what you have. Try exposing for highlights to get cool silhouettes. Use practicals and window edges for a nice rim light.
Deep shadows can make portraits look moody. Motion blur can make dance floors and concerts look lively. Warm colours from tungsten or neon can look better than trying to make everything neutral.
Be realistic about what you can do. Some places are just too dark for good photos without special lenses or cameras. A 50mm f/1.4 or f/1.8 lens, or cameras like the Sony a7 IV or Nikon Z6 II, can help a lot.
When you need a bit more light, small LED panels or bounced flash can be good choices. Remember, a little noise is better than blurry photos. Some photos might not turn out, even if you try your best.
Practice a lot to get better. Try taking photos in restaurants, small theatres, and at parties. This will help you learn how to use your camera better.
Keep working on your skills. With time, you’ll find ways to make low light photos look great. Share your creative ideas with clients and be honest about what you can do.
FAQ
What is low-light photography without flash and why should I learn it?
What is the fastest practical fix when a scene is too dark?
What are the three most important things to remember before shooting in low light?
How does aperture affect low-light images and depth of field?
How should I balance shutter speed for motion versus exposure?
What ISO ranges are realistic with modern cameras?
What starting camera settings work well for indoor available-light shooting?
When should I use Manual mode versus Aperture Priority?
Why is shooting RAW essential for low-light work?
Which lens should I buy first for low-light shooting?
When does a professional f/2.8 zoom make sense?
How much does IBIS or lens IS help in low light?
What handholding rules help get sharp photos in dim conditions?
How can bracing and breathing improve sharpness?
Should I use burst mode or a remote trigger in low light?
What autofocus tactics work when AF struggles in the dark?
When is it better to switch to manual focus?
What is pre-focusing and how does it help at events?
How can I use window light, lamps, and practicals effectively?
How do I manage mixed color temperatures in indoor scenes?
What shutter speeds should I aim for with different types of movement?
What are typical ISO targets for different venues?
Where should I position myself and how should I anticipate moments?
How do I reduce noise and salvage underexposed shots in post-processing?
What workflow tips speed event post-processing while preserving quality?
When is available-light shooting unrealistic and what are alternatives?
How should I practice low-light techniques to become confident?
Struggling to get consistent photography clients?
Get More Photography Clients