
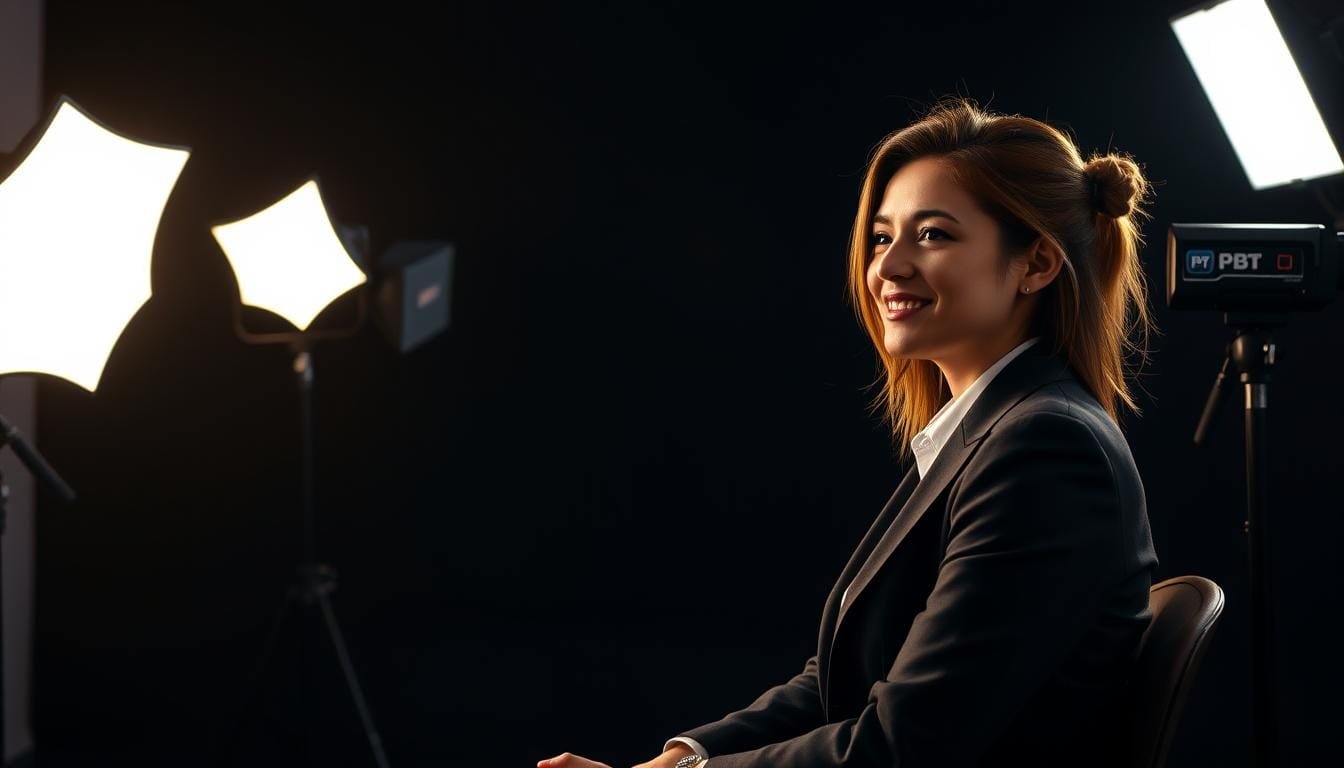
Have you ever found yourself squinting at your camera, frustrated by the harsh shadows cast by a bright window or an overhead bulb? I remember my first attempt at capturing a friend’s smile, only to be met with distracting shadows that stole the moment. It was then that I realized the importance of controlling the light around me. With just a single light source and a simple reflector, I discovered I could create stunning, flattering images.
In this guide, I will share practical tips for setting up effective lighting, whether you’re at home, in a studio, or outdoors. You don’t need expensive gear to achieve beautiful results. Using a camera like the Leica SL2, I learned how crucial it is to make deliberate lighting choices alongside your equipment settings. Together, we will explore how to balance exposure, select modifiers, and refine your setup for perfect photos.
Key Takeaways
- Understanding light control is essential for flattering images.
- A simple setup can dramatically improve your results.
- Experiment with different light sources to find what works best.
- Modifiers like reflectors can enhance your lighting without extra cost.
- Deliberate camera settings complement effective lighting choices.
The Pain Point and Practical Solution in Lighting Challenges
Finding the right lighting can be a daunting task, especially when shadows interfere with your subject’s beauty. I often faced this issue, where mixed room illumination and uncontrolled window brightness led to uneven exposure on my model’s face. A poorly placed side light created unflattering nose shadows and deep eye sockets, making it difficult to capture the essence of my subject.
In my journey, I stumbled upon Sean Tucker’s tutorial on a portable one-light, off-camera flash setup. This manageable approach was a game-changer, especially when my Leica and LUMIX cameras struggled with third-party flash triggers. Jörg-Peter Rau then suggested using continuous lighting, which eliminated the synchronization issues I faced with flash. This simple switch allowed me to control the light effectively.
What I learned is that you often need just one controllable light source, a reflector, and a few minutes of testing. You don’t need an intimidating studio full of equipment to achieve beautiful results. “Less is often more when it comes to lighting setups,” a fellow photographer once told me, and I couldn’t agree more.
Mastering portrait photography lighting: Fundamentals & Key Concepts
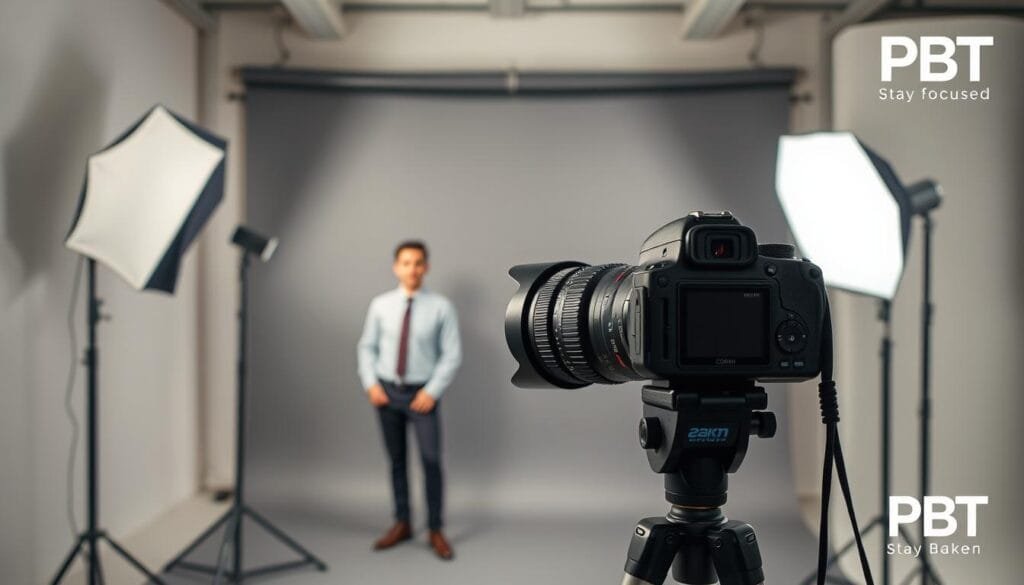
Capturing the perfect image often hinges on understanding how to manipulate light effectively. The foundation of any successful shoot lies in mastering key light, fill light, and the use of modifiers. Each element plays a vital role in shaping the final result.
The key light serves as the primary source, usually positioned between 15 and 70 degrees from the subject, with 45 degrees being a reliable starting point. This angle determines how shadows fall on the face, creating depth and character.
Next, the fill light helps reveal details hidden in the shadows created by the key light. It can be achieved using a reflector, white wall, or even a dedicated lamp. This lower-intensity light softens harsh contrasts and enhances the overall look.
Understanding common lighting patterns is also essential. Techniques like butterfly, loop, split, and Rembrandt lighting each create distinct effects on the subject’s face. For instance, butterfly lighting produces a butterfly-shaped shadow under the nose, while Rembrandt lighting creates a triangle of light on the cheek.
| Lighting Pattern | Key Features | Emotional Impact |
|---|---|---|
| Butterfly | Light above and in front | Soft and flattering |
| Loop | Light to the side | Dynamic and engaging |
| Split | Light from one side | Dramatic and moody |
| Rembrandt | Triangle of light on cheek | Intimate and thoughtful |
To ensure the best results, focus on the subject’s eyes and consider capturing in RAW format. This approach allows for greater flexibility in post-processing, ensuring your images remain sharp and vibrant.
Exploring Versatile Lighting Setups for Studio & Home Shoots
Ever struggled to find the perfect light for your shoots, only to be met with frustrating shadows? Whether you’re in a studio or shooting at home, the right setup can make all the difference. A traditional studio setup offers consistent results, while natural light can change quickly, especially with shifting clouds or curtains. It’s like trying to catch a kangaroo on a hot road-unpredictable!
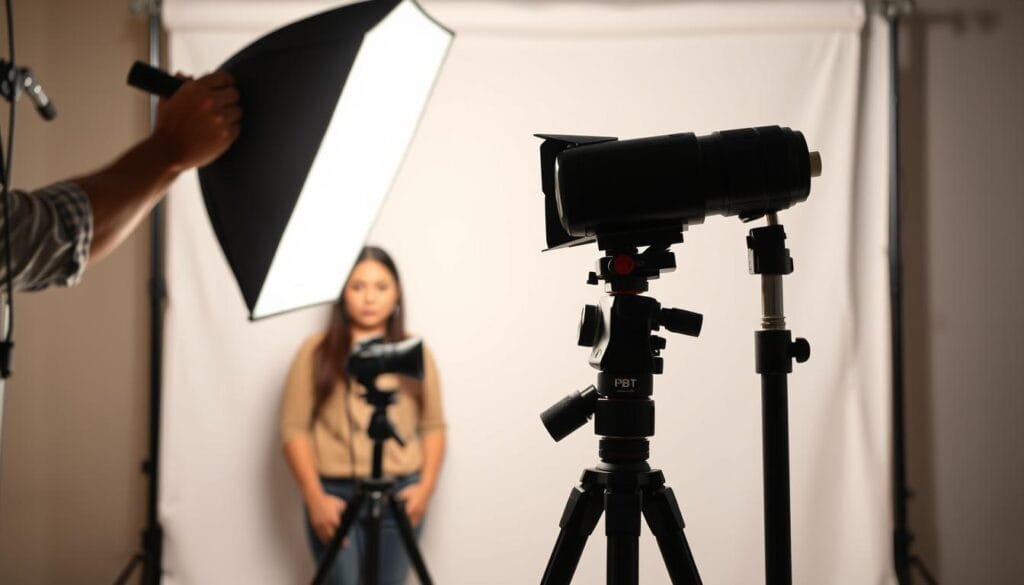
Continuous lights allow you to see the effect before taking the shot, while speedlights offer portability, running on standard AA batteries. When working with your model, consider placing the light near the front for even butterfly illumination. Alternatively, move it to the side for a more dramatic effect.
If you’re shooting at home, don’t worry! You can use a white sheet or cardboard as a reflector to gently lift shadows on your subject’s face. This simple substitution can enhance your setup without breaking the bank.
| Lighting Type | Advantages | Best Use |
|---|---|---|
| Continuous Light | Visible effect before exposure | Indoor and controlled environments |
| Speedlight | Portable and battery-operated | On-location shoots |
| Monolight | Powerful enough to overpower sunlight | Outdoor shoots in bright conditions |
Step-by-Step Guide to Setting Up Your Portrait Lighting Gear
Navigating the world of lighting gear can be a challenge for many aspiring photographers. To simplify this process, let’s break down the essential steps for creating a successful lighting setup.
Start by selecting the right equipment. You’ll need a stable light stand, a continuous LED or speedlight, a softbox or umbrella, and a reflector. These basics form the foundation of your lighting system.
Selecting the right equipment and modifiers
For a simple one-light setup, consider using two 60-watt LED lamps in small softboxes. Position them at 45 degrees from your subject to achieve a balanced light. Adding a reflector opposite the softboxes can help fill in shadows on the subject’s face.
Simple one-light setups and DIY alternatives
In a real-world example, a single Nanlite 200 LED paired with a 44-inch Glow Octa Parasnap softbox provided a streamlined workflow. To recreate this, turn off any competing room lights and place your subject a few feet from the backdrop. Raise the light source above eye level for optimal results.
As a cost-effective alternative, a white sheet or cardboard can serve as a reflector. Just make sure to secure it safely to avoid any accidents during your shoot.
Insider Photography & Studio Setup Tips for Flattering Shots
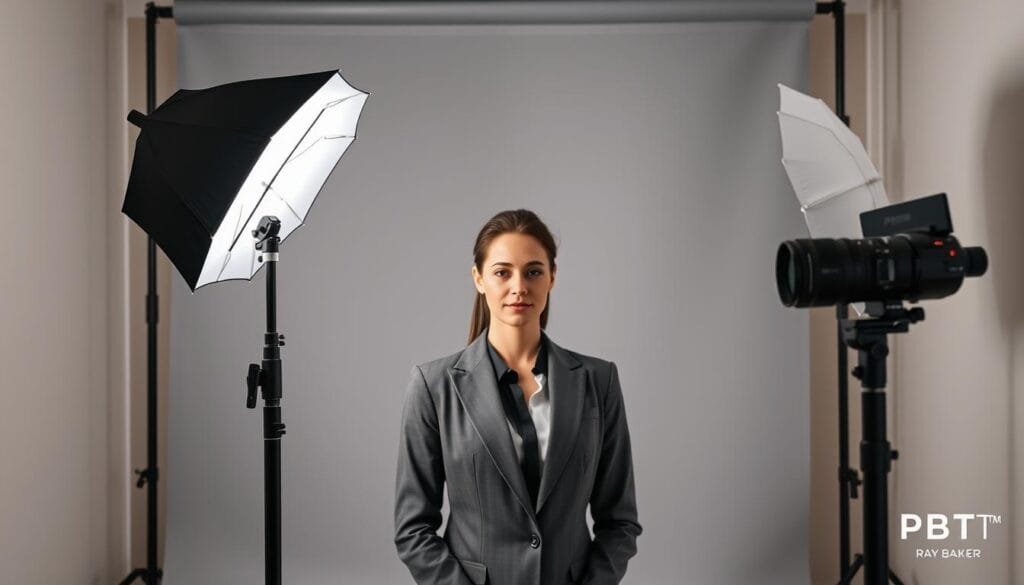
The right adjustments to your lighting setup can transform an ordinary photo into something extraordinary. Achieving soft, natural results requires attention to detail. For instance, moving a softbox closer creates a larger, softer light source. Just remember to check exposure when changing distances.
Using a reflector instead of a second light can maintain a simple workflow while gently controlling shadows. This approach is particularly effective for achieving a natural look without complicating your setup.
Consider adding an egg-crate grid to your softbox. This can limit spill onto the backdrop, enhancing separation between your subject and the background. Gavin Hoey highlighted how visible irises under continuous light can create especially flattering headshots, making this technique worth exploring.
Always check your backdrop coverage before shooting. A documented 2m × 1.5m backdrop may not accommodate taller or wider subjects. Lastly, using a handheld light meter can help reduce background exposure variation, ensuring consistent results throughout your session.
Real-World Experiences and Storytelling in Portrait Sessions
Participating in the “Celebrating Seniors” project at the Spreckels Center transformed my approach to using a single light source. This community assignment involved five photographers working with local residents aged 55 and over. Each session lasted just fifteen minutes, which meant I had to make quick decisions about posing and exposure.
During the project, subjects brought meaningful items like heritage roses, a family spade from 1953, a cowboy hat, an easel, and paintbrushes. These props revealed their interests and stories, adding depth to the portraits. My setup included a counter stool, a black backdrop, and a reflector, all while maintaining a Rembrandt-style position to create variety without altering the one-light arrangement.
For this project, I used a Panasonic Lumix 85mm lens, setting it between f/4.0 and f/5.6 with negative 2/3 EV exposure compensation. This combination captured substantial detail while protecting highlights. Looking back, I see areas for improvement, such as better backdrop placement and more consistent metering for future shoots.
“Every session taught me the importance of preparation and adaptability,” I realized.
Wrapping Up and Next Steps for Your Lighting Journey
As you embark on your journey to master the art of capturing stunning images, the importance of effective setups cannot be overstated. Here are five key takeaways to remember:
- Start with one controllable light source.
- Use a large modifier to soften shadows.
- Add a reflector to fill in any harsh areas.
- Control ambient light for better results.
- Always test exposure before directing your subject.
I encourage you to practice butterfly, loop, split, and Rembrandt patterns with a volunteer before investing in more lights or complex accessories.
Here are some FAQs to consider:
- What is the best beginner light?
- Is natural light enough for good results?
- How far should I place a reflector?
- Which camera settings should I prioritize?
If you know a photographer struggling with harsh shadows, send this to a friend! They might benefit from trying the one-light method.
For more insights, check out our article on lighting techniques in the PBT photography category for continued learning.
References: COLBOR; Sean Tucker; Gavin Hoey; University of YouTube; Macfilos community account.
Stay focused,
Ray Baker.