
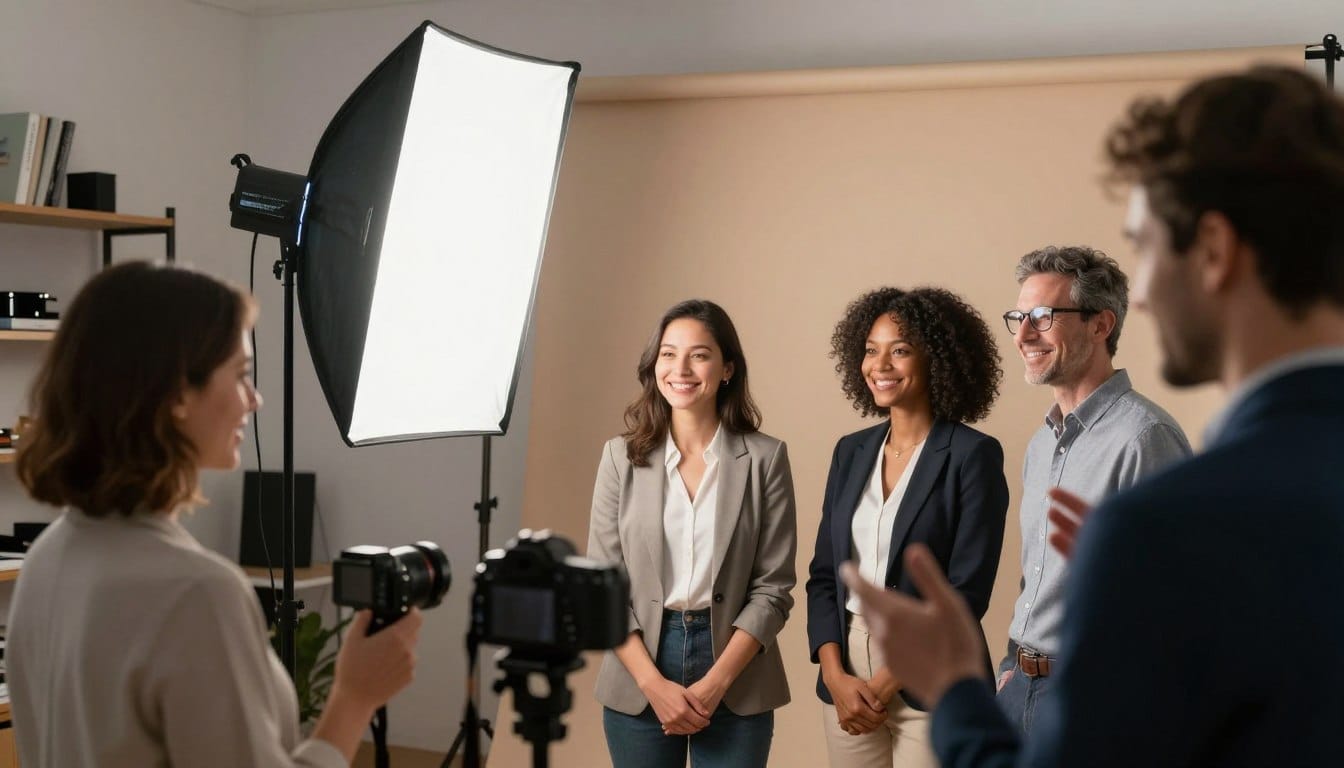
Have you ever wondered why some images seem to *pop* while others fall flat? Understanding how to manipulate light is crucial for any photographer looking to elevate their craft. Many struggle with achieving that *wow* factor in their photos, often feeling lost when it comes to lighting. This article aims to change that.
In 2025, mastering the nuances of light has become more important than ever. Proper illumination can transform your images from dull to stunning. If your photos look like a blurry mess, it’s time to make some adjustments. With the right techniques, you can create depth and clarity that will make your work stand out.
Join us as we explore essential strategies to enhance your photography skills. Whether you’re just starting or have some experience, these insights will help you capture striking images with ease.
Addressing the Lighting Struggles in Portrait Photography
Are you struggling to make your subjects shine in your images? Many photographers encounter similar challenges, particularly when it comes to lighting. Poor illumination can lead to noisy shadows and flat images that lack depth.
Here are some quick fixes to enhance your shots:
- Move your subject closer to a window: This allows natural light to create a soft, flattering effect.
- Adjust your position: Ensure the light hits your subject’s face at a good angle for the best results.
- Use a reflector: This simple tool can bounce light back into darker areas, reducing harsh shadows.
- Understand light-source relationships: Many beginners overlook how the light source interacts with the subject, affecting the overall quality of the photo.
Understanding the Role of Light in Portrait Photography
The essence of a photograph often lies in the way light interacts with the subject. According to Love Studios NYC, light is the primary tool for defining both the structure and emotion of your photography sessions. Without proper illumination, even the most expensive camera cannot save an image from appearing flat or lifeless.
Understanding how light shapes your subject is crucial. This foundational skill distinguishes a casual hobbyist from a serious photographer. Whether shooting indoors or outdoors, the interaction of light with your subjects dictates the overall mood and quality of the final image.
By mastering control over light, you can highlight specific features of your subject. This not only enhances engagement but also elevates the professionalism of your portraits.
Mastering Natural and Artificial Light Sources
Understanding how to effectively use different light sources can significantly enhance your photography. Both natural and artificial lights have unique advantages that can elevate your portraits.
Natural light is often free and flattering. However, using the COLBOR CL100X provides essential control in a studio setting. This artificial light source allows you to maintain consistency in your work, regardless of the time of day.
To achieve soft portraits, embrace natural light during the golden hour. This time offers a warm glow that enhances your subjects beautifully. On the other hand, if you prefer artificial lighting, the COLBOR CL100X can be combined with multiple units to generate up to 1100W of power.
Mastering every light source, whether it is sunlight or high-end LEDs, is key to creating professional-looking portraits in any environment.
The Science Behind Light Direction and the Inverse Square Law
Understanding light direction is essential for creating impactful portraits. The angle at which light hits your subject can dramatically influence shadows and highlights, shaping the overall look of your images.
Love Studios NYC recommends positioning your light at a 45-degree angle. This technique sculpts the subject’s face, producing natural highlights and soft shadows under the nose. By mastering this angle, you can create depth and interest in your photography.
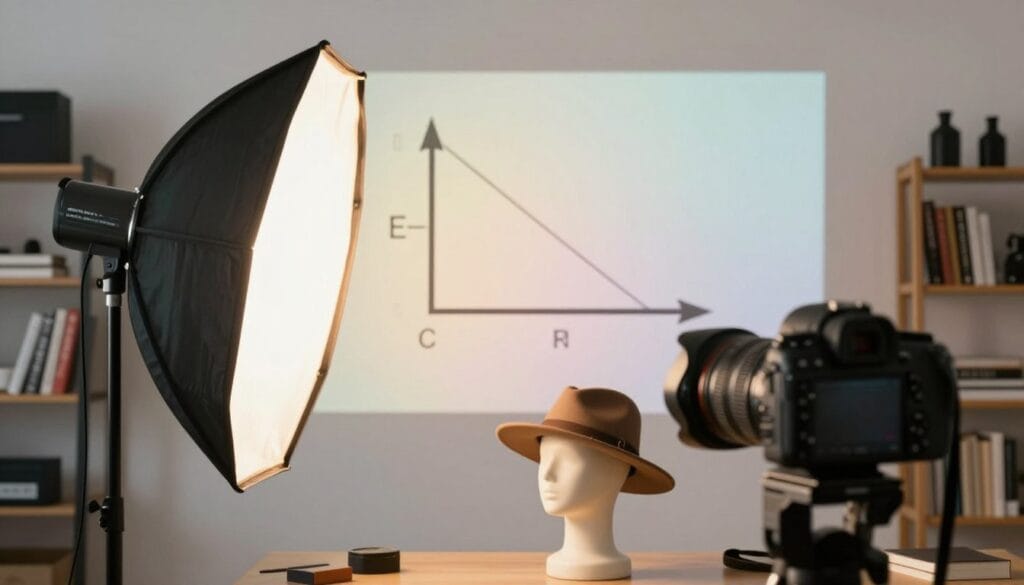
The Inverse Square Law is a fundamental principle that explains how light intensity diminishes with distance. Specifically, doubling the distance from the light source reduces its intensity by four times. This knowledge allows you to control the brightness of the background relative to your subject.
By moving your light source closer, you will notice an increase in contrast and a more dramatic falloff. Understanding how light direction affects shadows enables you to intentionally create depth in your work.
| Technique | Description | Effect |
|---|---|---|
| 45-Degree Angle | Position light at an angle to sculpt features | Creates natural highlights and soft shadows |
| Inverse Square Law | Doubling distance reduces intensity by four times | Controls background brightness |
| Closer Light Source | Brings light nearer to the subject | Increases contrast and dramatic falloff |
Using Lighting Modifiers and Reflectors for a Flattering Effect
Creating stunning images often hinges on the right tools. Every photographer should consider investing in lighting modifiers to elevate their photo quality. These tools can dramatically change how light interacts with your subjects.
Love Studios NYC suggests that using a softbox is the best way to create a soft light effect that mimics a large window. This is crucial for achieving that dreamy look in your shots. A reflector is another essential tool in your setup. It allows you to bounce light into shadows, filling in the subject’s face beautifully.
When deciding between softboxes and umbrellas, remember that softboxes offer more directional control. This feature is vital for a professional portrait setup. Additionally, using multiple reflectors can help balance the light, ensuring your images look clean and well-lit from every angle.
Don’t overlook the benefits of diffusers. These simple tools are crucial for softening harsh light, creating a flattering effect that enhances your subjects. For more insights on using reflectors effectively, check out this article on using reflectors in portrait photography.
Setting Up Your Studio for Professional-Looking Portraits
Setting up a studio space can be the difference between average and stunning photography. A well-organized environment allows you to create consistent results, crucial for client satisfaction. Love Studios NYC documents every lighting setup, including power settings and modifiers, to ensure repeatable success.
Your studio setup should include essential gear like light stands, a reliable flash, and a sturdy tripod. These tools help ensure your portraits are sharp and professional. When planning your lighting layouts, consider the distance between your subject and the background. This distance maximizes the quality of your images.
- Consistency is key: A professional studio maintains a reliable lighting setup, allowing you to replicate results for clients.
- Essential gear: Include light stands, flashes, and tripods for optimal results.
- Distance matters: Always consider how far your subject is from the background.
By documenting your studio gear and layouts, you can save time during future sessions. This approach lets you focus entirely on engaging with your subject. Want to Start Your Own Photography Business?
Top portrait lighting tips for beginners: Creating Flattering Portraits
Capturing a great image often depends on how well you connect with your subject. Engaging with them helps to reveal genuine, soulful expressions that resonate in your photographs.
Always check your camera settings. Make sure your shutter speed is fast enough to prevent blur, especially when shooting handheld in low light. This simple adjustment can save many shots.
One of the best tips is to ensure you have a catchlight in the eyes. This detail adds life and depth to your images, making them more captivating.
If you struggle with your lighting, try adjusting your position. Small changes can significantly improve the overall quality of your images.
Remember, the best portrait is one where the subject feels comfortable. Keep your tips simple and your conversation flowing throughout the shoot to achieve this.
Embracing Shadows and Highlights for Creative Portrait Effects
Shadows can be powerful tools in photography, transforming an ordinary image into something extraordinary. Understanding how to use shadow play can add depth and intrigue to your portraits.
Love Studios NYC adjusts shadows depending on the mood, using deeper shadows for luxury products to suggest mystery. A well-placed shadow is just as important as a highlight, proving that balance is key.
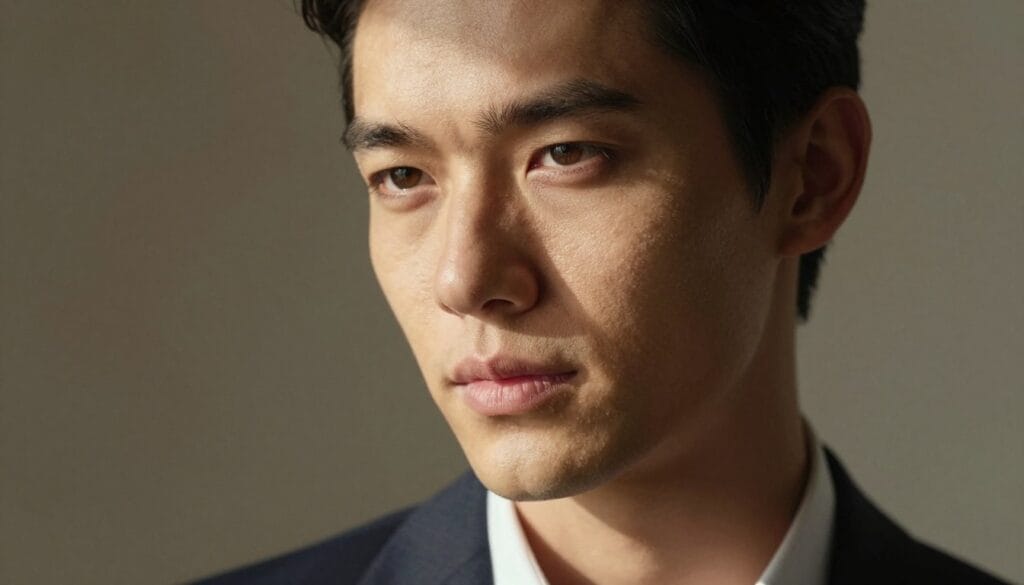
You can create high contrast by using side lighting, which emphasizes the texture of the subject’s face and adds a dramatic flair. Embracing the shadow is a creative choice that guides the viewer’s eye toward the most important parts of your images.
When you balance your highlights and shadows, you create a three-dimensional look that makes your work feel more professional and intentional. If you want to avoid flat lighting, intentionally introduce a shadow to define the jawline or cheekbones of your subject.
| Technique | Description | Effect |
|---|---|---|
| Shadow Play | Utilizing shadows to enhance depth | Creates intrigue and visual interest |
| Side Lighting | Positioning light to emphasize texture | Increases contrast and drama |
| Highlight Balance | Balancing shadows with highlights | Achieves a three-dimensional effect |
Balancing Camera Settings and Exposure for Perfect Lighting
Achieving the perfect balance in your camera settings can make a world of difference in your photography. Proper settings ensure that your images capture the intended mood and details.
To achieve a natural look, set your camera white balance to 5500K when shooting in daylight. This adjustment guarantees accurate color reproduction in your images.
Keep your ISO low, around 100, and maintain a shutter speed of at least 1/160s. These settings help ensure your images remain sharp and clear, even in challenging conditions.
Proper exposure is essential. Use your camera histogram to avoid blowing out highlights on your subject’s face during the shoot. Shooting in RAW format allows you to adjust color and exposure in post-production without losing quality.
Balancing your camera settings is the final step in ensuring that your lighting setup translates perfectly into a high-quality, professional image.
Avoiding Common Lighting Pitfalls and Troubleshooting Errors
Every photographer faces challenges with light that can derail their best efforts. Recognizing and addressing these issues is vital for achieving stunning images. Understanding common lighting mistakes will help you enhance your portraits.
Harsh shadows are often caused by small, direct light sources. Love Studios NYC warns that this is a common pitfall. You can easily fix this by using a diffuser to soften the light. If you notice blown highlights on your subject, lower your flash power or move the light source further away to regain detail.
Mixed light sources can lead to strange color casts. To avoid this, stick to one type of lighting or adjust your white balance accordingly. Troubleshooting your lighting errors is a vital part of the learning process for any photographer aiming to master the art of capturing beautiful images.
By preventing these common mistakes, you ensure that your portraits remain clean, professional, and free from distracting technical flaws.
Crafting a Signature Lighting Setup: From Experimentation to Consistency
Creating a unique lighting setup is essential for any photographer looking to define their style. Experimenting with different angles and modifiers will help you find a signature style that makes your work instantly recognizable.
Once you discover a lighting setup that works, be sure to document the exact position of your lights and the power settings used. This practice ensures you can replicate successful looks for future sessions.
Consistency is what separates a professional from an amateur. Take the time to refine your arrangements until they are perfect. By testing new ideas and documenting the results, you will build a library of lighting setups that you can rely on for any session.
Wrapping Up Your Journey to Flawless Lighting Mastery
Every photograph tells a story, and the way light shapes that story is what makes it compelling. Mastering the art of illumination requires patience and practice. Don’t shy away from experimenting with various light sources and modifiers.
Focus on connecting with your subject. This connection often leads to the most engaging and authentic images. Use the insights from this article to refine your lighting setups.
Whether you’re in a studio or using natural light, remember that the principles of light direction and exposure apply universally. Keep practicing and documenting your progress. Soon, you will create stunning portraits that shine in any portfolio.