
By Ray Baker
You stand in front of a beautiful scene, take the shot, and get home to a flat, lifeless file. The outdoor photography settings that felt right on location often miss because a camera does not see the way your eyes do. Your eyes travel over a landscape and pick out appealing details; a lens and sensor need a little help to do the same [1]. That gap is where better settings, timing and a little scouting pay off. I would rather spend ten minutes watching the light than fire off a card full of guesses.
For working photographers, a poor outdoor session often means a reshoot or an unhappy client. I treat outdoor photography settings, scouting and light checking as one workflow, not separate chores. The goal is not a perfect file every time; it is a predictable one.
What outdoor photography settings matter most?
Aperture, shutter speed and ISO are the three settings that determine exposure, and each setting also influences other image properties [2]. Outdoor light shifts constantly, so I treat these as a connected set, not separate dials. In bright, high-contrast scenes, the real question is which trade-off you can accept.
Key takeaways
- Exposure is determined by just three camera settings, and aperture affects depth of field, shutter speed affects motion blur and ISO speed affects image noise [2].
- Scenes with high variation in reflectivity, such as those containing black objects in addition to strong reflections, may have a greater dynamic range than scenes with large incident light variation, and photography under either scenario can easily exceed the dynamic range of your camera [3].
- Time is the most important investment you can make in getting good landscape pictures; spend time scouting and carry a compass to figure out where the sun will rise and set [1].
- You can use some reflections to enhance the image, but others may just be distracting; you may have to move around a bit to include or eliminate them, or use a polarizing filter and rotate it until you have the effect you want [1].
- Group Registration of Published Photographs (grpph) is a group option for registering photographs [4].
Need clients who book outdoor work? The eBook walks through getting clients, pricing, licensing and releases for outdoor photography.
Get the client guideHow do exposure settings work together outdoors?
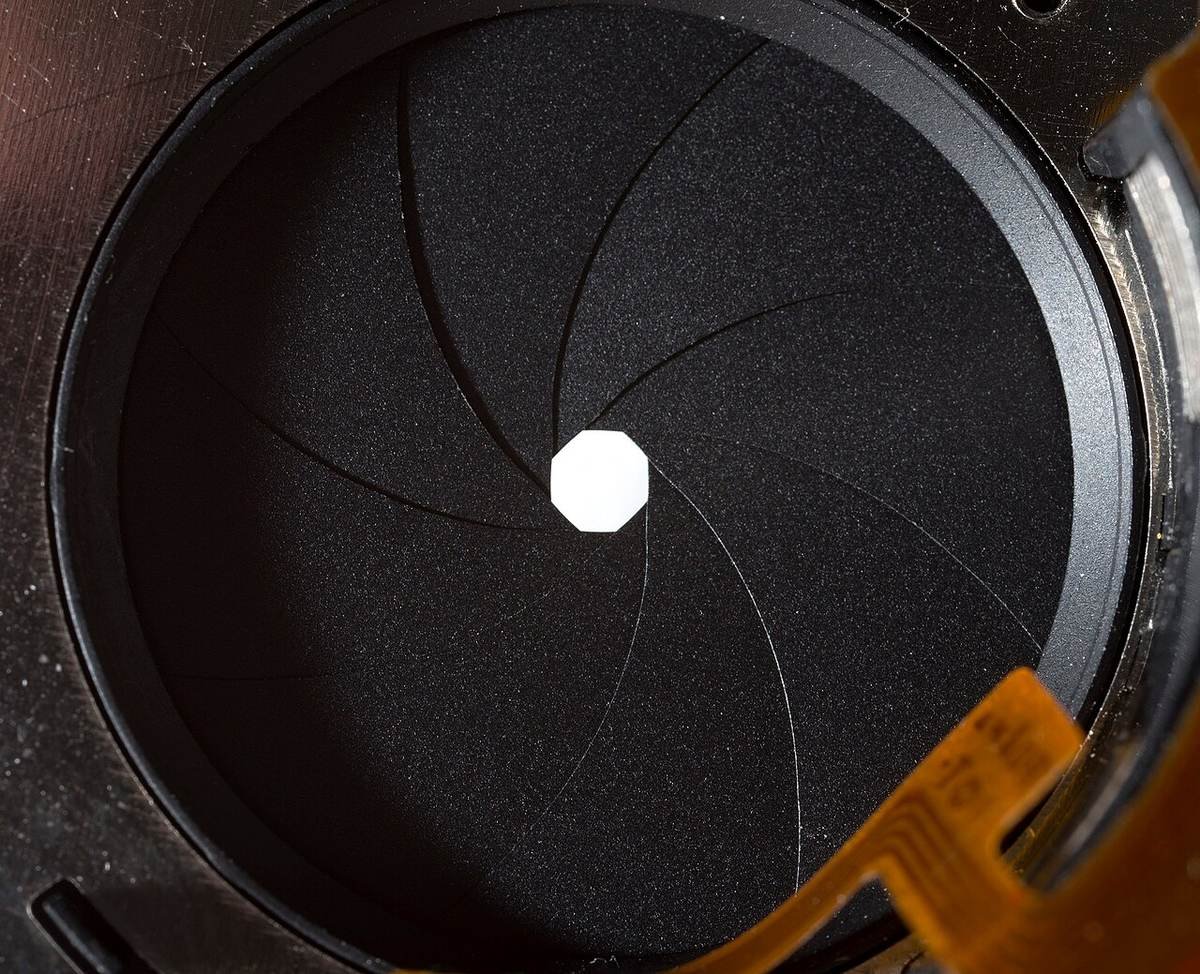
A photograph’s exposure determines how light or dark an image will appear when it’s been captured by your camera, and this is determined by just three camera settings: aperture, ISO and shutter speed [2]. I find the bucket analogy useful. The amount of rain is like natural light, which you cannot control outdoors. You can change the bucket’s width, the time you leave it out, and how much water you want to collect. One can use many combinations of the above three settings to achieve the same exposure, but each setting also influences other image properties: aperture affects depth of field, shutter speed affects motion blur and ISO speed affects image noise [2].
In changing outdoor light, I build outdoor photography settings around the trade-off that matters most for the job. A portrait in soft light might need a wider aperture for a cleaner background, while a waterfall or moving leaves might push me to keep the shutter fast or intentionally slow. There is no single universal setting for outdoor work, because light and subject keep shifting. If those controls still feel unfamiliar, practise them one dial at a time before the light starts to move.
I also watch how the same scene changes as clouds pass. A shutter speed that froze leaves under full sun may blur them in shade, so I re-check my outdoor photography settings as light moves. This is less about brand or menu names and more about training your eye to notice the trade-offs.
How do I manage bright skies and dark shadows?
Outdoor light can have a huge range between the brightest sky and the darkest shadow. Dynamic range in photography describes the ratio between the maximum and minimum measurable light intensities, and scenes with high variation in reflectivity, for example ones that include black objects alongside strong reflections, may actually have a greater dynamic range than scenes where incident light varies widely; photography under either scenario can easily exceed the dynamic range of your camera [3]. A black rock beside a strong reflection is a classic trap. The camera may record one side as pure black or the other as blown white unless you adjust the exposure or recompose.
Light intensity has two parts: incident light falling on a scene and reflected light bouncing off surfaces. Light intensity can be described in terms of incident and reflected light; both contribute to how wide a range of brightness a scene contains [3]. That is why a single reading can mislead you outdoors. I check the brightest area I want to keep and the deepest shadow at the same time, then decide what I can sacrifice. Choosing what to sacrifice is half of getting outdoor photography settings right.
When the range is too wide, my first move is to change where I stand or when I shoot. Photographing a canyon, the west wall may be beautifully lit in the early morning while the east wall is in complete shadow; you can plan to return on an overcast day when both sides will be photographable [1]. If I cannot move time, I expose for the part of the frame that carries the story.

Unsure how to price outdoor sessions? See a plain-English approach to licensing and releases so you get paid fairly.
Read the pricing tipsWhat should I check before I press the shutter?
Before touching the dial, I spend a minute reading the scene. One landscape guide makes the same point: time is the most important investment you can make in getting good landscape pictures, so scout different vantage points and use a compass to work out where the sun will rise and set [1]. That compass step is underrated. I use it to plan outdoor photography settings for later in the day, and to picture how a canyon or wall will be lit and where shadow will fall.
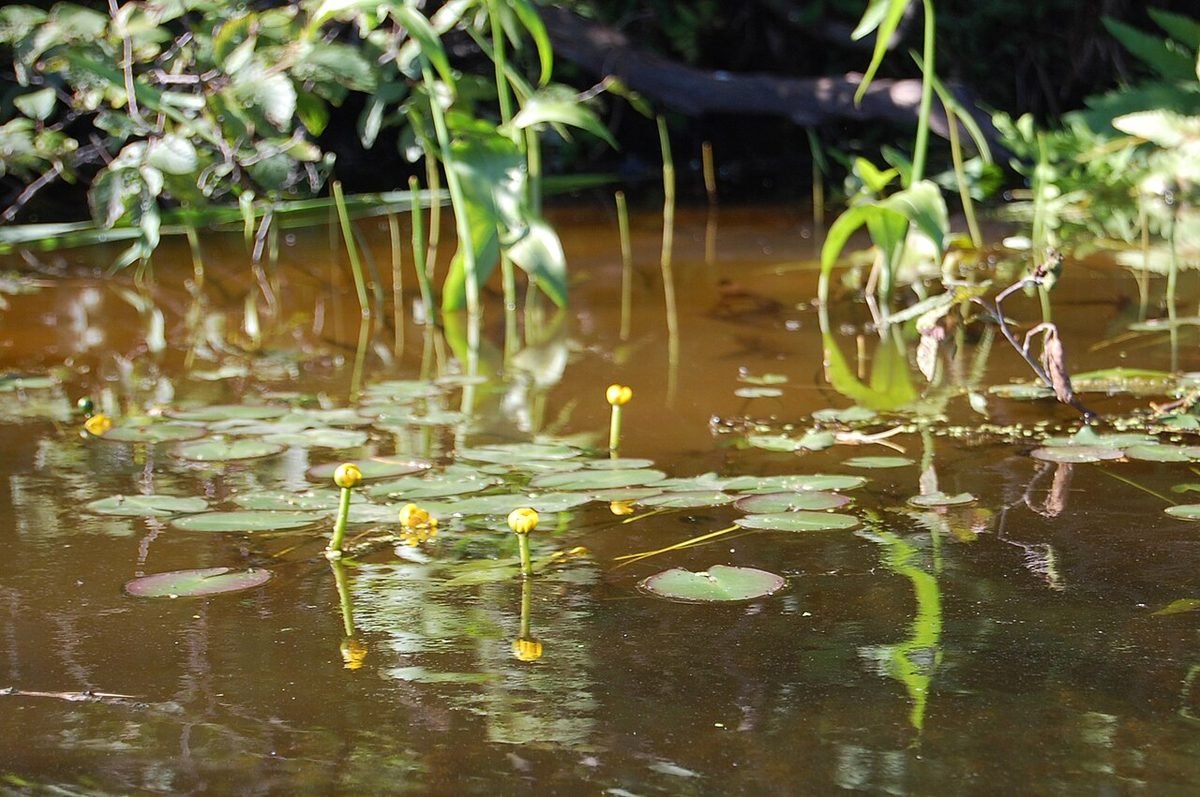
Reflections need a deliberate choice. Water can act as a diagonal or leading line, but some reflections only distract, so moving a few steps or changing the sun angle can include or eliminate them [1]. A polarising filter helps remove some reflection and increase contrast, and you rotate it until the effect looks right [1]. This approach also feeds into planning for golden hour photography, where the light window is short and sun direction becomes the plan.
Forests need a similar read. Think about the character you want to convey: dark and brooding or light and airy. Special features can help express how you feel about the forest, so find a point of interest such as one slightly different tree trunk [1]. This loops back to composition; my landscape photography composition guide builds stronger foreground-to-horizon scenes.
5 easy tips for better outdoor photography settings
These are the habits I fall back on when a client is waiting or the light is changing fast. None of them require extra gear, just a few minutes of attention before the shot.
- Spend time scouting: drive or hike to different locations and find different vantage points [1].
- Carry a compass to figure out where the sun will rise and set, and imagine how the place would look in different kinds of light [1].
- Look carefully for reflections: move around a bit to include or eliminate them, and use a polarizing filter, rotating it until you have the effect you want [1].
- Know which trade-offs to make, since aperture controls how much of the scene is sharp, shutter speed determines how movement is captured and ISO speed governs how much grain appears [2].
- Scenes that vary widely in reflectivity, for example ones that include black objects alongside strong reflections, may have a wider range between their brightest and darkest areas than scenes where incident light varies widely, and photography can easily exceed your camera’s capacity to capture that range [3].
Ready to get outdoor clients? The eBook covers getting clients, pricing and the paperwork that protects your outdoor work.
Get client strategiesHow do I protect outdoor work after the shoot?
Once your settings give you files worth selling, registration is a practical business step for the outdoor work you license. The U.S. Copyright Office lists Commercial Photos, Documentary Photos, Editorial Photos, Events Photos, Portrait Photos and Wedding Photos among the Works Commonly Registered In This Category [4]. It also offers Group Registration of Published Photographs (grpph) [4].
Related reading
- Golden Hour Photography: Use Soft Light Without Fighting the Clock: Follows the sun-direction and timing advice with a focused guide to short, soft light.
- Landscape Photography Composition: Build Stronger Scenes From Foreground to Horizon: Pairs with scouting and reflections to build stronger outdoor frames from foreground to horizon.
Frequently asked questions
Should I shoot manual settings outdoors?
Manual gives you control when light changes, but it is not mandatory. Start with the exposure triangle and decide which trade-off matters. Aperture, shutter speed and ISO speed work together, and each setting also influences other image properties: the first controls how much of the scene is sharp, the second determines how movement is captured and the third governs how much grain appears [2].
Do I need a polarising filter for outdoor scenes?
Not always. Use a polarizing filter to eliminate some of the reflection and increase contrast; rotate it until you have the effect you want [1]. Keep one when reflections or glare hurt the image.
What is the biggest outdoor exposure mistake?
Trusting a single setting while bright sky and deep shadows both sit in the frame. Scenes that vary widely in reflectivity, for example ones that include black objects alongside strong reflections, may actually have a wider range between their brightest and darkest areas than scenes where incident light varies widely [3]. Check both ends before you shoot.
Does scouting really change my camera settings?
Yes. Working out sun direction changes where you stand and when you shoot, which often matters more than a dial. When you arrive in a place you’ve never visited before, spend time scouting, driving or hiking to different locations, finding different vantage points [1].
Should I register outdoor photos?
If you publish them commercially, group registration of published photographs is one option. The Copyright Office lists commercial, editorial and portrait photos among works commonly registered [4].
Honest take
Outdoor photography settings only matter if you use them with attention to light. I would rather set the exposure triangle deliberately and accept a trade-off than chase a perfect setting that does not exist. The mistake I see most is photographers treating bright sunlight as one reading; high contrast and moving light demand a decision, not a preset. Before your next shoot, pick one priority for each scene, whether highlights, motion or depth, and set the dials around it.
References
- National Geographic. Landscape Photography Tips. https://www.nationalgeographic.com/photography/article/landscape-photography-tips
- Cambridge in Colour. Camera Exposure: Aperture, ISO & Shutter Speed. https://www.cambridgeincolour.com/tutorials/camera-exposure.htm
- Cambridge in Colour. Understanding Dynamic Range in Digital Photography. https://www.cambridgeincolour.com/tutorials/dynamic-range.htm
- U.S. Copyright Office. Photographs: Registration. https://www.copyright.gov/registration/photographs/
Shoot well and follow up faster,
Ray Baker