
By Ray Baker
Too many new photographers buy a capable camera, leave it on auto, and then wonder why their photos look dark, grainy or blurred, which is exactly why camera settings for beginners matter so much. The fix is not a more expensive lens or a secret preset; it is understanding the three camera settings that determine exposure: aperture, ISO and shutter speed [1]. I have watched people wrestle with that same trio, so I keep this guide practical.
What are the basic camera settings for beginners?
Aperture controls how much light enters through the lens opening, shutter speed controls how long the sensor is exposed, and ISO controls the sensor’s sensitivity to light, so the three settings work together as a simple exposure triangle that underpins camera settings for beginners. Once you know that, you can stop guessing.
Key takeaways
- Aperture, shutter speed, and ISO make up the three sides of the exposure triangle, and if one variable changes, at least one of the others must also change to maintain the correct exposure [2].
- Aperture controls depth of field and exposure: a wide aperture gives a blurred background that is popular for portrait photography, while a small aperture gives sharp photos from the nearby foreground to the distant horizon, which landscape photographers use a lot [3].
- Shutter speed controls motion blur and the brightness of your photo: a long exposure blurs a moving subject, a fast shutter speed can freeze motion, and a tripod is almost always necessary for a multi-second shutter speed [4].
- ISO is a camera setting that will brighten or darken a photo, but a photo taken at too high of an ISO will show a lot of grain, also known as noise, so you should only raise your ISO when you are unable to brighten the photo via shutter speed or aperture instead [5].
- All in-camera light meters can only measure reflected light, and if the camera is aimed at any object lighter or darker than middle gray, the light meter will incorrectly calculate under or over-exposure [6].
Want the business side to match the settings? See how the eBook explains getting clients and pricing in plain English.
See the eBook detailsWhat is the exposure triangle?
In photography, a stop refers to the doubling or halving of the amount of light that makes up an exposure [2]. For example, moving from a shutter speed of 1/60 s to 1/30 s will add a stop of light because the shutter will remain open twice as long [2]. If you open the aperture one stop, you can shorten the shutter speed by one stop and keep roughly the same brightness, provided the ISO stays put. An f-stop is a ratio that relates to the size of the lens opening, which is why a smaller f-number means a larger hole. That trade-off is what makes manual control feel fiddly at first, but it turns into a habit after a few weeks. I still think through stops when a scene changes quickly, because the math becomes second nature.
What does aperture do for beginners?
Aperture can be defined as the opening in a lens through which light passes to enter the camera [3]. A lens can have blades that form a diaphragm to block any light that tries to pass, except through the center [3]. A wide aperture such as f/1.8 gives a blurred background with a shallow focus effect, which is very popular for portrait photography, while a small aperture gives sharp photos from the nearby foreground to the distant horizon, which landscape photographers use a lot [3]. The aperture you choose also alters the exposure of your images by making them brighter or darker, because a large aperture (a wide opening) will pass a lot of light, resulting in a brighter photograph, and a small aperture does just the opposite, making a photo darker [3]. In a dark environment, you will probably want to select a large aperture to capture as much light as possible, the same reason people’s pupils dilate when it starts to get dark [3]. When I set up a portrait, I reach for a wide aperture first because the background separation usually matters more than minor changes in brightness. If you want to stop relying on auto, my practical guide to manual camera settings walks through these trade-offs step by step, making it a solid starting point for camera settings for beginners.
What does shutter speed do for beginners?
Shutter speed is the length of time the camera’s shutter stays open to expose the sensor to light [4]. A slow shutter speed lets moving subjects blur along their direction, and you can see this effect used deliberately in car and motorbike advertisements where wheels blur to show speed [4]. On the other hand, a very fast shutter speed such as 1/1600th second can freeze birds in flight, and water droplets will hang in the air completely sharp [4]. Just remember that your own motion can end up in a photo too, so you will usually need one if you intend to use a multi-second shutter speed [4]. A longer shutter speed also brightens the photo because it lets in more light, while a shorter one can darken it if you do not compensate [4]. I prefer to think of shutter speed as the motion dial: first ask whether anything in the frame is moving.
Struggling with pricing after shooting? The eBook covers licensing and releases so you can charge with confidence.
Get the pricing guideWhat does ISO do for beginners?
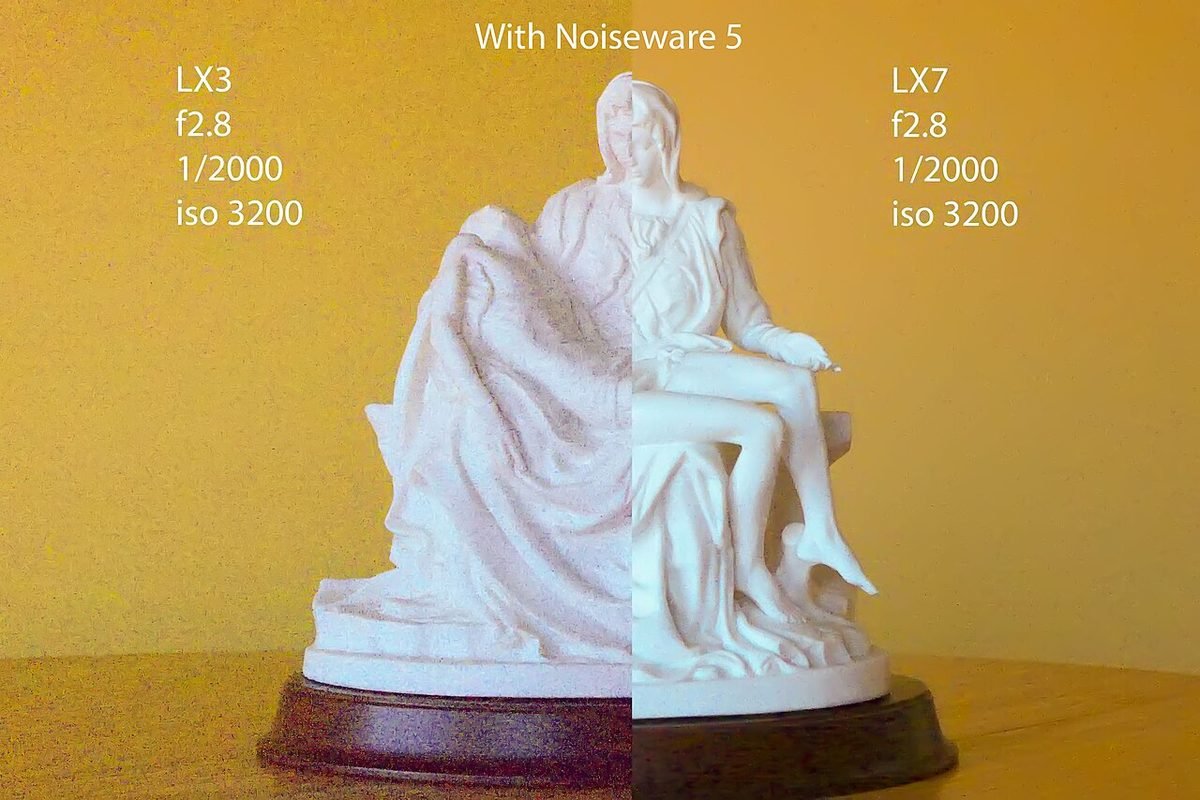
ISO is the camera setting that brightens or darkens a photo, and increasing the number makes the image progressively brighter [5]. The trade-off is grain, also called noise, which can make a photo unusable at very high settings [5]. Most modern digital cameras have a base ISO of 100, and you should only raise your ISO when you cannot brighten the photo via aperture or shutter speed instead [5]. A common set doubles in brightness each step, such as ISO 100, 200, 400, 800, 1600, 3200 and 6400 [5]. Some older DSLRs and a number of modern cameras have a base ISO of 200 [5]. For cleaner low-light shooting, see my separate guide to ISO settings for low light photography.
How does your camera meter light?
All in-camera meters measure only reflected light, so they can only guess how much light is actually hitting the subject [6]. In-camera metering is standardized based on the luminance of light which would be reflected from an object appearing as middle gray [6]. If all objects reflected the same percentage of light, metering would be simple, but real scenes vary widely [6]. If the camera is aimed directly at any object lighter or darker than middle gray, the camera’s light meter will incorrectly calculate under or over-exposure, respectively [6]. In the printing industry middle gray is standardized as the ink density which reflects 18% of incident light, however cameras seldom adhere to this [6]. Metering options often include partial, evaluative zone or matrix, center-weighted and spot metering, and each of these have subject lighting conditions for which they excel, and for which they fail [6]. A hand-held light meter would calculate the same exposure for any object under the same incident lighting [6]. I have a simple habit: if the scene is unusually bright or dark overall, I add or remove a little exposure rather than trusting the meter blindly.
What are 5 easy tips for beginners?
These five habits tie the settings together without making you memorise a chart. I have used these myself, and they are the same ones I would explain to a friend over coffee.
- Start at your base ISO, which most modern digital cameras set at 100, and only raise your ISO when you cannot brighten the photo via aperture or shutter speed instead [5].
- Aperture controls depth of field: a large aperture gives a blurred background for portrait photography, while a small aperture gives sharp photos from the nearby foreground to the distant horizon, which landscape photographers use a lot [3].
- Shutter speed controls motion blur: a long exposure blurs a moving subject, while an especially fast shutter speed can freeze motion, and you will usually need one if you intend to use a multi-second shutter speed [4].
- Aperture, shutter speed, and ISO make up the three sides of the exposure triangle: if one variable changes, at least one of the others must also change to maintain the correct exposure [2].
- An in-camera light meter can be fooled by scenes with a significant imbalance in subject reflectivity, such as a white dove in the snow or a black dog on a pile of charcoal, so it may try to expose them as midtones [6].
I do not expect anyone to master all five in a weekend. Pick one, shoot a hundred frames, then move on.
Ready to move from settings to clients? Use the eBook's simple client and pricing advice alongside these camera tips.
Explore the eBookWhere the eBook fits
Confident camera settings for beginners will get you sharper, cleaner frames, but a profitable photography business also needs clients, pricing, licensing and releases. That is the gap Ray’s Profitable Photography eBook is built for.
Related reading
- Manual Camera Settings: A Practical Guide to Taking Control of Exposure: Practical guide to taking control of manual exposure.
- ISO Settings for Low Light Photography: Cleaner Images in Difficult Light: Cleaner low-light images by understanding ISO.
Frequently asked questions
Should I learn full manual mode first?
I usually suggest aperture priority or shutter priority first. That lets you control the most important creative setting for a scene while the camera manages the other two, which builds confidence faster than full manual from day one.
What is the best ISO for beginners?
Start at your base ISO, often 100, and raise it only when you cannot brighten the photo with aperture or shutter speed. A photo taken at too high of an ISO will show a lot of grain, also known as noise, and might not be usable [5].
Why are my photos still blurry in bright light?
Bright light does not fix motion blur. If the shutter stays open too long for a moving subject or your handholding, the shot will blur.
How do I stop my photos looking too dark?
Open the aperture, slow the shutter speed, or raise ISO, and check your meter. If the camera is aimed directly at any object lighter or darker than middle gray, the camera’s light meter will incorrectly calculate under or over-exposure [6].
What if my photos are too bright?
Use a smaller aperture, a faster shutter speed, or a lower ISO. Some scenes may have a significant imbalance in subject reflectivity, and for such cases the camera may try to create an image with a histogram whose primary peak is in the midtones [6].
Is one camera setting more important than the others?
They work as a set, but aperture often shapes the creative look first, while shutter speed matters most for motion and ISO mainly supports the other two. Choose based on the scene.
Honest take
The honest take is that camera settings for beginners are less about memorising numbers and more about seeing light as a trade-off. Spend a week shooting the same scene while changing one setting at a time, and you will learn more than any cheat sheet. If the business side then feels like the missing piece, that is exactly why the eBook exists.
References
- Cambridge in Colour. Camera Exposure: Aperture, ISO & Shutter Speed. https://www.cambridgeincolour.com/tutorials/camera-exposure.htm
- What Is the Exposure Triangle?. https://photographylife.com/what-is-exposure-triangle
- What Is Aperture in Photography?. https://photographylife.com/what-is-aperture-in-photography
- What Is Shutter Speed in Photography?. https://photographylife.com/what-is-shutter-speed-in-photography
- Photography Life. What Is ISO in Photography?. https://photographylife.com/what-is-iso-in-photography
- Cambridge in Colour. Camera Metering and Exposure. https://www.cambridgeincolour.com/tutorials/camera-metering.htm
Shoot well and follow up faster,
Ray Baker