
By Ray Baker
Most photographers recognise the look before they know the name: a shadowed face with a small bright triangle under one eye. That detail is a way to spot a rembrandt lighting setup, and it is a lighting technique that is used in studio portrait photography. [1] I see a lot of beginners overcomplicate this, but the core idea is almost embarrassingly simple. For working photographers, this pattern doubles as a portfolio piece that clients instantly recognise as serious.
What is a rembrandt lighting setup?
A rembrandt lighting setup is a portrait lighting pattern that uses one main light, usually with a reflector or second fill light, to create a small triangle of light on the shadowed side of the face, just under the eye. Named after the painter Rembrandt, a rembrandt lighting setup gives images a dramatic, moody, yet natural feel.
The pattern gets its name from the Dutch painter Rembrandt, who used the lighting approach in many of his portrait paintings. [2] You might also hear it called a Rembrandt triangle because of that bright patch under the eye. [3] Look for the lit side of the face to be fully bright and the shadow side to still show a small triangle under the eye. If the triangle is missing, the key light is probably too frontal. If the light is placed incorrectly, that shape won’t appear, and you won’t have Rembrandt lighting. [2] I teach this first because it forces you to watch shadow shape, not just brightness.
Key takeaways
- The key sign is a small patch on one cheek, about the same width as the subject’s eye. [2]
- You can get started with a single light and a reflector, or use window light for a softer light. [3]
- Light position matters; if the light is placed incorrectly, that shape won’t appear. [2]
- It suits moody, dramatic headshots and low-key portraits better than bright, airy looks.
- It is a classic technique that remains popular because it is so timeless. [2]
Want to turn this lighting skill into bookings? My eBook walks through the client and pricing steps that go with dramatic portrait work.
Get the client workflowWhat gear do you need?
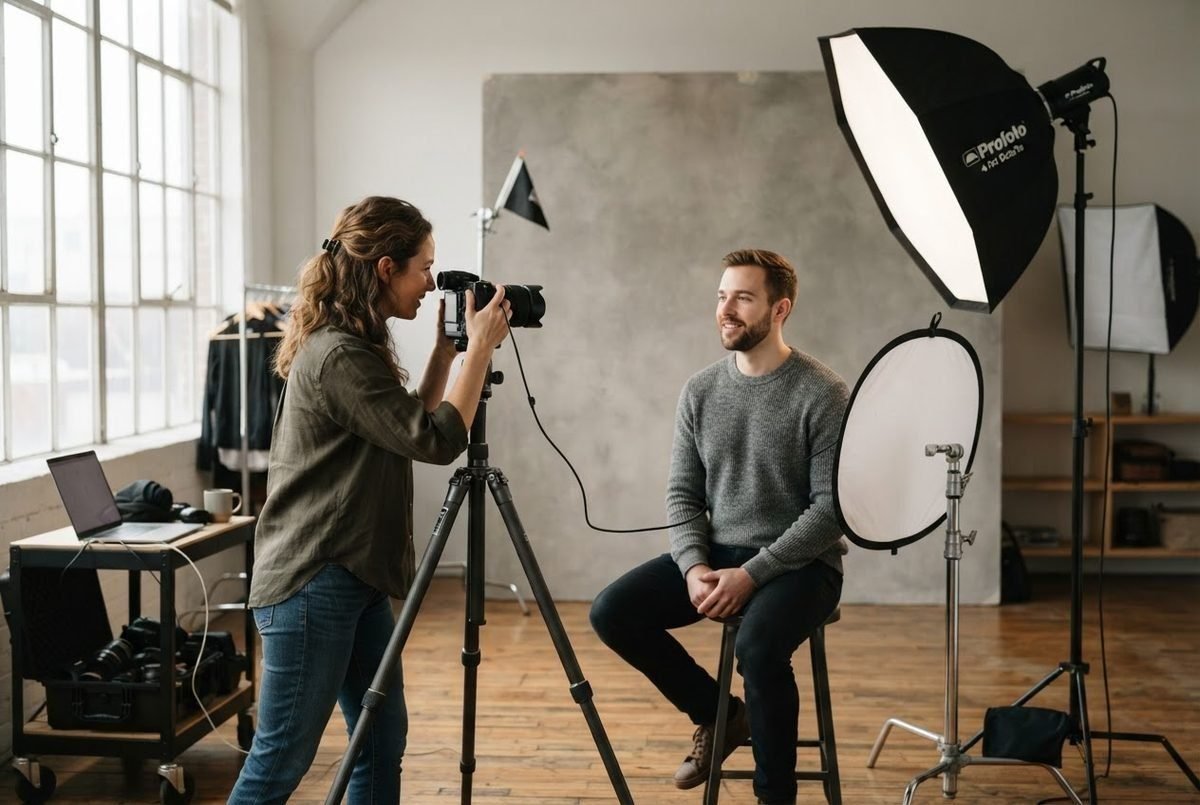
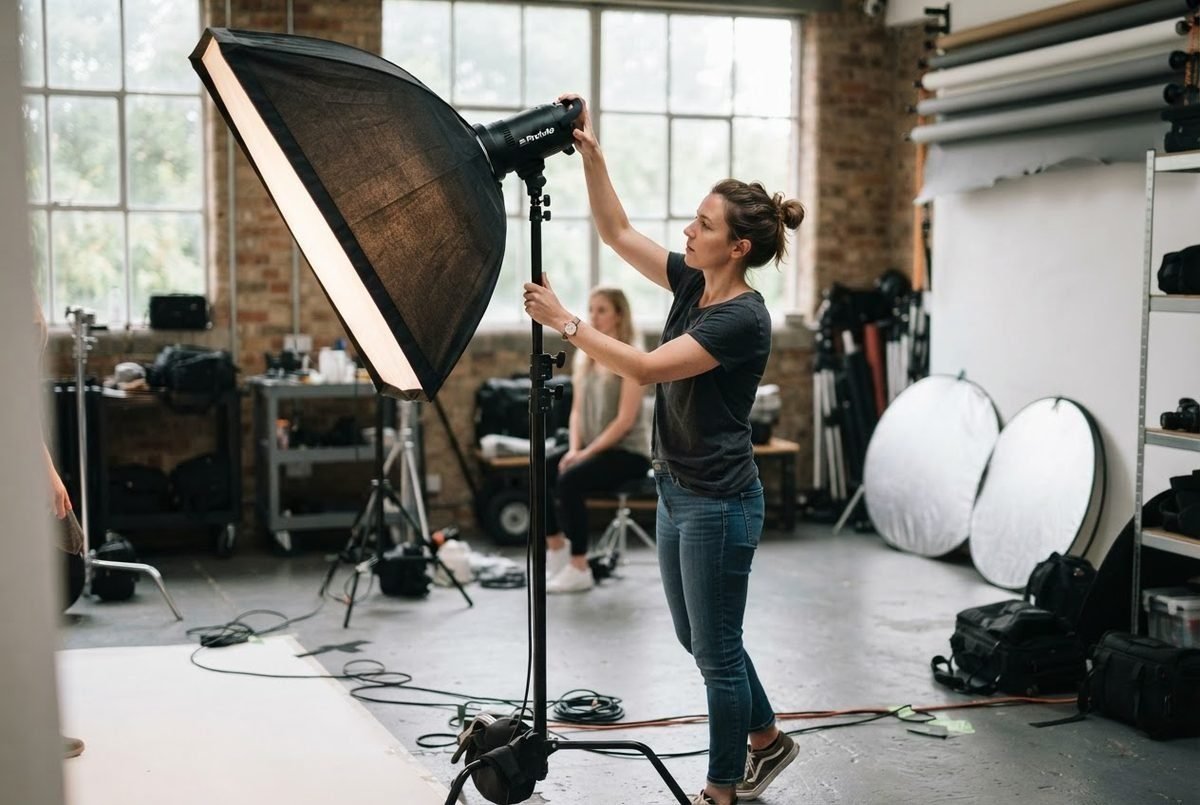
You do not need a three-light kit. A single light and a reflector, or two separate lights, will get you most of the way. [3] It is one of the core lighting setups because it needs only one or two lights, and can even be done with natural light like the sun. [4] Cloudy days work best, especially when the sun is low. [3] I would rather see you master one light and a piece of white foam board than juggle three lights you do not fully control yet. If you want a clearer step-by-step for a one-light studio, the studio lighting setup guide walks through the same foundation as a rembrandt lighting setup. If you do add a second light, you can adjust the strength of the fill and main lights until it looks just right. [3]
A larger light source makes the shadow edge softer. [5] If you only have a bare speedlight, bounce it off a white wall or shoot it through an umbrella to increase its apparent size. [5] The reflector on the shadow side should sit close enough to lift detail but not so bright that the shadow disappears. I use a white foam board about an arm’s length from the face and move it in or out while watching the cheek.
Not sure how to price a moody portrait? The eBook covers simple pricing, licensing and release basics without legal jargon.
Read the pricing guideHow do you position the light?
Start with your key light roughly 45 degrees to one side of your subject and slightly above their eye line. The exact angle depends on the face shape, so I always move the light until the shadow from the nose just touches the shadow on the far cheek. That makes the little triangle appear under the eye on the darker side. [2] Traditionally, the triangle should be no wider than the subject’s eye and no longer than the nose. [3] I also check that the bright side of the face is fully lit, not half-lit, otherwise the pattern falls apart. [2]
Short noses often need the light a little higher, while long noses may need it slightly more to the side. I also watch the mouth shadow; if the shadow from the nose falls straight down into the lip, the light is too low. [2] Moving the light further away makes it harder and the shadows more defined; bringing it closer makes the light appear larger and softer. [5] I start with the light about a metre from the subject and adjust from there, but your room and modifier will change that.
What are 5 easy tips?
Here are the five steps I would use to teach a new photographer this pattern in one afternoon.
- Start with window light. Cloudy days work best, especially when the sun is low. [3]
- Use a white reflector opposite the key light. Rembrandt lighting is a technique utilizing one light and one reflector or two separate lights. [3]
- Raise the light above eye level. Position it off to the side of the subject to create dark, moody shadows. [2]
- Keep the triangle small. Traditionally, the triangle should be no wider than the subject’s eye and no longer than the nose. [3]
- Check both sides of the face. The other side of the subject’s face should be fully illuminated. [2]
Test on yourself with a mirror or use a patient friend. I like to shoot a quick series and compare that darker area in each frame; the best image is usually the one where the triangle is smallest but still clearly visible. If you want more flattering one-light patterns, the portrait photography lighting guide covers several setups side by side.
Ready to show your lighting work without paper worries? Get the release and licensing steps in plain English before your next shoot.
Get the plain-English guideWhat mistakes do beginners make?
If the light is positioned incorrectly, the triangle of light won’t appear, and you won’t have Rembrandt lighting. [2] A smaller light source creates abrupt shadows, while a larger light source creates gradual shadows. [5] I also see photographers add too much fill because they are afraid of shadows, but that darker area is what gives a rembrandt lighting setup its mood. If you can still see the triangle clearly, the exposure is fine.
Another trap is judging the exposure by the darker area. If you lift the shadows too much in post, the mood flattens. I edit a rembrandt portrait by protecting the bright side and letting the darker area stay dark. A good test is to squint at the image: if you can still read the triangle, the contrast is working.
How do you control the mood?
The mood comes from how much shadow you let in. You can adjust the strength of the fill and main lights until it looks just right. [3] I start with no fill, check the triangle, then add just enough to reveal an eye glint on the darker area without flattening the face. The background matters too. A dark backdrop makes the lit side pop and deepens the drama, while a lighter wall can reduce the effect. I often shoot a rembrandt lighting setup against a grey or black smooth to keep attention on the face. In post, resist the urge to lift the shadows too far; a slight lift is fine, but a flat shadow side loses the pattern. Some photographers never use fill and love the deep shadow, while others add a little to keep the eye visible. The right choice depends on the story you want the portrait to tell.
Where does the eBook fit?
A good rembrandt lighting setup improves your portraits, but it will not fill your diary. Once a client sees the dramatic headshot you can produce, you still need a clear price, a simple booking process, and a model release before you publish. That is where Ray’s Profitable Photography eBook helps. It is a plain-English guide to getting clients, pricing, licensing and releases for a photography business. I wrote it for photographers who would rather spend time behind the camera than chasing paperwork. If you post the portrait online or share it in a portfolio, you need a signed release, and the eBook includes the paperwork language you can adapt. You will not find any promises of overnight success, just the practical business steps that sit alongside the lighting craft.
Related reading
- How to set up photography studio lighting: one-light studio foundation
- Portrait Photography Lighting: Simple Setups for More Flattering Photos: several flattering one-light patterns
Frequently asked questions
Does Rembrandt lighting work for any face shape?
Yes, but you may need to move the light to suit the subject’s nose and cheek structure. The triangle should stay small, so adjust the angle until it looks right. I find a longer nose sometimes needs the light slightly higher.
Can I use a speedlight instead of a studio strobe?
Yes, any off-camera light works. A speedlight through a softbox or bounced off a wall will soften the light and make the pattern easier to control. Just keep it off-camera so the shadow falls across the face.
Is window light really enough for a rembrandt lighting setup?
Yes, when the sky is overcast window light is large and soft enough to create the pattern. Move the subject closer or further from the window to control contrast. A bright window with direct sun can be too harsh.
How do I know if the triangle is too big?
Compare it to the subject’s eye. If it is wider than the eye or extends past the nose, it is too big. Move the light further to the side, raise it, or turn the subject slightly away.
Does Rembrandt lighting suit colour portraits?
It works in colour, but many photographers prefer black and white because the shadow pattern reads strongly in monochrome. The contrast between the lit and shadow sides can be very dramatic.
How do I add a fill light without losing the triangle?
Keep the fill light at low power and place it near the camera, then increase it slowly while watching the darker area. Stop as soon as the triangle is still visible but the shadow is less dense.
Honest take
I would not reach for a rembrandt lighting setup for a bright, cheerful family session. It suits moody, editorial work and dramatic headshots. If you only master one pattern, this is a great first choice because it teaches you to see light direction and shadow shape, which transfers to every other portrait you take.
References
- Wikimedia Commons. Category:Rembrandt lighting. https://commons.wikimedia.org/wiki/Category:Rembrandt_lighting
- Digital Photography School. Rembrandt Lighting: A Portrait Photography Guide. https://digital-photography-school.com/rembrandt-lighting-photography/
- StudioBinder. How to Master Rembrandt Lighting in Photography and Video. https://www.studiobinder.com/blog/rembrandt-lighting-photography/
- PictureCorrect. Rembrandt Lighting. https://www.picturecorrect.com/rembrandt-lighting/
- Cambridge in Colour. Introduction to Portrait Lighting. https://www.cambridgeincolour.com/tutorials/portrait-lighting.htm
Shoot well and follow up faster,
Ray Baker