
By Ray Baker
Even with the softest modifier, a single light source gives you 100% black shadows [1]. If you’re wondering how to set up photography studio lighting, that fact changes where you start. Most photographers add a second light to fix contrast, when the faster fix is usually a white board, a small distance change, or a note in a notebook. This guide covers the order I’d follow to build a studio setup that is repeatable, not just lucky.
How to set up photography studio lighting?
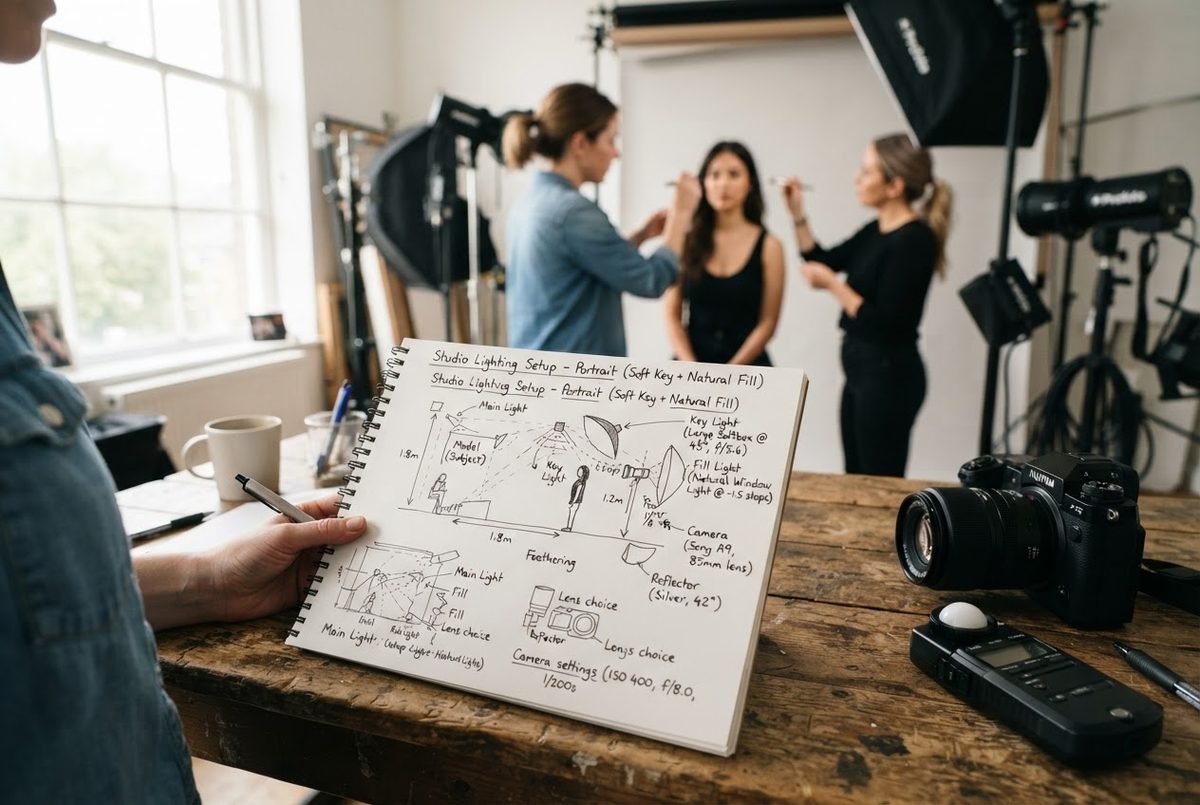
Start with one key light placed slightly above eye level and to one side. Note the distance, height, modifier and metered f-stop before you add anything else. Photograph each light alone, then together, so you learn what each light actually contributes [2]. Keep the setup repeatable.
Key takeaways
- Start with one key light and learn how the shadows fall before adding fill.
- Treat distance, height and modifier choice as repeatable settings, not a lucky guess.
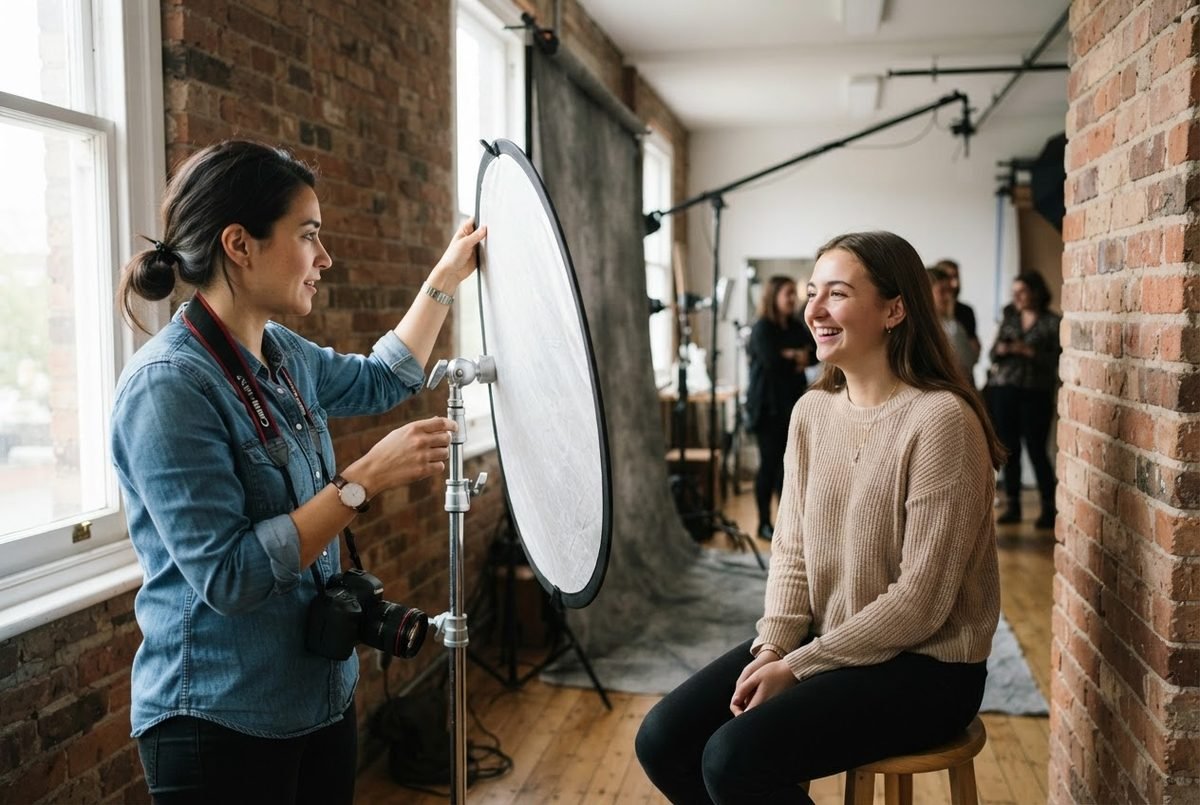
- Use a V-flat or white board to open shadows without making the image flat.
- Document each light’s role and metered f-stop so you can rebuild the same look.
- Add lights one at a time and test them separately before the full set.
Not sure what to charge for studio time? The eBook helps you think through pricing, licensing and releases before the shoot.
Plan your pricingWhy start with one key light?
Because a single source makes the shadows easy to read. Even the softest modifier produces fully black shadows when nothing fills the opposite side [1]. I prefer to place that first light slightly above eye level at roughly 5 or 7 on an imaginary clock, with the camera at 6 and the subject facing 12 [3]. That creates a subtle loop shadow beside the nose, which is a far more tolerant starting point than a hard, head-on blast.
Lighting patterns are not really about the light itself; they describe where shadows land [3]. Once you can see a loop shadow, you can move the same light higher to create butterfly lighting, or lower it to change the mood [3]. That skill transfers to every studio job. If you want the same idea applied to portrait work, the portrait lighting guide walks through simple setups in more depth.
What do shadows tell you first?
Shadows are the setup. A larger light source softens the edge of a shadow, while a smaller source gives a harder line [4]. The intensity also matters: the same softbox at a lower setting gives a different look than at full power [4]. I look at the shadow under the nose and the catchlight in the eyes before I touch a second light. If the shadow is too deep, a white board on the opposite side often opens it without flattening the whole frame [1].
Position is the third lever. Rice University’s studio guide notes that raising a softbox higher and angling it down opens up shadows on the far side of the face [4]. That simple height change can save you from buying another fill light. Learn size, intensity and position in that order.
Want repeatable client sessions? See how a setup checklist keeps your lighting and paperwork consistent between jobs.
Build your session checklistHow do I build a repeatable studio setup?
Repeat clients don’t buy gear, they buy consistency, and that is what makes learning how to set up photography studio lighting worthwhile. I document the set in a cheap notebook or phone note, and I test lights one at a time [2]. I keep the notes organised by light, not by shoot. A common mistake is to fire three lights together and never learn which one is doing the actual work. Here are five easy tips that keep a studio setup repeatable:
- Photograph each light by itself first, then stack them one at a time [2].
- Measure the distance from each light to the subject’s face, not just the power dial [2].
- Write down light height, backdrop distance, modifier type and ceiling clearance [2].
- Record the metered f-stop value rather than relying on the light’s power setting [2].
- Take a wide reference photo and a short video walk of stands, flags and clamps [2].
A written setup also helps when a client asks for the same look six months later. The headshot studio lighting guide turns these notes into a compact checklist for weekly headshot work.
Which modifiers actually shape the light?
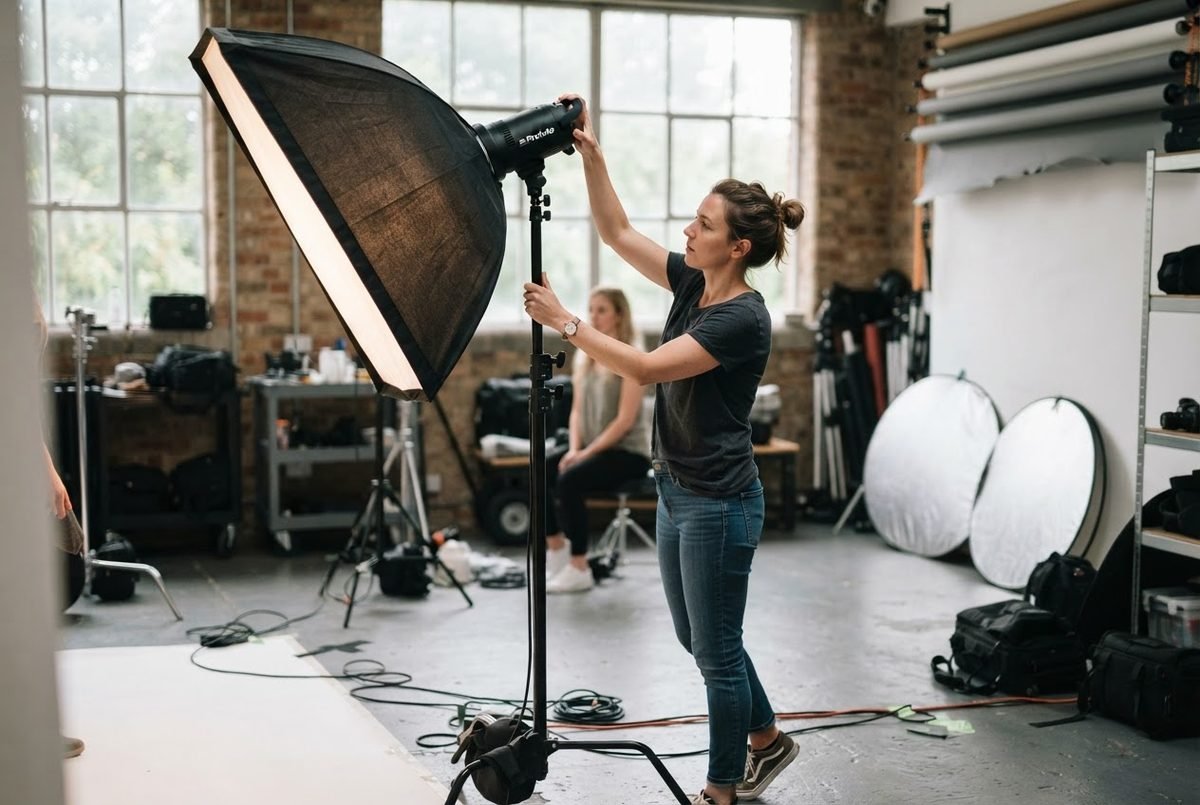
Modifiers control spill, softness and shadow edge. A parabolic reflector focuses light forward for harder, more detailed shadows, which can suit character portraits or product texture [5]. A softbox spreads and diffuses the light, and a grid on the front stops that light from spilling onto the backdrop [4]. For fill, a V-flat or white foam core is easier to move than a large board, and the black side gives you a second tool for blocking light [1].
I don’t think you need a wall of modifiers to start. I favour one softbox, one grid and one white bounce surface for most early client jobs. For clean corporate portraits, the headshot lighting setup shows a simplified placement approach that works in small rooms.
Need clarity on usage rights? Read plain-English notes on licensing and releases for studio portraits.
Sort the paperworkWhen should I add fill or backlight?
Only after the main light behaves. One portrait recipe bounces fill from a V-flat so the shadow side measures about two stops below the lit side [1]. That keeps depth without mud. Backlight is next: a strip box or rim light behind the subject creates separation, but I flag or grid it so it doesn’t wash the background [1].
A simple build is key light first, fill second, backlight third, then a gel only if the colour of that rim light needs a deliberate shift [6]. The gel step is optional, not a requirement. If your portrait starts to look flat, remove the fill before adding more light.
How do I adapt one setup to different faces?
Lighting patterns are a repertoire, not a formula [3]. A face with lighter or deeper shadows may need the light height adjusted a little. If the catchlight disappears, the light is probably too high, so lower it until you see the reflection in the pupils [3]. Small light-stand moves do more than a new modifier.
Write down what you changed so the next session starts closer to the mark [2]. The pattern you choose should suit the person in front of you, not the other way around.
Related reading
- Portrait Photography Lighting: Simple Setups for More Flattering Photos: Related portrait lighting guide for simple, flattering client setups
- Studio Lighting for Headshots: A Practical Setup Guide: Practical headshot lighting checklist readers can apply to studio jobs
- Headshot Lighting Setup for Clean, Professional Portraits: Clean headshot light placement and modifier guide
Frequently asked questions
Do I need three lights to start?
No. Learning how to set up photography studio lighting starts with a single light and a white bounce board, which will teach you more than three lights with no process. Add fill and backlight only when the single-light look is consistent [6].
How far should the main light be from the subject?
There is no universal number, but a documented softbox example placed the light 3 feet from the subject at head height [4]. Raising it opened shadows on the far side of the face [4]. Write your own distance down.
What is the easiest first modifier?
A softbox with an optional grid gives soft light and lets you stop spill onto the backdrop [4]. Start without the grid to see broad light, then add it for a darker background.
Can studio flash be used outdoors?
Yes. Studio flash can be portable enough for location use or outdoors, and some models accept optional battery packs [5]. Modifiers still matter because the flash itself stays the same.
Do I need a light meter on day one?
Not on day one, but metering helps you record f-stop values instead of guessing power settings [2]. A consistent camera meter and written notes can carry you through the first jobs.
How do I stop the background getting grey or muddy?
Grid the softbox to stop spill [4], and flag the bottom of the modifier when you want a gradient [1]. Move the subject far enough from the background that the light falls off naturally.
Honest take
If I were learning how to set up photography studio lighting again, I would buy one light, one softbox and a white board, then shoot the same portrait 20 times before adding anything else. Most photographers over-buy lights and under-document what they already own. The next light should fix a repeatable problem, not a vague hope.
References
- John Gress, Professional Photographers of America. Portrait Lighting Tips to Get It Right In Camera. 2019. https://www.ppa.com/ppmag/articles/lighting-tips-how-to-get-the-look-in-camera
- Abdulai Sesay, Professional Photographers of America. How to Create Lighting Diagrams for Repeatable Studio Results. 2026. https://www.ppa.com/photovision/watch/how-to-create-lighting-diagrams-for-repeatable-studio-results
- Professional Photographers of America. 9 Types of Portrait Lighting. https://www.ppa.com/ppmag/articles/9-types-of-portrait-lighting
- Rice University. Basics of Studio Lighting. https://libguides.rice.edu/dmc-photo-video-studio/lighting-basics
- Professional Photographers of America. Module 2A: Evaluating Lighting Options. https://wiki.ppa.com/books/photography-certification-guide/page/module-2a-evaluating-lighting-options
- Meg Loeks, Professional Photographers of America. Studio Portrait Lighting Techniques Explained Step-by-Step. 2026. https://www.ppa.com/photovision/watch/studio-lighting-techniques-for-portrait-photography
Shoot well and follow up faster,
Ray Baker