
By Ray Baker
A single bare flash is not acceptable for controlled face capture, according to the archived 2010 ANSI/NIST guide, a US reference [1]. If you are charging for business portraits, that should raise an eyebrow. Studio lighting for headshots is not the technical extra around the portrait. It is the product your client is paying for.
What is studio lighting for headshots?
Studio lighting for headshots is controlled key, fill and background light used to flatter a face. It keeps eyes visible, softens hot spots, and holds skin tones true. It is repeatable enough to create a consistent product for paying clients, rather than relying on lucky available light.
Key takeaways
- A bare flash is not enough. Start with a key light, fill or reflector, and separation or background light [1].
- Diffuse the key light so hot spots on foreheads and cheeks do not become the first thing clients notice [1].
- Keep the eyes clear. If the brow shadows the sockets, adjust fill or light height before reaching for editing.
- A plain neutral grey background is easier to keep even than white or black.
- Choose the pattern to flatter the face. Clamshell and loop lighting suit more people than hard Rembrandt shadows [2].
Want a repeatable headshot lighting plan? My Profitable Photography eBook covers clear lighting, pricing and release workflows for working photographers.
Get the lighting and pricing guideWhy do headshots need three lights?
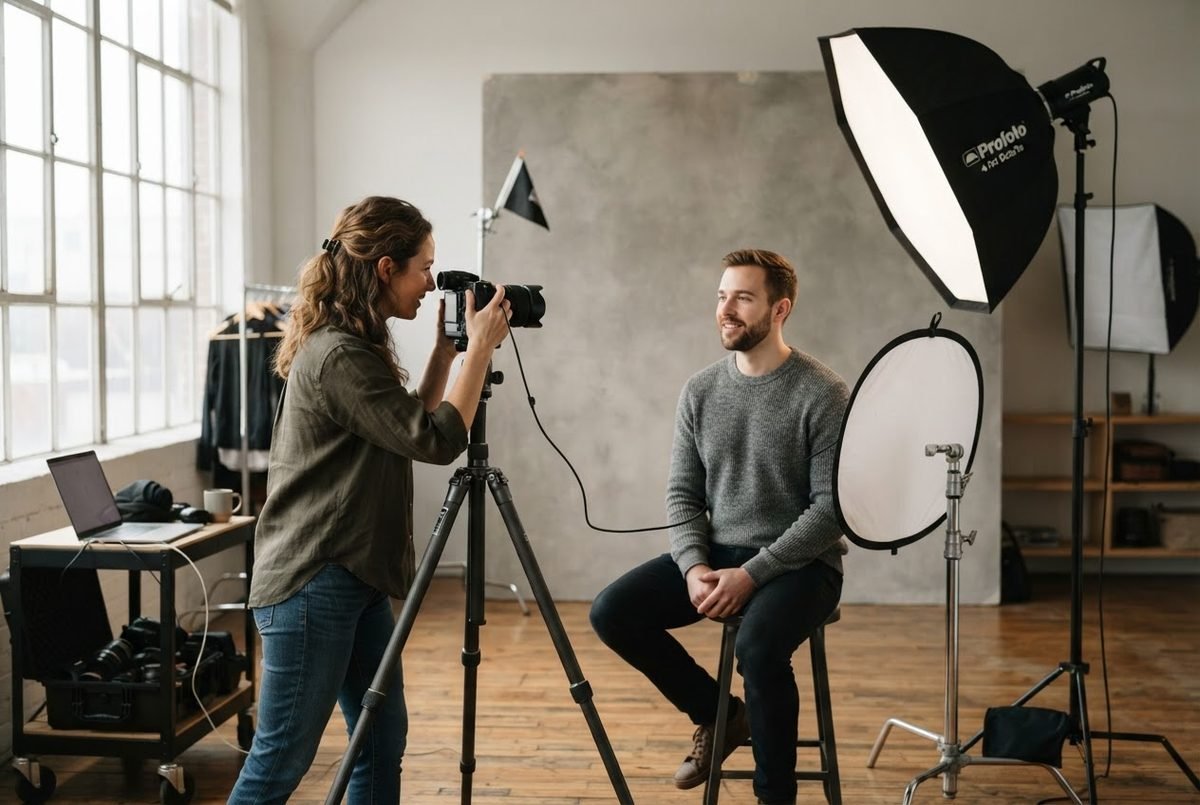
The practical reason is control. When I think about studio lighting for headshots, I think of three jobs, not three lights: flattering the features, filling shadows, and separating the subject from the background. The US guide calls for a minimum of three point balanced illumination, with diffusion used to minimise hot spots and the background kept free of shadows [1].
That does not mean you must buy three expensive flashes. NFI’s portrait lighting overview is blunt: fill lighting does not need to come from an extra light, because a reflector can bounce the key light back into the shadow side [3]. A simple headshot lighting setup can help you turn this into a repeatable plan rather than a mystery.
The balance matters too. NFI explains that the larger the ratio between two lights, the more pronounced the contrast [3]. Too much fill and the face goes flat. Too little and the shadow side loses texture. This is where a light meter or a consistent camera position saves you from chasing your tail.
Which lighting pattern suits headshots best?
PPA’s 9 Types of Portrait Lighting guide describes the patterns by where shadows fall, not by brand of flash [2]. For most headshot clients, clamshell lighting is a safe default. It combines butterfly lighting with a reflector or fill light underneath, and PPA notes the fill source softens wrinkles [2]. Loop lighting is another broadly pleasing choice: place the main light just above eye level at about 5 or 7 o’clock, and you get a subtle shadow on one side of the nose [2].
Rembrandt lighting is the one I see photographers try because it looks artistic. It can be lovely, but PPA is clear that it is not suitable for all faces [2]. I would rather start with clamshell or loop and move towards Rembrandt only when the client’s features and brief call for drama. The best studio lighting for headshots starts with a pattern that supports the purpose, not just a pattern that impresses other photographers. If you want the broader patterns explained simply, this portrait photography lighting guide walks through setups that flatter rather than fight the face.
Unsure how to price headshot sessions? The eBook explains simple pricing and licensing so you charge for the work, not just the file.
See the pricing chapterDoes studio lighting for headshots need space?
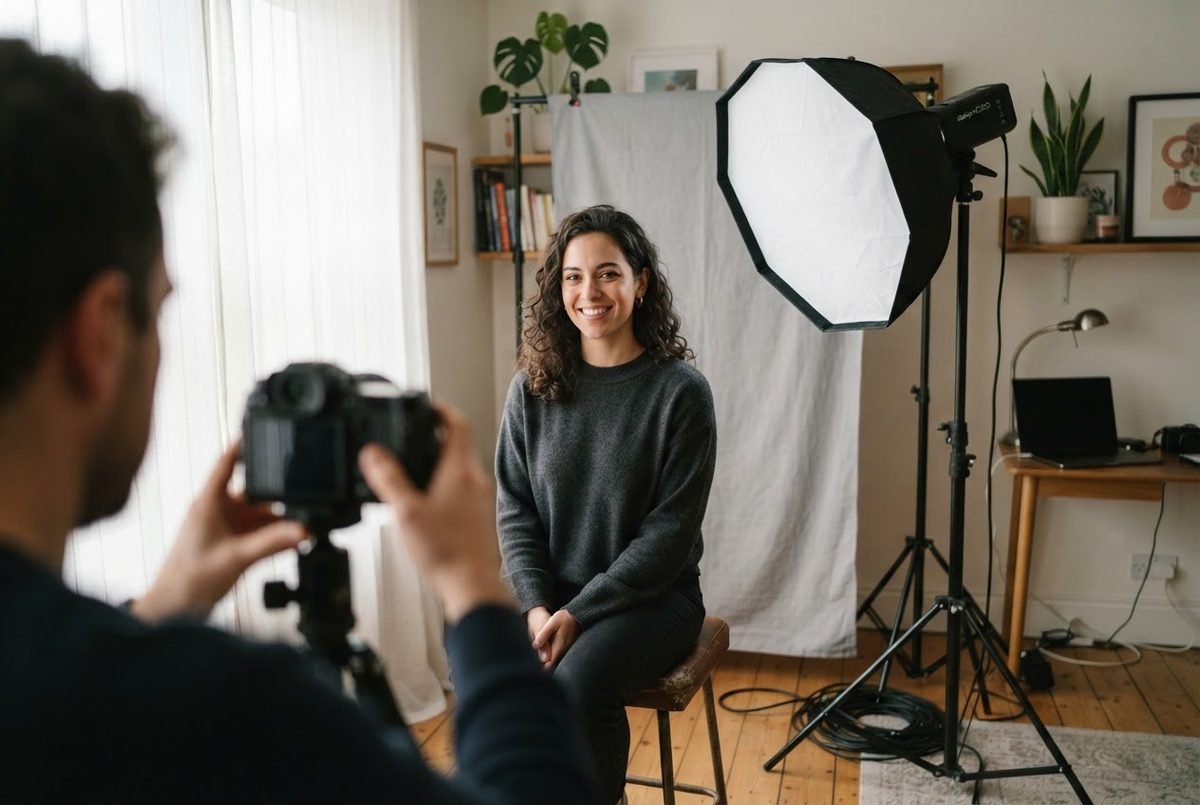
Small rooms are not a dealbreaker. In a Professional Photographers of America demonstration, Jeff Carpenter of Ready Light Media and Next Level Workshops shows how to create clean professional headshots in tight spaces like a kitchen or tiny office [4]. The main challenges are low ceilings, limited room for stands, and ambient light that fights your flash [4].
I would rather shoot in a small controlled room than a large unpredictable one. The source’s point is that gear placement and space management matter more than square metres [4]. Move furniture, shoot along the longest line, keep the key light close to a soft modifier, and cut ambient spill with flags or curtains. If a ceiling is too low, lower your subject and bring the key light closer to the face rather than forcing the stand into the ceiling.
Once the light is controlled, the next problem is often a nervous subject. Photography posing prompts give you natural direction when the client freezes. Great light cannot fix a defensive set of shoulders.
What are 5 easy tips for cleaner headshot light?
These are the adjustments I go back to when studio lighting for headshots starts to feel overcomplicated.
- Start with one soft key light and a white bounce card. John Gress, writing for PPA in October 2019, says a single light source gives black shadows unless you bounce light back from the other side [5].
- Keep the fill side roughly two stops darker if you want shape. Gress describes reading the lit side at camera exposure and the fill side two stops down, but adds it is a matter of preference [5].
- Diffuse the key light. The US guide says diffusion eliminates hot spots on reflective areas such as cheeks and foreheads [1].
- Check the background separately. The same guide wants background lighting to contribute to even illumination and the background to be free of shadows [1].
- Match the pattern to the face. PPA notes loop lighting is generally pleasing, while Rembrandt lighting is not suitable for all faces [2].
Working from a home studio? The eBook helps you build a repeatable headshot business from a small space without burnout.
Build a profitable studioHow do you keep skin colour accurate?
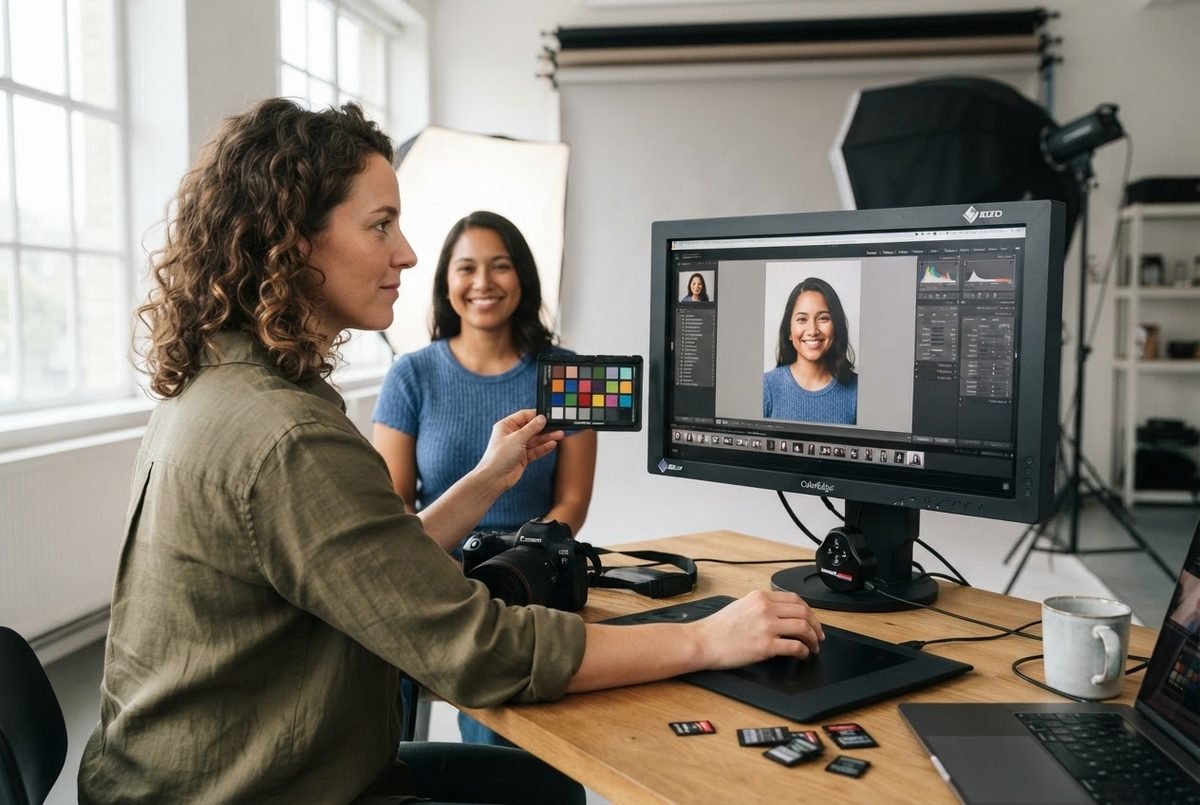
Skin tone is where good lighting falls down in editing. Accurate colour is part of professional studio lighting for headshots, because the client’s face is the one thing they will notice. Hernan Rodriguez, writing for PPA, notes that accuracy and consistency through lighting are hugely important, especially for skin tones [6]. His two lighting principles are simple: place light on what you want to show, and take light away from what you do not want to show [6].
For headshots, that usually means lighting the face evenly and keeping hot or coloured surfaces away from the subject. He also leans on a colour calibration chart to make sure the monitor and capture match, which takes the guesswork out of post-production [6]. I think of white balance as a detail, not an afterthought. If the skin looks clean on set but shifts green or magenta later, the client will see it before they see the expression.
Related reading
- Headshot Lighting Setup for Clean, Professional Portraits: A repeatable baseline for key, fill and background light.
- Portrait Photography Lighting: Simple Setups for More Flattering Photos: How to read and choose lighting patterns without guessing.
- Photography Posing Prompts: Natural Direction For Nervous Subjects: Natural direction for clients who freeze in front of the camera.
- Photography Pricing Strategy: Set Profitable Rates Without Guessing What Clients Will Pay: Charge for the finished skill, not just the file.
Frequently asked questions
Do I need three flashes for headshots?
No. A single key light plus a reflector or white card can work well. The US guide calls for three point balanced illumination for controlled face capture, but fill and separation can come from carefully placed bounce and ambient control [1][3].
Is clamshell lighting the best pattern?
Clamshell is a safe starting point because the fill source softens wrinkles and flatters many faces [2]. Loop lighting is another broadly pleasing option. Rembrandt lighting is more artistic, but not suitable for every face [2].
Can I shoot headshots in a small room?
Yes. A PPA demonstration shows clean headshots captured in tight spaces such as a kitchen or tiny office, with attention to low ceilings and ambient light [4]. The room matters less than controlling the light within it.
How do I stop shiny hot spots on skin?
Diffuse the key light and watch reflective areas such as the forehead and cheeks. The US guide says diffusion should be used to eliminate hot spots on the facial image [1]. Moving the light slightly also changes the reflection angle.
What background works best?
A plain, smooth, neutral grey background is a practical choice. The US guide specifies an 18% grey background with even illumination and no shadows for controlled face images [1].
Do I need a light meter?
A light meter helps, but many photographers use the camera histogram and a consistent setup. Gress describes metering the key and fill sides, but he also treats the balance as a matter of preference [5].
Honest take
Studio lighting for headshots is a business skill as much as a creative one. You do not need the most expensive gear, but you do need a repeatable baseline that flatters different faces and saves time. If lighting consistency is costing you edits or client confidence, fix the light before you buy another camera. A photography pricing strategy can help you charge properly for that skill.
References
- ANSI/NIST. Best Practice and Face Pose Value Documents. 2010 (archived). https://www.nist.gov/system/files/documents/2021/03/18/ansi-nist_archived_2010_best_practice_face_pose_value.pdf
- Professional Photographers of America. 9 Types of Portrait Lighting. https://www.ppa.com/ppmag/articles/9-types-of-portrait-lighting
- NFI. Portrait Lighting: Everything You Need to Know. https://www.nfi.edu/portrait-lighting/
- Jeff Carpenter, Professional Photographers of America. How Jeff Carpenter Captures Pro Headshots in Small Spaces. https://www.ppa.com/photovision/watch/capture-professional-headshots-in-small-spaces
- John Gress, Professional Photographers of America. Portrait Lighting Tips to Get It Right In Camera. October 2019. https://www.ppa.com/ppmag/articles/lighting-tips-how-to-get-the-look-in-camera
- Hernan Rodriguez, Professional Photographers of America. Capture Your Subject's True Colors. https://www.ppa.com/ppmag/articles/capture-your-subjects-true-colors
Shoot well and follow up faster,
Ray Baker