
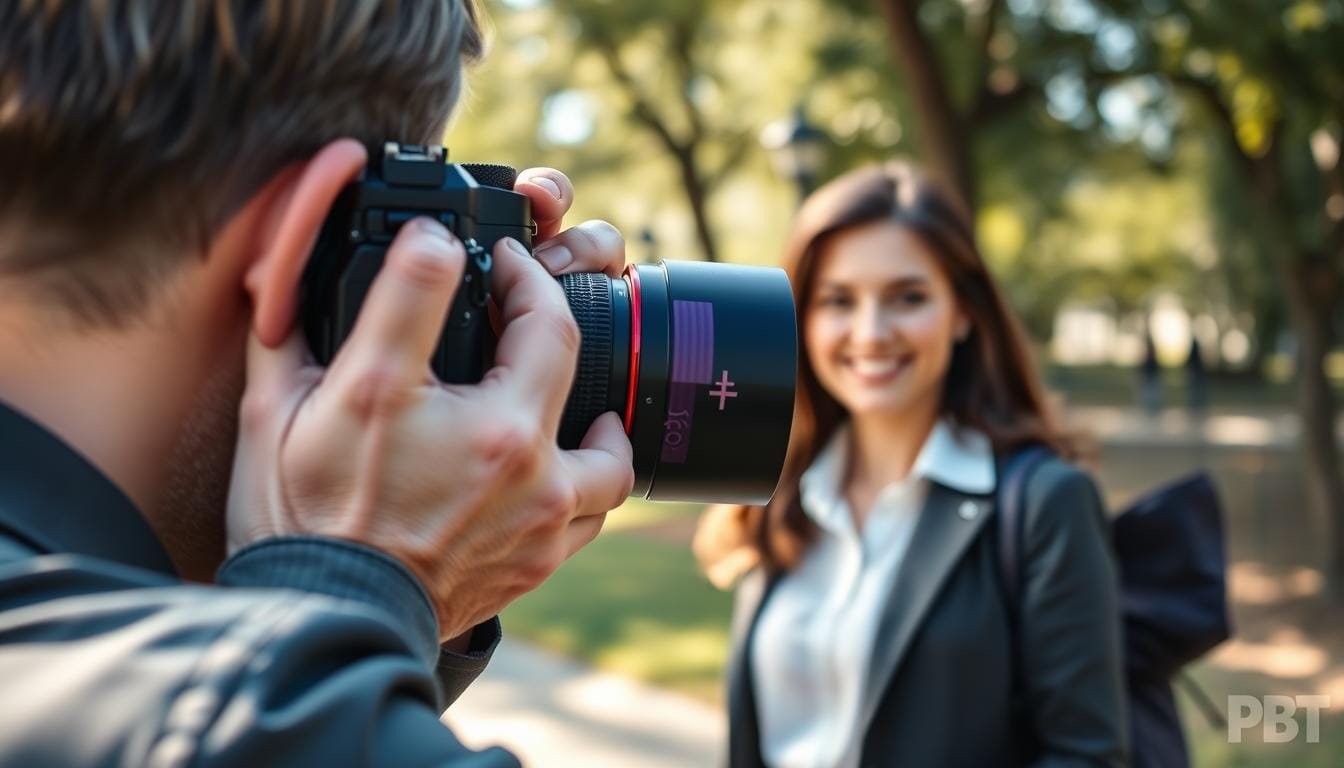
Have you ever taken a portrait only to find that the subject’s eyes look soft or the background is a distracting mess? Trust me, I’ve been there too. It can be frustrating to capture that perfect moment, only to have the technical aspects let you down. But fear not! Understanding how to use your camera settings can transform your photography.
In this guide, I’ll walk you through the essentials of aperture for portraits. I recommend starting with an aperture of f/2.8 or f/3.2, a shutter speed of 1/125 or faster, and the lowest practical ISO for your lighting conditions. This setup allows you to keep your subject in sharp focus while gently blurring the background, making your images pop.
While natural light can work wonders, mastering manual mode gives you control over ISO, shutter speed, and aperture. This flexibility is crucial for capturing stunning images, whether indoors or outdoors. So grab your camera, and let’s dive into the world of portrait photography!
Key Takeaways
- Start with an aperture of f/2.8 or f/3.2 for clear focus.
- Use a shutter speed of 1/125 or faster to avoid motion blur.
- Adjust ISO based on lighting conditions; use ISO 100 in bright light.
- Manual mode is recommended for full control over settings.
- Understand that aperture settings can significantly affect your image quality.
Understanding Your Camera’s Settings for Portraiture
Have you ever felt frustrated when your portrait doesn’t capture the subject’s essence? Understanding your camera settings is crucial for achieving stunning results. The exposure triangle consists of three key elements: aperture, shutter speed, and ISO. Each plays a vital role in creating the perfect portrait.
Aperture is the opening that controls how much light hits the sensor and affects depth of field. For portraits, I recommend starting with a wide aperture to create a beautiful background blur. The minimum recommended shutter speed is 1/125, but if you’re using a 200mm lens, aim for at least 1/200, with 1/400 being safer.
Keeping your ISO low minimizes noise, which is essential for indoor portraits. If you underexpose, lifting the exposure during editing can introduce unwanted noise. Remember, protecting your subject’s face is more important than chasing a low ISO number.
To ensure accurate skin tones, consider using a custom white balance. An Expodisc or an $8 gray card can provide more reliable results than relying on Auto White Balance.
Lastly, when troubleshooting exposure, check your histogram, protect highlights, and adjust ISO as needed. Confirm eye focus before making any composition changes.
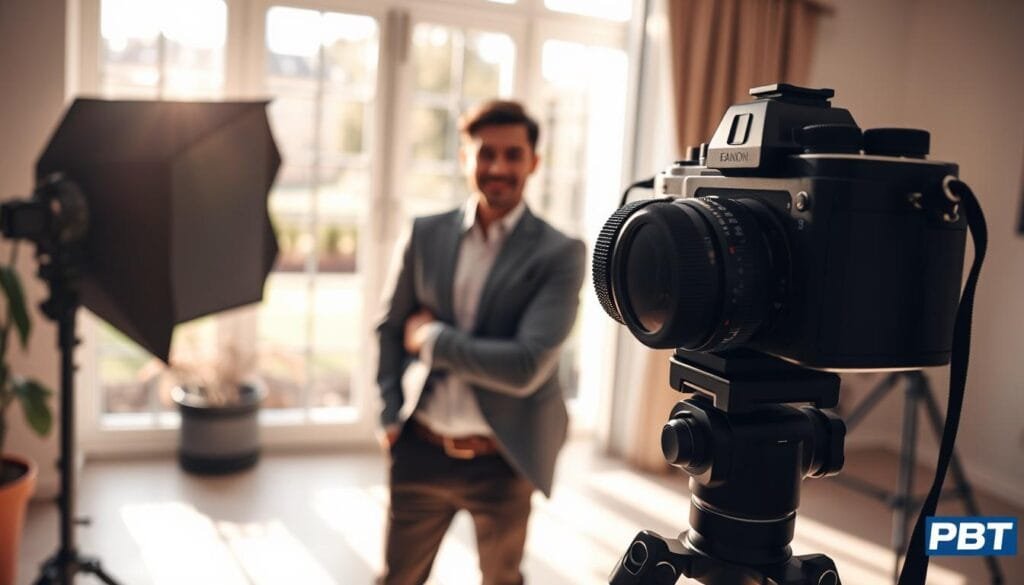
Discovering the Ideal “Aperture for Portraits” for Every Look
Finding the right focus in a portrait can often be the difference between a good photo and a great one. The choice of f-stop is essential, especially when distinguishing between a functional headshot and a more creative portrait. A headshot typically captures just the head and shoulders, while a creative portrait can showcase more of the subject’s personality.
For headshots, I recommend using an aperture of f/3.5 to f/5.6 with a 70-200mm lens set around 100mm. This setup ensures that the subject’s face remains sharp, even if the ears are slightly soft. As Wisconsin-based photographer Paul Hanon illustrates, maintaining focus on the eyes enhances the effectiveness of a headshot.
When dealing with angled subjects, remember that the closest eye should be the focus. This technique helps achieve a natural look, even if one eye appears softer due to a wide aperture. In contrast, creative portraits can benefit from a wider aperture, directing attention to the face while softly blurring the background.
Interestingly, not every great portrait needs to be shot wide open. Photographer John’s f/10 portrait, taken with a Canon EF 50mm f/1.4 lens, showcases remarkable detail from foreground to background. A practical tip is to quickly bracket your apertures at f/2.8, f/4, and f/5.6 when the subject’s pose or background changes.
| Type of Shot | Recommended Aperture | Lens Type |
|---|---|---|
| Headshot | f/3.5 – f/5.6 | 70-200mm |
| Creative Portrait | f/2.8 | Variable |
| Detailed Portrait | f/10 | 50mm f/1.4 |
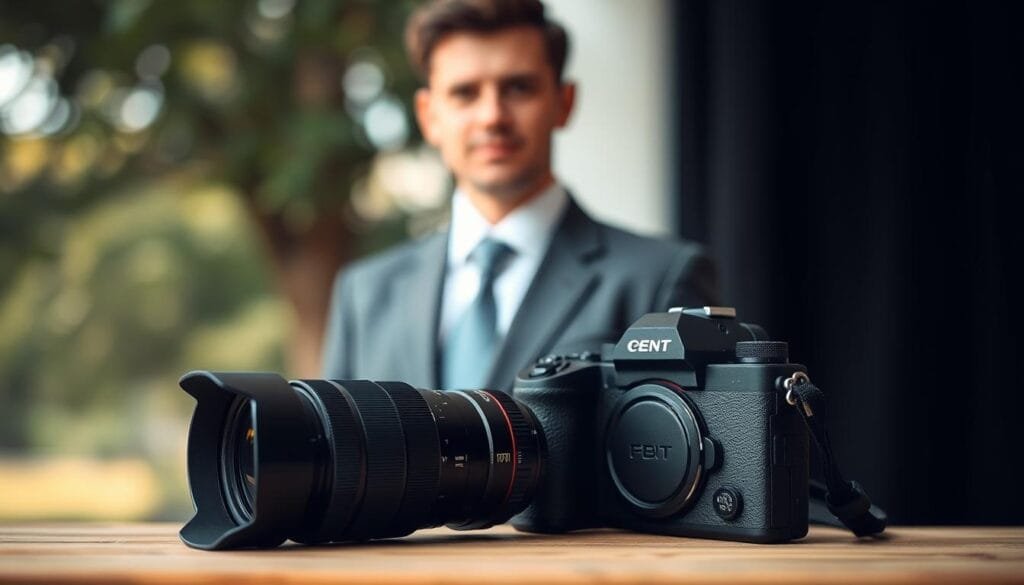
Mastering Manual Mode and Exposure Techniques
Do you find yourself struggling to balance your camera settings while capturing stunning portraits? Embracing manual mode can transform your photography from a technical hurdle into a creative tool. By mastering this mode, you gain full control over ISO, shutter speed, and aperture.
Here’s a simple workflow to follow: start by selecting your desired aperture. Next, set your shutter speed to freeze any movement, and finally, adjust the ISO only as much as the available light requires. This approach is effective in about 90% of shooting situations.
When dealing with tricky lighting, begin with an aperture of f/2.8. Check if a shutter speed of 1/125 is safe, and if not, increase the ISO instead of risking an underexposed image. If you’re using a 200mm lens, remember to aim for a shutter speed of at least 1/200, or even 1/400 for extra stability.
For practical insights, I often refer to London photographer Ivan Weiss, who showcases how mixed lighting can challenge settings. To see the effects of your adjustments clearly, change one setting at a time. This way, you can understand how each element influences your final image.
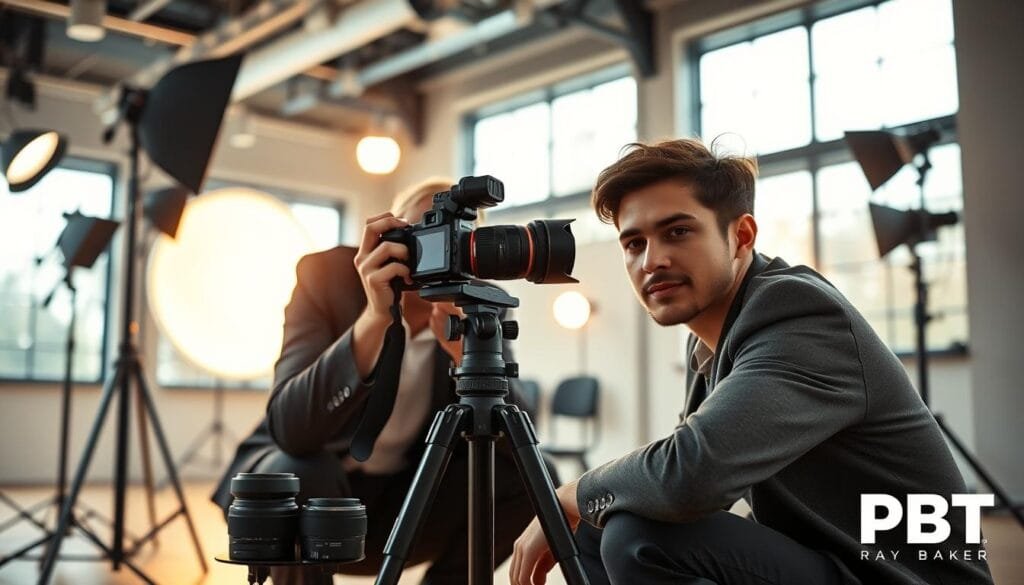
Creative Portrait Strategies: From Headshots to Group Shots
The art of portrait photography is significantly influenced by how well you control focus and depth. Whether you’re capturing a single subject or a large family, the right settings can make all the difference.
For single-person portraits, I recommend starting around f/2 to f/2.8. This range allows you to check both eyes and the intended expression before adjusting wider. Couples often benefit from f/2 to f/3.2, ensuring both faces are sharp, even if one is slightly behind the other.
When photographing small groups of about four people, f/4 is a good starting point. Adjust the distance and posing as needed. For large groups of seven or more, aim for f/8 or higher. Staggering people across rows helps keep more faces in focus.
Here’s a quick photography tip: focus on the nearest person in the front row. Use a suitable focus area and review the image at full magnification before moving on. Remember, depth of field depends on several factors, including aperture, distance, and arrangement.
| Group Size | Recommended Aperture | Focus Tips |
|---|---|---|
| Single Subject | f/2 – f/2.8 | Check both eyes and expression |
| Couple | f/2 – f/3.2 | Ensure both faces are sharp |
| Small Group (4 people) | f/4 | Adjust distance and posing |
| Large Group (7+ people) | f/8 or higher | Stagger subjects for focus |
Studio Setup and On-Location Photography Tips
Creating captivating portraits requires a keen understanding of your environment and lighting. When shooting in natural light, remember that the settings used for outdoor portraits should not be directly applied to studio strobes or flash. The power and sync settings will change your exposure approach.
For indoor shoots, position your subject near a large window. Turn off any competing room lights and observe how the light direction shapes their face. This technique enhances the natural look of your portraits.
Adjusting Lighting and White Balance for Natural Portraits
A custom white balance can be achieved with an Expodisc or a simple $8 gray card, which is a practical substitution tip for your photography kit. Always record a test frame before the session to check skin tones and highlight details instead of relying on Auto White Balance.
As demonstrated by London photographer Ivan Weiss, mixed lighting can complicate exposure settings. Continuous lights and strobes may require different aperture and exposure strategies than those used outdoors.
Practical Studio Tips and a “Send This to a Friend” Moment
To enhance your studio setup, keep your subject separated from the backdrop. This distance helps control visual clutter, even if your aperture settings remain unchanged. And remember, “Send this to a friend who keeps blaming the lens when the real culprit is an overcomplicated portrait setup.”
Final Reflections & Next Steps for Better Portrait Shoots
Capturing the essence of a subject in a portrait can sometimes feel like an elusive goal. However, with the right approach, you can achieve stunning results. Remember to choose an aperture that suits your desired look, protect a usable shutter speed, and raise ISO only when necessary.
Here are five key takeaways:
- f/2.8 is a useful starting point.
- Headshots often need f/3.5-f/5.6.
- Couples often suit f/2-f/3.2.
- Small groups often suit f/4.
- Groups of seven or more often need f/8 or higher.
Paul Hanon’s headshot example and John’s f/10 portrait illustrate that creative intent matters more than a single perfect setting. Embrace experimentation!
FAQs
- What is the best aperture for one person? A range of f/2 to f/2.8 works well.
- What is the best aperture for groups? Aim for f/4 or higher depending on group size.
- What is the minimum shutter speed for portraits? 1/125 is a good starting point.
- Is Auto White Balance reliable for skin tones? It can be inconsistent; using a custom balance is often better.
For more practical tips on lighting and camera settings, explore the PBT photography category.
References: First source: Camera Settings for Portraits Using Natural Light; Second source: Which Aperture Is Best for Portraits?; Third source: Best Aperture Settings for Portraits.
Stay focused,
Ray Baker.
FAQ
What is the best f-stop for portrait photography?
How does shutter speed affect my portrait images?
What should I consider when photographing large groups?
How can I overcome low light conditions while taking portraits?
What tips do you have for shooting in manual mode?
How do I achieve a natural look in my portraits?
What are some creative strategies for portrait photography?
Struggling to get consistent photography clients?
Get More Photography Clients