
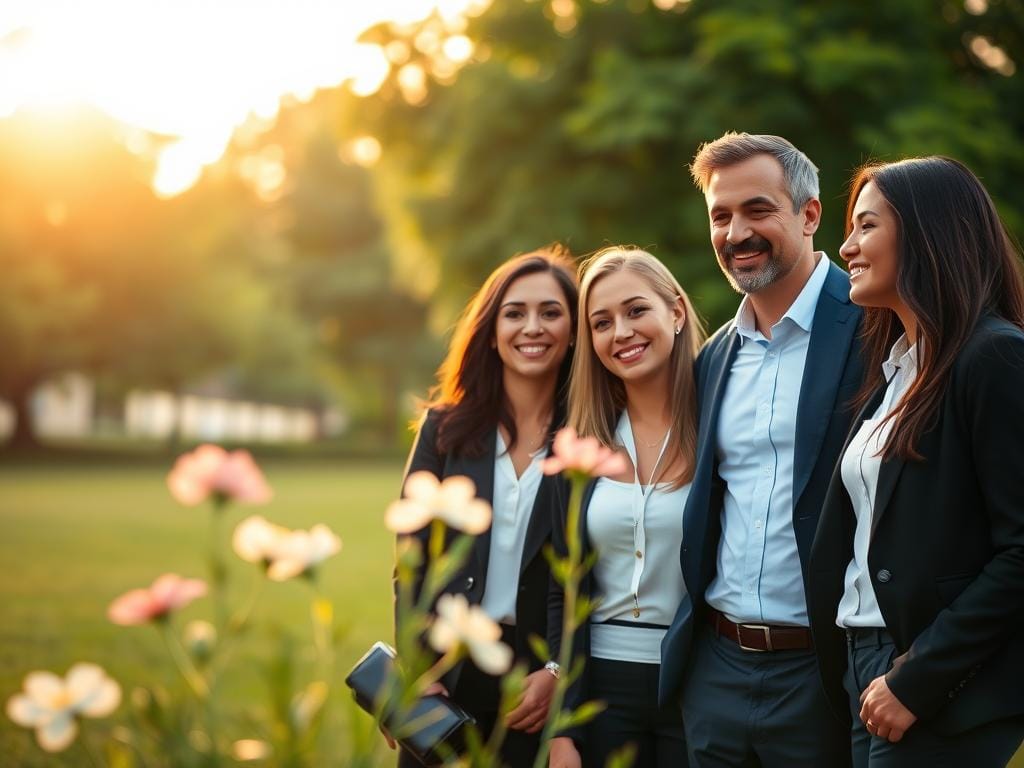
Do you hate when a great photo session goes wrong? Maybe your subject is squinting or shadowed. Or maybe they blend into a busy background. These tips will help you avoid these problems and get great photos quickly.
In this short section, you’ll learn fast and easy tips for portrait lighting. You’ll also know how to avoid common mistakes. These mistakes can ruin photos. With these tips, you can take amazing natural light portraits without needing special lights.
Key Takeaways
- Look for open shade or soft backlight first to stop squinting and harsh shadows.
- Test a location with only ambient light before committing-great for travel and quick sessions.
- Use simple reflector moves and subject positioning to shape faces fast.
- Prioritize backgrounds that make subjects pop to increase your photos worth selling.
- Apply these portrait techniques on adults 25+ for natural, flattering results every time.
Quick answer: How to fix an awkward outdoor portrait in minutes
quick fix outdoor portrait: Move the client into open shade. Angle the shoulders about 45°. Place a reflector low and in front if shadows persist. Set a wide aperture. Keep shutter speed at or above 1/160s. Check for a catchlight in the eyes. This quick fix turns an awkward shot into a sellable frame in under five minutes.
natural light portrait tips: Use golden hour or overcast skies as alternatives. Golden hour changes fast, so work quickly. Overcast acts like a softbox and saves scenes when the sun is harsh. Natural light is the best choice when you can’t carry extra gear.
fix awkward portrait: Positioning and small gear moves matter more than complex retouching. A modest reflector or a folded white board brightens shadows on the face. It restores life to the eyes. Keep the subject relaxed and adjust posture instead of forcing stiff poses.
outdoor portrait photography tips: For speed, set camera to a wide aperture to blur busy backgrounds. Use single-point autofocus on the nearest eye. Maintain a shutter speed that prevents motion blur and review catchlights before moving on. These quick checks improve headshots and client sessions without delay.
Want to Start Your Own Photography Business?
| Problem | Fast Fix (Under 5 min) | Why It Works |
|---|---|---|
| Harsh shadows on face | Move to open shade; reflector low and in front | Soft, even light removes contrast and shows details |
| Stiff or awkward pose | Angle shoulders 45°; ask for small weight shift | Creates natural S-curve and relaxed posture |
| Flat eyes or no catchlight | Reposition subject toward a small light source or use reflector | Catchlights add life and focus to portraits |
| Distracting background | Use wide aperture and increase distance to background | Shallow depth of field isolates subject and simplifies frame |
| Motion blur or soft images | Raise shutter to ≥1/160s and stabilize stance | Prevents camera or subject movement from ruining sharpness |
natural light portrait tips: choosing the right type of light for flattering faces
Choosing the right light can change a portrait’s look and mood fast. Pick light that fits the story you want to tell and the time you have. Use simple checks to choose between open shade, golden hour, or an overcast sky for flattering natural light every time.
Why open shade is often your safest starting point
Open shade gives soft, even light that flatters most faces. It reduces harsh shadows and makes skin tones smooth. Look for shaded areas with some ambient light to avoid heavy darkness.
Soft light from open shade can be weaker than direct sun. Use a wider aperture or a slightly higher ISO to keep shutter speeds fast. A reflector or a white wall nearby can add subtle fill without changing the mood.
Golden hour advantages and working quickly
Golden hour brings low, warm light that feels romantic and flattering. It’s great for soft rim light, warm skin tones, and a gentle glow on hair. Backlighting during golden hour can separate the subject from the background and create a cinematic look.
Time is the challenge. Golden hour moves fast. Plan poses and camera settings in advance to stay productive. Avoid asking the model to look directly at the sun to stop squinting. A white reflector provides natural fill while preserving those golden tones; set white balance to Daylight or use 5000-5600K for accurate warmth.
When overcast skies are actually the best studio you’ll get
Overcast portrait photography acts like a giant softbox. Cloud cover diffuses light across the scene, which smooths skin, hides blemishes, and cuts down on contrast. This makes close-ups and glamour work easy to light.
Flat light can cause subjects to blend with backgrounds. Choose a darker backdrop or one with contrasting color and texture. Overcast days become a reliable, portable studio for consistent, flattering natural light.
| Light Type | Best Use | Key Camera Tip | Mood |
|---|---|---|---|
| Open shade portrait | Headshots, family groups, quick outdoor sessions | Wider aperture, moderate ISO, reflector for fill | Even, natural, approachable |
| Golden hour portrait tips | Romantic portraits, rim-lit profiles, silhouettes | Backlight with reflector, Daylight white balance (5000-5600K) | Warm, emotive, cinematic |
| Overcast portrait photography | Close-ups, glamour, documentary, environmental portraits | Use darker or contrasting background, keep ISO balanced | Soft, flattering, consistent |
Positioning light and subject: portrait lighting tips for more dimensional photos
Where you place the light is as important as the light itself. Small changes can make a big difference. These tips help shape faces and guide where to use reflectors or modifiers.
Use partial side lighting to sculpt features and create catchlights
Stand about 45 degrees to the side of your subject. Raise the light or tilt the subject up by 45 degrees. This lighting sculpts the face and keeps the near eye bright.
Try moving a little closer or farther from the light. This changes the shadows and how the face looks.
How backlight and rim light can separate the subject from the background
Put the sun or window behind the subject. This creates rim highlights on hair and shoulders. Backlight adds depth and makes the subject stand out from the background.
Expose for the background first. Then add fill with a reflector or flash. This avoids unwanted dark areas unless you want a silhouette.
Avoiding front light that flattens and causes squinting
Light from over your shoulder can make faces look flat and cause squinting. For more depth, avoid front light and use a side or back position.
For bright sun, move the model into open shade. Or have them turn slightly away from direct light. This keeps their expression natural and preserves texture.
Practical tips: stand at the same height as the subject for even lighting. Move left or right to change shadows. Raise or lower the light to soften or harden shadows. These small changes make a big difference in your photos.
Practical reflector techniques every outdoor portrait photographer should know
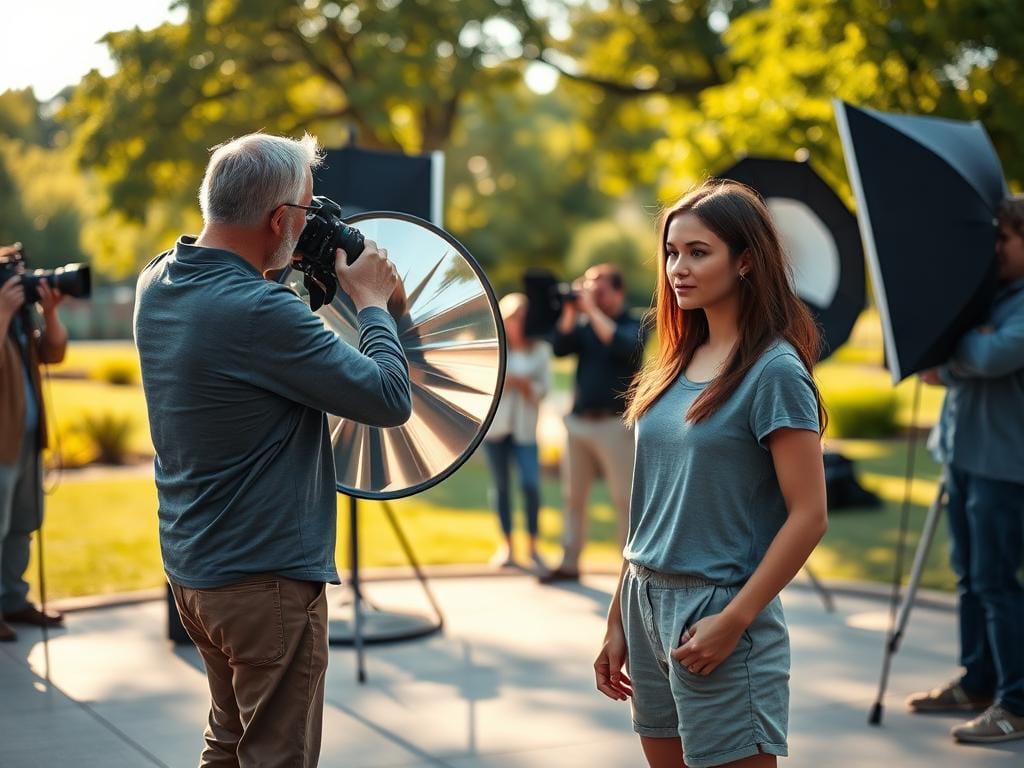
Reflectors are cheap and easy to carry. They help make shadows less harsh and faces brighter. A 5-in-1 kit has white, silver, gold, and a diffuser for many outdoor shots.
Choosing the right reflector color for skin tones and mood
Silver makes things pop for editorial shots. White is soft and natural, flattering most skin tones. Gold adds a warm glow, like the sun at golden hour.
Choose reflector colors based on skin tones and mood. Gold is good for deeper or olive skin. White is best for fair skin. Silver works well for darker backgrounds or when you want more highlights.
Placement and distance to control fill strength
Put a reflector a bit below the chin and angled to light up the eyes. This fills in shadows and adds catchlights. Move it closer for more light, back for less.
When alone, lean the reflector against a wall or use a Manfrotto light stand adapter. With help, give simple directions like “a bit left” or “higher” to adjust reflections fast.
Using natural reflectors when you can’t carry gear
Natural reflectors are great when you don’t have gear. Look for white walls, sand, bright pavement, or light-colored cars. These surfaces work best when angled like a handheld reflector.
For strong sun, use a diffuser from a reflector kit to soften the light. Spot natural reflectors during scout walks. This expands your creative options without extra weight.
- Tip: mix natural reflectors with small handheld ones for more control.
- Tip: test reflector colors in-camera to check the mood before shooting.
- Tip: practice reflector techniques in different lights to make adjustments second nature.
Camera settings that keep natural light portraits sharp and sellable
First, turn off Auto mode and choose a better exposure mode. Aperture Priority is great because it lets you control depth of field quickly. This is why many pros use it for portraits.
Why Aperture Priority often wins for portrait sessions
Aperture Priority lets you use a wide aperture. This makes the background blurry and focuses on your subject. Use f/1.8-f/4 for a strong blur, but adjust if your subject and background are at different distances.
Aperture, ISO and shutter speed trade-offs
Keep ISO low, around 100, when the light is good. Watch the shutter speed. Try to keep it at least 1/160s to avoid blur.
If the shutter speed is too slow, increase ISO in small steps or open the aperture more. In very bright light, use an ND filter. This lets you keep a wide aperture without overexposing.
Autofocus strategy: eye-detection and single-point AF
Use autofocus eye-detection if your camera has it. This includes Sony, Canon, and Nikon models. If not, use single-point AF on the nearest eye.
For moving subjects, use continuous AF with eye tracking. Check the test frames often and look at the histogram to make sure the exposure is right.
| Setting | Recommended Range | When to Change |
|---|---|---|
| Aperture | f/1.8 - f/4 | Widen for single subjects; stop down for groups or more depth |
| Shutter Speed | 1/160s or faster | Raise ISO or aperture if slower than 1/160s to prevent blur |
| ISO | 100 - 800 | Start at 100; increase when light drops, keep noise in check |
| Autofocus | Eye-detection / Single-point AF | Use eye-detection for both static and moving subjects; single-point for precise control |
| Mode | Aperture Priority (A/Av) | Switch to Manual or Shutter Priority for creative control or action |
Take a few test frames after each lighting change. Check the exposure, focus on the eyes, and adjust as needed. For more tips on natural-light portraits, see this guide.
Background selection and composition for photos worth selling
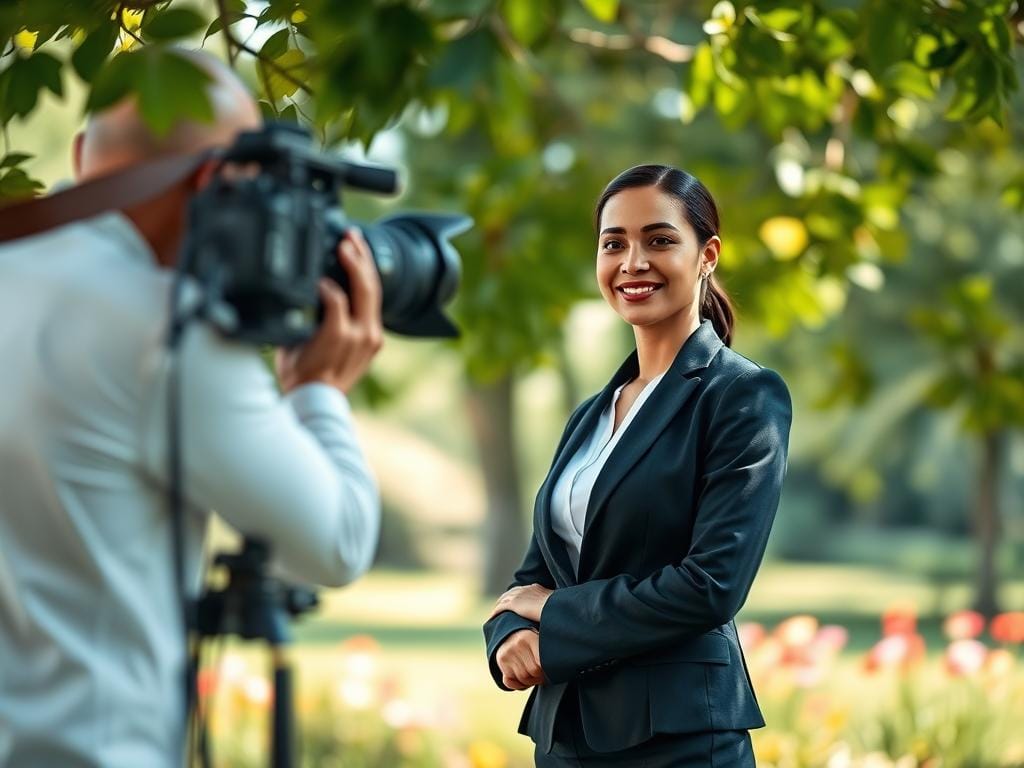
Choose a backdrop that tells a clear story without stealing focus. For strong background selection portrait work, pick uncluttered, lower-contrast backdrops so the face remains the center of attention. Busy patterns, bright colors, and mixed sun-and-shade patches will fight with the subject and reduce market appeal.
Increase the distance between subject and backdrop whenever you can. Use a longer lens to compress the scene and create creamy background bokeh long lens effects. Lenses like an 85mm or 135mm at wide apertures help isolate the subject and make images look more polished and sellable.
Pay attention to color and texture. Select complementary portrait backgrounds that support clothing tones instead of matching them exactly. Avoid red-on-red or near-identical hues that blur subject and backdrop together. Keep textures subtle so they add interest without distraction.
Use composition cues to raise the value of photos worth selling. Leading lines that point to the subject, mindful headroom, and natural framing with doorways or foliage direct the viewer’s eye. Negative space can give clients room for text or cropping choices for marketing use.
Lighting choice influences how the background reads. Under flat, overcast skies, place the subject against a darker backdrop to create contrast. When you have edge light, use it to separate the subject from the scene and emphasize shape.
Lens and distance decisions should serve the story. A longer focal length compresses background elements, while working closer with a wide lens draws in environmental details. Choose the tool that matches the narrative you want the portrait to convey.
For practical on-location guidance, review a concise set of portrait basics at portrait photography tips to reinforce scene building and background strategy.
| Element | What to Aim For | Why It Sells |
|---|---|---|
| Backdrop contrast | Darker or neutral, low-contrast vs. face | Puts attention on the subject, improves print and web display |
| Lens choice | 85mm-135mm at wide aperture | Creates background bokeh long lens look, compresses scene |
| Distance | Maximize subject-to-background gap | Reduces distractions, enhances separation |
| Color pairing | Use complementary portrait backgrounds, avoid exact matches | Makes clothing and skin tones pop, avoids visual confusion |
| Texture | Subtle use only | Adds depth without stealing focus |
| Composition cues | Leading lines, headroom, framing, negative space | Guides viewer, fits client crop and marketing needs |
Posing and expression: simple, dynamic moves that flatter quickly
Great portraits come from small, natural changes. Use simple cues to guide poses and expressions. This helps clients relax and you capture real moments.
Keep directions short and easy to see. Show the move and ask the subject to do it too.
Keep poses natural with shoulder angles and relaxed hands
Angle shoulders about 45 degrees to the camera for depth. Tell the subject to point their nose a bit away from the lens to slim their face. Bend elbows and rest hands lightly on hips, a chair, or each other to avoid pressing fingers against the body.
Use weight shifts to add life. A small lean or step forward makes poses look natural. These simple moves make poses flattering without a lot of fuss.
Directing expressions that look genuine
Expression is more important than perfect posture. Start a casual chat, give a quick, warm compliment, or ask about a memory to spark real reactions. Use short acting cues like asking them to remember a win, picture a funny moment, or imagine someone they love arriving.
Mirror their tone and show an example of the smile or look you want. This way, the subject relaxes and shows honest emotion on command.
Group posing tips for connection and balance
Groups work best when people touch or lean in. Create connection with a hand on a shoulder, a shared laugh, or linked arms. Use stools or steps to vary heights and avoid a flat row.
Stagger shoulders and heads to break symmetry. Let members shift weight and move a little between frames. These tips keep group poses dynamic and balanced while keeping natural interaction.
Catchlights and eye control: small details that lift a portrait
Catchlights make a picture come alive. A spark in the eye adds depth and grabs attention. Use these tips to check eyes and keep photos fresh.
How to check and create strong reflections on location
Always check the eyes in every shot. If the glint is missing, turn the subject a bit toward the sky. Use a white car hood or light wall to add catchlights quickly.
Position the reflector below or in front of the subject. A big, bright reflection makes a lively look. A small, soft glint is better for moodier shots. These tricks help you adjust catchlights without changing your setup.
Using catchlights to convey mood and energy
Match the catchlight’s shape and brightness to the photo’s mood. Bright, round catchlights are lively. Narrow, dim catchlights are more intimate. For backlit scenes, add gentle fill to keep eyes sparkling.
Troubleshooting quick fixes
- Catchlights vanish: tilt subject toward the sky or position a bright surface within their sightline.
- Eyes look dull: increase fill, move the subject to brighter ambient light or use a silver reflector for more pop.
- Unwanted reflections: swap to a matte reflector or lower its angle to soften highlights.
Practice these steps to control focus and emotion better. Strong portraits come from small adjustments and constant checks. Use these tips to make catchlights that enhance your photos.
Creative natural-light techniques to expand your portfolio
Try new things to grow your portfolio. Use three easy methods that work for real shoots. Each way makes your outdoor portraits stand out and memorable.
Silhouettes and dramatic shapes with backlighting
Put your subject between your camera and a bright light. This could be the sun or a big window. You want the background to be very bright.
Adjust how far away your subject is until you get a nice outline. Use a long lens to make the scene look tighter. These portraits are simple yet sell well for many types of clients.
Nighttime and ambient-light portraits for cinematic options
City lights can turn a simple photo into a movie scene. Move your subject close to the light source. This could be a street lamp or a neon sign.
Use a faster shutter or higher ISO to control grain. Neon colors add mood and contrast. These portraits are great for social media and family photos that want something unique.
Embracing contrast: when harsh sun works for bold portraits
Midday sun can make your photos bold and dramatic. Use shadows to highlight your subject’s features. You can also make the photo black-and-white for a timeless look.
If clients want softer photos, move them to open shade. You can also use a diffuser or reflector. ND filters help keep your aperture wide in bright light. Lens hoods can help with flare, unless you want it.
| Technique | Key Setup | Best Uses | Client-friendly Tip |
|---|---|---|---|
| Silhouette portraits | Backlight, negative exposure comp, clean edges | Editorial, moody headshots, social banners | Show a preview in-camera to confirm readable shape |
| Nighttime ambient portraits | Subject near lamp/neon, control ISO and shutter | Cinematic portraits, branding, creative couples | Use a reflector or small LED for catchlight in eyes |
| Harsh sun portraits | Strong contrast, optional diffuser, ND for shallow DOF | Bold editorial, black-and-white series, street style | Offer a softer alternative from open shade in the same shoot |
Shareable tips list and quick message to a friend
Here are five easy tips for portraits you can share or save: move clients to open shade for soft light. Angle shoulders about 45 degrees and focus on the eyes. Use a reflector low and in front to lift shadows.
Choose a wide aperture and keep shutter speed at or above 1/160s. Get a catchlight in the eyes every time. These tips make sessions faster and more consistent.
Copy-and-paste message for a friend or client: “Shift into open shade, tilt the chin a touch, give me a small smile-done. If in doubt, add a reflector. -Ray” This message is friendly and keeps the shoot moving.
Natural light techniques change with weather, lens, and camera. Results depend on skill, gear, and subject cooperation. No guarantees. Sources: First source, Instagram, Third source.
Want to Start Your Own Photography Business?
Stay focused,
Ray Baker.