
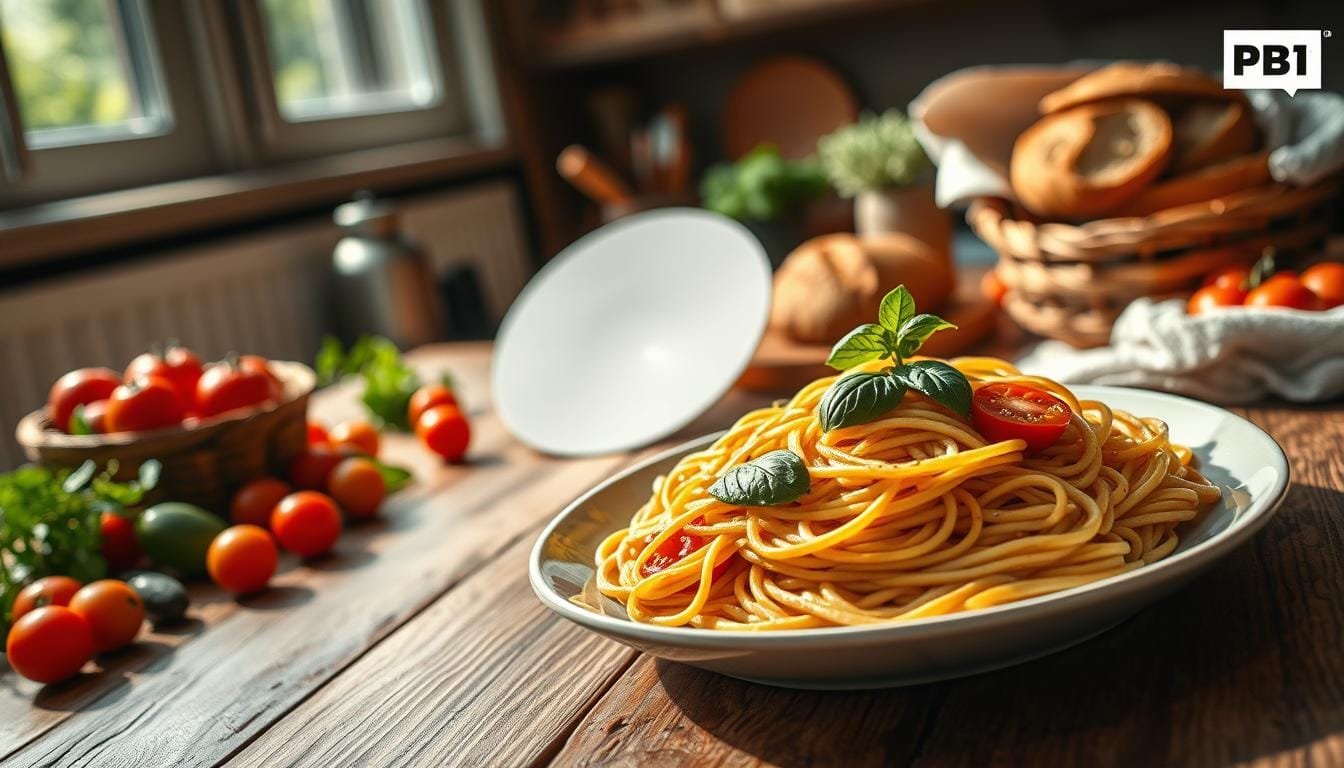
Every time I set out to capture my meals, I face a common challenge: the harsh shadows created by direct sunlight streaming through my kitchen window. It can be frustrating to see a beautifully arranged plate marred by unflattering dark spots. However, I discovered a simple solution that transformed my approach to capturing images. By placing a diffuser between the window and my dish, I softened the light, allowing the natural beauty of the meal to shine through.
This setup is not only effective but also budget-friendly. With just a few inexpensive items, I created a reliable lighting environment that enhances the textures and colors of my dishes. A basic setup can be achieved for under $100, proving that you don’t need to invest in expensive equipment to achieve stunning results.
Join me as we explore the essentials of creating captivating images with soft light, reflection, and the right positioning. Together, we’ll uncover the secrets to making everyday meals look fresh and inviting.
Key Takeaways
- Direct sunlight can create harsh shadows; a diffuser helps soften the light.
- A simple setup can be created using a window, diffuser, and reflector.
- Soft light enhances texture and dimension in your images.
- Investing under $100 can yield professional-looking results.
- Natural light can be manipulated for various effects throughout the day.
Tackling Lighting Pain Points and Finding Practical Solutions
In my early attempts at capturing dishes, harsh shadows became my greatest challenge. My images often looked flat when lit from the front, yet beside an uncovered window, the shadows were overwhelming. This was a common issue for beginners, and it left me frustrated.
To combat this, I learned to place a diffuser closer to the window than my subject. This setup reduced the intensity of the light source and created softer shadow transitions. Additionally, using a reflector opposite the window helped bounce light back onto the subject, illuminating darker areas. A simple comparison of images with and without fill light clearly showed the difference.
Here are some practical tips:
- Move the reflector gradually to avoid forcing even illumination across every dish.
- Be cautious of mixed lighting; different light sources can alter the color of your subject.
- Consider a quick video demonstration: one shot with an uncovered window, one with a diffuser, and one with a reflector will showcase the impact of each setup.
Building a Strong Foundation for Your Lighting Setup
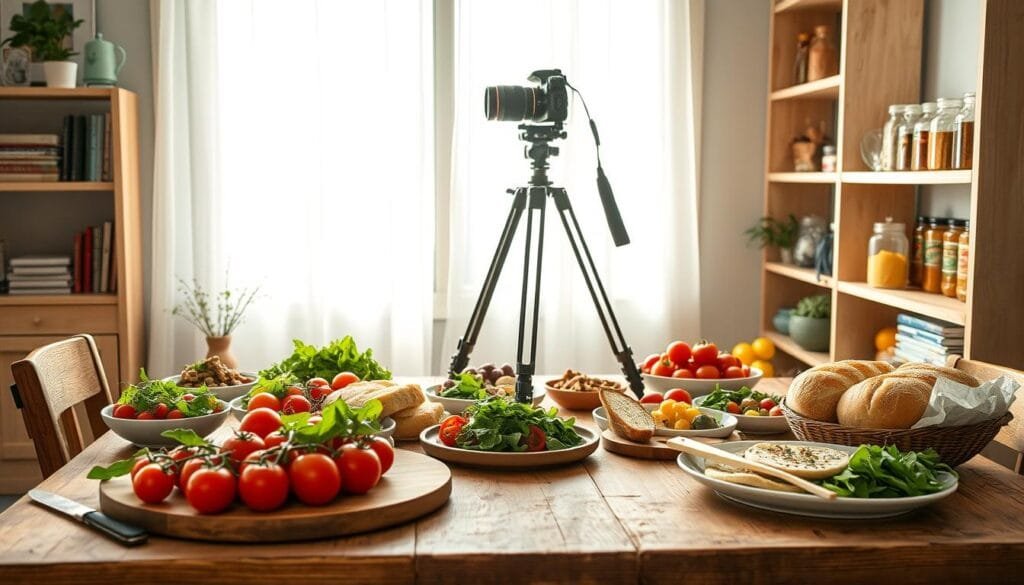
The journey to stunning images starts with mastering your light source. A solid setup is essential for achieving beautiful results. The right gear can significantly impact how your images turn out. Two must-have tools are a diffuser and a reflector.
For starters, consider the Neewer diffuser, available in a 40-by-60-inch size and a portable 24-inch model with a handle. These options allow you to soften harsh light effectively. Additionally, using white foam core can provide inexpensive fill light, while black foam core absorbs light to deepen shadows and enhance contrast.
When positioning your scene, place your table beside a window. Keep the diffuser closer to the light source and ensure there’s enough space for your camera and setup. Here’s a helpful studio tip: use inexpensive clips to secure foam boards. This prevents small movements from altering your shadow patterns during a long shoot.
To understand how natural light affects your images, conduct an observation exercise. Check every window room hourly for two days, noting the strength, direction, shadow shape, and color of the light. Remember, the same subject may require different camera settings as daylight changes throughout the day.
| Gear | Size | Purpose |
|---|---|---|
| Neewer Diffuser | 40 x 60 inches | Softens harsh light |
| Neewer Diffuser | 24 inches with handle | Portable softening |
| White Foam Core | Standard size | Fill light |
| Black Foam Core | Standard size | Absorbs light |
Mastering Food Photography Lighting in Your Home Studio
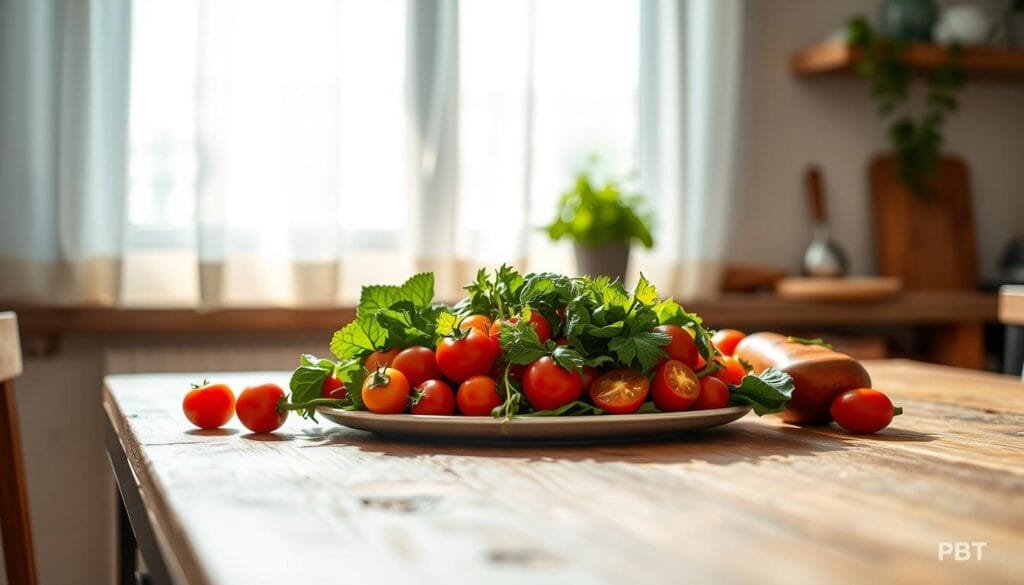
Capturing the perfect image of my meals can often feel like a balancing act. Understanding how to utilize side light and backlight techniques can elevate my culinary images. Side light comes from beside the subject and camera, while backlight originates from behind the subject. Both methods create stunning effects when done correctly.
Side light is my go-to for nearly all setups. It allows shadows to fall across the scene, adding depth. For backlighting, I position the window behind the dish and opposite my camera. This technique highlights shine and texture, but I must be careful to avoid overly dark areas. A reflector can help brighten the foreground, ensuring a balanced shot.
Soft shadows define a natural look, where edges gradually transition. This is different from harsh shadows that can distract from the subject. To illustrate, I compare soft-shadow still lifes with hard-shadow ones. The difference is striking and teaches me to adjust my camera settings accordingly.
| Technique | Description | Effect |
|---|---|---|
| Side Light | Light from the side of the subject | Adds depth and dimension |
| Backlight | Light from behind the subject | Highlights textures and shine |
| Soft Shadows | Gradual shadow edges | Creates a natural appearance |
| Harsh Shadows | Sharp shadow edges | Can distract from the subject |
Exploring Artificial Light for Creative Flexibility
Exploring the world of artificial light can unlock new creative possibilities for my culinary images. Understanding the differences between constant and strobe lighting is essential for any photographer.
Constant lights are particularly useful for beginners. They allow me to see how shadows fall continuously, making adjustments easier. In contrast, strobe lighting is often used in commercial settings and requires more experience to master.
For instance, the Godox SL-150W paired with a 5-in-1 reflector can create a versatile setup. This includes two light stands and an A-clamp for stability. A 7-inch reflector head can narrow the LED beam, increasing contrast and producing sharper shadows.
Modifiers such as barn doors and honeycomb grids can shape the light effectively. Barn doors create strips of light, while honeycomb grids focus the beam. When using continuous lights, it’s important to switch off room lights and cover windows to avoid mixed color temperatures.
To enhance my skills, I recommend a Pinterest exercise. Collect at least 50 images to analyze shadow direction, softness, and contrast. This will help identify preferred lighting patterns.
| Light Type | Best For | Key Features |
|---|---|---|
| Constant Light | Beginners | Visible shadows during adjustments |
| Strobe Light | Commercial Use | Requires experience |
| Godox SL-150W | Versatile Setup | Includes reflector and stands |
| Modifiers | Creative Control | Shape and focus light |
Tweaks, Studio Tips, and Substitution Ideas for Perfect Shots
Finding the right adjustments in my studio setup can make all the difference in capturing the essence of my dishes. I’ve discovered that everyday items can serve as effective substitutes for professional gear.
Substitution Tip: Instead of a dedicated reflector, I often use clean white foam boards. They work wonders in bouncing light into my scene. Additionally, reflective metal surfaces can provide a stronger bounce when needed.
When optimizing my setup, I recommend changing one variable at a time. Adjusting the reflector distance, diffuser position, light height, or table angle allows me to observe each change’s impact clearly.
For broader coverage, the Neewer 40-by-60-inch diffuser is ideal. Meanwhile, the 24-inch handled diffuser is perfect for portability. Moving the reflector closer lightens shadows, while pulling it farther away reduces fill.
It’s essential to keep my setup budget-friendly. I remind myself that I can assemble a basic arrangement for under $100. A useful studio tip is to photograph a test frame after each adjustment. This helps me track improvements in the shape and texture of my images.
“Send this to a friend who keeps blaming the camera for shadows that a diffuser and foam board could solve.”
Wrapping Up Your Light Mastery Journey
As I wrap up my journey through the world of capturing meals, I reflect on the lessons learned. A window, diffuser, and reflector form the foundational workflow, providing beginners with a repeatable starting point.
Here are five key takeaways:
- Soften the light source.
- Control fill light effectively.
- Test side light for depth.
- Explore backlight for added texture.
- Observe how daylight changes throughout the day and seasons.
Choose your light according to the story you want to tell. Whether aiming for relatable recipe imagery like Cottage Cheese Pizza Crust or a more artistic cookbook mood like Phoenix Eats and Drinks, the right light is essential.
FAQs:
- Is natural light required?
- Is a reflector essential?
- Do constant or strobe lights suit beginners?
- How can I create more contrast?
For further development, check out the PBT Photography category. References include the first food photography fundamentals source, the artificial-light source, and Lume Cube’s “Light Tip: Food Photography.”
Stay focused,
Ray Baker.