
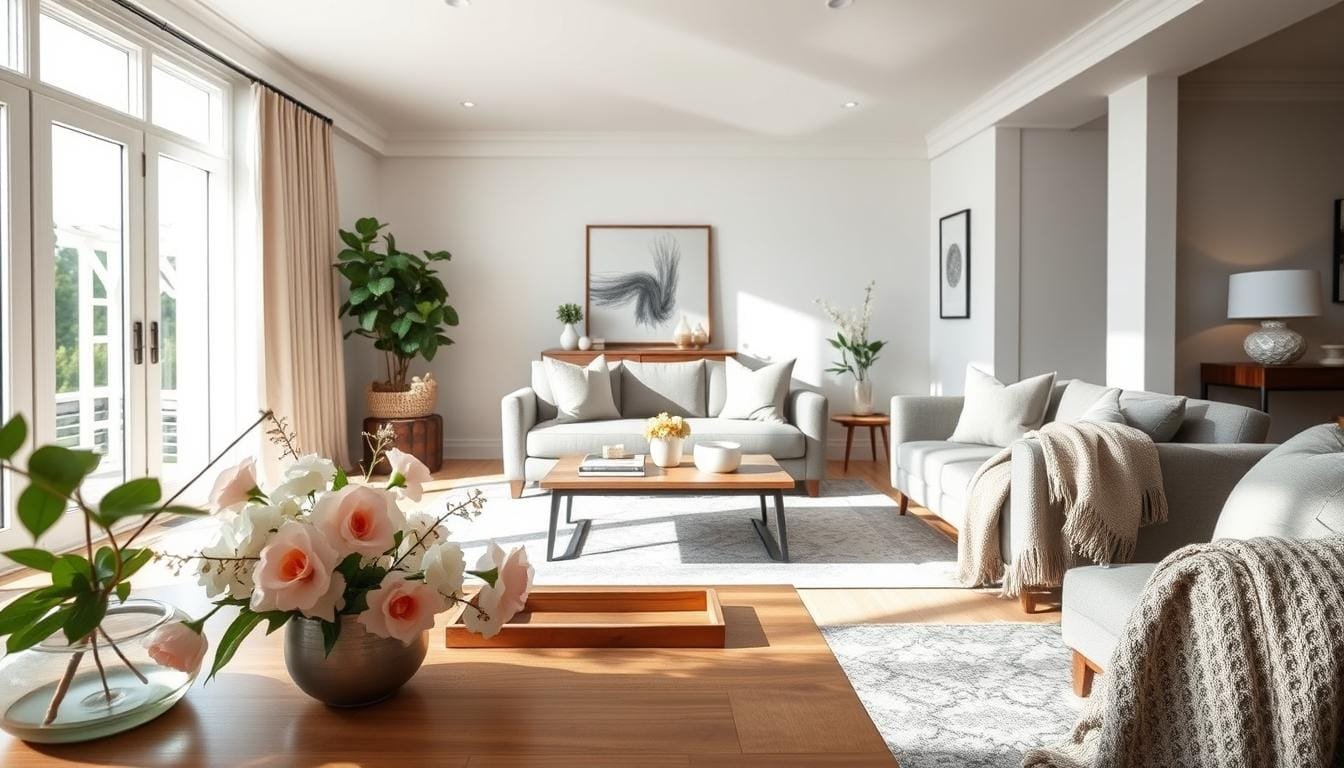
Imagine scrolling through countless property listings, only to be turned off by blurry images or poor lighting. It’s a common frustration for many homebuyers. I’ve been there myself, searching for the perfect home, only to feel misled by pictures that didn’t accurately represent the space. This experience highlights the importance of strong listing photography. It can make or break a buyer’s interest.
In today’s market, buyers often see a property online before stepping inside. This makes the first impression crucial. I promise to share an ethical approach that makes rooms inviting without misleading potential buyers. By focusing on preparation, lighting, camera techniques, and editing, we can enhance visual appeal while maintaining honesty. You don’t need expensive equipment to achieve stunning results.
Throughout this guide, I’ll explore how to create authentic images that showcase genuine proportions and real features. This advice is relevant for photographers, agents, and homeowners across the United States and even in Australia, where the weather can be a bit unpredictable!
Key Takeaways
- Strong visuals are essential for attracting buyers online.
- Preparation and lighting significantly enhance photo quality.
- Honesty in representation builds trust with potential buyers.
- Affordable techniques can produce professional-looking results.
- Understanding the market can help tailor your photography approach.
Introduction: Overcoming the Challenges of Real Estate Photography
Finding a home can feel frustrating when listing photos don’t accurately represent the spaces they showcase. Dark rooms, clutter, and awkward angles can diminish the appeal of even the most beautiful properties. In my journey, I discovered that a series of well-planned images is essential to capture the true essence of a space.
Unlike editorial photography, which often focuses on artistic presentation, real estate images must document a property objectively. This ensures that potential buyers can visualize dimensions and sightlines accurately. My experience taught me the value of a repeatable checklist that improved consistency across various homes, apartments, and rooms, regardless of changing weather conditions.
Objective representation matters. Buyers rely on accurate visuals before scheduling in-person showings. My goal is to enhance brightness, order, and emotional appeal while preserving the property’s actual layout and condition.
“Good photography is about capturing the soul of a space.”
| Common Issues | Impact on Listings | Solutions |
|---|---|---|
| Dark Rooms | Reduce perceived value | Improve lighting setup |
| Clutter | Distracts from features | Organize and declutter |
| Blurry Frames | Unprofessional appearance | Use a tripod |
| Awkward Angles | Misrepresent space | Plan camera angles |
Preparation: Setting the Stage for Success
The initial impression of a property is often formed by the visual representation it presents. To create inviting images, I recommend starting with a well-organized shot list. This list should include essential areas such as the front and back exteriors, bedrooms, living room, bathrooms, kitchen, and dining room. Prioritizing standout features like large windows or updated kitchens can enhance your visuals significantly.
Before the shoot, conduct a pre-walkthrough to identify architectural details and outdoor spaces that deserve attention. Remember, I typically focus on capturing the property rather than cleaning or staging it, so any extensive preparation should be charged separately.
Also, ensure that your equipment is ready. Check for charged batteries, cleared memory cards, and clean lenses. A lighting check is crucial, as natural light can dramatically improve your shots. Booking during the golden hour, shortly after sunrise or before sunset, can create warm tones and soft shadows, enhancing the overall appeal.
Effective real estate photography tips
Navigating through a sea of property listings can be disheartening when the images fail to do justice to the spaces. To enhance your photography, mastering camera angles and perspectives is essential. Start by positioning your camera around chest height. This is a common starting point for capturing interiors.
As you shoot, consider lowering the camera to door-knob height. This adjustment can create a more balanced composition, especially if the initial frame includes too much ceiling or too little foreground. Positioning the camera near a corner or doorway can also add depth, allowing you to capture three walls of a room. This technique provides viewers with a clearer understanding of the space.
Utilizing natural light is another crucial aspect. Place windows to the side or at approximately 45 degrees from the camera to reduce contrast and maintain interior detail. Always check for reflections in mirrors and windows before taking the shot to avoid capturing unwanted elements like your equipment.
“Good photography is about capturing the soul of a space.”
| Technique | Description | Benefits |
|---|---|---|
| Chest Height | Standard height for interior shots | Offers a natural perspective |
| Door-Knob Height | Lowering the camera for balance | Enhances foreground and ceiling proportions |
| Corner Positioning | Captures three walls of a room | Creates depth and clarity |
| Natural Light | Utilizing light from windows | Reduces harsh contrasts |
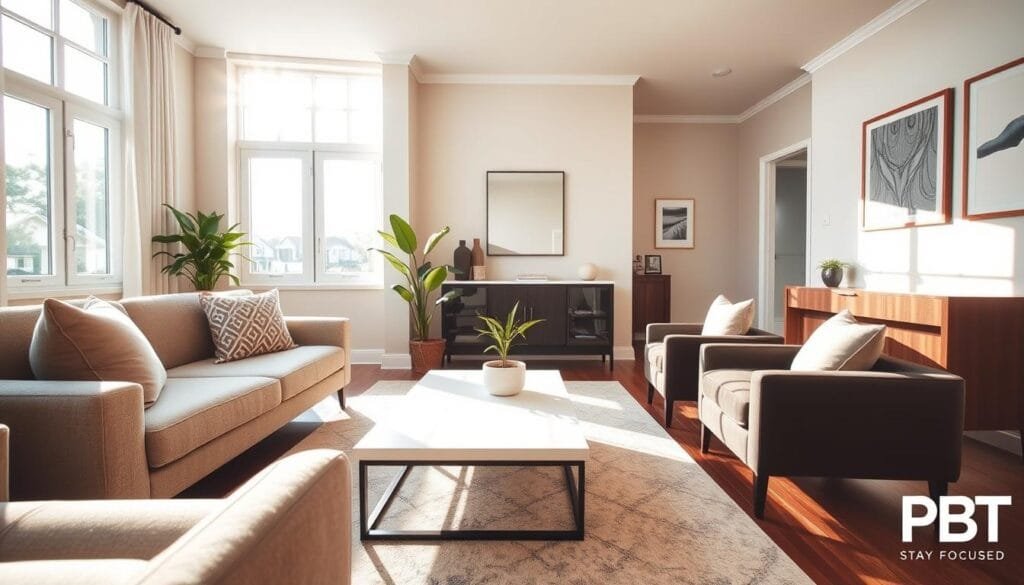
Optimal Camera Settings and Equipment Selection
When it comes to capturing the essence of a space, the right camera settings can make all the difference. A recommended starting point is a 16-35mm full-frame zoom lens. This lens provides an angle of view of approximately 107 to 64 degrees, allowing you to cover broad interiors without extreme focal lengths.
However, be cautious with excessively short focal lengths. They can distort walls and furniture, undermining buyer trust, even if the space appears dramatic. A well-chosen lens can enhance the visual appeal while maintaining accuracy.
Utilizing a tripod is essential for maintaining a fixed frame. It helps reduce blur and supports multiple exposures with identical framing. This is particularly important for low-light situations and HDR photography, where consistent positioning is crucial.
Before shooting, ensure your setup is optimal. Check for level vertical lines, stable tripod legs, clean lens glass, charged batteries, and sufficient card capacity. Remember, the right equipment enhances repeatability but should not replace careful preparation and thoughtful positioning.
For more insights on enhancing your property images, visit this guide.
Harnessing Natural Light and Staging Your Property
Creating inviting interiors hinges on effectively utilizing both natural and ambient lighting. The right light can showcase a property’s best features while maintaining an honest representation. Understanding the colour temperature of different light sources is essential for achieving this balance.
Sunny midday light measures approximately 5,500 Kelvin, while desk-lamp light typically ranges from 2,700 to 3,000 Kelvin. This difference can create white-balance challenges, making it crucial to choose a dominant light source. You can use window light alone or combine it with interior lighting to achieve a harmonious look.
Opening blinds and curtains can maximize brightness, while selectively closing them can help manage strong contrasts. Here are some staging basics to consider:
- Remove personal items, laundry, and visible cables.
- Clear excessive countertop objects without altering permanent features.
- Photograph the exterior when the sun illuminates the front façade, ideally during early morning or late afternoon.
| Light Source | Colour Temperature (Kelvin) | Impact on Photography |
|---|---|---|
| Sunny Midday Light | 5,500 | Cooler appearance, ideal for bright interiors |
| Desk Lamp Light | 2,700-3,000 | Warmer tones, good for cozy settings |
| Interior Lighting | Varies | Adds warmth and depth |
Composition Strategies for Inviting Interiors and Exteriors
First impressions matter, especially in property listings. The way you frame your shots can significantly impact a buyer’s perception. By focusing on composition, you can enhance both interior and exterior visuals, making them more inviting.
Employing doorway compositions is a great way to connect adjoining spaces. This approach allows potential buyers to visualize how they might move through the home, rather than viewing each room as an isolated box. Additionally, framing architectural anchors—like fireplaces or large windows—creates memorable visual priorities that stand out.
Employing Corners and Doorways to Enhance Depth
Utilizing corners can add depth to your images. Positioning your camera near a corner captures multiple walls, giving a sense of the room’s layout. This technique not only showcases the space but also enhances the overall aesthetic.
Enhancing Curb Appeal Through Thoughtful Angles
Curb appeal plays a vital role in attracting buyers. To improve it, clear any cars from the driveway and tidy the landscaping. Capture exterior angles that highlight the façade and outdoor living areas without suggesting features outside the property boundary.
Incorporating neighbourhood context can further enrich your listings. When appropriate, include nearby parks, restaurants, or schools to provide a sense of lifestyle. This approach helps potential buyers envision their lives in the area.
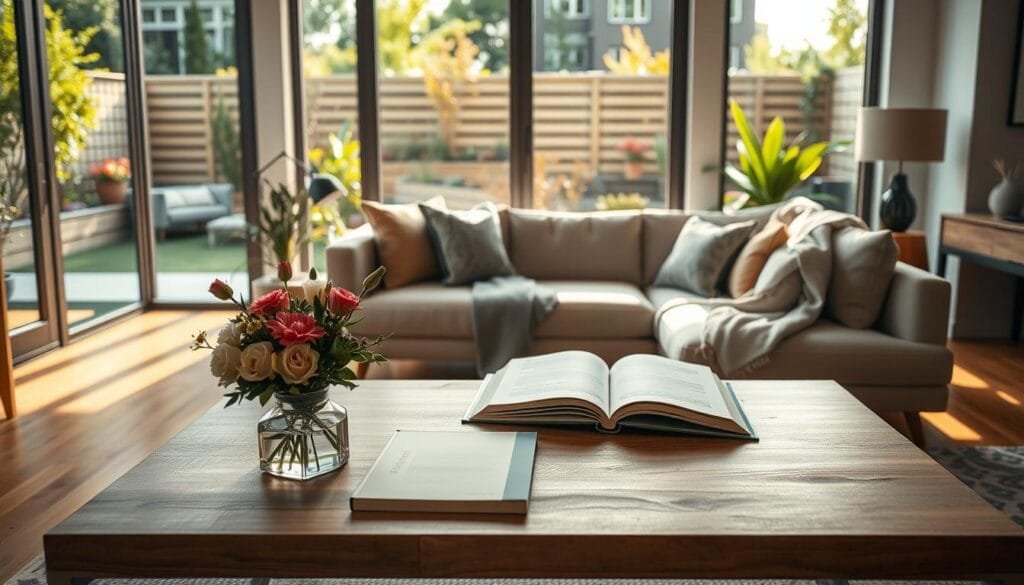
Editing Techniques for Polished Listing Photos
Effective editing techniques can elevate your property images, making them stand out in a crowded market. Post-processing is essential for creating polished visuals that attract potential buyers. The right software can help achieve a realistic look while correcting any distortions.
Using tools like Lightroom and Photoshop, you can apply a restrained editing sequence. Start with lens-profile correction, vertical straightening, and exposure balancing. Then, adjust white balance, color, and contrast, while carefully removing distractions.
Essential Post-Processing Tips for Realism
Converging vertical lines indicate poor perspective control. Therefore, utilize Lightroom’s “Use Profile Corrections” and Geometry tools routinely. This will ensure your images maintain their integrity.
Correcting Distortion and Adjusting Exposure
For photographers, software options like GIMP, SKRWT, and Snapseed are valuable for both desktop and mobile workflows. They offer effective distortion-correction features. While AI cleanup can assist with minor distractions, be cautious. Removing permanent defects or altering room dimensions may mislead buyers.
| Software | Features | Best For |
|---|---|---|
| Lightroom | Profile Corrections, Geometry Tools | Exposure and distortion correction |
| Photoshop | Merge to HDR Pro | High dynamic range images |
| GIMP | General editing and corrections | Open-source editing |
| Snapseed | Mobile editing capabilities | On-the-go adjustments |
For more practical guidance on camera and post-processing, check out our photography category.
Streamlining Your Workflow with Automation
In today’s fast-paced digital world, automating marketing efforts can greatly enhance the visibility of property images. By integrating tools like Xara Playbooks, you can easily transform a single set of approved visuals into various formats, including social posts, flyers, postcards, and email campaigns.
Automation not only saves time but also ensures that your marketing materials are consistently updated. For instance, when a listing’s status changes—such as a “Price Reduction” or “Open House”—automated campaigns can be triggered instantly, reducing delays in communication.
Additionally, maintaining a consistent online presence is crucial. Xara’s AI Social Media Manager can support your efforts by providing locally relevant content, market updates, and promoting listings, all while you focus on capturing stunning visuals.
| Automation Tool | Functionality | Benefits |
|---|---|---|
| Xara Playbooks | Generates social posts, flyers, and emails | Saves time and enhances visibility |
| Status-Triggered Campaigns | Automates updates for listing changes | Reduces manual delays |
| AI Social Media Manager | Creates relevant content and updates | Maintains consistent online presence |
By leveraging automation, photographers and agents can focus on what they do best—creating high-quality images—while ensuring that marketing efforts remain effective and timely.
Incorporating Modern Visual Trends: Video, Drone, and HDR
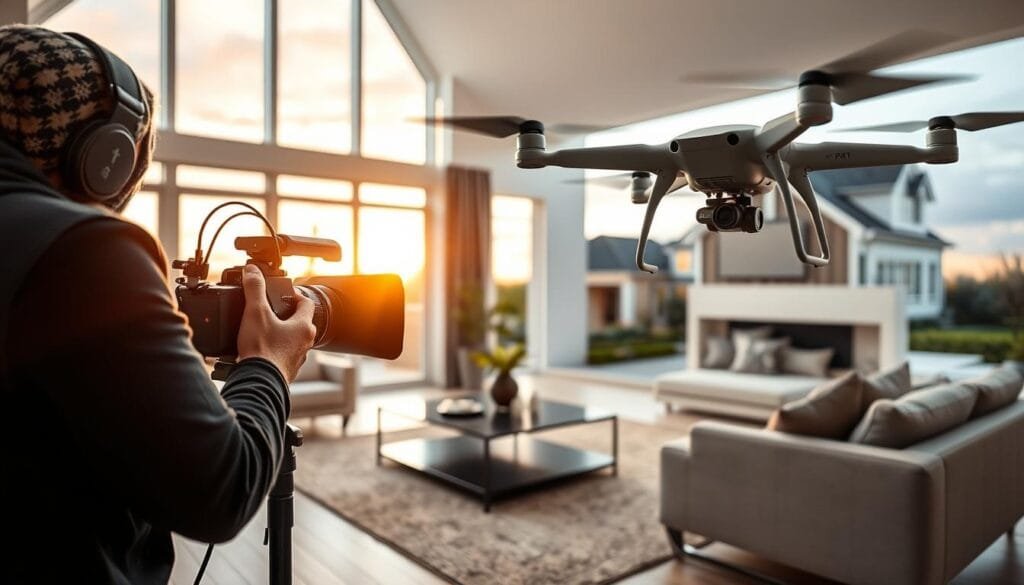
Incorporating modern visual trends can significantly enhance the appeal of property listings. Techniques like HDR, drone photography, and short-form videos can capture the attention of potential buyers. These methods not only showcase properties effectively but also create engaging content for various platforms.
Capturing Drone Perspectives and HDR Excellence
HDR combines several exposures of the same composition to create a balanced exposure. This technique is essential for retaining detail between bright windows and darker interiors. To achieve this, use a tripod and take at least three identically framed exposures.
Software like Luminar NEO and Photoshop offers tools for HDR processing. Navigate to File > Automate > Merge to HDR Pro for a controlled workflow. However, it’s important to apply a light HDR treatment. Excessive merging can make interiors appear unnatural, which may mislead buyers.
Preparing Images for Shorts-Ready Video Content
When creating video content, plan vertical crops and short sequences. This helps maintain room context while ensuring stable movement and readable transitions. Additionally, consider incorporating drone photography, 3D tours, and virtual walkthroughs. These formats can effectively communicate site context and layout, providing remote viewing opportunities.
| Technique | Description | Benefits |
|---|---|---|
| HDR | Multi-exposure technique for balanced images | Retains detail in varying light conditions |
| Drone Photography | Aerial views of properties | Showcases layout and surroundings |
| Short Videos | Quick, engaging property tours | Captures attention on social media |
Substitution Tips for Budget-Friendly Solutions
Finding ways to capture stunning images on a budget can be challenging for many photographers. However, you can still create impressive visuals without high-end equipment. Here are some creative alternatives to consider when your resources are limited.
Using ambient light is a great way to enhance your shots. Position your camera to take advantage of available window light, ideally at a 45-degree angle. This method provides a natural brightness that can make your images more inviting.
Creative Alternatives When Equipment Is Limited
- Substitute a stable existing surface or carefully supported smartphone setup for a tripod, ensuring the camera remains level during exposure.
- Keep your composition modest and avoid ultra-wide phone settings that can distort room dimensions.
- Utilize apps like Lightroom Mobile, Snapseed, or SKRWT for editing and distortion correction when desktop software isn’t available.
- Remember, any budget substitution should improve stability and brightness, not conceal defects or misrepresent space.
Send This to a Friend: Share the Spotlight on Your Listings
Sharing valuable insights can help elevate the quality of your property listings. Strong visuals showcase features and create emotional appeal, making listings appear more premium. This can encourage more showings and inquiries.
Here’s a quick action checklist to help you improve your photography:
- Confirm the property is ready for the shoot.
- Complete your shot list to ensure no important areas are missed.
- Charge your camera batteries and clean the lenses.
- Assess the lighting conditions for optimal results.
- Protect accurate proportions to maintain integrity in your images.
Consider selecting a small set of strong establishing views, feature photographs, and exterior images. Instead of uploading every frame captured, focus on quality over quantity.
Before publication, review final edits at full size and on a phone. This will help catch dark corners, tilted lines, reflections, and distracting objects.
Finally, share approved images consistently through your established marketing channels. This ensures your visuals continue to work for you long after the shoot.
Wrapping It Up: Elevate Your Real Estate Listings
In summary, preparation is just as crucial as camera quality. A complete shot list, a clean property, charged equipment, and a weather check can prevent avoidable omissions. Here are five key takeaways:
- Strong visuals increase interest: Eye-catching images can lead to quicker sales.
- Preparation drives consistency: Detailed pre-shoot steps ensure high-quality results.
- Lighting and composition shape perception: The right angles and light can highlight features effectively.
- Editing improves professionalism: Crisp, well-lit images create lasting impressions.
- Automation expands reach: More visibility can lead to faster sales and better offers.
Remember, techniques like using corners, doorways, wide-angle lenses, and natural light should reveal space clearly rather than distort it. Also, while HDR, virtual staging, drone views, and Shorts-ready videos are beneficial, they must maintain realism.
For more evergreen guidance, explore the PBT photography category. Thank you for reading!
FAQ
What are the best times of day for taking property photos?
How can I make small rooms appear larger in photos?
What should I do if the weather is bad on the day of the shoot?
How important is staging when taking photos of a home?
What editing software do you recommend for real estate photos?
Should I include exterior shots in my listings?
How can I effectively use drone photography?
What are some common mistakes to avoid in real estate photography?
How can I ensure my photos stand out in online listings?
Is it necessary to hire a professional photographer?
Struggling to get consistent photography clients?
Get More Photography Clients