
Have you ever tried to capture the perfect shot of an item, only to be met with reflections, dull colors, and messy backgrounds? I know I have. It can be frustrating, especially when you realize that nearly 90% of consumers find the quality of images crucial for their purchasing decisions. It’s not just about aesthetics; it’s about making a lasting impression on potential customers.
Fortunately, I discovered a simple, low-budget solution that transformed my approach to capturing stunning images. This guide will walk you through essential steps, including controlling light, choosing the right background, and setting up your camera. With just a few tweaks, you can create professional-looking images that elevate your brand and boost conversion rates by up to 94%.
Ready to take your shots to the next level? Let’s dive into the workflow that will help you achieve clean, appealing images with confidence.
Key Takeaways
- Soft controlled light enhances image quality.
- Reliable camera settings lead to consistent results.
- Seamless backgrounds keep the focus on your items.
- Consistent color helps build brand trust.
- Disciplined preparation is key for better customer confidence.
Opening: Overcoming Common Photography Challenges
Isn’t it frustrating when your attempts to photograph an item result in unwanted glare and muddled colors? Many of us have been there, especially when setting up in a less-than-ideal space. I remember when Lauren Gherardi captured stunning jewelry images for her Retro Luxe Resin brand. She faced similar challenges, but her workflow made all the difference.
When I think of common mistakes, I recall Rachel Hochhauser’s early shoots in her grandmother’s garage. Harsh reflections, blurry images, and distracting backgrounds can all derail your efforts. The good news? With a few practical solutions, you can elevate your shots.
Start by cleaning your items and ensuring your camera is stable. Use inexpensive foam boards to control reflections and a sturdy table to avoid camera shake. Remember, less is often more; simplify your props and focus on your items. By identifying the main limitations-be it light source, background, or styling-you can improve your results significantly.
Essential Equipment for Exceptional Product Photography
It can be quite a challenge to create appealing images when faced with poor lighting and cluttered settings. To overcome these obstacles, having the right equipment is crucial. Whether you’re using a smartphone or a DSLR, each tool plays a vital role in achieving stunning results.
For beginners, a smartphone can suffice for testing shots. However, a DSLR or mirrorless camera offers greater flexibility with lenses and exposure settings. A 50mm lens is ideal for standard views, while a macro lens captures intricate details like stitching and labels.
Investing in a sturdy tripod, such as the Manfrotto 055, ensures stability for clear shots. If you’re on a budget, any stable, affordable model will work as well. Lighting is another key factor; consider using the Godox V860iii flash with modifiers like softboxes or umbrellas to create soft, flattering light.
For a seamless backdrop, the Savage 01 Super White paper is an excellent choice. If you’re tight on budget, white foam board can substitute for reflectors and diffusers. With the right gear, you can elevate your photography and showcase your items beautifully.
Setting Up Your Home Studio on a Budget
Creating stunning images can feel overwhelming, especially when faced with limited resources and space. However, setting up an effective studio doesn’t have to break the bank. A few simple items can transform your space into a professional-looking setup.
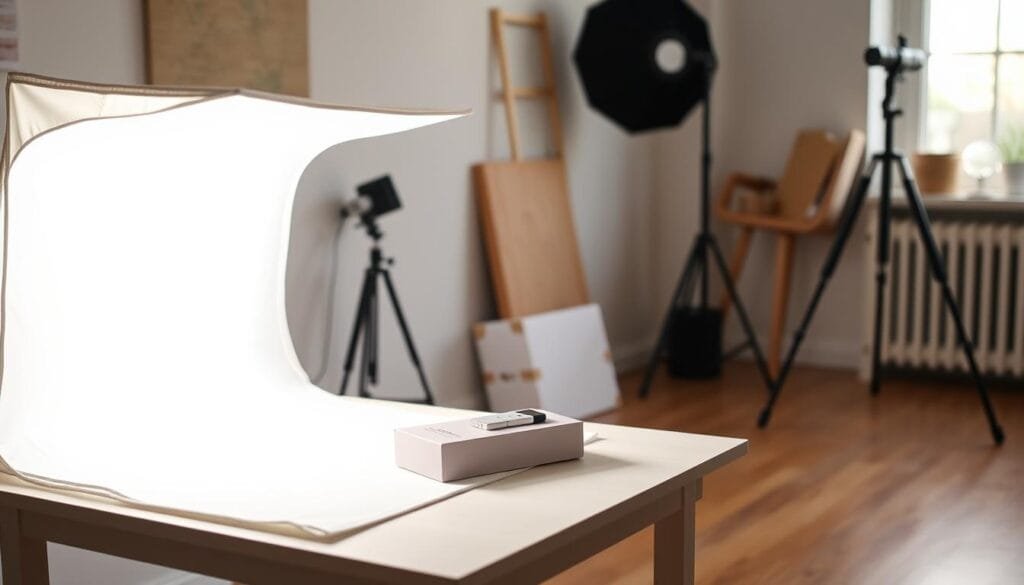
Start with a white poster board as your background. This inexpensive material can provide a clean look for small items. To achieve a seamless effect, use the sweep technique. Curve the board from vertical to horizontal, eliminating sharp corners that often distract from your subjects.
For your surface, a folding table works wonders. It can support your products, backgrounds, and reflectors. Ensure the surface is taut to maintain a polished appearance. Mark the positions of your items, leaving space for a reflector on the side to control shadows effectively.
Next, consider creating a DIY light tent. Use translucent diffusion material along with white foam core to soften your lighting. This setup allows you to achieve beautiful, well-lit images without the need for expensive equipment.
Mastering Product Photography at Home
To produce clear and detailed shots, you must become familiar with your camera’s settings. I recommend starting with manual mode, using ISO 100 and an aperture of f/8 to f/11. These settings are great for capturing sharp details in your images.
A smaller aperture increases depth of field, but it also requires a slower shutter speed. This is where a sturdy tripod becomes essential to avoid camera shake. When shooting stationary products, consider using RAW capture to preserve flexibility for post-processing.
For best results, utilize single-point focus and a timer or remote to trigger the camera. This helps ensure precision when framing your shots. I suggest creating a short video-ready sequence to demonstrate how to frame, trigger the camera, and check the screen for any softness before capturing the full range of images.
Lastly, tethered shooting into Adobe Lightroom allows you to inspect sharpness, reflections, and exposure almost instantly. This immediate feedback helps you make necessary adjustments, ensuring your final images are nothing short of stunning.
Optimizing Natural and Artificial Lighting
Capturing high-quality images often hinges on the lighting conditions you choose. The right setup can significantly enhance the appeal of your shots. To begin, position a window at 90 degrees to your item. This angle allows for optimal light diffusion. You can also experiment with a 45-degree arrangement to modify the light’s direction and depth.
Remember, the closer and larger the window, the softer the light will be. Direct sunlight, however, can create harsh shadows, which may detract from your images. To control these shadows, turn off any unrelated room lights to avoid mixed color sources. This ensures consistency across your product gallery.
Using white foam core as a low-cost reflector can help bounce light back onto your items. Additionally, translucent fabric or diffusion material can soften the intensity of a bright window or flash. Setting your camera’s manual white balance using a grey card will help maintain accurate colors, especially when light sources change.
| Lighting Technique | Description | Benefits |
|---|---|---|
| Window Positioning | Positioning a window at 90 degrees to the subject | Creates even light and reduces harsh shadows |
| Reflectors | Using white foam core to bounce light | Enhances light on the subject and reduces shadows |
| Manual White Balance | Setting white balance with a grey card | Ensures accurate color representation |
Effective Techniques for Product Composition
Finding the right angle can dramatically enhance the way your items are perceived in images. A purposeful angle sequence can showcase the details and features of your items effectively. I focus on using five main perspectives: front, back, 45-degree, top, and macro views.
For instance, Lauren Gherardi’s straight-on views of jewelry maximize visibility, ensuring that the product remains legible. A 45-degree angle can reveal the form and depth of your items, while a top view is perfect for flat lays and collections.
Macro shots are particularly valuable as they isolate textures, finishes, and small details that customers can’t physically inspect online. I always check each angle at full magnification on my camera screen to correct any soft focus or hidden features before moving on.
| Angle Type | Description | Best Use |
|---|---|---|
| Front View | Directly facing the item | Maximizes visibility |
| Back View | Capturing the rear side | Showcases details like tags or labels |
| 45-Degree View | Angle between front and side | Reveals depth and form |
| Top View | Directly above the item | Ideal for flat lays and collections |
| Macro View | Close-up shots | Highlights intricate details |
Pre-Shoot Preparation & Product Styling
Before diving into your photography session, careful planning can make a world of difference. A well-structured approach to preparation can lead to remarkable results in your photography. To ensure everything runs smoothly, I recommend creating a detailed shot list and organizing your props effectively.
Here’s a brief overview of what to consider:
- I will create a shot list covering hero, front, back, 45-degree, detail, scale, lifestyle, packaging, and group photographs before the first exposure.
- Product preparation will include cleaning, polishing, steaming fabric, removing fingerprints, and checking labels so small defects do not dominate close-up images.
- Props will be grouped by purpose-scale, use, packaging, or brand mood-and kept simple enough that the product remains the visual priority.
- I will organize capture and output folders using SKU_product-angle_#### so files remain searchable when several products or variations are photographed.
For a successful shoot, have a grey card and color target ready for the first frame. Essential preparation items include a lint roller, gloves, microfiber cloths, Blu-Tack, fishing line, clamps, and gaffer tape. Interested in broader workflow planning? Explore the PBT photography category. Don’t forget to send this guide to a friend who is building a first home setup!
Executing the Photoshoot: Camera Settings and Beyond
Fine-tuning your camera settings can significantly enhance the quality of your images. Start by establishing a baseline with ISO settings between 100-200. This range minimizes noise and provides a solid foundation for your shots.
Next, choose an aperture between f/7.1 and f/16 to ensure sharp details across your items. Using a tripod is essential for stability, especially with a shutter speed of around 1/13. This combination helps avoid camera shake and captures crisp images.
Maintaining consistency is crucial during your shoot. Mark the positions of your products and tripod to keep the scale and framing uniform across different angles. A video-ready demonstration can showcase a test shot, followed by a histogram check and adjustments before proceeding with the complete series.
Lastly, keeping the same lighting arrangement throughout the shoot reduces editing time. This practice makes it easier for customers to compare images in your gallery, ensuring a cohesive look for your brand.
Post-Production: Editing for Consistency and Impact
Mastering the art of editing is essential for achieving consistent and impactful results. The right adjustments can elevate your images, ensuring they resonate with your audience. Start by making basic corrections to brightness, contrast, and color balance. These foundational edits set the stage for a polished final look.
Using Adobe Lightroom is a great way to streamline your workflow. I recommend beginning with lens corrections and exposure adjustments. Focus on white balance to maintain accurate colors across your series. This can be easily established with a grey card during your shoot.
Presets in Lightroom can save you time by applying consistent adjustments across multiple images. However, it’s important to inspect each photo, especially reflective surfaces and backgrounds. Final exports should be in sRGB JPEG format, ideally with a long edge of 2,000-3,000 pixels, to meet platform specifications.
Practical Tips for Continuous Improvement
With each completed shoot, I find opportunities to improve my approach to capturing images. Embracing a mindset of growth is essential in this creative field. Learning from each project can lead to remarkable enhancements in your skills.
Here are some practical tips to consider:
- I will encourage a short review after every project, noting which light position, background, camera setting, and styling choice produced the strongest results.
- Lauren Gherardi’s 15 years of experience show that product photography is a skill developed through observation and refinement.
- Change one variable at a time during experiments-like angle, reflector distance, or exposure-to clearly identify improvements.
- Compare images at normal viewing size and 100 percent magnification to separate customer-facing impact from technical imperfections.
- Frame early attempts, like Piecework Puzzles’ garage beginnings, as evidence that progress can start with modest resources.
Advanced Studio Techniques & Creative Ideas
Innovative setups and props can significantly enhance the storytelling of your images. Exploring various styles in product photography, such as white-background, lifestyle, and flat lay, allows for unique presentations. Each style serves a distinct purpose, creating an engaging experience for your audience.
Incorporating multiple setups is essential. I recommend separating clean catalog images from lifestyle and detail shots. This clarity helps ensure each setup has a clear commercial purpose. For example, colorful backdrops can highlight vibrant items without overpowering them, as seen in Lauren Gherardi’s work.
Moreover, props can demonstrate scale and brand identity effectively. Camille Ouellette emphasizes the importance of inclusive representation by showcasing jewelry on diverse models. This approach helps customers relate better to the products.
Finally, consider using 360-degree images for items that require multiple angles to understand their design fully. This technique provides a comprehensive view, enhancing customer confidence in their purchase decisions.
| Photography Style | Description | Purpose |
|---|---|---|
| White-Background | Simple, clean backdrop | Focus on the item without distractions |
| Lifestyle | Items in real-life settings | Contextualizes the product for customers |
| Flat Lay | Items arranged on a flat surface | Visually appealing presentation for social media |
| Detail | Close-up shots of features | Showcases craftsmanship and quality |
| 360-Degree | Rotating view of the item | Provides comprehensive understanding of shape and design |
Final Thoughts and Next Steps
Achieving the perfect image often requires a blend of creativity and technical skill. Consistent photography relies more on controlled light, stable framing, and accurate color than on expensive gear. Here’s a quick sequence to follow:
- Prepare your item.
- Build a clean background.
- Position the light for optimal effect.
- Capture stable shots using a tripod.
- Inspect the results carefully.
- Edit for consistency and clarity.
Your next step is to photograph a household item from various angles: a hero view, detail view, scale view, and lifestyle view. Clear images help customers understand items, compare size, and assess details, boosting their confidence in purchasing.
Here are some FAQs to consider:
- Is a phone sufficient for taking good images?
- How can I create a white background?
- What settings should I start with?
- How do I reduce reflections in my shots?
For more insights, check the references provided. I invite you to explore the PBT photography category for further learning!