
Have you ever wondered why some images seem to pop while others fall flat? Many beginners face challenges with harsh shadows or dull visuals. The secret often lies in understanding how light behaves in different settings.
On May 16, 2025, experts highlighted that mastering the art of using available light is crucial for anyone pursuing a career in portrait photography. You don’t need expensive gear to achieve stunning results. Instead, learning to observe the direction and quality of the light around you can make all the difference.
This guide offers practical insights to help you capture breathtaking images while steering clear of common lighting pitfalls. Whether you’re an aspiring photographer or just looking to improve your skills, these strategies will transform your approach to capturing moments.
Ready to elevate your photography game? Let’s dive into the world of light and discover how to create stunning visuals without breaking the bank!
Key Takeaways
- Understanding light is essential for capturing beautiful images.
- Mastering light can enhance your portrait photography skills.
- Professional results are achievable without costly equipment.
- Observing the quality of light can transform your photos.
- Practical strategies can help avoid common lighting issues.
Understanding Your Natural Light Environment
What makes some photographs stand out while others blend into the background? The answer often lies in understanding the light that surrounds you. Mastering the use of available light is essential for creating stunning images. By recognizing how light interacts with your subject, you can elevate your photography to a professional level.
When you pay attention to the direction of light, you can avoid flat or harsh overhead lighting. This awareness helps maintain the dimension of your subject. Additionally, observing how light falls on surfaces, like tree trunks, can reveal its quality before you even begin shooting.
Many seasoned photographers dedicate time to studying light behavior. This preparation ensures they achieve consistent results in their work. By focusing on light direction, you can create soft shadows that add depth and mood to your final images.
Quick Fixes for Challenging Lighting Situations
What elements cause certain photographs to captivate viewers more than others? In challenging lighting conditions, quick adjustments can make all the difference. Renowned photographer Jen Huang, who has worked in 20 countries, emphasizes that difficult lighting often leads to the most stunning results.
Here are some fast adjustments to consider:
- Adjust your subject’s position to avoid overexposure or flatness.
- Turn your subject away from the sun to reduce haze or glare.
- Use your hand to block direct sunlight from your lens, enhancing contrast.
- Remember, a simple shift in location can fix most lighting issues.
As Huang states, “Even the most challenging lighting can be turned into an artistic advantage.” This mindset can help you see potential where others see obstacles.
| Adjustment | Benefit | Example |
|---|---|---|
| Change Position | Avoid overexposure | Shift left or right |
| Turn Away from Sun | Reduce glare | Face away from direct light |
| Block Sunlight | Improve contrast | Use your hand or an object |
Mastering Shadows and Highlights in Your Shots
How can the interplay of shadows and highlights enhance your shots? Understanding shadows is vital for creating depth in your images. Proper exposure is key; ensure skin tones are well-lit while keeping the background one to two stops darker. This technique creates essential contrast.
To soften harsh shadows, position your subject in open shade. This provides a more flattering and even light distribution. It helps to prevent glare that can wash out facial features.
When you control shadows effectively, you preserve details that direct sunlight can often obscure. Using natural contrast allows your subject to stand out, resulting in polished images that captivate viewers.
Finding the Perfect Light Source: Sun, Sky, and Reflectors
What role does the environment play in enhancing the quality of your images? Choosing the right outdoor setting can significantly impact your results. Look for areas with large, neutral-colored surfaces, such as light concrete, which can act as natural reflectors.
For instance, during a session at Busch Gardens, the light-colored pavement beautifully illuminated faces even under the harsh noon sun. This natural bounce light creates a soft glow that enhances portraits.
Having an assistant, like Branden, can also be beneficial. They can help block direct sunlight, ensuring your light source remains flattering. Additionally, positioning your subject with open skies behind them allows for a gentle, directional light effect.
Utilizing natural reflectors can even out the light on your subject’s face without the need for heavy equipment. This approach simplifies your setup while still achieving professional results.
Practical Techniques for Better Portraits
Why do some portraits radiate warmth while others seem dull and lifeless? The answer often lies in how you control the light around your subject. Effective light management can elevate your portraits to a professional level.
One useful technique is to frame your subject within a light-controlled space. For example, positioning them between two buildings allows you to dictate how the light hits them. In a recent session, Anne effectively blocked the sun, ensuring even light on Aaron’s face.
Here are some practical methods to consider:
- Have one person turn their back to the sun to shield the other from harsh rays.
- Controlling light from one side creates depth and dimension, enhancing the portrait.
- Positioning your subject in shaded areas can help maintain flattering light.
- These techniques keep your subject as the focal point, regardless of sunlight intensity.
Using Your Environment to Guide Natural Light
Have you ever noticed how certain locations can enhance the quality of your images? Understanding your surroundings is crucial for achieving stunning results. By scouting locations ahead of time, you can identify areas where the environment naturally guides the light.
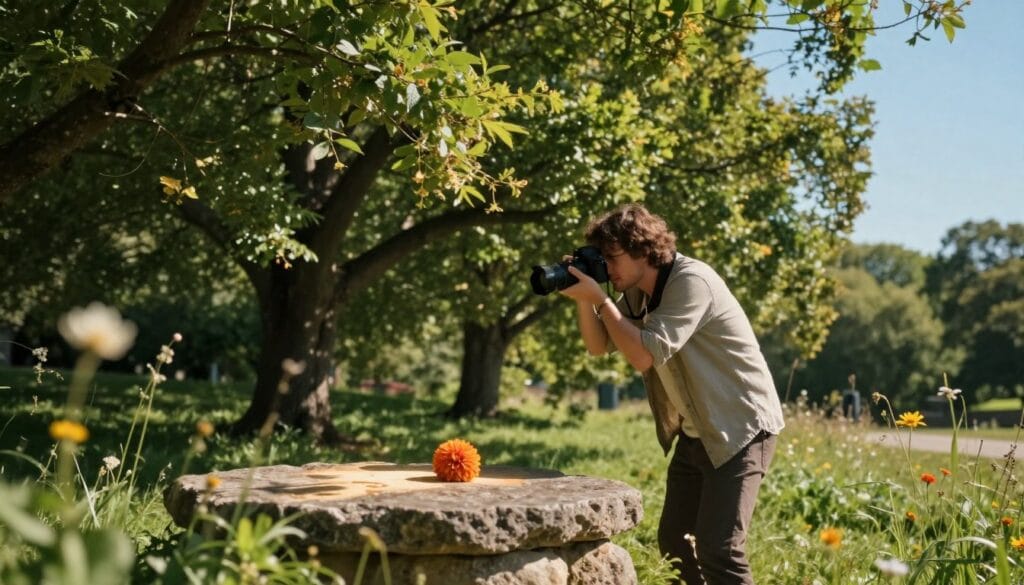
For instance, at Kelsey’s wedding, the bridal party cleverly utilized tree shade to create open shade. This resulted in soft and even lighting, making the portraits look professional. When searching for the perfect spot, consider the edges of wooded areas. This helps avoid unwanted green color casts that can occur when light reflects off leaves.
Another key strategy is to plan your session around the availability of open shade. This is essential for successful portrait photography in any setting. By using your environment wisely, you can ensure that your subjects are always lit with soft, flattering tones.
- Scout locations before the shoot to find areas with favorable lighting.
- Utilize natural shade to achieve soft and even lighting.
- Avoid green color casts by choosing spots near wooded areas.
- Plan your session time to take advantage of open shade.
Want to Start Your Own Photography Business?
Natural Light Photography Tips for Beginners
Have you ever wondered why some images seem inconsistent while others shine? Many beginners face common challenges that can hinder their photography journey. Recognizing these pitfalls is essential for improvement.
One major mistake is shooting under trees at midday. This often results in uneven, patchy lighting and unwanted green color casts. To enhance your results, consider making simple adjustments, such as changing your camera angle. A small shift can lead to immediate improvements in your portraits.
Avoiding common light mistakes is crucial for anyone starting in this field. You don’t need an expensive camera to capture stunning images. Instead, focus on learning how to observe and manipulate the available light around you. These photography tips will help you achieve consistent results, even if you are just beginning to learn your equipment.
- Move your camera to find better angles.
- Steer clear of dappled light when possible.
- Practice observing how light interacts with your subjects.
- Experiment with different locations to see what works best.
“Photography is the story I fail to put into words.”
Leveraging Golden Hour and Direct Sunlight
Could the hour of your photo session be the key to achieving breathtaking results? Scheduling your outdoor portrait sessions during the golden hour is essential for capturing the most flattering light. Renowned photographer Jen Huang, who has worked on six continents, emphasizes this timing for its soft, romantic quality.
The golden hour is widely considered the best time for outdoor photography. This period provides a gentle glow that enhances your subjects beautifully. Here are some effective strategies to make the most of this precious time:
- Plan your sessions around the golden hour to ensure the best lighting.
- Balance direct sunlight with diffused effects by using a diffuser during the afternoon.
- If shooting in direct sunlight, position the sun behind your subject for a stunning rim light effect.
- Scheduling your sessions at the right hour of the day guarantees high-quality, dreamy images.
By understanding how to leverage the golden hour and manage direct sunlight, you can significantly improve your photography results. For more insights on positioning your subject, check out this resource.
Incorporating Creative Techniques with Minimal Gear
What if the right accessories could transform your photography without breaking the bank? Simple tools like diffusers and reflectors can make a significant difference in the quality of your images.
Using a diffuser can effectively eliminate harsh shadows under the nose and eyes, creating consistent lighting for details. Here are some essential techniques to consider:
- Incorporating creative techniques like using a diffuser can help you eliminate harsh shadows under the nose and eyes of your subject.
- A simple reflector can be used to bounce light back onto a subject’s face, providing a professional light source without expensive gear.
- When you use a diffuser, you can maintain high contrast in the background while keeping the subject’s face soft and evenly lit.
- These tools are essential for photographers who want to create consistent images in a variety of challenging outdoor lighting conditions.
- By mastering these minimal gear techniques, you can ensure that every image you capture has a professional and polished aesthetic.
“The best camera is the one you have with you.”
Final Reflections on Capturing Beautiful Natural Light Portraits
How can the art of observation elevate your skills in portrait creation? Capturing beautiful portraits involves understanding the light and using your environment to your advantage. Professional photographers emphasize that practice is essential to mastering these techniques.
Whether you’re shooting on a sunny day or in the shade, consistency with your camera settings and light direction is crucial. Always focus on the details and contrast within your frame to enhance your images.
Rangefinder offers additional resources, including a 25% discount on The Portrait Masters course with code RF25. Share these insights with friends to help them improve their photography skills and start capturing better portraits today!
FAQ
What is the best time of day for outdoor photography?
How can I avoid harsh shadows in my photos?
What should I consider when choosing a location for my shoot?
How can I improve my portraits using available light?
What are some common mistakes beginners make with natural light?
How do I effectively use reflectors in my photography?
Can I use direct sunlight for portraits?
What is the significance of the sky in natural light photography?
How can I make the most of my environment for photography?
What are some creative techniques to try with minimal gear?
Struggling to get consistent photography clients?
Get More Photography Clients