
Have you ever wondered why some brands seem to capture your attention instantly with their images, while others fall flat? High-quality visuals can make or break your online presence. Many small business owners struggle with the high costs of professional photography. But what if you could achieve stunning results using simple items you already have?
Marc Newton, founder of The School of Photography, demonstrates that you don’t need an expensive studio to create captivating images. By utilizing natural light from a large window, you can transform dull photos into eye-catching visuals without breaking the bank. Imagine how your website could flourish with just a few adjustments!
In this article, we’ll explore practical strategies to enhance your product imagery. Whether you’re using a smartphone or a budget-friendly camera, there are effective ways to elevate your brand’s appeal. Get ready to attract more customers and showcase your unique offerings!
Key Takeaways
- Natural light can enhance your images significantly.
- Simple household items can replace expensive equipment.
- Smartphone cameras are powerful tools for quality shots.
- Creating a clean background is essential for focus.
- Editing can improve your images without much effort.
Addressing Your Product Photography Pain Points
Have you ever noticed how some brands make their products look irresistible while others miss the mark? Lauren Gherardi, a seasoned professional with 15 years in the industry, knows this struggle all too well. She admits that capturing products on a model can be trickier than it seems. It’s a common pain point for many!
If your images appear flat, the quick fix is simple: stop relying on auto-settings. Instead, take control of your light source manually. You might be surprised by the difference it makes!
Many people feel overwhelmed by the idea of expensive studios. But remember, you don’t need a fancy setup. A window and a piece of foam core can work wonders. Focus on the story behind your brand instead of trying to replicate glossy magazine ads.
We often complicate our setups, but keeping things simple ensures your product remains the star of the show. As Gherardi puts it, “Sometimes less is more!”
| Common Issues | Quick Fixes |
|---|---|
| Flat Images | Adjust your light source manually |
| Budget Constraints | Use natural light and basic materials |
| Overcomplicated Setup | Keep it simple and focused |
Essential Product Photography Tips at Home
Why do some brands excel in showcasing their items while others struggle to make an impact? A key factor lies in the use of natural light. This is the most cost-effective tool for anyone looking to improve their product photography.
Natural light offers a soft, flattering glow that artificial sources often fail to replicate. This is especially true when photographing delicate items like jewelry or perfume. The gentle diffusion from a window can create a professional look without the need for extra equipment.
Integrating low-cost tools can also enhance your setup. For instance, a piece of white polystyrene can effectively bounce light and fill in harsh shadows. Additionally, affordable props from local craft stores can enhance your scene without distracting from the main item.
As Marc Newton suggests, using a second-hand DSLR camera is a great way to start your journey into professional photography.
| Essential Elements | Benefits |
|---|---|
| Natural Light | Creates a soft, flattering glow |
| White Polystyrene | Bounces light to reduce shadows |
| Affordable Props | Enhances the scene without distraction |
| Second-Hand DSLR | Cost-effective entry into quality photography |
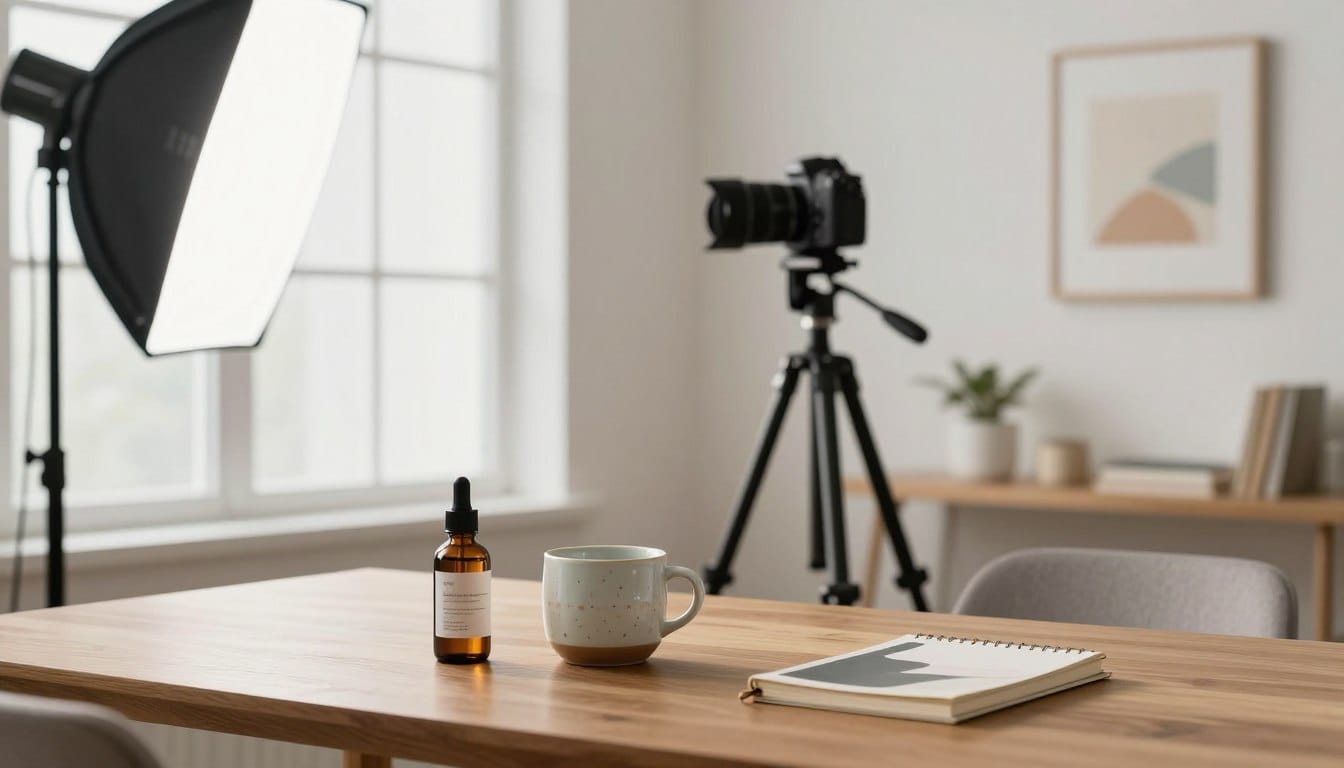
Crafting a Home Photography Studio on a Budget
Have you ever considered how the right environment can transform your images from ordinary to extraordinary? Selecting a space near a window is essential for consistent access to natural light. This light is crucial for capturing stunning visuals of your items.
Ensure you clear at least 4 feet around your table. This space allows for various angles and camera positions during your shoot. If you’re working with larger items, using poster board or studio backdrop paper can create a clean, professional-looking surface.
Many people find that setting up near a window yields the best results for items like clothing, toys, and delicate jewelry. By keeping your setup close to a window, you can avoid the need for expensive artificial lighting while maintaining a bright, airy aesthetic.
| Setup Elements | Benefits |
|---|---|
| Space Near a Window | Consistent natural light access |
| 4 Feet Clearance | Flexibility for angles and positions |
| Poster Board/Backdrop | Professional-looking surface for larger items |
| Natural Light | Avoids expensive artificial lighting |
Mastering Lighting Techniques for Stunning Product Images
Do you realize that mastering light techniques can be the key to stunning visuals? Understanding how to manage both hard and soft light scenarios is essential for capturing great images. Hard light can create striking contrasts, while soft light, diffused through sheer curtains, lends a gentle, flattering look.
If you’re looking for more control, consider using the GVM RGB LED Panel Video Light. This affordable tool allows you to manage shadows effectively in your product photography.
Reflectors are another great addition to your setup. Using white foam core, for instance, can help bounce light back onto your products, filling in dark areas and shadows. Additionally, sheer fabric curtains on your window can diffuse harsh light, giving your images a more professional appearance.
When photographing metallic items, reflectors become even more important. They help avoid distracting reflections that could ruin your final image. As you refine your lighting techniques, you’ll see a noticeable improvement in the quality of your photos.
Camera Settings and Equipment for Better Shots
What if the right adjustments to your camera could elevate your visuals to a professional level? Understanding how to optimize settings is crucial for capturing stunning images. With the right techniques, you can ensure your shots stand out and effectively represent your brand.
Using a 50mm lens is often the best choice for capturing your items without distortion. It provides a natural focal length that is ideal for showcasing details. Additionally, setting your aperture between F/8 and F/11 ensures a deep depth of field, keeping your entire product in focus.
Here are some essential camera settings to consider:
- Maintain a focal length between 40-85mm to avoid distortion.
- Keep your ISO below 200 to minimize digital noise.
- Utilize a tripod to stabilize your camera, allowing for clearer shots.
- Use a 2-second timer to prevent camera shake during the shot.
- Shooting in Aperture Priority mode lets you focus on composition while the camera adjusts shutter speed.
| Camera Setting | Recommendation |
|---|---|
| Focal Length | 40-85mm (50mm ideal) |
| ISO | Below 200 |
| Aperture | F/8-F/11 |
| Stabilization | Use a tripod |
| Shooting Mode | Aperture Priority |
Creating a Clean and Compelling Background
What elements can elevate your background to make your images truly stand out? A clean, white background is a popular choice in e-commerce, but incorporating textured backdrops can add a unique touch to your brand.
When using paper for your background, ensure it extends far enough to create an infinity curve. This technique helps eliminate harsh lines behind your items, making your images look more professional.
Consider purchasing scrapbook paper pads from local craft stores. These can provide a variety of colorful and flat surfaces for your shots.
It’s essential to avoid visible lines between your background and the surface. Such distractions can take attention away from the main subject of your photo.
By utilizing neutral backgrounds, you ensure that the focus remains entirely on your items, which is crucial for effective website listings.

Innovative Use of Props and Styling Your Products
Have you considered how carefully chosen items can tell a compelling story in your photos? The right props can enhance your visuals without overshadowing the main focus. They should complement your item and help convey its unique narrative.
If you are shooting for a catalog, it’s often best to keep things simple. Avoid props entirely to maintain a clean and clear image. However, adding elements like petals can introduce a charming touch that enhances the scene’s mood.
When selecting props, consider keeping them neutral. This prevents any clash with your item’s colors. Think about your target audience and what items they might naturally associate with your offerings.
| Prop Strategy | Effect |
|---|---|
| Complementary Props | Enhance storytelling without distraction |
| Avoiding Props for Catalogs | Maintains a clean, focused image |
| Neutral Colors | Prevents color clashes |
| Audience Consideration | Aligns with customer expectations |
Tips for Effective Composition and Angles
Ever thought about how the composition of your photos can impact customer engagement? Effective arrangement is key in product imagery. By utilizing depth and leading lines, you can create visuals that captivate your audience.
Angling your items strategically can draw the viewer’s eye to their most appealing features. Additionally, taking multiple shots from various perspectives helps you find the best representation of your product’s shape and texture.
It’s crucial to avoid cropping out parts of your items in-camera. Having extra space allows for better cropping during post-processing. When capturing a series of products, maintaining a consistent composition will lend a professional look to your website.
Don’t hesitate to experiment with unique angles. This can make your photography stand out, but always ensure that your items remain easily identifiable to potential customers.
Streamlining Post-Processing for Professional Results
What if a few quick tweaks could transform your images into professional-looking shots? Streamlining your editing process is essential for enhancing the quality of your visuals.
Simple editing techniques can make a significant difference. For instance, cropping and adjusting contrast can drastically improve the final look of your product photography.
If you want a professional finish, consider shooting in Raw format. This allows you to adjust white balance and exposure in programs like Lightroom, providing more flexibility in editing.
You can also use free PC apps or mobile tools for quick enhancements before uploading your images to your website. Aim for a neutral exposure that preserves detail in both highlights and shadows.
Remember, post-processing should enhance your work, not fix major mistakes that should have been addressed during the initial shoot.

Final Thoughts on Elevating Your Product Shots
Could the difference between a good image and a great one be as simple as understanding your setup? Mastering the art of capturing stunning visuals is a journey that takes time and practice. Focus on natural light, proper camera settings, and thoughtful composition to create images that truly represent your brand.
Keep your setup simple and ensure that props serve a clear purpose in highlighting the best features of your items. Whether you’re shooting for a small business or just for fun, these techniques will help you achieve professional results on a budget.
Disclaimer: This guide is for educational purposes only; always test your equipment and settings before a major commercial shoot. Remember, learning from your experiences is key to improvement!
FAQ
What is the best time of day for taking product photos?
How can I improve the quality of my product images on a budget?
What type of background works best for product photography?
How can I manage shadows in my photos?
What camera settings should I use for clear product shots?
Are props necessary for product photography?
How do I achieve the right angles for my shots?
What editing software is recommended for post-processing?
Struggling to get consistent photography clients?
Get More Photography Clients