
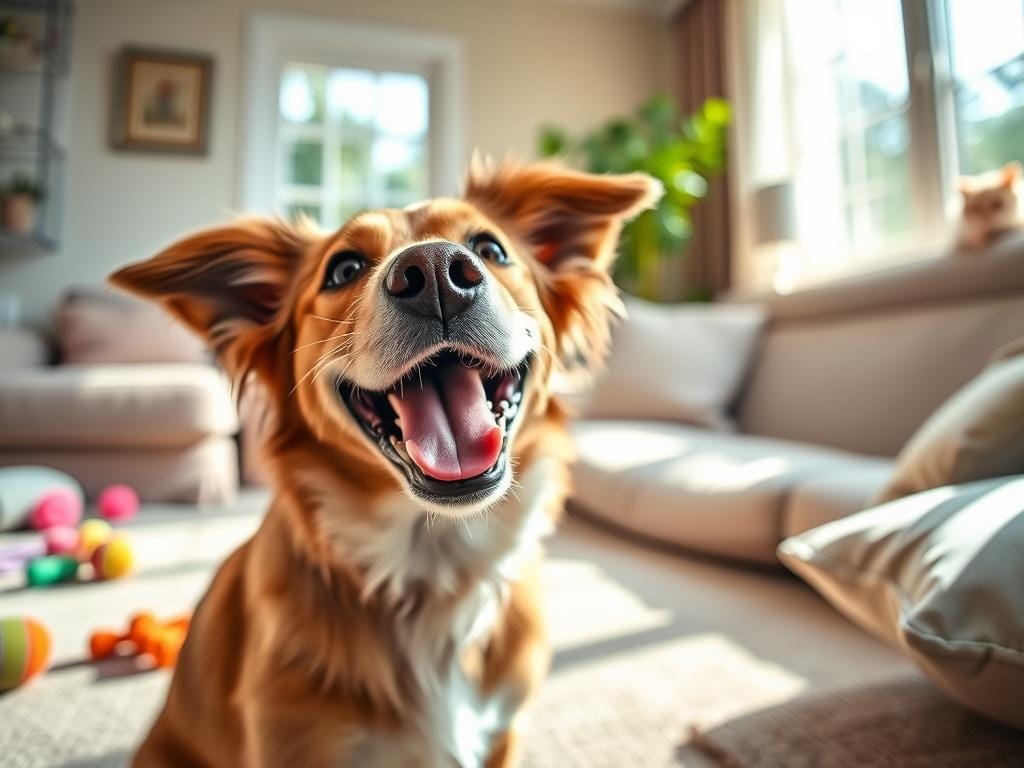
Are your photos of Max or Luna soft, flat, or forgotten? Don’t blame the camera. Quick fixes are lighting, eye-level, and shooting lots of frames.
Follow these pet photography tips to save dull shots. Use gentle natural light, shoot from the pet’s eye level, and capture the best expression. Your next photos will be alive, sharable, and win hearts on Instagram or adoption listings.
Quick answer (60–90 words): Soft, lifeless pet portraits often come from bad light, wrong angle, and missed moments. Fix it by using natural, diffused light (golden hour or cloudy skies). Also, kneel or lie down to frame at eye level.
Use burst mode or short video to get the best shots. Prep the pet with short, calm sessions and a toy or squeaker. Edit lightly in Lightroom or a phone app to boost eyes and clarity without overdoing it.
Key Takeaways
- Light and eyes first: use natural light and focus on the eyes to create warmth and sharpness.
- Get low and shoot lots: eye-level framing plus continuous shooting yields the emotional winner.
- Prep the environment: short sessions, treats, and familiar toys keep pets relaxed and expressive.
- Use candid inspiration from Instagram but aim for original, single-use images for profiles or listings.
- Edit lightly: exposure, contrast, and selective sharpening in Lightroom or phone apps preserve authenticity.
Understanding the common problems in pet portrait photography
Pet portrait photography seems simple but can be tough. Animals move suddenly, lose interest, or pose in awkward ways. These issues lead to mistakes for beginners. Simple changes can help avoid bad shoots and dull photos.
Here are the main challenges and quick fixes. Keep sessions short, read the animal’s mood, and be ready to capture split-second emotion. Use the right gear and settings.
Why pets are harder to photograph than people
Animals don’t follow directions like people do. They have their own schedule. So, patience and timing are key. Sessions that respect their needs get better photos.
Emotional moments are short. A dog or cat might show a perfect look for just one frame. Use continuous shooting or short video to catch those moments. This way, you get more good photos without stressing the animal.
Unexpected things can ruin a session. Sounds, strangers, and bright flashes can scare pets. Soft daylight or shooting during overcast sky or golden hour keeps them calm. It also makes photos warm and natural.
Typical technical pitfalls that make images soft or lifeless
Eyes must be sharp to show emotion. Soft eyes come from slow shutter speed, wrong focus, or camera shake. Use fast shutter speeds and continuous autofocus to keep eyes sharp.
Lighting mistakes hide facial details. Harsh sun can blow out highlights and flatten faces, worse on dark fur. Avoid harsh light and use soft, directional light to show texture and depth.
Composition mistakes can also hurt. Shooting from high up can flatten the subject and break eye contact. Cluttered backgrounds distract from the pet. Use shallow depth of field to blur distractions and focus on the pet’s personality.
Workflow mistakes can also hurt. Not cleaning lenses, not taking enough frames, and skipping edits can reduce good photos. Basic adjustments in Lightroom or mobile apps can rescue many photos and tell a story.
| Common Problem | What Causes It | Quick Fix |
|---|---|---|
| Soft, unfocused eyes | Slow shutter speed, wrong AF point, motion | Use 1/500s or faster, set single-point AF on the eye, enable continuous AF |
| Blown highlights or flat faces | Direct sun, harsh flash | Shoot in open shade, golden hour, or use diffused window light |
| Distracting background | Busy scenes, low subject separation | Choose plain backgrounds, use wide aperture for blur |
| Missing the moment | Too few frames, no burst or video | Use burst mode and short video clips for frame grabs |
| Startled or stiff expressions | Sudden noises, flash, long sessions | Keep sessions short, use quiet triggers, reward calmly with treats |
| Dark-fur detail lost | Underexposure, harsh shadows | Open shadows in-camera, use reflector or soft fill light |
Use these tips for better pet photography. Small technical changes and better session habits can make your photos emotionally compelling.
pet photography tips: lighting and location strategies
Good light and the right place make a photo special. Look for soft, directional light that makes fur look good and eyes shine. Early morning and late afternoon have warm tones that show texture well.
Natural light best practices for sharper, warmer portraits
Choose open shade, overcast skies, or windows with sheer curtains for even light. This helps animals with dark fur keep their facial details.
Start with aperture, then shutter, then ISO to keep your photo clear. Use wide apertures to blur the background and make eyes stand out. Make sure shutter speeds are high to freeze movement.
Try to avoid direct flash. Pets often don’t like sudden light. If you must use flash, bounce or diffuse it first. Test it away from your pet before using it.
Choosing locations that reduce distractions and boost emotion
Find places your pet loves and feels safe. A favorite room or a quiet spot in the backyard works well. This helps get natural and relaxed photos.
Choose simple backgrounds to keep focus on your pet. Use plain walls or simple blankets. This makes the photo more emotional.
For pets with dark fur, cloudy days or shaded areas are best. Side lighting helps keep facial details clear. Avoid dark backdrops unless you can add light to keep your pet separate.
For more on camera settings for natural light, check out this guide from Five Freedoms Photography: camera settings for natural light pet.
Get down to their level: perspective and composition that connect
Kneel, crouch, or lie down to meet your subject eye to eye. Shooting from the pet’s plane turns distant snapshots into warm, engaging pet portrait photography. This invites the viewer into the animal’s world.
Eye-level framing to create intimacy
Place the focus on the nearest eye. This gives the image an emotional anchor. It makes the eye pop.
Use continuous autofocus for active pets and single-point AF for portraits. Leave space in front of the pet’s gaze. This suggests motion or thought.
These small choices turn routine shots into memorable ones. They are great pet photography tips for every session.
Using negative space and simple backgrounds
Choose plain walls, a tidy bedspread, or an open lawn. This reduces visual competition. If you can’t simplify the scene, open the aperture to blur distractions.
A wide aperture isolates the subject. It strengthens emotional impact. Mix close-up facial crops with wider environmental portraits to tell a fuller story.
Capture whiskers, snout texture, and the setting that reveals personality. Balance tight details with context for stronger, more expressive pet portrait photography.
Camera settings for sharper animal photos
Sharp, emotional photos start with careful exposure and focus. Use shutter speed, aperture, and ISO together. Small changes can make big differences in your photos.
Shutter speed, aperture, and ISO basics for motion-prone subjects
For calm pets, aim for 1/200–1/400s to avoid blur. Active dogs need 1/500–1/2000s to freeze action. The pet’s size and speed guide your shutter speed choice.
Use wide apertures like f/1.8–f/4 for portraits. This isolates the subject and blurs the background. For moving pets, use f/5.6–f/8 to keep more of the body sharp.
Keep ISO low for clean photos. Raise ISO for fast shutter speeds in low light. Modern cameras handle ISO 800–3200 well for prints and web sharing.
Autofocus modes and where to place focus
Use continuous AF for moving subjects and single-shot for poses. Burst mode helps capture the perfect shot. This is key for pet photography.
Choose single-point AF or eye-detection. Focus on the nearest eye for best results. Back-button focus is great for tricky light or dark coats.
In dim light, use lenses with image stabilization or raise shutter speed. Having a helper can make sessions easier. These tips help you get better photos and make sessions less stressful for pets.
Behavioral prep: patience, treats, toys, and timing
Getting great pet photos starts before you take a picture. Small routines help pets feel calm and natural. Let them get used to the place, play a bit, and then take photos in short bursts.
Keep photo sessions short to avoid stress. For most pets, five to fifteen minutes is perfect. If a pet looks restless, stop and let them explore or sniff.
High-energy pets need a quick playtime before photos. A short run or play helps them relax and sit better. This tip is common in animal photography tips.
Use treats and toys carefully. Give small rewards between photos to keep them interested. Squeaker toys near the lens can make pets tilt their heads and look alert. But show them briefly to avoid too much excitement.
Shoot in short bursts of photos instead of long ones. Quick sequences capture real moments without tiring the pet. Many photographers find this method works best.
Having a helper is a good idea. One person can hold a leash or toy while you take photos. This makes it safer and more efficient, helping you get the best shots.
Bring comfort items for shy or older pets. A favorite blanket or toy can calm them down. Small changes like this make pet photography tips more practical and kind.
Techniques for handling hard-to-photograph pets
Working with tough pets needs calm and planning. Look for good light and background first. This helps you catch special moments.
Use natural light when you can. Keep sessions short to avoid stress. This helps build trust with your pet.
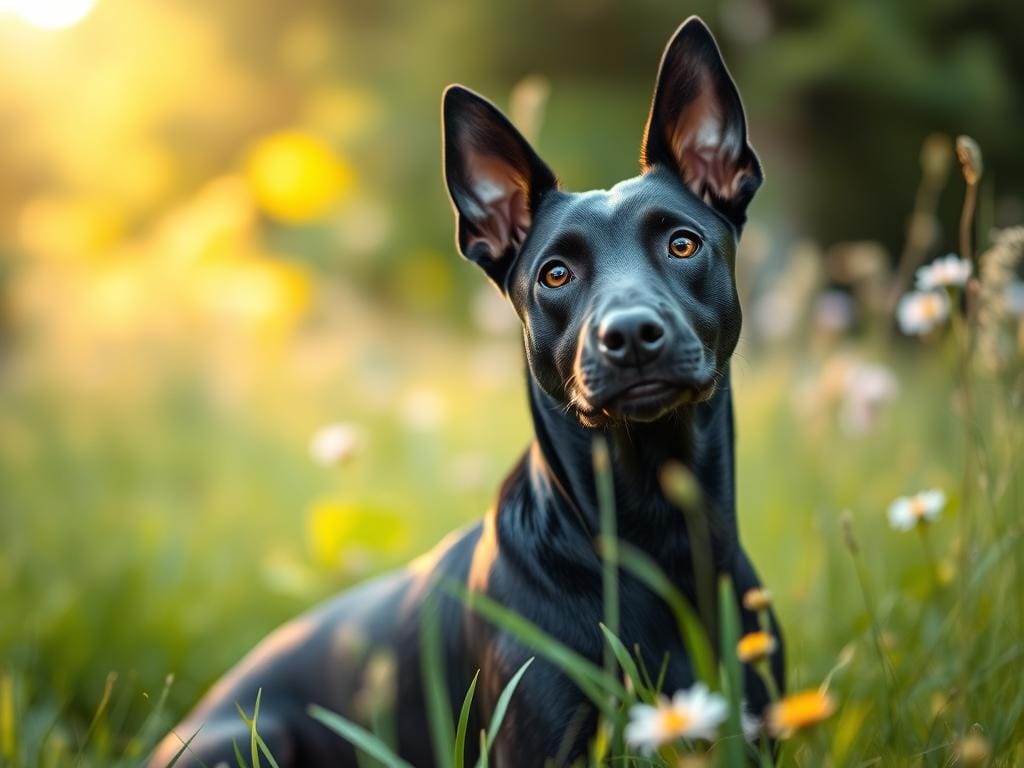
Tips for black or dark-furred animals
Dark fur can hide details in shadows. Choose light places or cloudy days for better photos. Use camera settings to make fur stand out.
Light from the side makes fur look good. A light background helps your pet stand out. For more tips, check out this guide: pet photography tips.
Approaches for skittish, elderly, or very active animals
Shy pets need space and patience. Use a long lens to keep a safe distance. Keep sessions short and use familiar things to calm them.
Old pets like soft places and gentle light. Focus on their calm looks and fur details. Don’t ask for too much action.
Active pets need a quick burst of energy. Tire them a bit first. Then, use fast shutter speeds to catch the action. Use toys or a whistle to get quick reactions. Try turning video clips into photos for those hard-to-catch moments.
| Challenge | Key tactic | Camera/gear |
|---|---|---|
| Black or dark-furred pets | Open shade, rim light, slight exposure lift | Fast prime (85mm or 50mm), reflector if available |
| Skittish animals | Telephoto distance, slow approach, familiar items | 70-200mm zoom, treats, helper to soothe |
| Elderly pets | Comfort-first, close-ups, soft light | Macro or short telephoto, low ISO, wide aperture |
| Very active animals | Pre-play, burst mode, high shutter speeds | Camera with fast AF, 1/1000s+ shutter, 70-200mm f/2.8 |
Composition and storytelling: capture personality, not just posture
Good pet portrait photography is about more than just how they sit. Think about where they love to be and what they like to do. A mix of close-ups and wide shots tells their story better than one pose.
Close-ups, environmental portraits, and candid moments
Shots of their eyes, whiskers, or paws make us feel close. Use a shallow depth of field to keep the background soft. This makes the pet’s eyes pop.
Candid shots show real feelings that posed photos can’t. Be ready to snap during play or when they’re resting. A yawn, tilt of the head, or a leap in mid-air often gets the most reactions.
Highlighting unique features to create connection
Find something special about the pet that makes them stand out. It could be a unique marking, an ear tuft, or a funny look. Light and frame this feature to make it the main focus.
Using props can add to the story, but don’t let them take over. A favorite toy, a worn blanket, or a special spot can help us connect. Make sure the pet is always the star.
Plan your shots carefully. Use empty space to show where the pet is looking. This helps tell their story and makes the photo flow well.
By mixing different styles, you can create a set of photos that feel real and deep. Follow these tips to make portraits that are personal and lasting.
Post-processing to enhance sharpness and emotion (without overdoing it)
Post-processing can make a good shot even better. Start with small changes to the whole image. Then, make precise edits to keep it feeling real.
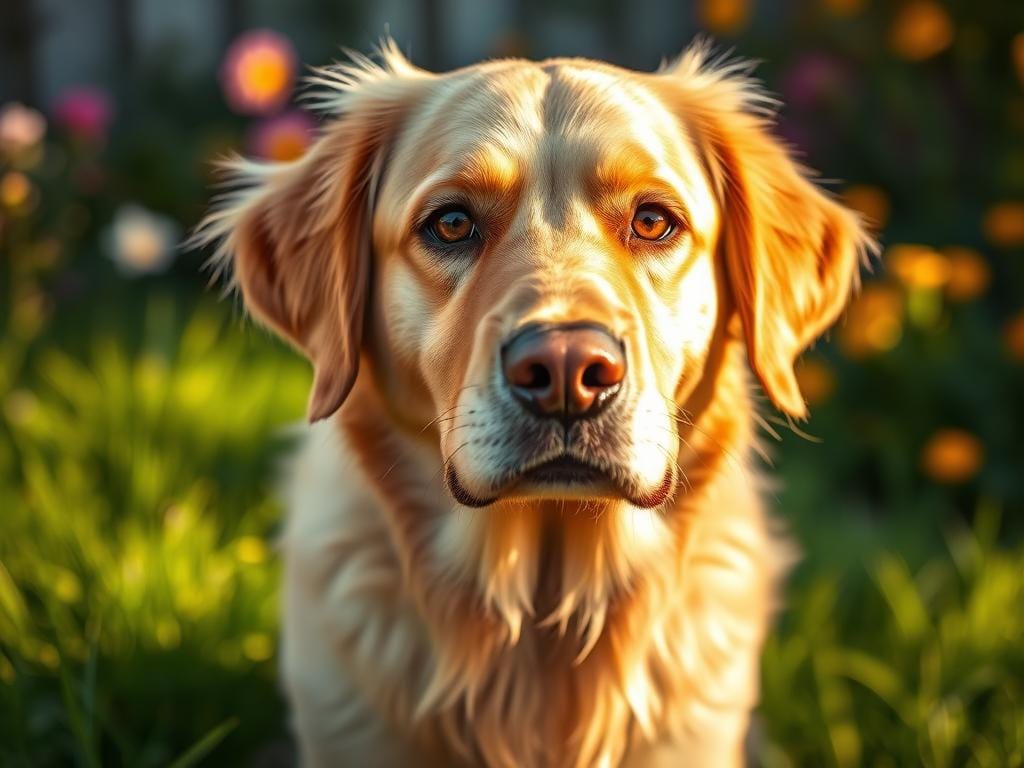
Essential edits: exposure, contrast, selective sharpening
First, fix the exposure and white balance. Make sure the whole image is bright enough. Use a neutral white balance to keep fur colors natural.
Adjust contrast and clarity as you like. Increase contrast for depth, but don’t lose shadow details. Use clarity carefully to keep fur soft.
Sharpen the eyes and snout carefully. Leave the rest of the image alone to avoid harsh fur. Use Lightroom or Photoshop masks for exact control.
Quick fixes for common problems
Fix shadows for dark-furred pets with care. This brings out facial details. But, also reduce noise if ISO was high.
Remove small distractions with spot healing or content-aware fill. Fix a stray leash, dirt on a nose, or background clutter. This keeps the focus on the pet’s expression.
Crop and straighten to improve the image. A tighter crop can make the eyes stand out more, adding to the emotional impact.
Keep edits natural. Don’t overdo it with saturation, sharpening, or changing eye color. The best editing brings out the pet’s personality, not changes it.
Practical session checklist and sharing-friendly outputs
Plan a photo with a person and natural light. Use your camera or phone, and make sure it’s ready. Clean your lenses and format your memory cards.
Set your camera to take lots of photos at once. Choose a fast shutter speed and the right aperture for your photo. Also, pick an ISO that keeps your photos clear.
Bring treats, toys, and a blanket for your pet. A squeaker can help get fun photos. Have a leash or harness and someone to help you.
Shoot during the golden hour or when it’s cloudy. Have a backup plan with good indoor light. Always follow local rules and keep your pet safe.
Take short videos too. This way, you can pick the best frames later. It helps you build a strong portfolio.
Save your photos as JPEGs for the web. Make them 1200–2000 px wide. Keep the originals for printing.
Make different sizes for social media and websites. Add a caption with your pet’s name and a fun fact. This helps get more views and adoptions.
Remember to clean your lenses and bring a towel for outdoor shoots. Do some editing to make your photos look even better.
FAQ
What quick fixes stop pet photos from looking soft and lifeless?
Why are pets harder to photograph than people?
What technical mistakes commonly make pet images look lifeless?
How should I use natural light for sharper, warmer pet portraits?
What locations work best to reduce distractions and boost emotion?
Why is getting down to the pet’s level important?
How can I use negative space and simple backgrounds effectively?
What shutter speed, aperture, and ISO settings work for motion-prone pets?
Which autofocus modes and focus placement are best?
How long should a session with a pet last?
What tactics use treats, toys, and sounds without overexciting the pet?
How do I photograph black or dark-furred animals so detail isn’t lost?
What approaches work for skittish, elderly, or very active pets?
How do I mix close-ups and environmental portraits for storytelling?
What unique features should I highlight to make a portrait memorable?
What essential post-processing steps enhance emotion without overdoing it?
What quick fixes help common problems like distractions or leashes?
What should be on my gear and pet-prep checklist before a shoot?
How do I prepare files for sharing on social media or adoption sites?
Struggling to get consistent photography clients?
Get More Photography Clients