
Have you ever wondered why your best moments seem to vanish into darkness? Many photographers face this challenge when trying to capture clear images in dim environments. The struggle often leads to frustration, especially when those precious memories turn out blurry or filled with distracting noise.
When the sun sets, our creative instincts awaken. Yet, without the right guidance, those artistic visions can feel out of reach. Understanding how your camera sensor reacts to different lighting conditions can change everything. With a few simple adjustments, you can take control of your creative output.
Whether you’re in a cozy room or under a starry sky, mastering specific settings will transform your approach to capturing stunning images. I have spent years refining these techniques, and I’m excited to share how you can achieve professional results without breaking the bank on gear.
Key Takeaways
- Capturing images in dim environments is a common challenge.
- Understanding your camera’s sensor can improve image quality.
- Simple adjustments can enhance your creative output.
- Mastering settings is key to stunning nighttime photography.
- Professional results are achievable without expensive gear.
Understanding the Challenges of Low Light Photography
Ever been in a situation where your camera seems to conspire against you, leaving your images shrouded in shadows? During my recent travel tours to Cuba and Nicaragua, I saw many students struggling with the same blurry, dark images I once produced. It’s a bit embarrassing to admit, but I spent an entire evening in a dark bar trying to capture a shot, only to realize my shutter speed was far too slow.
The primary challenge in these dim situations is balancing the need for light with the limitations of your camera sensor and lens capabilities. You might feel like you need a tripod for every single shot, but there are several quick fixes to brighten your photos without carrying extra gear.
Sometimes, simply moving your subject closer to a window or a street lamp can provide enough light to save an otherwise lost image. Remember, even the smallest adjustments can make a big difference!
Quick Answer for Mastering Dim Settings
Do you find it difficult to take vibrant photos in poorly lit environments? Mastering dim settings can be straightforward with a few essential techniques. Start by prioritizing a wide aperture and a high ISO. This combination allows more light into your camera sensor, helping you maintain a faster shutter speed.
If you’re in a rush, consider switching your camera to a custom mode. Pre-save your high ISO and wide aperture settings for quick access when you need them most. Remember, a slightly grainy image is often preferable to a blurry one. Don’t hesitate to push your ISO higher than you think is necessary.
Lastly, keep your elbows tucked into your body for added stability. This simple adjustment acts as a human tripod, enhancing your chances of capturing clear images in challenging, dark environments.
Essential Camera Settings for Low Light
Have you ever tried to capture the essence of a moment, only to find your camera struggling in dim conditions? To succeed in these situations, understanding your camera settings is crucial.
Start with ISO and shutter speed. When using my Sony Alpha 7R III, I confidently push the ISO to 16,000. Modern cameras manage noise better than older models, making it easier to capture clear images.
The relationship between ISO, shutter speed, and aperture is like a teeter-totter. If you increase one, adjustments to the others are necessary to maintain exposure. For instance, using a Canon 5D Mark III, I’ve noticed that high ISO settings allow for a faster shutter speed, essential for freezing movement in dark rooms.
Your camera’s sensor is the heart of your photography. Knowing its limits at high ISO can help you capture images that were once thought impossible. Always prioritize a faster shutter speed over a lower ISO to keep your images sharp, as noise can be managed in post-processing.

Creative Composition in Poor Lighting
Have you ever noticed how some of the most captivating scenes can seem almost invisible in dim lighting? The way you compose your shots can significantly impact the quality of your images. Here are some effective techniques to enhance your photography in these challenging conditions.
First, look for natural frames, such as doorways or street signs. These elements can add depth and interest to your composition. Positioning your subject near a single light source can create dramatic shadows, giving your images a professional and moody feel.
To stabilize your camera, try squatting down and resting your elbows on your knees. This technique can help you capture sharp images without the need for a tripod. Don’t shy away from including bright light sources in your frame; they can provide beautiful contrast against darker areas.
Finally, the best images often come from observing how light interacts with your subject. Even in dim environments, a keen eye can lead to stunning results.
| Technique | Description | Benefits |
|---|---|---|
| Natural Frames | Use elements like doorways to frame your subject. | Adds depth and interest. |
| Single Light Source | Position subjects near a light source. | Creates dramatic shadows. |
| Camera Stabilization | Rest elbows on knees for stability. | Helps capture sharp images. |
| Incorporating Bright Lights | Include bright sources in your composition. | Enhances contrast and visual appeal. |
| Observing Light | Watch how light interacts with your subject. | Leads to stunning images. |
Mastering low light photography tips for Stunning Images
Are you aware that the right combination of gear and technique can transform your nighttime photography? Integrating your equipment with effective methods is essential for capturing stunning images that stand out.
You don’t need the most expensive camera to achieve great results. Understanding how your specific gear handles different lighting conditions is vital for ensuring quality. This knowledge will allow you to make the most of your equipment.
Practice is key. It bridges the gap between theoretical knowledge and the ability to capture beautiful images during a night out. When you combine a fast lens with the correct camera settings, you’ll notice a significant improvement in the professional quality of your work.
Always take the time to review your images on a larger screen. Mobile devices can hide the true quality of your photography, making it easy to overlook areas for improvement.
Leveraging Lens Choices and Focusing Techniques
Have you ever felt that your camera isn’t capturing the magic of a moment in dim settings? Choosing the right lens and mastering focusing techniques can significantly enhance your results. A 50mm f/1.8 lens is an affordable and versatile option, typically priced between $100 and $190. This lens is a game-changer for those seeking to improve their images in low visibility.
Investing in a 50mm f/1.8 lens is one of the best decisions you can make. Its wide aperture allows significantly more light into the camera, enabling faster shutter speeds for sharper images. Additionally, a fast lens with a wide aperture, like f/1.4 or f/1.8, is essential for achieving excellent results in challenging conditions.
When focusing in dim environments, consider activating the AF illuminator on your camera or flash. This feature helps the system lock onto your subject effectively. If your camera struggles to find focus, switch to a single focus point rather than a wide area. This adjustment gives the sensor a specific target, improving accuracy.
Ultimately, selecting the right lens is about balancing your budget with the need for a wide aperture that can handle limited light.
| Lens Type | Aperture | Price Range |
|---|---|---|
| 50mm f/1.8 | f/1.8 | $100 – $190 |
| 35mm f/1.4 | f/1.4 | $500 – $800 |
| 85mm f/1.8 | f/1.8 | $300 – $500 |
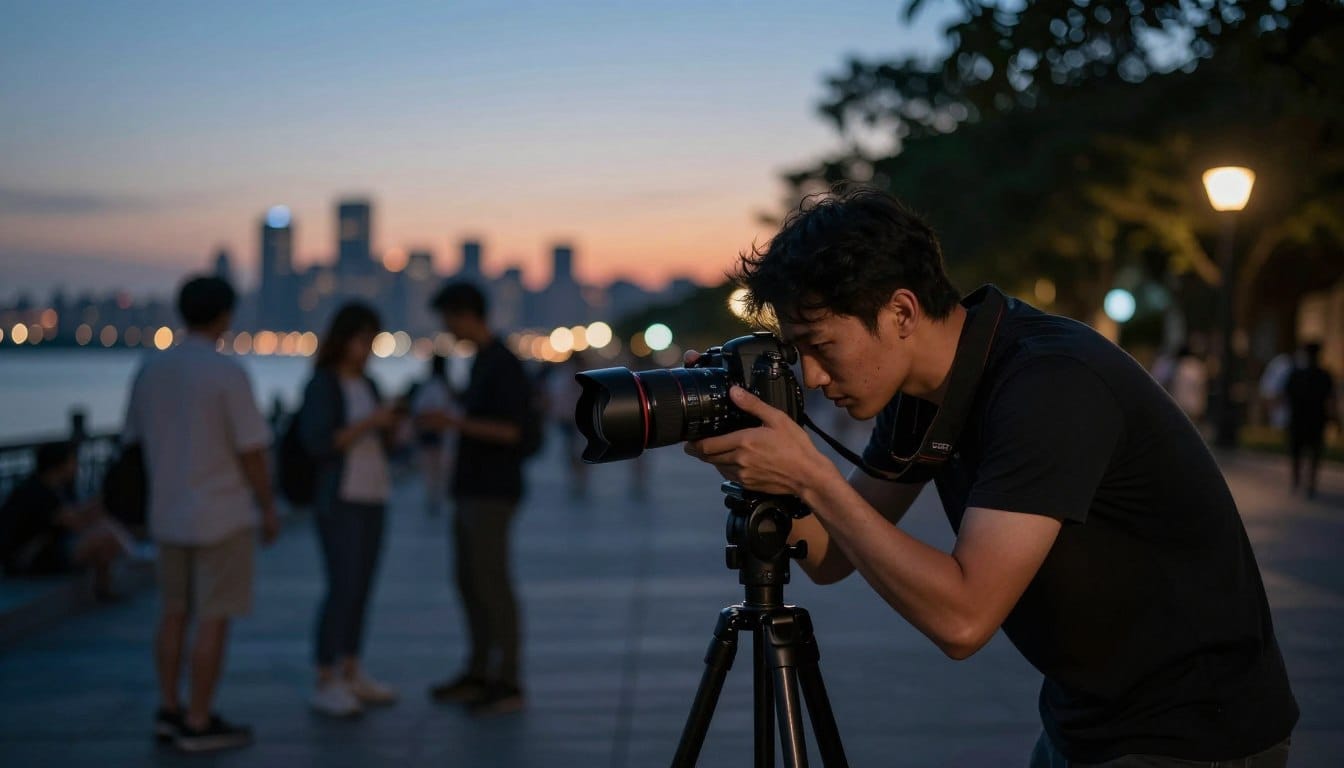
 prominently displayed. In the foreground, a professional camera body, with dials and buttons reflecting low light, evokes a sense of depth. The middle layer features soft, warm lighting emanating from a nearby lamp, creating gentle shadows that enhance the texture of the lenses. The background is blurred with a bokeh effect, suggesting twilight scenes or nighttime cityscapes. The atmosphere is calm and focused, inviting photographers to consider their lens choices for low light scenarios. The overall coloration contains deep blues and soft golds to create a moody yet inspiring ambiance. Stay focused, Ray Baker.")
Innovative Use of Flash and Ambient Light
Have you considered how the right use of flash can enhance your photos in dim settings? Understanding when to utilize flash effectively can dramatically improve your results.
Here are some key points to keep in mind:
- I prefer to use a flash only when necessary, setting my Sony Alpha 7 III to 1/30 second to allow ambient light to blend with the flash.
- Shutter drag is a creative technique where you use slow shutter speeds to capture motion blur while the flash freezes your main subject.
- By using a slower shutter speed, you ensure that the background ambient light is not completely lost, which keeps your photos looking natural.
- When using a flash, I set my camera to rear sync so that the light fires at the end of the exposure, creating a more natural motion trail.
- Experimenting with flash compensation, such as -1 or -2, helps prevent the flash from overpowering the scene and making your photos look flat.
Utilizing Camera Memory Functions and Custom Modes
Have you ever felt overwhelmed by the complexity of your camera settings in a rapidly changing environment? Most modern cameras allow you to save custom settings to memory functions. This feature can be a game-changer when switching between flash and no-flash modes.
By setting up a “Mode 1” for high ISO and a “Mode 2” for flash photography, you can save precious time. When light conditions change quickly, these modes let you adapt without missing a moment.
Spend some time in your camera menu to configure these custom modes. This preparation ensures you won’t fumble with settings during crucial shots. Quick-access modes allow you to adjust to changing conditions in a fraction of a second, keeping your eye on the viewfinder.
Once you have your camera memory functions dialed in, your workflow will become faster and more intuitive in any environment.
| Mode | Purpose | Settings |
|---|---|---|
| Mode 1 | High ISO | ISO 3200, f/2.8 |
| Mode 2 | Flash Photography | ISO 400, f/4.0 |
| Mode 3 | Low Light Without Flash | ISO 1600, f/3.5 |
Post-Processing Strategies to Reduce Noise and Enhance Detail
Have you ever felt frustrated when your images don’t reflect the beauty you see in dim environments? The reality is that post-processing can significantly enhance your photos. While it isn’t a miracle solution, it offers powerful ways to clean up noise and improve overall quality.
Using software like Topaz DeNoise can greatly improve your images by removing the grain caused by high ISO settings. I always recommend shooting in RAW format because it provides much more data for editing. This allows you to recover shadows and adjust light levels effectively.
Even if your photo has some noise, consider converting it to black and white. This can turn that grain into a stylistic choice. Remember, the goal of editing is to enhance the quality of your work, not to fix a fundamentally bad photo.
| Editing Technique | Description | Benefits |
|---|---|---|
| Topaz DeNoise | Removes noise from images. | Improves overall quality. |
| Shooting in RAW | Provides more data for editing. | Allows for better adjustments. |
| Black and White Conversion | Transforms noise into a stylistic choice. | Enhances artistic appeal. |
Experiment, Practice, and Adapt Your Techniques
Have you ever experienced the excitement of a live performance, only to struggle with capturing it in low visibility? During my trip to Trinidad, Cuba, I watched Javier and his trio perform, which was the perfect environment to practice these photography techniques.
It’s essential to be willing to experiment with different settings. Every location presents unique challenges that require you to adapt your approach. If your photos aren’t turning out as expected, don’t get discouraged. Simply try again with a different shutter speed or aperture.
The best way to improve is to get out there and practice, even if it means taking hundreds of photos that do not make the final cut. Sharing your work with friends and asking for feedback is one of the fastest ways to learn and refine your personal style.
“Photography is a way of feeling, of touching, of loving. What you have caught on film is captured forever… It remembers little things, long after you have forgotten everything.”
So, embrace the process, keep experimenting, and watch your skills grow. For more insights on capturing images in challenging conditions, check out this resource.
Final Thoughts on Achieving Brighter, Clearer Photos in Low Light
Have you found yourself wishing for clearer images when the lights dim? To summarize, always prioritize a fast shutter speed, use a wide aperture, and do not fear high ISO settings when shooting in low light. A tripod is your best friend for static subjects, but your own body stability is key when shooting handheld.
Finally, embrace the grain as part of the artistic quality of your images. Use post-processing to refine your final results for the best image quality.
- FAQ: Can I use a tripod for all low light shots? Yes, a tripod is the best way to ensure sharp images, especially for long exposures.
- FAQ: Is high ISO bad for my camera sensor? No, modern cameras are designed to handle high ISO, and a little grain is better than a blurry photo.
- FAQ: Should I always use a flash? No, ambient light often creates a more natural look, so use flash only when you need to freeze a subject.
- FAQ: What is the best lens for low light? A fast prime lens with a low f-number, like an f/1.8, is the best option.
Disclaimer: These tips are based on my personal experience and gear; results may vary depending on your specific camera model and shooting conditions.
Want to Start Your Own Photography Business?
FAQ
What are the best camera settings for shooting in dim conditions?
How can I reduce noise in my images taken in low light?
Is a tripod necessary for low light photography?
What are some creative techniques for capturing images in poor lighting?
When should I use flash in low light situations?
How does focal length affect my low light shots?
Can I use my camera’s memory functions for low light settings?
What post-processing techniques can enhance my low light photos?
Struggling to get consistent photography clients?
Get More Photography Clients