
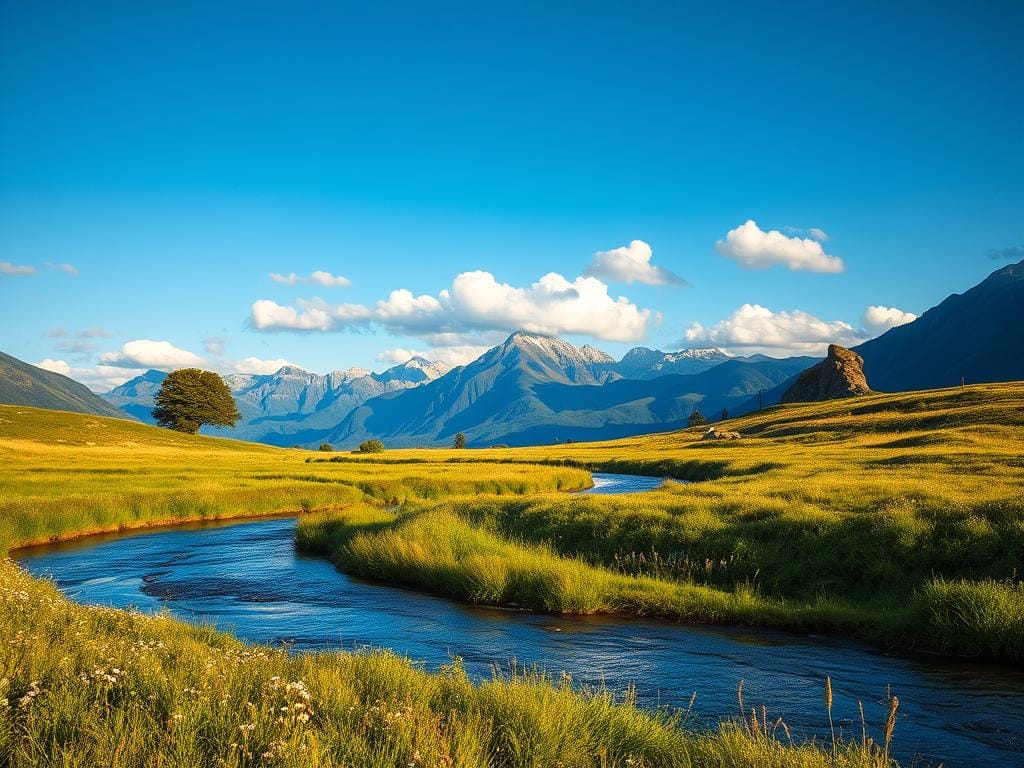
Are your scenic shots just “nice” but don’t grab attention? It’s not the camera’s fault. Composition is the key to making your photos stand out.
With nearly 30 years of experience, I’ve learned a lot. I won Landscape Photographer of the Year and sold prints through galleries. Composition is the fastest way to improve your photos.
Let’s start with some practical tips for landscape composition. You’ll learn about balance, symmetry, and more. These tips will help you take photos with depth and emotion.
You can test compositions with your phone. Use apps like PhotoPills to plan the light. And, you’ll learn to rely on your instincts, not just new gear.
Key Takeaways
- Composition, more than gear, turns pretty views into strong photos.
- Focus on balance, rule of thirds, framing, and leading lines first.
- Use your phone and in-camera grids to test compositions fast.
- Plan light and sun angles ahead of time with apps and simple scouting.
- Practice in varied conditions — experience builds compositional instinct.
For more on composition and lighting, check out this guide: landscape photography composition.
Why composition matters more than gear in landscape photography
Gear might seem like a quick fix. Moving from a Nikon D90 to a Nikon D850 could mean sharper photos and better low-light shots. But, many find out the hard way that new gear alone doesn’t make images stronger.
What truly makes a photo stand out is the thought put into its composition.
Composition is about choosing what to include in the frame. It shapes the mood, guides the viewer’s eye, and adds meaning to light and subject. These choices turn a nice view into a lasting memory.
Learning about landscape composition is the quickest way to improve your photos.
Spending long hours outdoors teaches more than just about cameras. Standing in the wind, waiting for clouds to clear, or hiking before dawn helps you see when elements come together. This experience sharpens your eye to spot framing opportunities that cameras can’t.
Professional success and sales come from images that grab people’s attention. On Instagram and in galleries, viewers love images with thoughtful framing and clear stories. Well-composed photos get more shares, comments, and sales than technically better but poorly framed ones.
Practicing composition leads to steady growth. Start with small exercises that test horizons, foregrounds, and leading lines. Apply these tips in different situations to develop useful judgment, no matter the camera.
Getting feedback from a pro can speed up your learning. A seasoned photographer can point out weak spots and suggest better ways to frame. Combine field practice with targeted feedback to turn your efforts into images that draw attention and make money.
landscape composition tips: essential rules to learn and bend
Good composition starts with a few dependable rules. These tips help photographers frame scenes in mountains, coasts, and city parks. Learn the guidelines, practice them, then break them when the scene calls for it.
Rule of thirds: using grids to direct attention
Turn on a grid overlay in your camera or phone. Place horizons on the top or bottom third. This favors sky or foreground. Position key subjects where grid lines intersect for natural tension and flow.
Think of the rule of thirds as a nudge, not a mandate. For wide vistas, using this grid guides the viewer’s eye. It helps without forcing every frame into a rigid formula.
Balance and symmetry: when centre composition wins
Centering can feel bold. Balance symmetry photography works beautifully for mirrored scenes. A centered horizon can give a strong, restful look.
Use symmetry when the scene supports it. If reflections match the real world, a centered subject strengthens impact. Watch for minor asymmetries and adjust your stance to restore balance.
Rule of odds and simplifying busy scenes
The rule of odds says odd-numbered groupings read as more natural. If a shoreline has four rocks, step left or right to isolate three. This makes the grouping feel intentional.
When a scene feels noisy, remove clutter. Change angle, crop with your feet, or wait for elements to move. Simplifying creates stronger focal points and clearer storytelling.
| Compositional Challenge | Practical Tip | When to Break the Rule |
|---|---|---|
| Dominant sky or dramatic clouds | Place horizon on lower third to emphasize sky | Center horizon for strong reflection symmetry |
| Busy foreground with many elements | Step closer, isolate odd-numbered groups, simplify | Keep complexity when foreground texture is the main subject |
| Mirror-like water or exact reflections | Use centered composition for calm, formal images | Apply rule of thirds when reflection is partial or uneven |
| Multiple similar subjects | Create odd groupings, use leading lines to separate | Use symmetry when repetition forms a pattern |
Using leading lines and how they guide the eye
Leading lines make a picture strong. Photographers like Ansel Adams use them. They guide the viewer’s eye.
Finding natural leading lines in different environments (beach, desert, snow)
Look for lines on beaches, like the sand edge. Also, check out tide channels and footprints. In deserts, follow dune crests and ridges. Snow fields have lines too, like wind ripples.
Light-enhanced lines: why raking light makes lines stronger
Side light makes shadows stand out. This makes textures look like paths. Golden hour lights up cliffs and water, making them bold.
Aim the line at a destination: avoid lines that lead to nowhere
A line should lead to something interesting. Point a road to a tree or a bright sky. Don’t let lines go to empty space.
Practice makes better. Walk around with your phone to find lines. Make sure lines lead to your main subject. These tips help make great photos.
Foreground interest, depth, and layering for dimensional photos
Start by placing a strong foreground element to anchor the frame. Use grass, rocks, or water ripples for texture. This keeps the eye busy and invites close inspection in prints.
Choose midground shapes that separate the front from the back. A distinct midground prevents the image from collapsing into one plane. It helps light define each layer.
Use depth layering photography to plan how side light or backlight will carve shadows and highlights. Small apertures like f/11–f/16 often work best to hold the scene sharp from front to back.
Apply hyperfocal focusing when you need maximum depth. Tripods let you use low ISO and slower shutter speeds. This keeps the whole composition clean and steady.
Compose so each layer contributes: texture up front, shapes in the middle, and tonal or color contrast in the background. These tips help you build a visual journey from near to far. Adjust focus and aperture deliberately to reinforce perceived depth.
Horizon placement and the emotional weight of sky vs. land
Horizon placement guides the viewer and sets the mood. A low horizon adds drama to the sky. A high horizon highlights the foreground’s texture and context.
When to put the horizon on the top third or bottom third
Put the horizon on the top third for strong foregrounds like rocks or flowers. This makes the scene feel grounded.
For scenes with clouds or sunsets, place the horizon on the bottom third. This gives the sky more space, making the photo more emotional.
Handling dramatic skies, reflections, and minimalist seascapes
For dramatic skies, use two-thirds of the frame for light and clouds. Reflections need a centered horizon for symmetry. Minimalist scenes also work well with a centered horizon for calm.
Use in-camera grids and live view to test these options. Choosing horizon placement improves your photo’s mood and clarity.
Horizon leveling and avoiding split-frame distractions
Always level the horizon. A tilted line can ruin the composition. Use a spirit level or camera’s electronic horizon to check before shooting.
Don’t crop unless necessary. Fixing tilt in post can harm edges and framing. Make choices in the field for cleaner results.
Quick practical checks
- Turn on the grid to align the horizon with a rule-of-thirds guide.
- Scan for reflections that invite symmetry and consider a centered horizon when the mirror is strong.
- If light is flat, favor foreground interest and move the horizon toward the top third.
- When clouds or storms dominate, push the horizon low to let the sky breathe.
Framing within the frame and natural frames that strengthen subject focus
Natural portals give photos structure and a clear path. Short, dark edges guide the eye to a brighter subject. Place the subject where the frame opens, not where it clashes with shapes.
Using trees, arches, and rock formations as frames
Trees, arches, and rock formations are simple tools to isolate subjects. Stand back and let them form a boundary. Make sure the frame is thinner than the subject area.
Negative space as an active compositional choice
Negative space turns empty areas into a storytelling tool. Large areas of sky or plain foreground can highlight a lone tree or building. Use it when the subject can hold attention alone.
Combining framing with leading lines for stronger narratives
Pair a natural frame with paths, streams, or fences for more strength. A trail framed by trunks leading to a peak adds depth. Look for scenes where framing meets a strong line.
- Seek natural portals that add depth without crowding the main subject.
- Place the brightest or sharpest detail inside the frame to enhance focus.
- Use negative space when you want emotional weight or visual isolation.
- Combine framing with a strong leading line for a layered narrative.
Light first: planning shoots for side light, golden hour, and storm light
Great landscapes start with light. It shapes form, reveals texture, and layers. Without it, even the best framing looks flat.
Why light creates depth and reveals texture
Side or raking light makes ridges and grass stand out. It casts long, soft shadows. This makes depth easy to see.
Warm golden hour tones add mood and color. They make images more emotional.
Look for light quality changes. A low sun highlights leaf veins and driftwood grain. These details make photos feel real.
Using PhotoPills or The Photographer’s Ephemeris to plan sun angles
Use tools to match sun position with your subject. PhotoPills and The Photographer’s Ephemeris show sun angles. Mark the angle you need, then find a good spot.
Practice planning sun angles for different times. For backlit silhouettes, set the sun behind your subject. For texture, aim for side light.
For more tips, read this guide on golden hour photography: golden hour photography tips.
Shooting outside golden hour: blue hour, overcast, and storm shafts
Golden hour is powerful, but other lights offer creative options. Blue hour gives cool tones and a calm mood. Overcast light softens contrasts and brings out colors.
Storm shafts and sunbeams create dramatic lighting. Learn to plan for these moments. Shoot the same scene under different lights to build a portfolio.
Scout early, set up with the sun in mind, test exposures, and adjust as needed. These tips help you control mood and texture.
Camera settings and tripod techniques that support composition
Good composition starts before you take the photo. Technical settings affect depth, motion, and noise. A steady tripod keeps lines sharp and horizons straight. Use this guide to match camera controls with tripod support for strong images.
Exposure triangle basics for landscape: aperture, shutter, ISO
Balance aperture, shutter speed, and ISO for depth, motion, and noise. For wide scenes, use f/8–f/16 to keep everything in focus. Set ISO at 100 to reduce noise.
Use longer shutter speeds for water or cloud motion blur. When it’s dark, increase exposure time instead of ISO for better image quality. Bracket exposures for scenes with lots of light and dark.
Aperture priority vs. manual: practical workflows for composition-focused shooting
Aperture priority is great for focusing on composition. Lock aperture to control depth of field. Let the camera choose shutter speed.
Switch to manual for changing light or specific exposure needs. Use exposure compensation in aperture priority to adjust brightness. Bracketing in manual mode keeps framing consistent and avoids exposure surprises.
Tripod rules, shutter-speed handhold guideline, and ND/polarizer use
Handheld shutter-speed rule: use at least 1/(2× focal length). For example, an 85mm lens needs about 1/200s. Slower speeds need a tripod.
Choose a strong tripod and tighten all joints. Use a remote release or mirror lock-up to avoid camera shake. Tripod techniques allow for low angles and steady compositions.
Neutral density filters let you take long exposures for smooth water or clouds. Polarizers reduce glare and deepen skies. Quality filters like Lee or B+W avoid color casts and keep images sharp.
Below is a quick checklist for the field. It keeps your settings and composition choices in line and avoids common mistakes.
| Step | Recommended Setting | Why it matters |
|---|---|---|
| Base ISO | ISO 50–200 | Lowest noise for large prints and clean skies |
| Aperture | f/8–f/16 | Maximizes sharpness across foreground to background |
| Shutter speed | As required for motion (1/200s handheld guideline) | Controls motion blur and prevents shake |
| Tripod | Sturdy, tightened joints | Enables long exposures and precise composition |
| Filters | ND for long exposure; polarizer for glare | Shapes water movement and enhances skies |
| Exposure strategy | Bracketing or manual exposure | Preserves highlight and shadow detail for editing |
| Final check | FIREBASE-style checklist | Confirms focus, horizon, exposure, and stability |
Planning your shots: scouting, timing, and revisiting locations
Good landscape photos don’t happen by accident. You need to plan. Look for the best light, weather, and view.
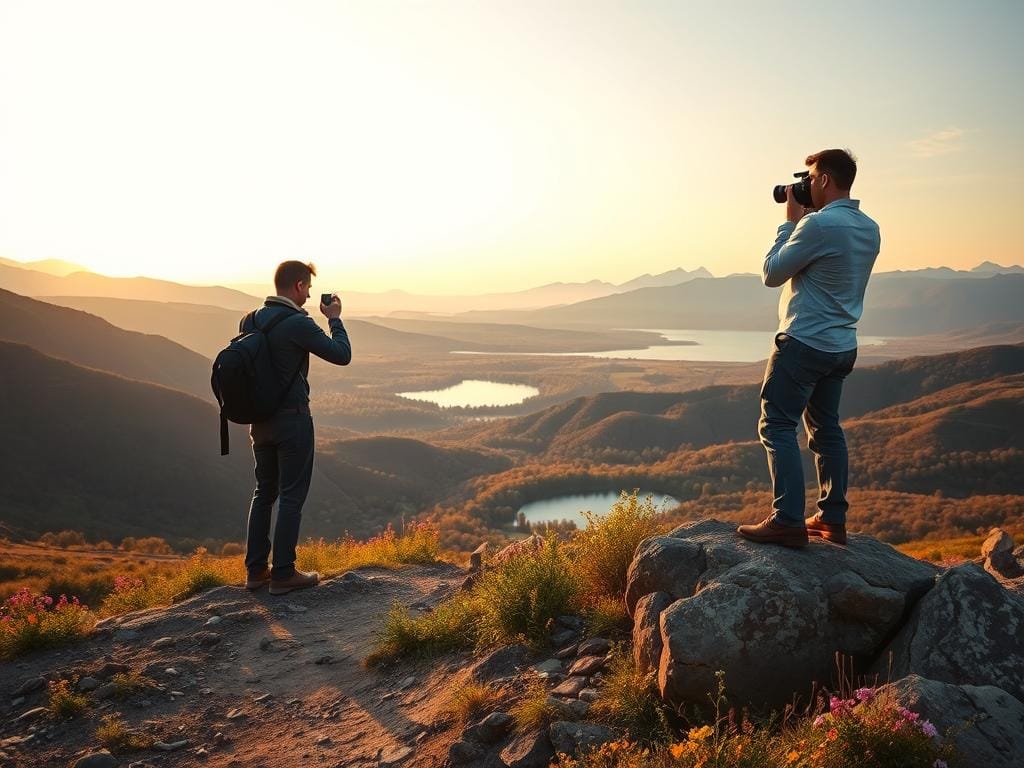
Scouting in advance vs. discovering on location
Scouting before you go saves time. It helps you find the best spots. Use tools like maps and PhotoPills to plan.
Walking around the location can surprise you. It shows things maps can’t. Mix both to plan well and stay open to new finds.
Returning at different times: the same spot, different light
Light changes everything. Go back at dawn, noon, and dusk. See how shadows and colors change.
Try this: take the same photo three times a day. Compare them. You’ll see which time and view work best.
How planning beats buying more gear
Think about where to stand and when the sun will hit. This can make better photos than new gear. Planning helps you focus on the shot, not buying more.
Look up seasonal changes and special events. Go back to places that look promising. Keep going and you’ll find amazing shots.
| Action | Tool | Benefit |
|---|---|---|
| Pre-scout route | Topographic maps, Google Earth | Find access points and safe tripod spots |
| Plan light | PhotoPills, The Photographer’s Ephemeris | Predict sun angle and golden-hour timing |
| Field recon | On-foot survey, smartphone notes | Discover foreground elements and unexpected frames |
| Repeat visits | Calendar, weather forecasts | Capture variations in mood and color |
| Practical study | Shot comparisons at multiple times | Learn which choices improve landscape composition tips |
Highlighting and isolating the subject during capture and editing
Start by moving around in the field. Change your angle or wait for the right light. This helps separate your subject from the background.
Make choices in the field to help editing. Place your subject against simple colors. Use the right focal length to make the scene look right.
Editing RAW files is next. Use local adjustments carefully. Brighten your subject and darken the background.
Texture looks better with careful contrast. Rocks and grass get depth with local texture boosts. Keep the overall contrast right so local edits feel natural.
Balance is key. Don’t overdo it in editing. Let your shots speak for themselves. A little saturation and vignetting can help guide the viewer’s eye.
Remember a few things while shooting. Position for separation, control exposure, and choose depth of field. Note areas for local edits. This makes editing easier and keeps your photos real.
| Step | In-Camera Action | Post-Processing |
|---|---|---|
| Positioning | Change angle to place subject against plain background | Crop minimally to improve framing |
| Exposure | Underexpose slightly to hold highlights | Use local lift on subject to restore midtones |
| Depth of Field | Select aperture to separate foreground and background | Apply local clarity to foreground textures |
| Light Timing | Shoot during side light or golden hour for separation | Emphasize light with subtle dodging on subject |
| Distraction Control | Recompose to remove clutter or use foreground blockers | Burn distracting elements and reduce saturation locally |
Common composition mistakes and how to fix them in the field
Every photographer faces the same issues. They shoot on autopilot, hide bad framing with editing, or leave out distractions. These mistakes can be fixed with a few simple steps. Just take a moment before you take the photo to make it better.
Autopilot framing
Make sure to shoot with purpose. Take a few deep breaths and find the best spot in the scene. Try different crops on your phone. This helps you avoid shooting on autopilot and find the best framing.
Over-processing hides problems
Editing can’t fix bad composition. If a photo looks off after editing, go back to basics. Remove distractions, change your spot, or adjust the horizon. Fixing these issues in the field saves time and keeps your photos true.
Broken leading lines and cluttered foregrounds
Leading lines should lead your eye somewhere. If they don’t, move to fix it. Clean up busy foregrounds by removing debris or changing your angle. A small move can make a big difference.
Busy horizons
Always check the horizon. Move up or down to clear it. Use your tripod or camera grid to keep it straight. These quick steps fix a common mistake.
Deliberate routine to fix composition errors
Use a four-point checklist: check the horizon, foreground, leading lines, and subject. Do this before every shot. It trains your eye to spot issues and makes composition tips easier to follow.
Practice exercise
Focus on one compositional tool at a time. For example, make five photos using only leading lines. Do the same for foregrounds, symmetry, and negative space. This focused practice helps you learn faster and avoid autopilot.
Mentorship, critique, and developing an eye faster
Working with an experienced photographer can make years of learning happen in just a few sessions. A good mentorship program teaches you fast. You learn workflows, get feedback, and learn tips for taking great photos.
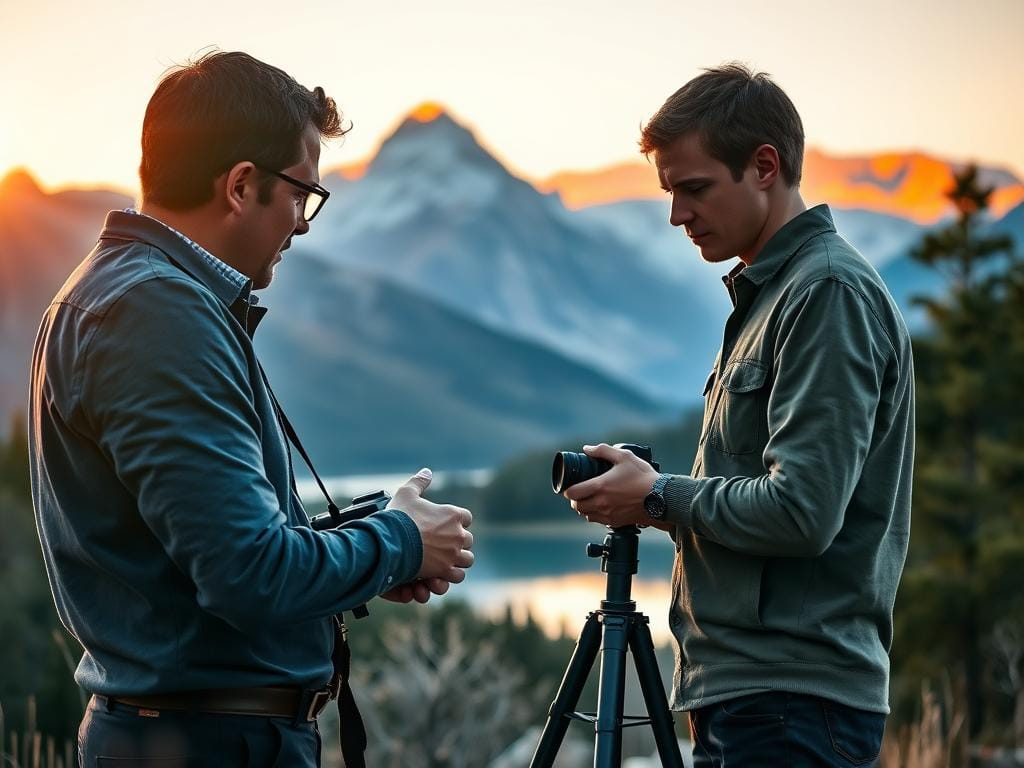
Before getting feedback, know what you want to learn. Choose a few photos to share. Ask about how to improve your photos, like composition and light.
Make feedback sessions useful. Start with five photos. Ask for three things to improve and one thing to keep. Then, try those changes in your next shoot.
Practice by going back to the same spot. Try different views and angles. This helps you get better fast.
Join workshops with famous photographers. This gives you a chance to learn and get feedback. It’s good to learn in groups and one-on-one.
Here’s a simple plan for learning:
| Activity | Purpose | How to Measure Progress |
|---|---|---|
| Guided field session | See mentor’s framing choices in real time | Compare three before-and-after images |
| Portfolio critique photography | Get focused feedback on selection and sequencing | Implement three changes in the next shoot |
| Repeatable-route drills | Build quick decision-making and compositional memory | Count successful frames out of five attempts |
| Rule-breaking assignments | Test creativity and personal voice | Assess viewer response and personal satisfaction |
| Short daily exercises | Keep eyes sharp between shoots | Track consistency over four weeks |
Ask mentors for homework. Use feedback right away. Practice and honest feedback make you better fast.
Shareable tips list for social: quick composition checks
Keep this short checklist handy when you want fast feedback in the field or a quick post for followers. These items focus on balance, direction, and clarity so your shots read well on a small screen. Use your phone to try ideas before committing time with your camera.
Five quick checks to run before you press the shutter:
- Horizon level and placement — confirm horizon sits on the top or bottom third, not dead center.
- Leading line present and pointing to a destination — make sure lines guide the eye to something meaningful.
- Foreground interest included and uncluttered — add texture but remove stray elements that distract.
- Light direction evaluated — prefer side or raking light for depth over flat, even light.
- Subject isolation check — ensure one element draws the eye through contrast, shape, or placement.
How to use your phone to pre-frame and test compositions:
- Turn on the grid overlay to apply the rule of thirds quickly.
- Try multiple crops and preview different horizon placements while keeping the camera bag closed.
- Frame a rapid series of phone screenshots as the light changes. These become reference frames for your full camera setup.
- Use pinch-to-zoom to test focal lengths and subject isolation without swapping lenses.
- Check leading lines by moving a few steps left or right with the phone to see which angle points to a clear destination.
Compact checklist for social sharing and quick field use:
| Check | What to look for | Phone test |
|---|---|---|
| Horizon | Level and placed on top or bottom third | Use grid, try top/bottom third crops |
| Leading line | Line points to a clear subject or vanishing point | Walk side to side and screenshot best angle |
| Foreground | Add texture; remove clutter | Tap to focus and test depth with different crops |
| Light direction | Side/raking light for texture; avoid flat light if possible | Shoot series as light shifts, note preferred frames |
| Subject isolation | One element draws the eye through contrast or placement | Try tight and wide frames to compare isolation |
Use these quick composition checks alongside core landscape composition tips during scouting and capture. Treat phone pre-frame techniques as a fast rehearsal. This saves camera time and helps you leave with stronger, shareable images.
Shareable message to a friend: send this when you want them to take better landscape photos
Did you see a beautiful view but the photos were dull? Send this message: explain the problem and offer a quick solution. Tell them to work on composition, light, and using a tripod.
Remind them that the best photos are about strong composition and planning. Learning from experts is key.
Give them four easy steps to follow: use the grid, find a textured foreground, look for a leading line, and level the horizon. Also, suggest planning the light with PhotoPills or The Photographer’s Ephemeris. Tell them to go back at different times.
These tips help create depth and mood quickly.
Include a template they can use: “Saw an amazing view but got dull photos? Try using the grid, finding a foreground, and looking for a leading line. Level the horizon and wait for side light. Want to practice together?”
Suggest using the phone to test compositions before switching to the main camera.
Encourage them to keep practicing and learning. Run the five quick checks before each photo, join a workshop, or a field session with a trusted photographer. Repeat the simple exercises to improve their photos.
FAQ
What are the most important landscape composition tips that turn pretty views into strong photos?
Why does composition matter more than buying better gear?
What does “composition as the difference between snapshot and photograph” really mean?
How much does field experience beat chasing new cameras?
How does composition affect viewer engagement and print sales?
How should I use the rule of thirds in landscape photography?
When is centre composition or symmetry a better choice?
What is the rule of odds and how do I simplify busy scenes?
How do I find and use leading lines in different environments?
Why does raking or side light make leading lines stronger?
What makes a leading line fail, and how do I avoid it?
How do I choose foreground elements that add texture and context?
How do I create depth with layers in landscape photos?
What aperture and focus techniques help reinforce depth?
When should I place the horizon on the top third versus the bottom third?
How should I handle dramatic skies, reflections, or minimalist seascapes?
What tools help keep horizons level in the field?
How can natural frames strengthen subject focus?
When should I use negative space deliberately?
How do framing and leading lines work together?
Why is light considered primary in landscape photography?
Which apps help plan sun angles and light conditions?
Can I shoot great landscapes outside golden hour?
What exposure settings should I prioritize for landscape work?
When should I use a tripod, and what are tripod best practices?
How and when should I use ND filters and polarizers?
How do I balance aperture priority versus manual exposure during a shoot?
Should I scout locations in advance or rely on discovery in the field?
Why should I revisit the same location at different times?
How does planning beat buying more gear?
How do I isolate a subject in-camera before relying on post-processing?
What local adjustments are useful to highlight subjects in post-processing?
How can I keep edits natural while increasing subject prominence?
What short message can I send a friend who wants better landscape photos?
Struggling to get consistent photography clients?
Get More Photography Clients