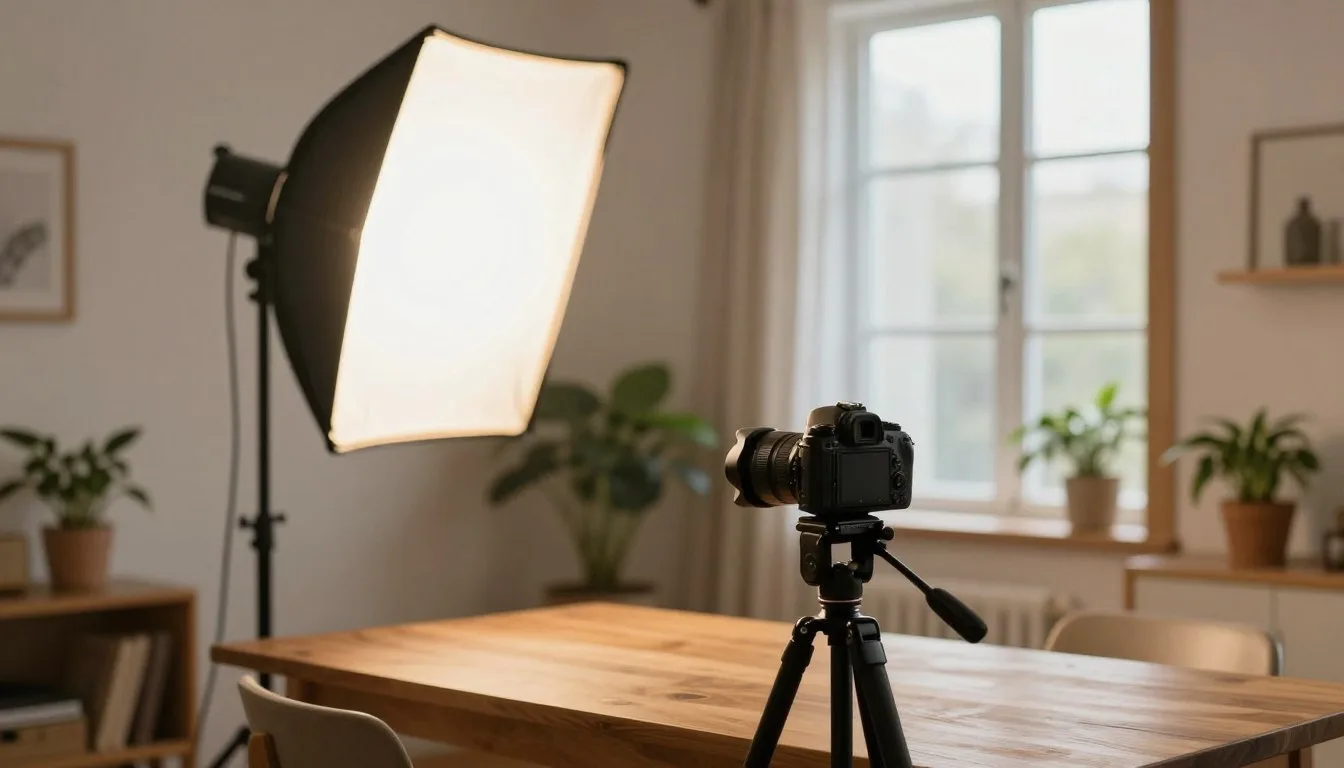
Have you ever wondered why your indoor images lack the vibrancy and clarity of those taken outdoors? Many beginners face this challenge, often struggling with the limited light available in their homes. Indoor photography can be daunting, especially when trying to avoid dark, grainy results.
Understanding how your camera interacts with natural light is key. By mastering this skill, you can elevate your indoor shots, transforming your living space into a stunning backdrop for your creativity. This article will guide you through essential adjustments to your camera settings, ensuring your images appear professional and bright without needing expensive studio equipment.
With just a few simple tips, you can capture remarkable images that reflect your unique style, regardless of the weather outside. Discover how to enhance your indoor and create captivating visuals that truly stand out.
Key Takeaways
- Natural light is essential for bright, appealing indoor images.
- Understanding your camera settings can drastically improve photo quality.
- Positioning your subject correctly in relation to light sources matters.
- Using reflectors and diffusers can enhance lighting conditions.
- Experimenting with different white balance settings can yield better results.
Facing the Common Indoor Photography Challenge
Capturing stunning images indoors can often feel like an uphill battle. Many photographers find themselves frustrated by limited light and a lack of interesting subjects. It’s easy to think that expensive studio strobes are necessary for great shots. However, you can achieve amazing results by relying on simple natural light techniques.
When shooting indoors, insufficient light often leads to dark, dreary images that fail to showcase the beauty of your environment. It’s common to feel disheartened when your camera doesn’t capture the scene as vividly as you see it. But understanding the basics of light can help you overcome these challenges.
With the right approach, you can produce high-quality work that rivals professional setups. Here’s a table summarizing some key techniques to improve your indoor photography:
| Technique | Description | Benefits |
|---|---|---|
| Natural Light | Utilize windows and open spaces to maximize sunlight. | Bright, vibrant images without additional equipment. |
| Reflectors | Use white surfaces to bounce light onto subjects. | Softens shadows and enhances overall lighting. |
| Camera Settings | Adjust ISO and aperture for optimal exposure. | Improves clarity and reduces graininess in images. |
Quick Answer and Key Takeaways
For many, the challenge of taking striking images indoors is a common frustration. Utilizing natural light can significantly enhance your photography results. The Ginger Wanderlust recommends that you turn off all electric lights and position your subject near a window. This simple adjustment allows you to maximize the natural light available.
Key Takeaways:
- Prioritize natural light from windows to avoid color casts and harsh shadows.
- Use a tripod or steady handholding techniques to keep your camera stable in dim conditions.
- Experiment with light directions, such as sidelight or backlight, to add depth and drama to your images.
These tips will help you achieve professional-looking results without needing expensive lighting gear.
Mastering Natural Indoor Light for Stunning Photos
Many photographers find that the right light can make or break their indoor shots. Mastering natural light is essential for achieving bright, clean, and professional results without relying on artificial flashes.
When you utilize sunlight as your primary source, you gain access to various qualities that change throughout the day. Soft light adds a gentle glow to your subject, while harsh light can create a dramatic effect.
Before starting your photography session, walk around your room. Evaluate how the light from different windows interacts with your subject. By observing the quality of light, you can choose the perfect time of day to capture the mood you want.
| Quality of Light | Effect on Photos | Best Time for Shooting |
|---|---|---|
| Soft Light | Creates a warm, inviting atmosphere. | Morning or late afternoon. |
| Harsh Light | Produces strong contrasts and shadows. | Midday. |
| Diffused Light | Evenly illuminates subjects. | Cloudy days or shaded areas. |
Understanding the Magic of Window Light
The quality of light streaming through your windows can significantly influence the outcome of your photography. This light varies throughout the day, creating different moods and effects in your images. The Ginger Wanderlust suggests that light appears warm at sunrise, cool at midday, and warm again at sunset.
Evaluating the quality of window light is essential. The color of the light changes significantly from morning to evening. By observing this transformation, you can plan your shots effectively.
Evaluating Light Quality and Direction
Walking around your space allows you to see how light beams in and bounces off walls. This can help illuminate your subject effectively. If you’re shooting in a small room, using a window as your main light source can create a soft, flattering glow.
Maximizing Light Diffusion in Your Space
Maximizing light diffusion with curtains or blinds can soften harsh shadows. Proper diffusion allows you to control the intensity of the light, ensuring your subject is evenly lit without distracting dark areas. This technique is crucial for achieving stunning results in your photography.
Harnessing Light Direction: Front, Side, and Backlight
Understanding light direction is essential for elevating your photography. The Ginger Wanderlust explains that using frontlight, sidelight, and backlight can dramatically change the look of your images. Each type of light has its unique benefits, helping you create stunning visuals.
Benefits of Frontlight and Sidelight Techniques
Frontlight is fantastic for portraits, as it illuminates details while softening shadows. However, it may sometimes result in flat-looking images. In contrast, sidelight is a powerful technique that adds contrast and highlights textures, making it ideal for food photography or still life compositions.
Creating Dramatic Backlight Silhouettes
When you use backlight, the window acts as a backdrop, producing glowing outlines around your subject. This can create dramatic, artistic silhouettes. Keep in mind that adjusting your exposure is crucial when working with backlight to avoid over-exposing or under-exposing your final image.
By experimenting with these three light directions, you can add depth and professional variety to your photography portfolio using only natural light.
Tuning Your Camera Settings for Indoor Exposure
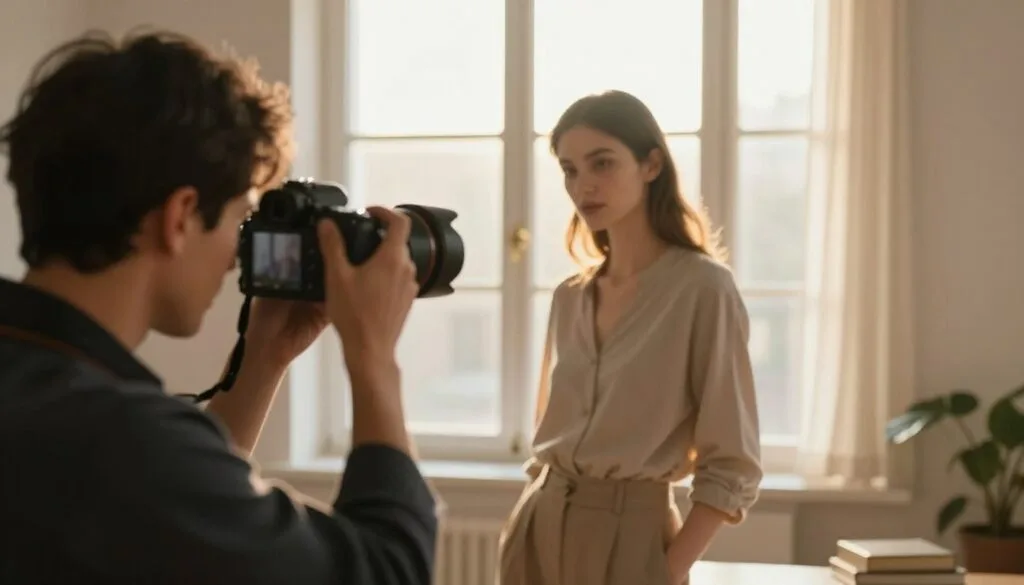
Getting the right exposure is essential for achieving stunning results in indoor photography. Tuning your camera settings often requires boosting your ISO to compensate for lower levels of natural light. The Petrone Family Session suggests using a shutter speed of 1/100th to keep your images sharp while capturing movement.
Avoid using electric lights, as they can produce different color temperatures that clash with the natural light coming through your window. Adjusting your exposure manually helps maintain the scene’s integrity, ensuring your photos look bright and crisp without artificial interference.
Always remember to turn off overhead lights. This prevents unexpected shadows and color casts that can ruin the professional look of your photography.
Exploring Aperture Priority Mode for Creative Control
Understanding the intricacies of light can transform your indoor photography experience. One effective way to gain this control is by using Aperture Priority mode on your camera. This setting, often marked as AV or A, allows you to select the aperture while the camera automatically adjusts the shutter speed.
Utilizing a wide aperture, such as f/1.8 or f/2.8, lets in more natural light, which is crucial for shooting in dim environments. This setting not only brightens your images but also creates a shallow depth of field. A shallow depth of field keeps your subject in sharp focus while blurring the background, giving your photos a professional look.
For portraits, consider using an aperture of f/5.6 or f/6.3. This ensures that the entire face remains in focus, capturing every detail beautifully. Additionally, shooting in RAW format while using these settings provides you with more data for post-processing, allowing for even more creative control.
Adjusting White Balance for Vibrant Indoor Photos
Finding the right white balance is crucial for achieving natural-looking colors in your photos. The Ginger Wanderlust suggests using the Daylight white balance preset for indoor portraits. This helps keep colors vibrant and true to life.
Adjusting your white balance in advance saves significant time during editing. It ensures your indoor images look their best right from the start.
Here are some tips to consider:
- Take your camera off Auto White Balance: Select a preset like Daylight or Cloudy based on the available light.
- Experiment with settings: Different lighting conditions can change how colors appear. Try various white balance settings to find what works for you.
- Post-processing adjustments: If unsure, you can always tweak the white balance later. However, getting it right in-camera is the best practice.
By mastering white balance, you can significantly enhance your indoor photography.
| White Balance Setting | Best Use | Effect on Colors |
|---|---|---|
| Daylight | Bright indoor settings | Natural colors |
| Cloudy | Warm evening light | Enhances warm tones |
| Tungsten | Artificial light sources | Reduces yellow hues |
Steadying Your Shots: Tripods and Handheld Techniques
Capturing sharp images can be a challenge, especially in low light. One effective way to enhance your photography is by using a tripod. This tool provides stability, allowing for cleaner images with less noise. Additionally, it enables you to use lower ISOs and longer shutter speeds, which is crucial when working with natural light.
If a tripod isn’t available, mastering effective handholding techniques can also yield impressive results. The Ginger Wanderlust advises tucking your elbows close to your body. This position helps stabilize your camera, reducing shake. Another tip is to roll your index finger gently along the shutter button instead of jabbing it. This method minimizes movement during the shot.
- Using a tripod is ideal for stationary subjects, ensuring high-quality images without grain.
- Handholding can be effective when done correctly, providing flexibility in your shooting.
- Proper technique is essential for capturing crisp images, even without a tripod.
Innovative Techniques: Close-Up Shots and Macro Details
Close-up photography reveals a world of detail often overlooked in everyday life. It transforms ordinary items like fabric patterns or water droplets into captivating subjects for your photography sessions.
The Ginger Wanderlust notes that a 50mm f/1.8 lens can focus reasonably close, but using a dedicated macro lens allows you to capture incredible details that standard lenses might miss.
Experimenting with a shallow depth of field is crucial. This technique helps blur distracting backgrounds, emphasizing the intricate details of your subject. You can find beauty in the ordinary, whether it’s the fur of a pet or a simple household object.
These innovative techniques enable you to expand your photography portfolio by discovering artistic potential in every corner of your home.
| Technique | Description | Benefits |
|---|---|---|
| Close-Up Shots | Focus on small subjects to highlight details. | Transforms ordinary items into artistic visuals. |
| Macro Lens | Use a specialized lens for extreme close-ups. | Captures intricate details often missed by standard lenses. |
| Shallow Depth of Field | Blur backgrounds to emphasize the subject. | Creates a professional look and draws attention to details. |
Creative Backdrops: Reflectors, Mirrors, and Light Boxes
Creative backgrounds can elevate your photography by enhancing light and shadow play. Using simple tools like reflectors, mirrors, and light boxes can transform your images, ensuring they look polished and professional.
For instance, a white backdrop acts as a natural light reflector. It helps bounce light back onto your subject, filling in unwanted dark shadows. The Ginger Wanderlust even created a DIY light-catching backdrop using a collapsible clothes rack covered with white material.
Additionally, using mirrors can brighten your indoor shots without relying on electric lights. You can hang a mirror in a window with a suction cup to direct light exactly where you need it on your main subject. This clever technique can make a significant difference in your photos.
These creative tools help you manage the limited light in your home, ensuring your photography looks professional and well-lit every single time.
how to take better indoor photos with Natural Light
Harnessing the power of natural light is essential for creating stunning images in indoor environments. The Ginger Wanderlust notes that this light is inexpensive, portable, and allows for beautiful photos regardless of the weather outside.
Learning to capture amazing images with natural light is a journey. It requires constant experimentation and a willingness to make mistakes. The more you shoot using natural light, the more intuitive your process will become over time.
Always look for ways to let more natural light into your room. Open curtains or blinds to brighten the space. Remember, your only limit is your imagination. Even a simple window can provide enough light to create stunning, professional-looking indoor images.
By focusing on the quality of the light, you can turn any indoor environment into a beautiful, creative studio for your next photography project.
| Tip | Description | Benefits |
|---|---|---|
| Experiment | Try different angles and times of day. | Find the best light for your subject. |
| Open Up | Let in as much natural light as possible. | Enhances brightness and clarity. |
| Imagination | Use simple elements creatively. | Transforms ordinary scenes into art. |
Playing with Morning and Evening Light for Magic Effects
The enchanting qualities of morning and evening light can dramatically enhance your photography. The Ginger Wanderlust highlights that the golden hour, the period just after sunrise and before sunset, provides magical light for indoor photography.
Exploiting the golden hour allows you to capture warm, glowing tones that add a magical quality to your indoor images. The Ginger Wanderlust advises working quickly during this time because the light changes by the minute as the sun moves across the sky.
- Adjust your exposure to emphasize bright details or create stark contrasts, depending on the mood you want for your final image.
- Timing your shoot for optimal light quality will elevate your photography to a whole new level of excellence.
- By seeking out this special morning and evening light, you can transform your subject into something truly extraordinary.
Utilizing these techniques will help you create visually captivating images that resonate with your viewers.
Practical Tips for Clearing Clutter and Optimizing Your Space
Creating a serene and clutter-free environment is vital for capturing stunning photography. Before you begin shooting, it’s essential to clear any distractions from your house. Clutter can detract from the professional look of your images.
The Ginger Wanderlust suggests using a backdrop to cover up any background mess. This technique not only hides distractions but also helps control the light in your shots.
Additionally, help your clients style their outfits in complementary colors. This ensures they do not appear too noisy or bright in the frame, allowing the focus to remain on the subject.
Optimizing your space is also crucial. Move furniture around to position your subject in the best possible light, ideally near your largest available window. A clean, simple environment helps the viewer focus on the subject, making your photography look intentional and polished.
Post-Processing Tricks for Brighter, Cleaner Images
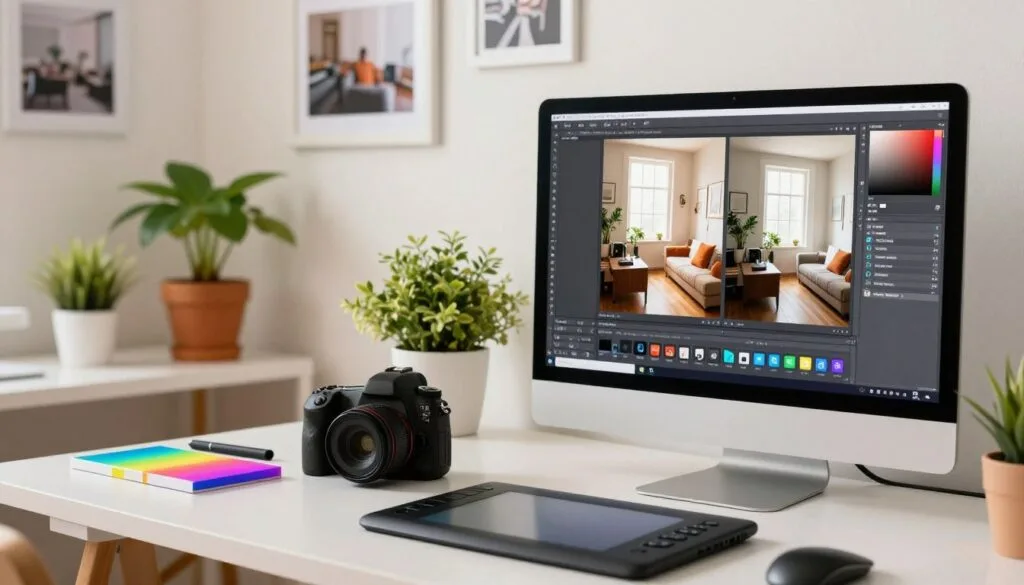
Editing plays a crucial role in refining your indoor photography, bringing out the best in every shot. Post-processing is the final step where you can pull out all the beautiful colors and tones in your images to make them crisp.
The Petrone Family Session suggests boosting shadows and adding a touch of vibrance to ensure your images look bright and professional after shooting. If necessary, adjust the white balance during editing to make the whites in your image pop and look clean and neutral.
Editing allows you to fix minor issues that might have occurred during the shoot, ensuring your final images meet your high standards. By mastering these simple editing tricks, you can transform even the most challenging photography session into a collection of stunning, vibrant images.
| Editing Technique | Description | Benefits |
|---|---|---|
| Boost Shadows | Enhance shadow areas for more depth. | Creates a balanced exposure in images. |
| Add Vibrance | Increase color intensity without oversaturation. | Makes images pop while retaining natural tones. |
| Adjust White Balance | Correct color temperature for accurate hues. | Ensures clean and neutral whites in images. |
Wrapping Up: Bringing Your Indoor Photography Vision to Life
Embracing the art of photography opens up endless possibilities for expression and creativity. Bringing your indoor photography vision to life is all about experimentation, practice, and learning how to work with the natural light available.
Every session is an opportunity to learn. Keep experimenting with your camera settings and light directions to discover your unique style. The Ginger Wanderlust reminds us that the most important thing is to have fun and let your inner beauty shine through in your work.
Disclaimer: Photography techniques can vary based on your specific equipment and environment, so always test these tips in your own unique space.
Want to Start Your Own Photography Business?