
Embarking on a journey in real estate photography can be both exciting and rewarding. With over a decade of experience, Ray Baker has turned this niche into a thriving career. You might wonder how you can achieve similar success without breaking the bank on expensive gear.
Learning the art of capturing stunning images in this field is crucial. Every day, photographers like Ray tackle challenges with lighting and camera settings to produce captivating visuals. The good news is that you don’t need top-of-the-line equipment to begin your adventure.
This guide will walk you through essential steps that pave the way for success in the competitive market. By honing your skills, you can ensure that every property you shoot results in impressive photos that attract potential clients. Together, we will explore the balance between technical expertise and artistic vision, enabling your work to truly stand out.
Key Takeaways
- Mastering real estate photography can transform a dull niche into a rewarding career.
- Daily challenges with light and settings are part of the photographer’s journey.
- High-quality images can be achieved without expensive gear.
- Essential steps will guide you to succeed in the real estate market.
- Every property shoot can yield stunning photos that impress clients.
- Balancing technical skills with artistic vision is key to standing out.
Understanding the Real Estate Photography Landscape
The world of real estate photography is a dynamic and thriving field. Before diving into this exciting venture, it’s crucial to assess the market. One helpful tool is Nick Adam’s cost calculator, which allows you to evaluate the income needed to sustain your new business.
Additionally, it’s essential to differentiate your services from architectural photography. This niche often commands higher fees due to its artistic and editorial style. As a new real estate photographer, consider pricing your services slightly lower than established competitors to gain traction.
Researching local real estate photographers will provide insights into market saturation and growth opportunities. Remember, competing solely on price can devalue your work and that of fellow estate photographers. Lastly, be prepared for a challenging start; many newcomers face a six-month period with little to no business.
Essential Gear for Capturing Stunning Real Estate Photos
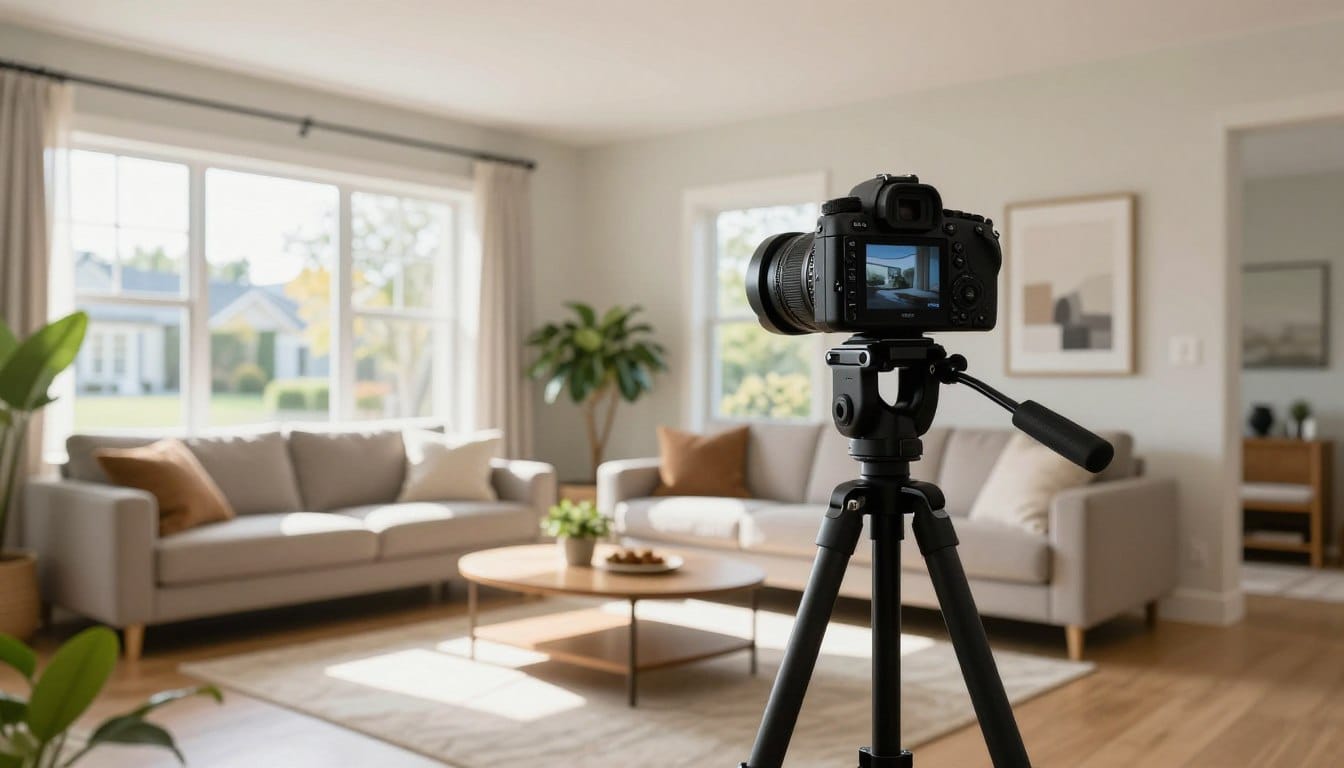
Capturing stunning visuals in the real estate market requires the right tools. A reliable setup doesn’t have to break the bank. You can achieve impressive results with a budget-friendly camera and lens combination.
For instance, using a Sony APS-C camera paired with a 12mm Rokinon lens is an excellent choice. This setup allows you to produce sharp images that meet the 2000px width requirement for your real estate photos.
Investing in a sturdy tripod is also crucial. Brands like Gitzo and RSS offer reliable options that prevent the need for frequent replacements. The Arca-Swiss Cube is highly regarded among professionals for its precision.
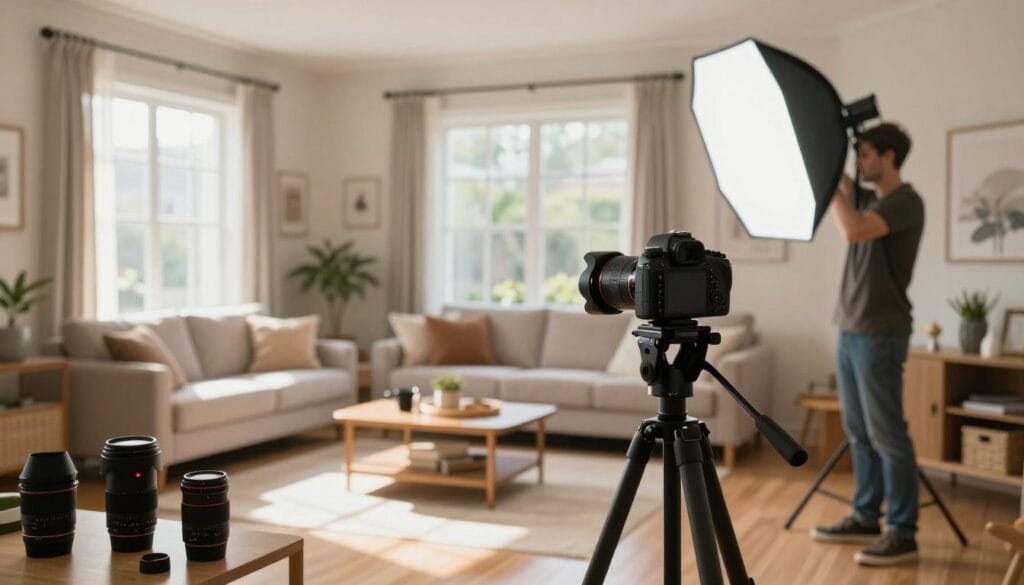
Lighting plays a vital role in your photography. Start with Godox AD200 flashes and a Magmod sphere for quality light in dim spaces. For larger jobs, consider adding Godox AD600 units to overpower ambient light, ensuring your images are bright and well-balanced.
How to Photograph Real Estate Professionally
Stepping into the realm of estate photography opens up a world of creative possibilities. Investing in budget-friendly equipment can set you on the right path. A Ricoh Theta Z is a fantastic entry point for 3D estate photography at just $1,000, compared to the $3,000 Matterport system. This affordability allows you to expand your services without overspending.
Additionally, consider incorporating drone footage with a DJI Mavic 2 Pro. This stable platform can significantly enhance the value of your photography packages, especially for high-end clients. However, remember that obtaining an FAA license is crucial if you plan to shoot commercial drone footage.
Consistency is key in your photography. Always have backup batteries and gear on hand. Failing to bring necessary equipment can reflect poorly on your professionalism. Using a wide-angle lens is also essential for capturing the full scope of small interior spaces without needing to rearrange furniture.
Mastering your camera settings and lighting techniques will enable you to produce high-quality images that highlight the best features of each property.
Mastering Lighting and Composition in Property Photography
Mastering light and composition is essential for captivating property photography. The right balance can create a warm and inviting atmosphere, enhancing every room you capture.
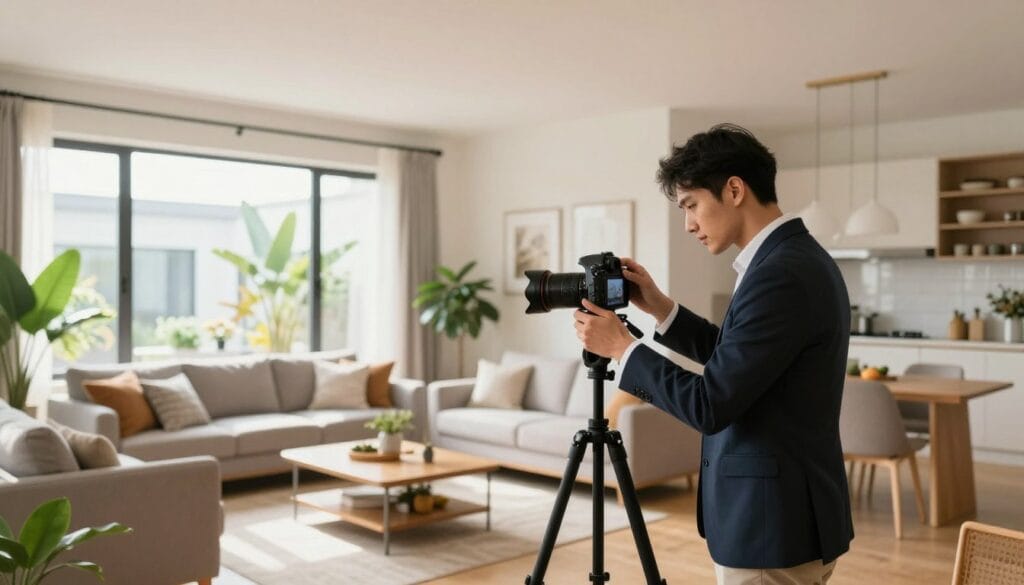
When you shoot, consider positioning yourself in a corner. This technique allows you to include three walls in your frame, helping viewers grasp the true size of the space.
Avoid placing windows directly in front of your camera. This can lead to extreme contrast issues that diminish the quality of your images. Instead, use a composition grid to align vertical lines, ensuring that doorways and wall corners appear straight and professional.
Experimenting with light is vital. Try shooting your living room at different times of the day to see how shadows affect your composition. If a room is too dark, use a flash to fill in shadows, but remember to diffuse the light for a natural look.
Using HDR and Photo Editing to Enhance Your Images
Mastering the intricacies of editing can transform your photos into captivating visuals. One effective method is HDR photography, which allows you to merge multiple exposures. This technique captures the full dynamic range of a room, showcasing both dark corners and bright windows.
Utilizing software like Xara Photo & Graphic Designer+ for just $6.99 per month provides an affordable way to achieve professional-grade editing for your images. When blending exposures, ensure your camera is locked on a tripod. This ensures every photo aligns perfectly during the post-processing stage.
Adjusting the color temperature and contrast in your editing software can fix mixed lighting issues that often occur in indoor photography. However, be cautious-over-processing your HDR images can create an unnatural look, distracting potential buyers from the property’s actual features.
Remember, proper editing is what separates a professional from an amateur. Take the time to straighten lines and balance the luminosity of every photo for the best results.
Developing Your Photography Skills and Creative Vision
Developing your skills in photography is a continuous journey that requires dedication and creativity. As you grow, analyzing the work of established photographers like Mike Kelley and Scott Hargis can help refine your creative vision in real estate photography.
Learning composition is a skill that has been refined for centuries. Applying these rules to your estate photography work will enhance your images significantly.
Joining professional forums is another great way to improve. Share your test shots and receive critiques from experienced photographers who can provide valuable feedback.
Experimenting with different angles and depths allows you to discover the most appealing perspective for each room. Your best shot is always your next shot, so remain active by analyzing the work of your peers.
Lastly, developing a unique perspective takes time. Be patient and deliberate as you practice your craft and build your professional portfolio.
Planning and Preparing for a Successful Photoshoot
Success in capturing appealing property photos begins with thorough planning. A well-structured approach ensures that you don’t miss any important details during your shoot.
Creating a Comprehensive Shot List
Creating a comprehensive shot list is essential. This list helps you capture every important room and feature of the property, saving you time during the shoot. Prioritize key selling points, such as a fireplace or custom cabinetry, which are vital for successful listings.
Staging, Cleanliness, and Property Preparation
A clean property is crucial for high-quality photos. Clarify with your client that the home must be tidy before you arrive. If you have extra time, consider creating a 3D tour using Zillow 3D Home® Tours to provide an immersive experience for potential buyers.
Always check the weather forecast before your scheduled time. A bright, sunny day is ideal for capturing the best exterior shots. Additionally, removing clutter from the yard and driveway is just as important as cleaning the interior.
| Preparation Step | Importance | Action Items |
|---|---|---|
| Shot List | Ensures all key features are captured | Make a detailed list of rooms and features |
| Cleanliness | Enhances photo quality | Confirm tidiness with clients |
| Weather Check | Affects lighting and mood | Plan shoots for sunny days |
| 3D Tours | Engages potential buyers | Utilize Zillow 3D Home® Tours |
Marketing Your Real Estate Photography Business
Marketing your photography services is crucial for establishing a successful business. A well-planned strategy can help you attract brokers and agents who need your expertise in capturing stunning property images.
Start by building a strong online portfolio. This is the first step in showcasing your best work and attracting potential clients. While word-of-mouth referrals are valuable, a professional website and active social media presence can jump-start your growth.
Be proactive in your marketing efforts. Connect with local agents and brokers, as personal relationships often lead to consistent work in the estate industry. Don’t hesitate to invest in advertising, especially when you’re starting and building your client base.
Your marketing materials should reflect the quality of your photos. Ensure that your branding is cohesive and professional across all platforms. Lastly, stay active in your career by regularly updating your portfolio with your latest and best work, keeping your business relevant and appealing.
Leveraging Lighting, Equipment, and Technique on a Budget
Achieving stunning property photos on a budget is entirely possible with the right approach. By focusing on effective techniques, you can enhance your images without spending a fortune.
Here are some practical tips to ensure consistently high-quality property photos:
- Using a flash to fill in dark corners is a practical way to improve the quality of your property photos without expensive lighting gear.
- Always turn off indoor lights if you have plenty of natural light from windows to avoid mixing different color temperatures in your room.
- If you are shooting at a difficult time of day, use a flash to balance the exposure and ensure the room looks bright and inviting.
- Consistently high-quality property photos require you to pay attention to small details, such as ensuring all windows are clean and free of smudges.
- Experiment with the intensity of your flash to achieve the perfect level of fill light, which helps create a professional look in every room.
- By mastering these techniques, you can produce stunning work that rivals more expensive photography services while staying within your budget.
Conclusion
Embarking on a career in property photography allows you to merge art with the real estate industry. This field is rewarding, as it enables you to showcase homes and assist agents in selling them more effectively.
By mastering your gear, lighting, and composition, you can achieve impressive results without the need for the most expensive equipment. Consistent practice and a commitment to quality will help you stand out in a competitive market.
Always prioritize your client’s needs and maintain a professional attitude. Building long-term relationships with brokers and homeowners is key to your success.
Your journey in this field is unique, so stay true to your creative vision. Continuously learn from your peers and mentors to enhance your skills. For more insights on the importance of hiring professionals in this industry, check out this article.
Stay focused, Ray Baker.