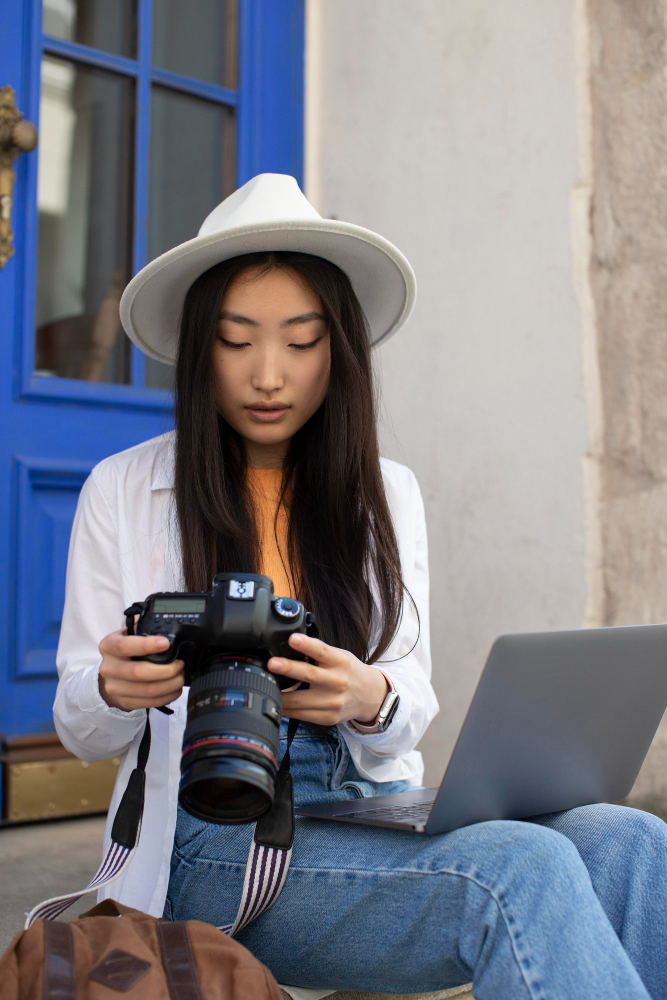
Christmas is here and so is the urge for us who love digital photography to get out there in the burbs and photograph the beautiful Christmas lights. It’s a beautiful time of year and when you are as passionate about digital photography as I am, then this is the time you whip that digital camera out.
Taking photos of Christmas lights with your digital camera can be a very disappointing experience for digital photography enthusiasts. Pictures of Christmas lights in digital photography are aimed at being crystal clear with beautifully bold colours and hopefully we can capture the delicate glow that radiates from the lights themselves.
But Christmas lights don’t always provide the ideal digital photography experience does it? In fact, in digital photography, Christmas lights can turnout to be smudged dots of colour, like water over ink and way too dark. The first time I took a digital photography image of Christmas lights the flash went off accidentally causing a flattening out of my images not to mention the lovely colours disappearing and it ended up just being a digital photo of the neighbour’s front lawn. Not to mention how it set the dog off barking!
So just what is the digital photography secret to getting crystal clear shots of our suburban Christmas lights?
Okay now I’m going to share a secret with you. The best way to get suburb results of sharp, colourful Christmas lights is firstly – choose the house you are going to photograph. Depending on where you live and how fast you can run, you may need to tee it up with your neighboughs first and offer them the photo. The same rules apply with your Christmas tree.
Take your tripod with you. Take your digital camera off ‘auto’ and take it off ‘auto flash’.
Now try a method called bracketing. Set the aperture at a wide f stop, such as 2.8 or 3.5 for example. Then proceed to try some different settings. Set the shutter to 1/30 or higher. I’d recommend, if it’s really dark in the street something around the one second, two seconds or three seconds shutter speed.
There is a groovy little trick you can also do for helping you learning faster, about what works in digital photography and what doesn’t. That’s recording and documenting your digital photography experience. I usually take a note pad with me and write down the number photo and the f stop and shutter speed so when I look at the photos I know which digital photo has worked and what has not.
In the dark it’s very hard to write down anything so you can do what I sued to do, and that is record on Mp3 what your settings you had on what photo. For example you can record yourself saying ‘picture one, f stop 2.8, shutter speed 2 seconds.’ Then again as you have tried another setting “picture seven, f stop 22, shutter speed 1 minute.’
These are just examples but they really work. Don’t forget the basics with your night time photography such as wide aperture and slow shutter speed and the necessity of a tripod.
If you are in a moving vehicle for example and you are taking shots of Christmas lights from a bus or car, then you can always use the maximum aperture and a smaller shutter speed. For example f stop 1.4 and a shutter of 1/350 or higher.
And don’t forget if you do have the time to set up a tripod and try the bracketing technique (ideal) also remember if you have the shutter open for a while the light can bounce off other objects such as windows and roofs. If you get too much reflective light, simply reduce the time the shutter is open.
Good luck and may you have a beautiful Christmas!
Happy Shooting, Amy Renfrey.
It’s worth looking at Amy’s site to see Digital Photography Success even if simply to get an idea of Amy’s knowledge and expert guidance.

