
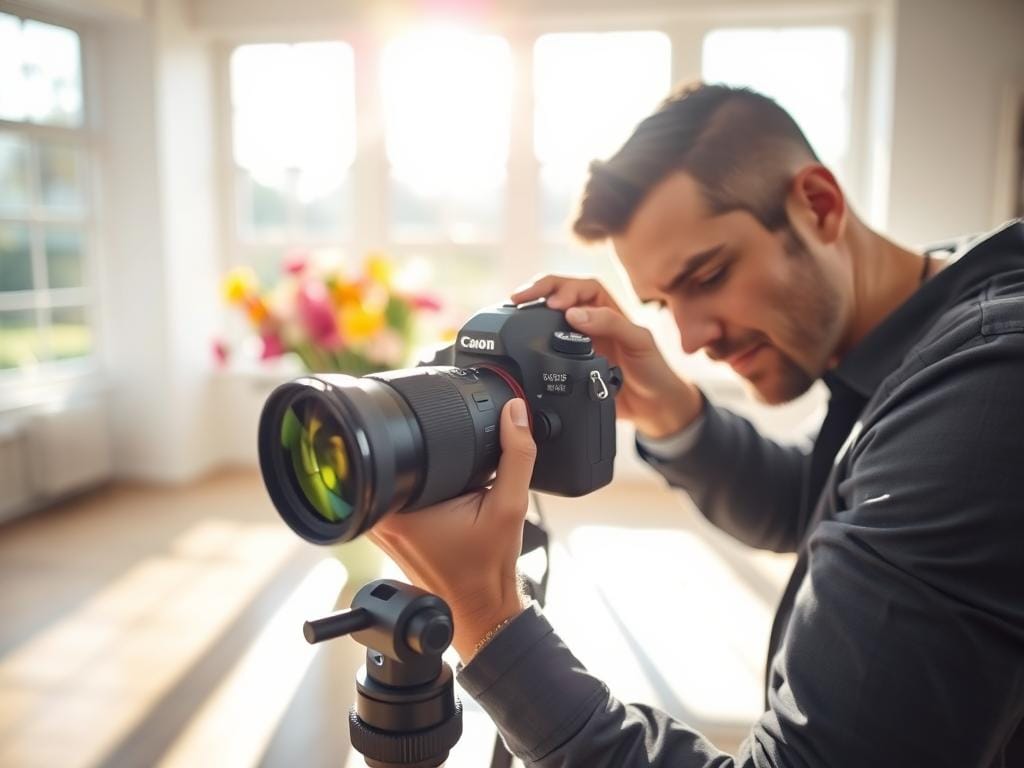
Are you tired of clients wanting that soft portrait look? It’s not about spending more on a camera. It’s about knowing how to use aperture for a blurry background.
You’ll learn about depth of field and bokeh photography. We’ll see how wide apertures make backgrounds fade away. You’ll also discover when to step back to keep everyone sharp.
Think of aperture, distance, and focal length as tools, not rules. Use f/1.2-f/4 for single shots. Step back or stop down for groups. Choose backgrounds that blur well.
Key Takeaways
- Blurry backgrounds for portraits come from controlling depth of field photography, mainly via aperture.
- Use low f-stops for dreamy bokeh; typical portrait aperture settings range f/1.2-f/4 for single subjects.
- Four levers control blur: aperture, subject-to-camera distance, subject-to-background distance, and focal length.
- Wide open lenses increase bokeh but can blur eyes in group shots - stop down when needed.
- Look to Instagram and real shoots for inspiration, then test these settings before client time.
Why photographers crave a blurry background: the visual problem and solution
Clients want images that look polished and commercial. They see this on Instagram from big brands like Apple and Nike. These images have clear subjects and soft, distracting backgrounds.
New photographers think a DSLR will make this happen magically. But, it takes knowing about depth of field and some settings.
Many portrait photos fail because the subject and background are too close. This makes faces look flat and the photo looks messy. It’s not about bad posing, but about focus.
Learning about aperture and basic composition can change a photo. It adds depth and makes the subject stand out.
Clients want a soft, dreamy blur. Photographers call this bokeh. To get it, you need to control four things: aperture, distance, focal length, and background.
Open the aperture for a soft background. Move closer to the subject. Make sure the subject is far from the background. Choose a dynamic background, not a plain wall.
To get a fast result, follow these steps: lower the f-stop, get closer, move the subject away from the background, and use a longer lens if you can. These steps are key to creating professional portraits.
Learn to spot good backgrounds with highlights, texture, and distance. Practice using different aperture settings. Try different subject placements and lens choices. Small changes can make a big difference.
aperture for blurry background
Getting a creamy, out-of-focus background starts with aperture. Aperture is the one camera control that directly changes depth of field photography. A lower f-stop opens the lens wider and narrows the sharp plane. This makes backgrounds melt away while keeping your subject prominent.
Use aperture-priority (Av) to practice portrait aperture settings quickly. Switch to manual when you want full control of exposure and focus. Test the lens at its widest settings to learn how tight the focus plane becomes and how often you need to shift focus to keep eyes sharp.
What photographers call wide open aperture is simply shooting at the lens’s lowest f-number. For example, a 50mm 1.2 lens set to f/1.2 or an 85mm 2.0 lens at f/2.0 are wide open. Shooting wide open gives the shallowest depth of field and the most background blur, yet it demands precise focusing.
Practical aperture ranges for portraits and headshots vary by distance and intent. For single-subject portraits aim for f/1.2-f/2.8 to achieve dreamy separation. For headshots or small groups stop down to f/2.8-f/4 to keep critical features sharp. Remember the trade-off: wider apertures increase blur while reducing margin for error on focus.
Below is a quick reference to compare common settings and expected results when working with wide open aperture and standard portrait aperture settings.
| Scenario | Typical Aperture | Effect on Background | Focus Notes |
|---|---|---|---|
| Dreamy single-subject portrait | f/1.2 - f/2.0 | Very shallow blur, strong subject separation | Precise eye focus required; small focus shifts matter |
| Standard portrait with face detail | f/2.0 - f/2.8 | Noticeable background smoothness with more usable depth | Better chance to keep both eyes sharp; yet shallow |
| Headshots or small groups | f/2.8 - f/4 | Moderate blur with reliable sharpness across the face | Safer for multiple subjects; easier focus management |
| Environmental portraits with context | f/4 and smaller | Background remains readable but softened | Use when background detail matters for story |
How distance affects depth of field and background blur
Distance changes a portrait more than many think. Moving closer to the subject makes the background blur. Moving back makes everything sharp.
Subject-to-camera distance: closer equals blurrier background
Stepping in close makes the focus thin. A 50mm lens at f/1.8 shows a small depth of field up close. But it shows more depth when you move back.
Subject-to-background distance: more separation increases bokeh
Moving the subject away from the background makes blur better. The more distance, the better the bokeh circles. For more tips, check out digital-photography-school.
Studio vs environmental portraits: controlling space for maximum effect
In the studio, you control everything. Place the subject far from seamless paper and use lights. This lets you create lots of blur with small apertures.
Outside, you work with what you have. Use a long lens to make the background blur. This makes the subject sharp and keeps the background soft.
- Tip: If wide apertures give inconsistent blur, increase subject-to-camera distance slightly or move the subject away from background.
- Tip: Use foliage, lights, or distant architecture to turn background highlights into pleasing bokeh.
- Tip: Test combinations of aperture for blurry background and camera position before the client arrives.
Focal length and its role in creamy backgrounds
Focal length changes how backgrounds look and how much you can blur them. It helps shape portraits without just using aperture. Try different lenses and distances to find your style.
Comparing wide, standard, and telephoto focal lengths
Wide lenses, like 24mm, show more of the scene. They keep more in focus. Standard lenses, around 35-50mm, give a natural view but less blur.
Telephoto lenses, like 85mm-200mm, make backgrounds blur more. They do this without needing very wide apertures.
Why 85mm-200mm are popular for portraits
The 85mm lens and longer primes are great for portraits. They make faces look flatter and backgrounds blur more. This makes portraits look polished.
Many pros use these lenses for headshots and three-quarter portraits.
Zooming vs stepping closer: practical tests to try
Try this: frame a subject the same way at 50mm and 135mm. Zoom in from the same spot first. Then, move closer with the shorter lens.
Both methods change depth of field differently. Stepping closer changes facial proportions. Zooming compresses the scene.
Use these tips in your shoots: try a tight crop at 135mm, then at 85mm while moving in. Record your aperture and focal length. This builds a reliable recipe for clients.
Lens choice and real-world bokeh performance
Choosing the right lens changes how background blur looks in portraits. Look for lenses with a big aperture for a smooth blur. Try out lenses from Canon, Nikon, and Sony to see how they work in real life.
Prime lenses are great for clear background blur. A Canon 85mm f/1.4 or Nikon 50mm f/1.8 has a wide aperture for beautiful blur. Rent a 85mm f/1.4 or try a Sony 85mm f/1.8 to see the difference.
Zoom lenses offer flexibility in framing. Look for zooms with a big aperture like f/2.8. Compare them, then take the same photo to see how they blur the background.
The design of the lens affects bokeh. The number of aperture blades and how they curve can make highlights smooth or sharp. Lenses with rounded blades and special designs make for softer, nicer bokeh.
Choosing the right aperture is key for portraits. Use very wide apertures like f/1.2-f/2.8 for clear subjects. Use f/4 or f/5.6 for more depth in group shots.
Use specific lens names and specs in your marketing. Words like aperture for blurry background and prime lens bokeh help find the right clients. This way, you attract people who know what they want.
Try before you buy. Rent lenses like Canon 85mm f/1.4 or Nikon 50mm f/1.4 to see how they work. Use these tests to find the best lens for your style and needs.
| Lens | Max Aperture | Bokeh Character | Best Use |
|---|---|---|---|
| Canon EF 85mm f/1.4 | f/1.4 | Buttery, smooth discs from rounded blades | Single-subject portraits, headshots |
| Nikon AF-S 50mm f/1.8 | f/1.8 | Clean background separation, slight edge rendering | Everyday portraits, affordable prime option |
| Sony FE 85mm f/1.8 | f/1.8 | Creamy mid-field bokeh, controlled highlights | Studio and on-location portraits |
| Canon RF 24-70mm f/2.8L | f/2.8 (constant) | Consistent background blur across zoom range | Versatile sessions needing framing changes |
| Nikon Z 70-200mm f/2.8 | f/2.8 (constant) | Compressed, very smooth bokeh at telephoto | Environmental portraits, distant framing |
Background selection: textures, distance and color that enhance blur
Choosing the right backdrop changes how clients see your portraits. It works well with blurry backgrounds and depth of field. Small changes in placement and color make a big difference.

Picking dynamic backgrounds instead of flat distant scenes
Choose textured walls, brick, or patterned fabrics over flat horizons. These textures turn into soft shapes when out of focus. They add interest without taking away from the subject.
How highlights, foliage and distance create pleasing bokeh circles
Specular points like sun through leaves or string lights become bokeh highlights as distance grows. Move the subject farther to make circles bigger and softer. The right aperture makes this effect stronger.
Composition tips to separate subject from background visually
Put your subject a few feet forward from the backdrop for better separation. Use contrasting colors in backdrop and clothing to define edges. Add depth with foreground elements without distracting detail.
Look for locations and test shots to see how textures, highlights, and color work with your chosen aperture. Small changes in angle or distance can change bokeh highlights and depth. These small adjustments keep the subject in focus and the background beautiful.
Balancing sharpness and blur for client-ready portraits
Getting eyes sharp while keeping the background soft is a skill. Learning how to control blur and focus is key. Start by checking focus, exposure, and depth of field before you begin.
Focus plane techniques: single-point AF, back-button focus, and focus-and-recompose caveats
Use single-point AF on the nearest eye for portraits. Add back-button focus to separate focusing from shutter release. This helps avoid mistakes and speeds up handheld shots.
Be careful with focus-and-recompose at wide apertures. On lenses like the Canon RF 85mm f/1.2 or the Sony FE 85mm f/1.4, moving the camera can blur the eyes. Test your equipment to know when it works.
When to stop down slightly to keep multiple faces tack-sharp
For groups or tight shots, use a deeper depth of field. Move to f/2.8-f/4 to keep faces sharp without losing blur. This range balances focus and blur well.
For family shots or pairs, go down one or two stops from your widest aperture. This reduces the chance of soft faces while keeping blur nice.
Exposure and ISO trade-offs when shooting wide open
Wide apertures let in more light. This lowers ISO and increases shutter speed. It improves image quality and freezes motion. In bright light, use neutral density filters, faster shutter speeds, or smaller apertures to avoid blown highlights.
Try to keep ISO low for clean skin tones. Use test shots to check exposure, then lock settings or shoot in manual. This ensures consistent results, like pros do.
| Situation | Recommended Aperture | Focus Workflow | Exposure Tip |
|---|---|---|---|
| Single subject headshot | f/1.4-f/2 | Single-point AF on nearest eye, back-button focus | Use low ISO, adjust shutter for correct expose |
| Two people, close | f/2-f/2.8 | AF on plane between faces, confirm with test shot | Raise shutter speed to avoid motion blur |
| Small group (3-5) | f/2.8-f/4 | Use smaller aperture, focus mid-plane; consider AF-C for slight movement | Add ND or stop down if highlights clip |
| Bright outdoor backlight | f/1.8-f/4 depending on separation | Single-point AF, verify histogram and highlight roll-off | Use reflectors or fill flash to control skin exposure |
Do quick test frames at the start of each session. Check if eyes are sharp, skin tones are right, and blur is as desired. Practice these techniques and fine-tune your aperture settings. This will make your bokeh photography tips reliable.
Bokeh photography tips for consistent results
Make a quick checklist for the same creamy background every time. Focus on aperture, distance, and focal length. Keep your client relaxed while you test settings.
A calm subject helps get the same results.
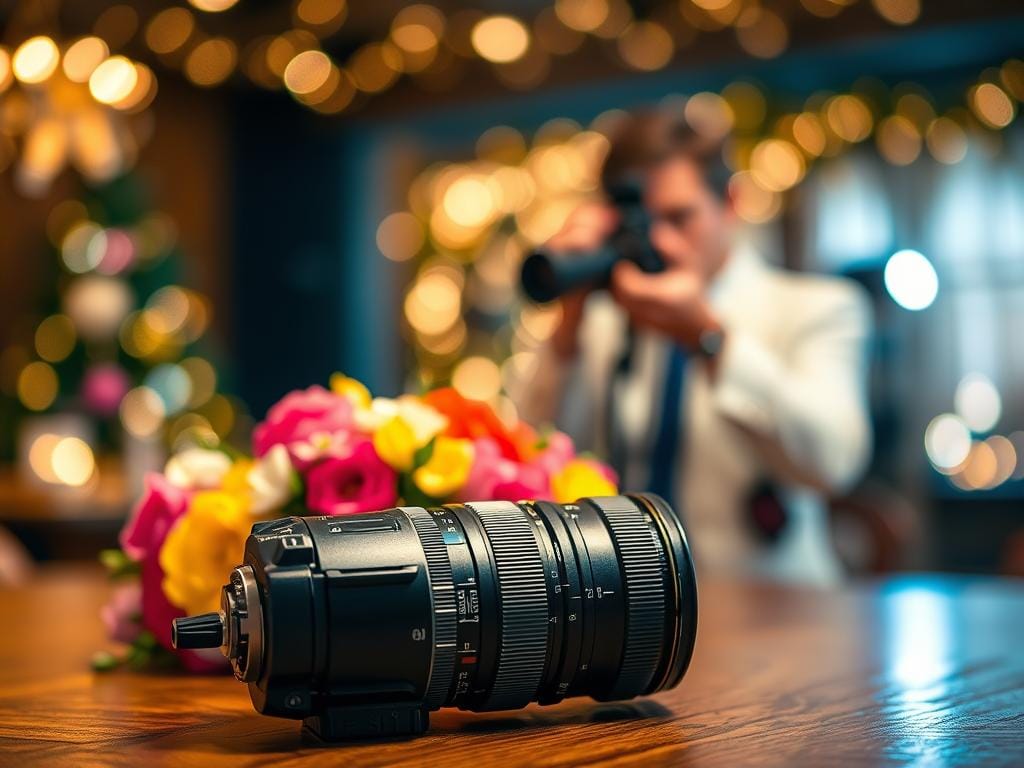
Practical shooting checklist for every session
- Start with your portrait aperture settings. Choose the widest f-stop your lens can do. Then, go down one or two stops if needed.
- Check how far your subject is from the camera. Move closer for more blur in the background, then check the frame.
- Make sure your subject is far enough from the background. A little extra distance makes a big difference.
- Think about focal length for blur. Telephoto primes often give smoother backgrounds.
- Focus on the eyes first. Use back-button focus to avoid missing shots.
- Keep a checklist of aperture, distance, focal length, focus point, and exposure settings in your bag.
Common mistakes and how to avoid them
- Shooting wide open without checking focus can blur the eyes. Fix this by testing frames before and using back-button focus.
- Background too sharp because your subject is too close to a wall. Fix this by moving them further away or changing your camera position.
- Expecting too much blur from a slow kit lens. Fix this by using a faster prime or stopping down a bit and adjusting your shot.
- Lighting changes when you change aperture. Fix this by bracketing apertures and keeping the lighting the same.
Simple test shots to dial in the look before clients arrive
- Take three identical shots, changing only the aperture. See how blur and sharpness change.
- Take three shots from different distances with the same aperture. Notice how the background changes.
- Shoot with two focal lengths from the same spot. See how the bokeh changes.
- Write down your chosen aperture settings and exposure on a cheat sheet for quick recall.
Use these bokeh photography tips for every job. They help you make quick decisions, save client time, and get the creamy backgrounds they want. Keep your tests short, note what works, and use the same setup at the start of each session.
Post-processing and workflow for enhancing blurry backgrounds
First, capture the blur in-camera. Use the right aperture, distance, and lens. Post-processing should enhance what you shot, not change it. Start with RAW files and follow a clear workflow to keep natural light and bokeh texture.
Begin with global adjustments: white balance, exposure, and lens corrections. Use gentle noise reduction in shadows, keeping midtones natural for creamy bokeh. Save a virtual copy before local edits to compare.
Use selective sharpening on portraits to make eyes and eyelashes pop. In Lightroom or Capture One, apply a small-radius sharpening mask to the face and hair. Keep it modest to keep skin texture natural and eyes sharp.
For extra separation, use post-processing bokeh tools carefully. Depth-aware filters in Photoshop or plugins can enhance blur. Match grain, lens vignette, and light fall-off. Use soft masks and low opacity to avoid artificial edges.
Work in layers and masks for local blur. Create a copy of the base layer, apply blur, then paint the mask. Feather masks heavily and check edges at 100% to avoid halos.
Balance sharpening and noise reduction by zoning edits. Sharper detail on facial features, conservative sharpening on clothing, and stronger noise reduction on distant backgrounds. This keeps subject clarity without losing bokeh nuances.
Keep a checklist for consistent workflow: RAW import, base corrections, color grading, selective sharpening portraits, targeted noise reduction, subtle post-processing bokeh if needed, final review at 100%, export with appropriate file settings. Repeatable steps speed client delivery and maintain quality.
Practice ethical photo editing. Be transparent with clients about the extent of retouching when asked. Avoid overblurring or creating unrealistic separation that misrepresents the shoot. Clear communication keeps expectations aligned with in-camera results.
| Step | Action | Tools | Why it matters |
|---|---|---|---|
| 1 | Import RAW and apply lens corrections | Adobe Lightroom, Capture One | Preserves maximum detail and corrects distortion before local edits |
| 2 | Global exposure and color balance | Exposure sliders, white balance tools | Sets the tonal foundation for natural-looking bokeh |
| 3 | Selective sharpening portraits | Masking, Detail panel, Local adjustment brush | Draws attention to eyes without sharpening background |
| 4 | Background noise reduction | Noise reduction sliders, selective masks | Maintains smooth blur while protecting subject texture |
| 5 | Optional post-processing bokeh | Photoshop depth-aware blur, third-party plugins | Enhances separation only when in-camera blur is insufficient |
| 6 | Final review and export | 100% zoom check, export presets | Ensures edits read as natural and consistent for client delivery |
Shareable tips list for social and direct messages
Shoot wide open (f/1.2-f/2.8) for a creamy background. This is the fastest way to get the look clients love. Quick portrait tips: get closer to the subject and increase distance to boost blur.
Use 85mm-200mm for natural compression and richer bokeh. These focal lengths pair well with depth of field photography techniques.
Bokeh photography tips for reliable results: focus on the eyes with single-point AF or back-button focus. Drop to f/2.8-f/4 when you need multiple faces sharp. Always run test shots before a session.
Keep your messages short and friendly when sharing on Instagram or in DMs. Clients respond to a clear problem→solution promise.
DM-ready message example: “Hey - if you want that creamy background for our shoot, I’ll use a wide aperture (around f/1.8). Stand a bit closer, and pick a background with distance and lights. Should give that soft, dreamy look you like. Cool?” Use this for quick outreach or story captions to set expectations fast.
CTA: Book a trial shot to lock the look. Disclaimer: edits should stay natural and respect the original capture. Stay focused, Ray Baker.