
By Ray Baker
Photographers often blame the camera when a job comes back too dark, too bright or noisy. In my experience, the real issue is usually how aperture, shutter speed and ISO were balanced before the shutter fired. Learning the exposure triangle gives you a way to know which trade-offs to make, since each setting also influences other image properties [1]. The question of what is exposure triangle in photography is really a question about choosing which compromise you can live with.
What is exposure triangle in photography?
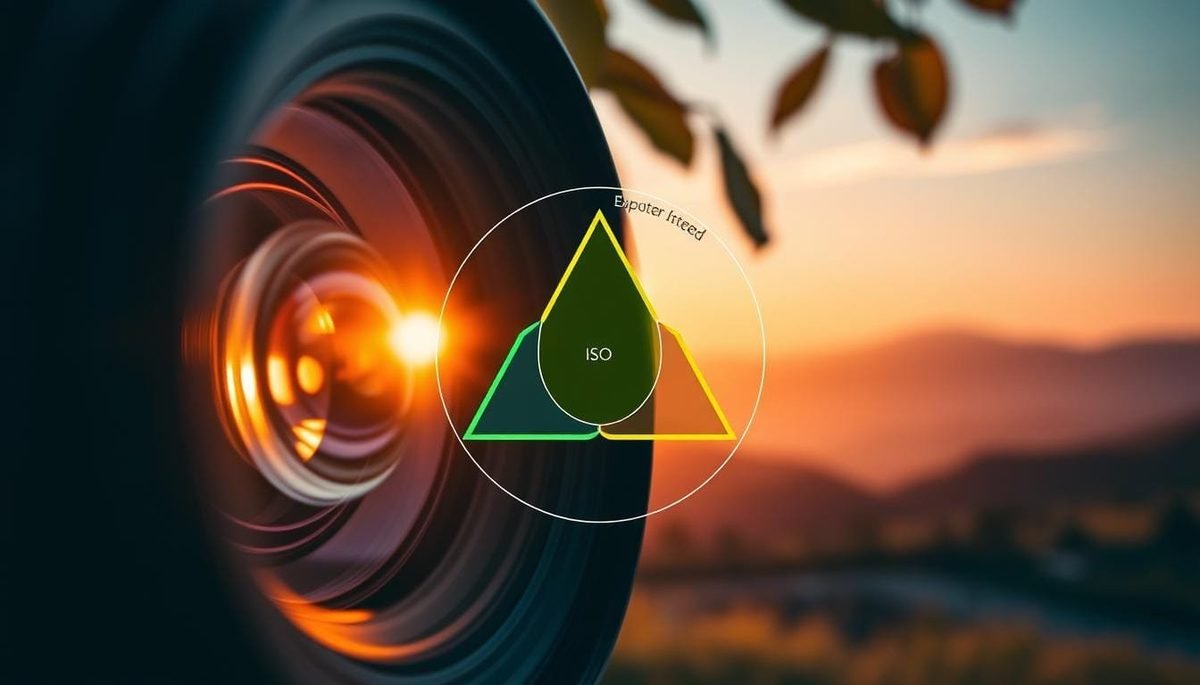
To understand what is exposure triangle in photography, know that the exposure triangle is the relationship between aperture, shutter speed and ISO. Each side controls how light reaches the sensor in a different way, and each one also changes the look of the image. You use all three together to produce a photo that is properly exposed, while knowing which trade-offs to make [1][2].
I like this model because it keeps the three controls connected before a shoot. If one variable changes, at least one of the others must also change to maintain the correct exposure [2].
Key takeaways
- A photograph’s exposure determines how light or dark an image will appear, and this is determined by just three camera settings: aperture, ISO and shutter speed [1].
- If one variable changes, at least one of the others must also change to maintain the correct exposure [2].
- Each setting also influences other image properties: aperture affects depth of field, shutter speed affects motion blur and ISO speed affects image noise [1].
- A stop refers to the doubling or halving of the amount of light that makes up an exposure, and understanding what a stop is is key to understanding what is exposure triangle in photography [2].
- You can use many combinations of the three settings to achieve the same exposure, and the key is knowing which trade-offs to make [1].
Want a calmer start to every shoot? Use the exposure triangle as a pre-shoot plan, not an afterthought.
Get the exposure guideWhy do three settings control one exposure?
The easiest way I have seen it explained is with rain in a bucket. The exposure settings of aperture, shutter speed and ISO speed are analogous to the bucket’s width, the duration you leave it in the rain, and the quantity of rain you want to collect, and natural light is beyond your control [1]. You can collect the same amount of rain with a wide bucket for a short time or a narrow bucket for a long time. One can use many combinations of the three settings to achieve the same exposure [1].
This is why I never talk about one correct exposure setting for a job. A bright office, a dim reception room and a beach at midday all need different combinations. The triangle gives you a way to move between those combinations without losing control.
How does aperture change the photo?
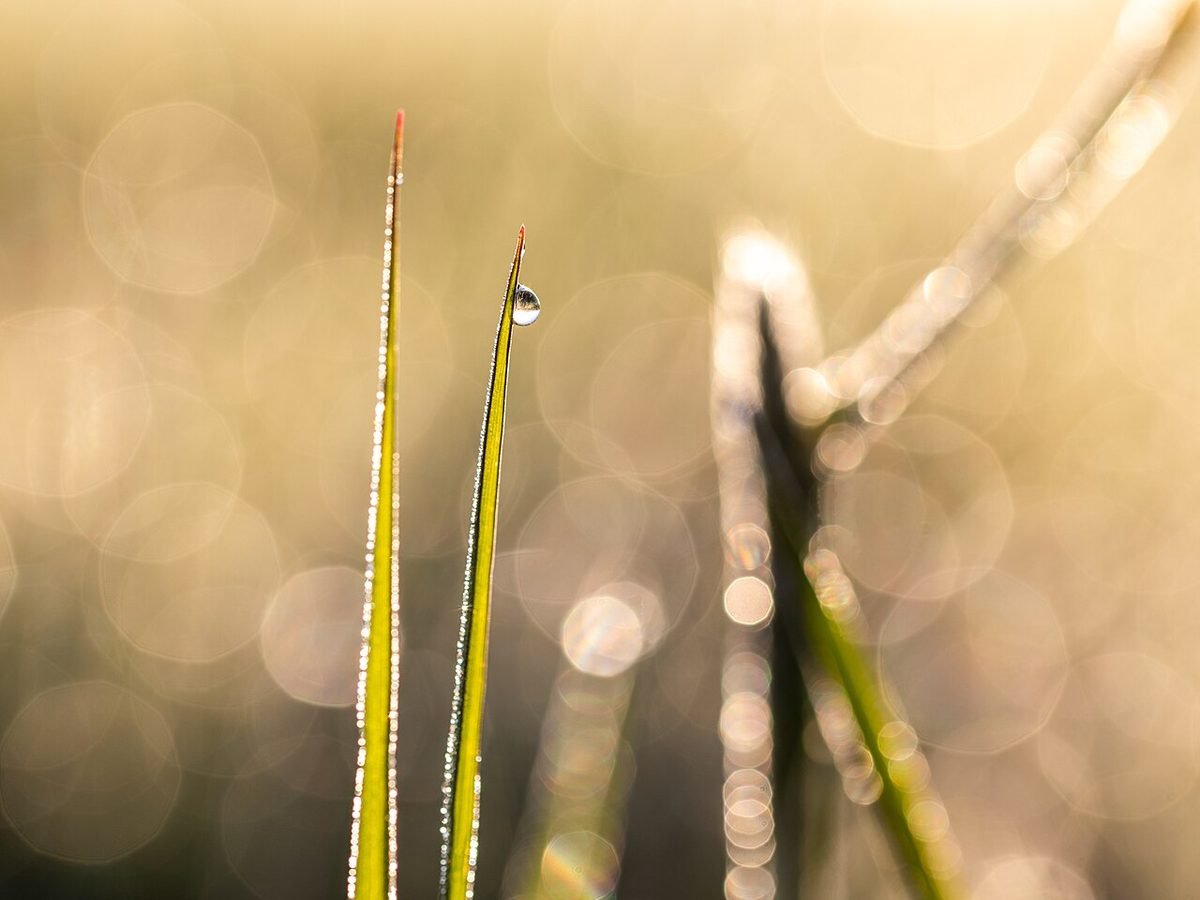
Aperture is the opening in the lens that lets light through. The bigger the hole, the more light that reaches the sensor, and each time you double the area of that opening, you double the amount of light or increase the exposure by one stop [2]. But aperture is also a creative control. If you increase the f-stop, you decrease the size of the lens’ diaphragm, but also increase the DOF (depth of field) in the final image [3]. When I photograph a portrait, I tend to favour a wider aperture to soften the background, but that is a choice about the photo, not just the exposure. Related reading: the aperture for portraits guide goes further on choosing an f-stop for a particular look.
For paid work, this matters before you touch the shutter. If you open the aperture to let in more light, you also soften the background. If you close it to keep a group sharp, you get less light and need to recover that light with shutter speed or ISO. The creative and technical decisions are the same decision.
Turn good exposures into confident client work The eBook explains pricing, licensing and releases in plain English.
Read the business guideHow does shutter speed change the photo?
Shutter speed is the length of time the sensor is exposed to light. It is measured in seconds, and moving from 1/60 s to 1/30 s doubles the exposure because the shutter stays open twice as long [2]. A longer shutter speed lets in more light but increases the chance of motion blur; a shorter shutter speed can help keep a moving subject sharp [3]. For a busy event, I often treat shutter speed as the first priority because a blurred face is harder to rescue than a slightly noisy shadow.
The trade-off works the other way too. A fast shutter speed freezes motion but shortens the exposure, which means you may need a wider aperture or a higher ISO to keep the image bright. For client work, I find it useful to decide the slowest shutter speed I can hold before I start adjusting the other two settings.
How does ISO change the photo?
ISO controls the sensitivity, or amplification, applied to the captured image [4]. A lower ISO is less sensitive and gives a smoother image with less digital noise, while a more sensitive setting produces more noise [3]. This makes ISO a balancing tool. If there is not enough light after you have set aperture and shutter speed, raising ISO lets you keep shooting, but you trade away some image cleanliness [3]. Related reading: the ISO settings for low light guide covers the noise side of working in dim rooms.
Noise is not always a disaster. A slightly noisy image that is sharp often beats a clean image that is blurry. I would rather raise ISO to keep a usable shutter speed at an evening event than hold ISO low and return with soft photos.

Make your technical skill part of your offer Learn to talk about camera control and client value without jargon.
Show me the client guideHow do stops help you judge exposure?
A stop is simply a doubling or halving of light [2]. Thinking in stops makes the triangle feel like a language: if I open the aperture by one stop, I can shorten the shutter speed by the same amount or lower ISO likewise to keep the exposure roughly the same, which is a practical way to apply what is exposure triangle in photography. This keeps exposure changes intentional instead of random. Cameras often adjust in smaller steps, but the stop remains a handy unit for planning.
One mistake I see photographers make is changing a setting by a stop and then forgetting to compensate with another side of the triangle. The result is a photo that looked right in their head but is suddenly a stop too bright or too dark. Counting stops turns that guess into a repeatable adjustment [2].
5 easy tips for using the exposure triangle
- Choose the creative priority first. Decide whether motion or depth of field matters most for the shot, then set that control before the others.
- Balance changes in stops. If you open the aperture by one stop, shorten the shutter speed or lower ISO by an equivalent amount to hold exposure steady [2].
- Use the histogram instead of relying only on the rear screen. It gives a more honest read on clipped shadows and highlights.
- Treat ISO as the balancing tool in low light after you have set the practical limits for aperture and shutter speed [3].
- Rehearse the trade-off before a paid job. Know whether a noisy background or a touch of motion blur is easier to fix for the final file.
Related reading
- Aperture for Portraits: How to Choose the Right F-Stop for Every Look: Helps photographers choose the right f-stop for a specific look after learning the triangle.
- ISO Settings for Low Light Photography: Cleaner Images in Difficult Light: Shows how to balance ISO and noise when light is limited.
Frequently asked questions
Is the exposure triangle a physical triangle?
No. It is a teaching model that links those three settings together. Changing one side usually means adjusting at least one other to maintain a correct exposure, so the triangle shows the three controls working as a set [2].
Which setting should I change first?
I start with the setting that affects the look I care about most. For a portrait that might be aperture, for motion it might be shutter speed. Then I balance the other two settings in stops [2].
Does a higher ISO always mean more noise?
Not always equally, but the general relationship is there. A more sensitive setting makes the sensor more responsive and increases digital noise, so lower ISO settings usually give smoother, cleaner files [3].
Can I ignore one setting and still get good exposure?
No. Any independent change in one setting affects how the other settings react and changes the final image. The three controls always work as a set, even if one is set to auto [3].
Why learn this if auto modes exist?
Auto modes can work well, but they make creative choices for you. If you know what is exposure triangle in photography, you can override auto when the camera chooses the wrong trade-off for a paid job.
Should I set ISO last or first?
I usually treat ISO as the balancing control after aperture and shutter speed, because raising it increases noise [3]. In dim rooms I decide my own comfort limit for noise before I start shooting, then work inside that limit.
Honest take
Once you understand what is exposure triangle in photography, the settings stop feeling like a technical test and start feeling like a set of decisions. For me, the honest point is that there is no perfect number, only trade-offs. I would rather choose a little noise, a little blur or a little softness on purpose than have the camera choose it and then fix the file later. The real answer to what is exposure triangle in photography is not a camera setting but a habit: check the trade-off before every unfamiliar lighting situation. Learn to think in stops, and you can handle most light you walk into.
References
- Cambridge in Colour. Camera Exposure: Aperture, ISO & Shutter Speed. https://www.cambridgeincolour.com/tutorials/camera-exposure.htm
- Photography Life. What Is the Exposure Triangle?. https://photographylife.com/what-is-exposure-triangle
- ExposureGuide.com. Exposure. https://www.exposureguide.com/exposure/
- Digital Photography School. Exposure in Photography: Everything You Need to Know. https://digital-photography-school.com/learning-exposure-in-digital-photography/
Shoot well and follow up faster,
Ray Baker