
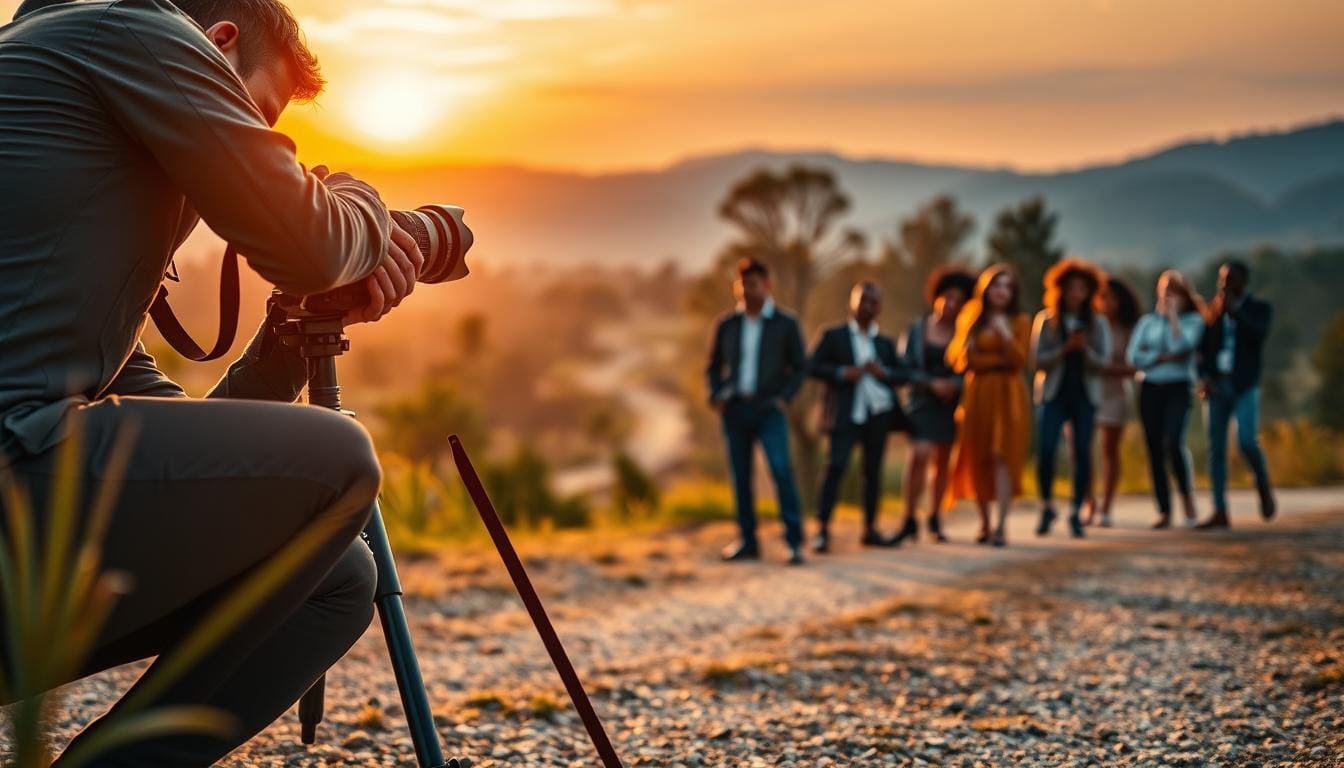
Have you ever snapped a picture of a seemingly ordinary street, beach, or backyard scene, only to find it looks more accidental than artistic? I know I have. It can be frustrating when the beauty of a moment is lost in a cluttered frame. But what if I told you that the secret to transforming these everyday scenes lies in the intentional arrangement of visual elements?
Over the past six months, I dedicated myself to understanding how to elevate my images from mundane to mesmerizing. I discovered that the same principles apply whether I’m capturing landscapes, street life, or portraits. This article distills that extensive learning into practical choices you can make before pressing the shutter.
While there are many guides out there, I want to share my insights in a way that feels approachable. Think of it as a gentle nudge to make your frame behave before your coffee gets cold. So, grab your camera and let’s dive into the world of deliberate visual storytelling!
Identifying the Impact When Ordinary Scenes Fall Flat
Isn’t it disheartening when a snapshot of a beautiful scene falls flat? Weak composition can significantly diminish the impact of your images. For instance, cluttered corners often divert attention away from the main subject. When the viewer’s eye is drawn to distractions, the intended focus is lost.
Moreover, placing a subject too close to the edge can make it appear visually suffocated. This principle, known as breathing space, suggests that your subject needs room to “breathe” within the frame. Otherwise, it risks feeling cramped and uninviting.
Background errors can also be detrimental. Imagine branches appearing to grow from a person’s head or objects blending into the main subject. Such details can confuse the viewer and detract from the overall message.
It’s essential to distinguish between an unbalanced frame and an intentionally tense one. Areas of high contrast carry more visual weight, and careful placement can create harmony. A pre-shutter scan of corners, edges, and background can help ensure that ordinary scenes become easier to read.
Practical Solutions to Elevate Your Photographic Vision
Creating striking images often boils down to a few deliberate choices. Deliberate photographs emerge from selecting a clear subject, minimizing distractions, managing edges, and directing the viewer’s gaze. By focusing on these elements, you can transform ordinary scenes into compelling visuals.
Quick Answer Recap & 5 Takeaways
Here are five essential takeaways to enhance your visual storytelling:
- Identify the subject: Make sure your main focus stands out.
- Simplify the frame: Remove unnecessary elements that clutter the image.
- Build layers: Create depth by including foreground, middle-ground, and background elements.
- Guide attention with lines: Use natural lines to lead the viewer’s eye to the subject.
- Review the image: Take a moment to assess your shot before moving on.
Real-World Examples from US and Australian Photographers
For instance, in Kyle Cong’s January 26, 2024 article, he emphasizes practical strategies that can be applied across various settings. An American urban scene might feature a pedestrian framed by towering architecture, while an Australian coastal image could utilize natural lines and layered depth to enhance the composition. Both examples illustrate how these strategies can elevate your images.
For more insights, explore our composition guide within the PBT photography category.
Mastering Photography Composition Techniques
The art of capturing a moment lies in the thoughtful arrangement of its elements. Mastering composition is about more than just snapping a photo; it’s about creating a visual narrative that resonates with viewers.
Key elements of composition include the shape and orientation of the frame, as well as the placement of the subject. Understanding the familiar 3:2 aspect ratio can help you make informed decisions about how to fill your frame. Whether you choose a 4:3, 2:3, or 1:1 format, each option delivers a unique visual impact.
Exploring Key Composition Elements
Consider how the main subject can be anything from a person to a mood or pattern. This flexibility allows you to convey different stories. Pay attention to the orientation of your shot. Horizontal and vertical alignments should reflect the dominant lines in the scene. An opposing orientation can introduce a sense of controlled tension.
The Role of Framing, Lines, and Angles
Before applying any compositional rules, make foundational decisions. Frame filling, edge awareness, and background separation are essential steps. A photograph translates three-dimensional reality into a flat surface, so understanding how to create depth is vital. As Ilya Repin’s artwork illustrates, the organization of lines and relationships can guide the viewer’s attention effectively.

Balancing Storytelling and Visual Harmony
Every photograph tells a story, but the way we arrange elements can amplify that narrative. A successful image needs a clear subject, context, and layout. This combination allows viewers to understand what matters and why it belongs in the scene.
When incorporating a secondary subject, it should enhance the primary focus. This can be achieved through matching shape, pose, direction, color, scale, or emotional meaning. For example, envision a person braving the wind next to a lighthouse. Their shared confidence and resilience create a powerful visual connection.
Texture plays a vital role in storytelling. Materials like wood suggest warmth, while concrete and rock convey solidity. Grass can evoke feelings of movement or summer air. Additionally, elements like water, windows, glass, and streetlights introduce highlights and contrast. However, it’s crucial to control these elements so they don’t overshadow the main subject.
Consider an image of a healthy Caucasian model beside a lighthouse, with natural wind creating a dynamic atmosphere. This realistic setting avoids over-staging, allowing the story to unfold naturally.
| Element | Purpose | Example |
|---|---|---|
| Primary Subject | Focus of the image | Lighthouse |
| Secondary Subject | Supports the narrative | Person braving wind |
| Texture | Adds depth and emotion | Wood, concrete, grass |
Building Depth with Foreground, Middle-ground, and Background
The secret to a captivating shot often lies in the depth created by foreground, middle-ground, and background. Understanding these layers can elevate your images from flat to dynamic.
First, define your layers:
- Foreground: This is the nearest area to the camera, often filled with interesting details.
- Middle-ground: This layer connects the foreground to the background, adding context.
- Background: This distant area provides the setting, like mountains or a sky.
Three layers allow the eye to move deeper into the image. In contrast, one layer can feel flat, while two may compete for attention. To illustrate depth, consider using an 85 mm lens. This can create repeated shapes that diminish in size with distance.
Additionally, keep foreground elements to no more than 25% of the frame. When rocks or branches start competing with your main subject, they can distract the viewer. A 50 mm lens at f/1.4 or f/1.8 can effectively separate a full-length subject while maintaining enough background detail to establish place.
For example, picture a natural Australian trail. A rock in the foreground, a person in the middle-ground, and distant ridges behind create a rich, layered image.
Embracing the Rule of Thirds and Alternative Grids
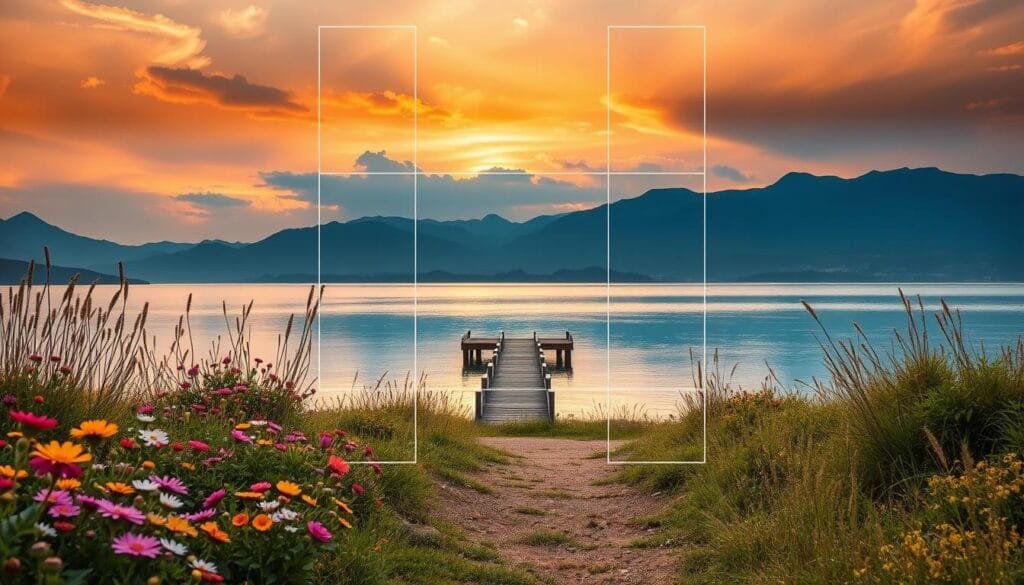
Have you ever wondered how a simple rule can elevate your images from mundane to memorable? The Rule of Thirds places important subjects or horizon lines near grid lines and intersections. This creates a familiar starting structure for your visuals.
However, it’s crucial to remember that these rules are merely recommendations. Strong images can deliberately ignore the grid and still tell compelling stories. In fact, 99% of photographers stop at the Rule of Thirds and diagonals, limiting their creative potential.
Different frame formats like 3:2, 4:3, 2:3, and 1:1 offer unique visual behaviors. Horizontal and vertical framing can evoke different feelings, while square framing feels stable yet lacks inherent dynamics. This stability requires a clear reason, such as symmetry or a static subject.
Don’t hesitate to test alternative grids. Sometimes, the Rule of Thirds can weaken your story, especially when scale, symmetry, or tension matters more. Embrace flexibility, and let your creativity guide you.
Using Leading Lines and Diagonals to Guide the Viewer
Lines can act as invisible guides, leading viewers through the story of your image. They can be horizontal, vertical, or diagonal, each serving a different purpose. Horizontal and vertical lines create a sense of stability, while diagonals introduce dynamism and tension.
For example, think about how fences, roads, or shorelines can draw the eye toward your subject. These elements help to guide the viewer’s attention and enhance the narrative. On the other hand, broken lines formed by three separate objects can create stronger visual connections.
However, be cautious. Avoid allowing a line to split the frame or lead the viewer out of the image. Instead, slightly adjust your camera height to transform an ordinary edge into a purposeful diagonal. This subtle change can make a significant difference.
Imagine a healthy, natural scene where a photographer uses a coastal path to guide attention toward a distant subject. This technique not only directs the viewer but also enriches the overall composition.
Infusing Studio and On-Location Setup Tips
Setting the right atmosphere can make all the difference in your visual storytelling. Effective lighting and thoughtful space management are crucial for compelling visuals. Whether you’re in a studio or outdoors, the choices you make can elevate your images significantly.
In a studio, utilize walls, doors, and textured surfaces as secondary frames. Elements like fabric and hair can also enhance your setup. It’s essential to match the contrast of your subject with the background. This ensures that bright highlights support rather than distract from the main focus.
When using natural light, consider how window light, glass, and water can add sparkle. However, placement discipline is key to avoid overexposure. Before moving lights or props, check the available space around your subject. This helps maintain breathing room and prevents accidental crowding.
In contrast, an outdoor setup in Australia can use natural textures like rock and grass to create depth without artificial elements. This approach keeps the scene authentic and engaging.
| Setup Type | Key Elements | Considerations |
|---|---|---|
| Studio | Walls, doors, textured surfaces | Match subject contrast with background |
| On-Location | Natural textures (rock, grass) | Maintain natural light discipline |
| Lighting | Window light, glass, water | Check space for breathing room |
Refining Your Shot: A Substitution Tip for Clearer Composition
Sometimes, a small shift in perspective can make all the difference in how a scene is perceived. To enhance clarity, consider the concept of subtraction. This means removing unimportant or distracting elements that can compete with your main subject.
Before taking the photograph, check corners, edges, and backgrounds. Ask yourself if every visible element strengthens the story. If not, remove or exclude anything that distracts from the focus.
Simple Adjustments to Enhance the Main Subject
- Replace cluttered backgrounds: Shift to a cleaner angle instead of relying on post-processing.
- Step sideways: This can provide a better view and eliminate distractions.
- Lower the camera: Adjusting the height can create a more compelling perspective.
- Change focal length: This can help in isolating the subject from busy backgrounds.
- Wait for movement: Allow a person or vehicle to leave the frame for a clearer shot.
Bright shapes, dark patches, and high-contrast details near corners can attract attention and weaken your image. Always perform a final edge-to-edge inspection before pressing the shutter. Consider taking one alternate frame with slightly more breathing room for your subject.
Crafting a Sense of Scale: Balancing Spaciousness and Proportion
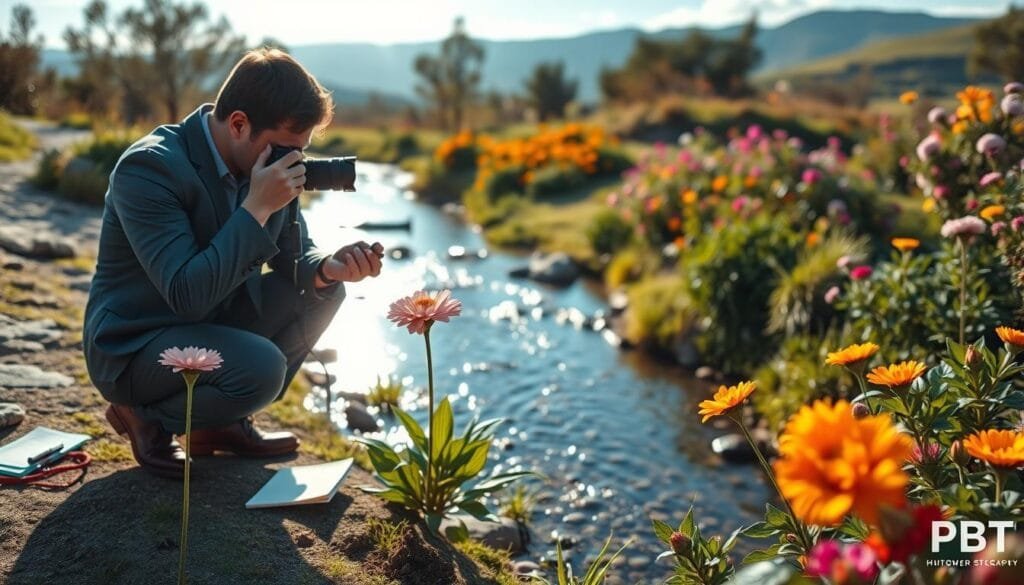
Have you ever thought about how spaciousness and confinement can influence the mood of your images? Understanding these elements is key to enhancing your visual storytelling. They help to communicate the size of objects in relation to one another, which can dramatically affect how a scene is perceived.
To create spaciousness, leave generous breathing room around your subject. This avoids overlaps that can make the environment feel cramped. For instance, in landscapes, a wide shot with open skies can convey freedom and tranquility.
On the other hand, confinement can be achieved by placing your subject beside a wall or an obstruction. This technique gives the viewer an immersive point-of-view effect. Imagine a person standing next to a towering building; the scale emphasizes their smallness within the urban landscape.
Additionally, using a large rock, tree, or cloud mass above a person can communicate scale effectively. It visually reinforces the relationship between the human figure and nature. Conversely, tight cropping can exaggerate size, making an object appear too large for the frame.
To establish proportion, consider using repeated forms at different distances. For example, an 85 mm lens can show depth through various sizes of objects, enhancing the sense of scale without relying solely on wide-angle lenses.
| Technique | Purpose | Example |
|---|---|---|
| Spaciousness | Creates a sense of freedom | Wide landscape with open skies |
| Confinement | Enhances immersion | Subject next to a wall |
| Scale Communication | Shows size relationships | Large rock above a person |
For more insights on how to effectively manage scale and proportion in your images, check out this guide on scale and proportion.
Creative Composition for On-the-Go Photography
Have you ever found yourself in a bustling market, trying to capture the perfect moment before it slips away? When you’re on the go, every second counts in capturing memorable scenes. The challenge is to compose images quickly and effectively.
Here are some quick, practical tips for mobile setups:
- Identify your subject: Quickly determine what you want to focus on.
- Check the corners: Ensure there are no distractions at the edges of your frame.
- Find one line: Use leading lines to guide the viewer’s eye.
- Simplify the background: Remove clutter to enhance your subject.
- Take a second frame: Capture an extra shot in case the first one misses something important.
In dynamic environments like Havana, street photography offers a perfect opportunity to practice these skills. Here, the relationship between moving subjects and architecture changes rapidly. You can adapt these same techniques to Australian markets, beaches, and trails, where light and weather can shift in an instant.
Remember, send this to a friend who always finds the scene after the moment has gone!
Final Reflections on Crafting Intentionally Deliberate Photos
In my exploration of capturing scenes, I’ve learned that observation is crucial for impactful images. Deliberate photographs begin with a clear subject and a willingness to exclude anything that weakens the story.
The Rule of Thirds, diagonals, layers, framing, and texture are all useful options, not strict formulas. Each can enhance your visuals when applied thoughtfully.
Continue practicing across various settings—landscapes, portraits, street scenes, and travel. The principles discussed here are transferable and can elevate your work.
Composition improves when you review the entire frame, notice visual weight, and make one purposeful adjustment before shooting. Remember, ordinary scenes can become meaningful when you decide what the viewer should feel, notice, and remember.
References: Comprehensive photography composition guide, Kyle Cong’s January 26, 2024 article, Wikimedia Commons.
Stay focused,
Ray Baker.
FAQ
What are some basic rules for capturing great images?
How can I create depth in my photos?
What is the importance of leading lines in photography?
How do I use light effectively in my shots?
What should I consider when framing my subject?
How can I adapt my techniques for on-the-go photography?
What role does storytelling play in my images?
Struggling to get consistent photography clients?
Get More Photography Clients