
Imagine it’s midnight, and you’re buried under a mountain of wedding images—5,000 to 9,000 of them, to be exact. The clock is ticking, and the deadline for your next gallery looms closer. As you sift through the countless photos, your mind races with thoughts of unsigned contracts and unanswered emails. It’s a familiar pain for many of us in the industry, isn’t it?
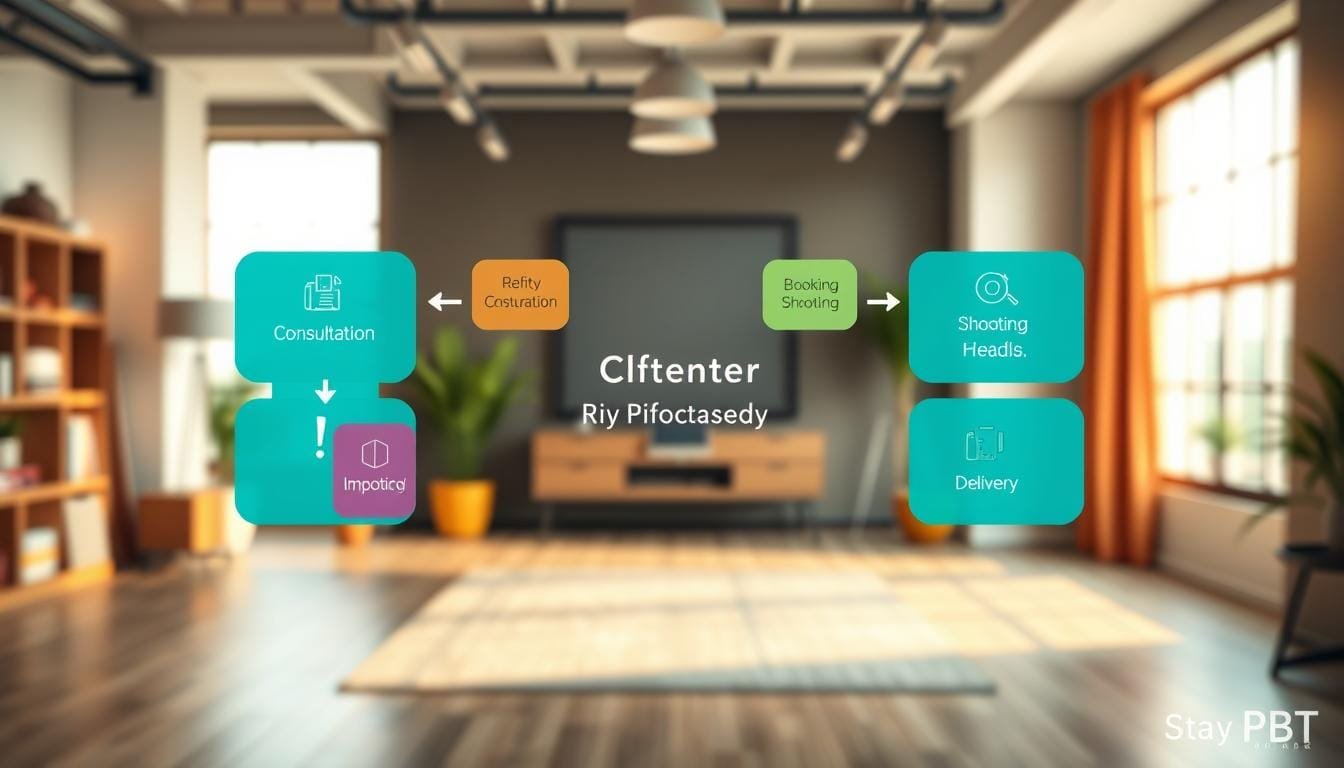
This is where a well-structured photography client workflow comes into play. It’s not just about capturing stunning moments; it’s about creating a seamless process from enquiry to delivery. By connecting the dots between planning, shooting, editing, and delivering, we can reclaim precious time.
Take Candace Connor, for instance. As a Seattle-based wedding and portrait photographer, she knows the struggle all too well. Her real workflow integrates client management, culling, editing, and album design, transforming chaos into a manageable system. In this guide, we’ll explore the three essential phases—pre-production, production, and post-production—while emphasizing the importance of business administration.
Whether you’re in Seattle, Sydney, or a cozy home studio, these practical steps will help you build a smoother process and focus on what you love most: capturing memories.
Key Takeaways
- Understand the importance of a structured workflow for managing client relationships.
- Learn how to streamline the culling and editing process.
- Discover the three phases of workflow: pre-production, production, and post-production.
- Implement effective business administration strategies to support your creative work.
- Adapt practical steps to suit your unique working environment.
Understanding the Pain: Why Your Photography Client Workflow Matters
It’s easy to feel overwhelmed when you’re staring at a backlog of images, especially after a busy wedding season. Many photographers, like Candace Connor, face this struggle. She recalls her previous system as chaotic, with client emails scattered in Gmail, contracts in one platform, and invoices in another. Tasks often slipped through the cracks, causing unnecessary stress.
Connor used to spend 20-30 hours completing a gallery after a full wedding day. This fragmentation not only consumed her time but also impacted her creativity. She states,
“I felt like I was constantly chasing my tail, and it took away from the joy of my work.”
A clear workflow is essential. It’s not about rigid rules; it’s about creating a visible sequence that assigns ownership to every task—be it a client, contract, or payment. Start by identifying your most significant bottleneck, whether it’s administration, culling, or editing. Transitioning from scattered tools to a documented process can significantly enhance your experience.
Laying the Foundation: Planning and Pre-Production Strategies
Before the camera clicks, the groundwork of understanding your clients must be laid out meticulously. Effective initial communication sets the stage for a successful shoot. Start by building a discovery questionnaire that covers essential details like intended image use, colors, clothing, and required poses. This step helps clarify expectations and ensures everyone is on the same page.
Utilizing tools like HoneyBook can streamline this process. Their templated wedding questionnaire covers timelines, family dynamics, and must-have shots, allowing you to gather crucial information efficiently. Remember, a clear contract is vital. It should define deliverables, usage rights, pricing, and payment terms. For instance, consider a 30-day payment term with a 2% late fee as a model to discuss with a legal professional.
Finally, scheduling your creative work in protected blocks can enhance productivity. Many photographers find success in dedicating Monday through Wednesday for shoots and reserving Thursday for editing. This structured approach can significantly improve your overall experience and workflow.

Mastering the Inquiry to Booking Process
Each new inquiry presents a unique opportunity to engage and connect with potential clients. A streamlined process can enhance your efficiency and client experience.
Start by crafting a response email that acknowledges the inquiry. Confirm availability, explain the next steps, and include a link to your pricing guide. This approach avoids lengthy email chains and keeps communication clear.
Consultation calls are essential. Use them to clarify priorities, intended use, preferred style, and budget. This way, you can propose a package that aligns with the client’s vision.
Utilizing tools like HoneyBook can automate much of this process. It can send an inquiry response and calendar link first, followed by the contract after booking, and the invoice after signing. Remember to make your pricing, turnaround times, and retouching limits visible. Transparency builds trust.
“Efficient systems should support trust rather than sound like a robot trapped in a photocopier.”
Finally, always add a human checkpoint before sending sensitive documents. This ensures a personal touch in your automated processes.
Efficient Shoot Day Preparation and On-Site Execution
The excitement of a shoot day can quickly turn into chaos without proper preparation. A detailed shot list is essential for capturing every important moment. This list should include colors, angles, props, and creative descriptions to guide your assistants. The clearer the details, the better the outcome.
Prior to the shoot, visiting the location can be invaluable. Assess the lighting, layout, and any potential obstacles. This step ensures you’re ready for any surprises on the day. Clients should be informed early if the project extends beyond the original timeline, especially if it spans one to three days.
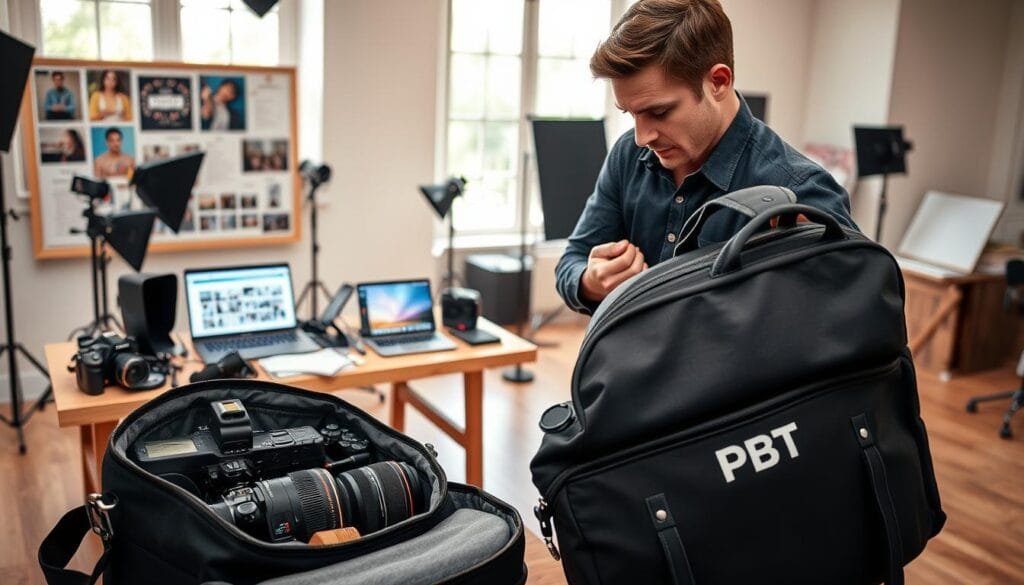
On the day of the shoot, arrive at least one hour early. This allows time to test camera settings, lighting, and gear. Make sure you have backup batteries and memory cards easily accessible. A missing accessory can turn a well-planned setup into a stressful scramble.
Leveraging Post-Production for Speed and Quality
After a long shoot, the real work begins in the editing room, where the magic of transformation takes place. To ensure a smooth process, immediate backup is crucial. Transfer and verify every card right after the shoot. This step preserves RAW originals before any formatting occurs.
Utilizing tools like AfterShoot can drastically reduce culling time. For instance, Connor’s experience showed that what once took six hours can now be completed in just 45 minutes. This efficiency allows for more time to focus on creative editing.
Batch editing is another game-changer. Use presets for exposure, white balance, and tone on groups of similar images. Reserve detailed retouching for those special shots that truly need it. Remember to create separate export presets for web, social media, and print. For web, aim for 2,048 pixels on the long edge and use sRGB JPEGs with 70-80% compression.
By streamlining your post-production process, you enhance the overall experience for your clients. This not only saves time but also elevates the quality of your final delivery.
Integrating Technology to Optimize Your Photography Workflow
Integrating technology into your processes can streamline tasks and improve your service delivery. The right tools can significantly enhance your efficiency, especially when managing clients and their needs.
Using a client management system like HoneyBook can centralize your operations. It combines enquiry responses, consultation scheduling, contracts, invoices, reminders, and questionnaires all in one platform. This reduces the chaos of managing multiple systems.
Another valuable tool is Pic-Time, which not only supports gallery delivery but also facilitates print ordering and marketing promotions. For album design, SmartAlbums by Pixellu can reduce the time needed from a full day to under 30 minutes.
To ensure your work is protected, follow the 3-2-1 backup rule: keep three copies of your files on two different media types, with one copy stored off-site. Additionally, using services like Google Drive or Dropbox can help maintain access to your images securely.
| Tool | Functionality | Benefits |
|---|---|---|
| HoneyBook | Client management | Streamlines administration and communication |
| Pic-Time | Gallery delivery | Supports print orders and marketing |
| SmartAlbums | Album design | Reduces design time significantly |
| NextGEN Gallery | WordPress integration | Synchronizes edited photos with ease |
When selecting tools, consider their integration, privacy, usability, and support. By mapping repetitive tasks to suitable tools, you can create a smoother workflow. For more tips on optimizing your process, check out this article on speeding up your photography workflow.

Optimizing Your Photography Client Workflow
In the fast-paced world of visual storytelling, optimizing your processes can be a game changer. Implementing custom editing profiles is a crucial step in achieving a consistent brand presentation. For example, Connor trained her AfterShoot profile on over 30,000 of her edited images. This profile completes about 90% of foundational editing, allowing her to focus on finishing touches.
Additionally, efficient gallery management is essential. Use tools like Pic-Time or NextGEN Gallery to create a seamless experience for your clients. These platforms allow clients to view, select, comment on, and order images easily. Consistency in gallery naming, cover images, and folder structures enhances your brand’s professionalism.
Finally, treat contracts as operational records. By connecting signed scope, deliverables, and payment status in one searchable file, you streamline your process. This visibility ensures that both you and your clients have a clear understanding of expectations.
Streamlining Payment, Feedback, and Follow-Up Procedures
Managing payments and feedback effectively can greatly enhance your overall workflow. A well-organized system ensures that everything runs smoothly from invoicing to collecting client insights. Using tools like HoneyBook can automate your invoicing process, sending invoices immediately after contract signing. This saves you time and helps maintain secure payment records.
For payment terms, consider a standard 30-day period with a 2% late fee for overdue payments. This can help ensure timely transactions. Additionally, separate proof approval from final delivery by sending low-resolution images first. This allows for one round of minor revisions before releasing high-resolution files.
Collecting feedback is essential for growth. Use a brief form to ask clients about their experience regarding communication, planning, and the final product. This not only improves your services but also fosters client relationships.
After project completion, schedule a thank-you email along with a review request. Encourage referrals by inviting satisfied clients to share their experiences. By streamlining these processes, you can focus more on your craft and less on administrative tasks.
| Procedure | Details | Benefits |
|---|---|---|
| Invoicing | Automated via HoneyBook | Saves time and ensures timely payments |
| Payment Terms | 30-day terms with 2% late fee | Encourages prompt payments |
| Proof Approval | Low-resolution proofs first | Allows for revisions before final delivery |
| Feedback Collection | Short specific forms | Improves future work |
| Follow-Up | Thank-you emails and review requests | Enhances client relationships and referrals |
Quick Answer and Top Takeaways for Immediate Improvement
To enhance your workflow, it’s essential to document every stage of the client experience. Automate repetitive tasks, back up your files immediately, batch similar editing tasks, and set clear delivery deadlines. These steps will not only save you time but also improve the quality of your service.
Five Key Actionable Takeaways for Photographers
- Document the Journey: Keep a detailed list of every client interaction. This ensures accountability and clarity, measured by having a signed contract.
- Automate Administration: Use tools like HoneyBook to handle emails and invoicing. This reduces manual work, verified by tracking time saved.
- Prepare the Shoot: Create a shot list to streamline your process. This enhances efficiency, confirmed by completing all required shots.
- Protect Files: Follow the 3-2-1 backup rule to secure your images. This safeguards your work, checked by having backups stored off-site.
- Standardize Editing and Delivery: Use presets for consistent editing. This improves quality, validated by client satisfaction with final images.
FAQs
- What are the key stages of a photography workflow? The main stages include planning, shooting, editing, and delivering.
- When should I send contracts to clients? Contracts should be sent as soon as a client expresses interest in booking.
- What are the backup requirements for my files? Always keep three copies of your files on two different media types, with one stored off-site.
- Does automation eliminate personal communication? No, automation should enhance communication, not replace it.
For more tips on optimizing your process, check out this Lightroom workflow guide.
Final Thoughts: Wrapping Up and Sharing Success
A dependable photography client workflow transforms scattered administration into a clear path from enquiry through delivery and follow-up. By focusing on improving one bottleneck at a time, you can make significant strides. Take Candace Connor’s advice and start with administration, culling, editing, gallery delivery, or album design.
The strongest systems maintain personal communication while reducing repetitive tasks. This balance gives clients clearer expectations and allows photographers to focus on creativity. If you know someone still chasing contracts or editing late into the night, send them this guide!
For further practical workflow education, check out the PBT photography resources category.
References: Captured by Candace Photography, the freelance client-workflow source, and the digital photography-workflow source.
Stay focused.
Ray Baker.
FAQ
What steps should I take to ensure a smooth client experience?
How can I effectively manage my time during shoots?
What tools can help streamline my editing process?
How should I handle client feedback after a session?
What are the best practices for invoicing clients?
How can I improve my marketing to attract more clients?
Struggling to get consistent photography clients?
Get More Photography Clients