

Have you ever taken a photo that looked technically perfect but felt flat? I know I have. It’s like capturing a stunning sunset but missing the magic. That’s where the art of leading lines comes in. Imagine standing on a winding road, your eyes naturally drawn along its path. This technique can transform an ordinary image into a captivating story.
Leading lines are more than just straight paths; they can be rivers, fences, or even shadows. They guide the viewer’s eye through the frame, creating a sense of depth and direction. Whether you’re in a bustling city or a serene landscape, these lines can enhance your compositions.
In this guide, we’ll explore how to effectively use leading lines to elevate your photography. You’ll learn to scout for these lines, position them within your frame, and direct attention toward your subject. So grab your camera, and let’s dive into the world of leading lines photography!
Key Takeaways
- Leading lines guide the viewer’s eye through an image.
- They can be found in various forms like roads, rivers, and walls.
- Using leading lines enhances the depth and focus of your photos.
- Positioning lines near the frame edge can direct attention to your subject.
- Scouting your scene is essential for effective compositions.
The Art of Leading Lines as a Photographer’s Essential Tool
Have you taken a picture that appeared ideal but failed to tell a story? Understanding the impact of lines can change that. Leading lines serve as an essential tool in your composition, guiding the viewer’s eye toward the subject and enhancing visual storytelling.
According to Lukas Kosslow, these lines can be quite noticeable or subtle. Photographers should inspect their surroundings for both dramatic and quiet visual relationships. A line can direct attention to various elements, such as a person, tree, or sunset, establishing a clear visual hierarchy.
Different types of lines create distinct effects:
- Horizontal lines evoke calm and stability.
- Diagonal lines suggest motion and energy.
- Curved lines can add a sense of flow.
A strong foreground line that recedes into the background can create depth without artificial effects. The vanishing point, where converging lines meet, enhances perspective in roads and corridors. Remember, while leading lines guide attention, they don’t guarantee a successful photograph unless the destination is visually compelling.
Discovering Natural and Man-Made Leading Lines
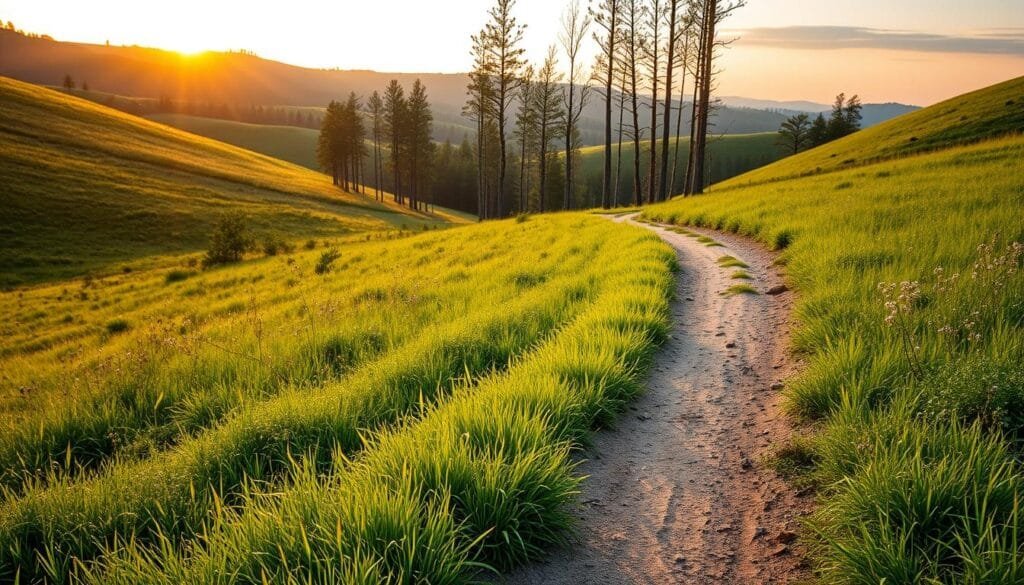
Have you ever noticed how certain paths seem to pull your gaze in a specific direction? Recognizing both natural and man-made lines can enhance your compositions significantly. These lines can take various forms, including roads, rivers, and even fences. Each type of line has a unique effect on the viewer’s experience.
There are three primary types of lines to consider:
- Diagonal lines add energy and movement to your image.
- Horizontal lines evoke a sense of stability and calm.
- Curved lines create a graceful flow, leading the eye smoothly through the scene.
When scouting for these elements, think about your surroundings. Look for:
- Natural lines like rivers, shorelines, and tree rows.
- Man-made lines such as roads, bridges, and doorways.
For example, Peter Lik’s *Sacred Arch* captures a structural curve that guides attention toward a rising sun. Similarly, his *Spirit of the Universe* uses lavender rows to lead the viewer toward a solitary tree on the horizon.
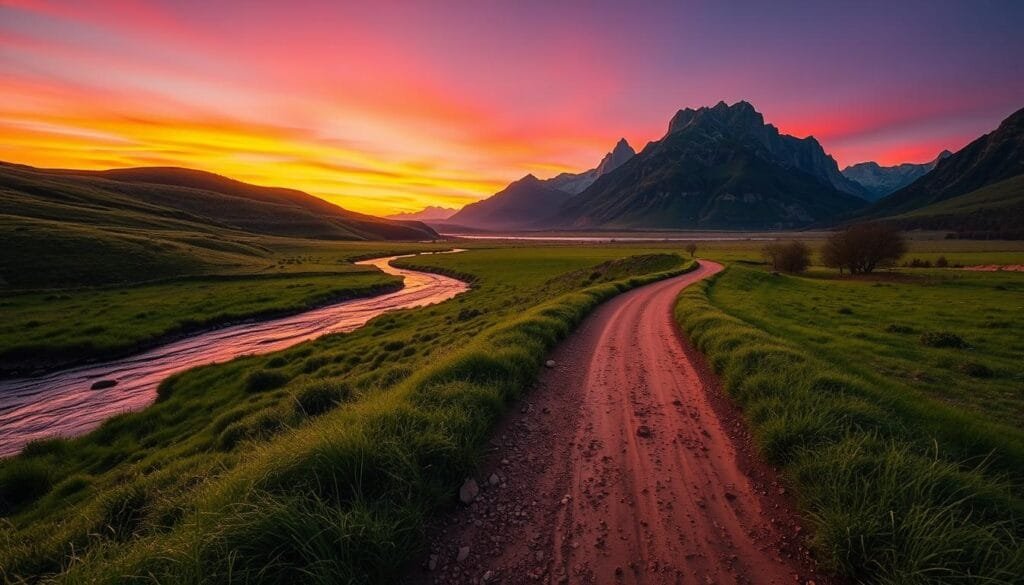
As you explore, remember that lines should enter the frame purposefully, guiding the viewer’s eye toward a meaningful subject. A well-placed line can transform an ordinary photo into a compelling story.
| Type of Line | Effect | Example |
|---|---|---|
| Diagonal | Energy and movement | Roads or paths |
| Horizontal | Stability and calm | Horizon or fences |
| Curved | Flow and grace | Rivers or winding paths |
For more insights on how to use leading lines effectively, check out this guide on leading lines photography.
Mastering Leading Lines Photography for Dynamic Composition
Have you ever captured a scene that looked perfect but didn’t convey the energy you envisioned? Mastering the art of using lines can significantly enhance your images. This section focuses on techniques that utilize diagonal and curved lines to create dynamic compositions.
When employing diagonal lines, position your camera low to the ground. This technique makes elements like roads or shorelines appear larger, drawing the viewer’s eye toward the subject. Additionally, curved lines and S-curves can slow the viewer’s journey through the image, creating a sense of depth and movement. For instance, rivers and trails can lead the eye gracefully across the frame.
Combining multiple lines can enhance visual direction. Two road edges or parallel fences converging toward a subject can create a stronger impact than a single line. Experimenting with different perspectives, such as comparing low-angle shots with higher viewpoints, allows you to see how each line’s energy changes.
To practice, take three frames: one with a straight line, one with a curve, and one with multiple converging lines. Remember, as Bruce Barnbaum suggests, treat these concepts as ideas rather than strict rules.

| Technique | Description | Example |
|---|---|---|
| Low Camera Position | Emphasizes diagonal lines for impact | Road or wall |
| Curved Lines | Creates a graceful flow | Rivers or trails |
| Multiple Lines | Converges toward a subject | Parallel fences |
Practical Studio and Outdoor Setup Tips
Have you ever wondered how the right setup can transform your images? Understanding the equipment and techniques can significantly enhance your compositions. Here are some essential tips to get started.
Essential Equipment and Lens Choices
Using the right lens is crucial. I recommend starting with a wide-angle lens, ideally 35mm or wider on a full-frame camera. This choice allows you to place leading lines near the bottom of the frame, drawing the viewer’s eye into the scene.
For sharpness across the foreground and background, use apertures of f/8, f/11, or f/16. These settings help maintain clarity in your images. Just remember to check your camera’s diffraction behavior.
Adjusting Camera Angles for Maximum Impact
When setting up your shot, consider your camera angle. A low position over the foreground subject can create a compelling near-far composition. In outdoor setups, adjust your position until the line directs attention to your subject. In studio settings, arrange elements like tabletop edges and light stands to support your subject without distraction.
Here’s a quick checklist for camera angles:
- Eye level for balanced compositions.
- Low angle to emphasize foreground elements.
- High angle for a broader view.
- Ensure clean frame edges to avoid distractions.
Using Photography Techniques to Create Depth and Movement
Have you ever tried to capture a moment that just didn’t translate well on camera? The near-far technique can help you achieve stunning layered compositions. This method involves placing an eye-catching foreground subject before a leading line and a meaningful background element.
To effectively use this technique:
- Get close to your foreground subject, like a rock or flower patch, to create a strong visual anchor.
- Utilize a wide focal length of at least 35mm on a full-frame camera to exaggerate the distance between layers.
- Set your aperture to f/8, f/11, or f/16 to maintain sharpness across both the foreground and background.
For a quick demonstration, try this: position your camera low to the ground, focus on a nearby element, and capture a distant background. Then, take a comparison shot without the foreground layer. This exercise will illustrate how depth enhances your images.
Substitution Tips and Personal Stories: When a Swap Saves the Shot
Have you ever realized that the obvious line in your shot isn’t guiding the viewer as you intended? I once found myself at a stunning landscape, eager to capture the moment. However, the well-trodden path I expected to lead toward my subject seemed to fizzle out. Instead of forcing the composition, I paused to reconsider my options.
In that moment, I noticed a shadow cast by a nearby tree. It elegantly traced a path toward my subject, preserving the intended direction without overwhelming the scene. This subtle element transformed my image, creating a more engaging story.
When you find a prominent line missing, consider these practical substitution tips:
- Replace an unavailable road or river with a shadow, fence edge, or log.
- Ensure the new element maintains the intended direction and destination.
- Look for subtle lines, such as repeated textures or small changes in tone.
As Lukas Kosslow suggests, the most effective lines may not always be the most obvious. In my experience, sometimes it’s better to embrace a quieter substitute than to wrestle with a stubborn composition.
| Element | Substitution Example | Effect |
|---|---|---|
| Path | Shadow | Guides the eye subtly |
| Road | Fence Edge | Creates structure |
| River | Log Alignment | Adds depth |
Parting Thoughts and Final Insights for Better Compositions
As you wrap up your journey into the world of composition, remember that every photograph tells a story. It’s about finding the right path for your viewer’s eye to follow. Focus on your destination, the direction of your lines, and the depth you can create. Experiment with different techniques and see how they transform your images.
Here are five key takeaways to keep in mind:
- Identify a line and decide where it should lead.
- Adjust your camera position for optimal effect.
- Select a lens that enhances your composition.
- Remove distractions that compete for attention.
- Always be willing to experiment with new ideas.
If you want to practice these concepts, send this to a friend who loves photography. For more insights, check out our photography category.
FAQs:
- What are leading lines? They are visual elements that guide the viewer’s eye through a photograph.
- What are common examples of leading lines? Roads, rivers, fences, and paths are typical examples.
- Do lines have to be straight? No, they can be curved or diagonal as well.
- How can I practice using leading lines? Look for lines in your environment and experiment with framing them in your shots.
References: Adobe, Digital Photography School, Iceland Photo Tours, Anne McKinnell, Jaymes Dempsey, Lukas Kosslow, Peter Lik, Bruce Barnbaum.
Stay focused,
Ray Baker
FAQ
What are leading lines in photography?
How can I effectively use lines in my compositions?
What types of lines should I focus on when taking photos?
How do I create depth in my images using lines?
What equipment do I need to capture effective line compositions?
Can I use lines in both studio and outdoor settings?
How can I adjust my camera angles for better line compositions?
What is the near-far technique, and how does it work?
What should I do if I find an overlooked element that could enhance my shot?
Struggling to get consistent photography clients?
Get More Photography Clients