
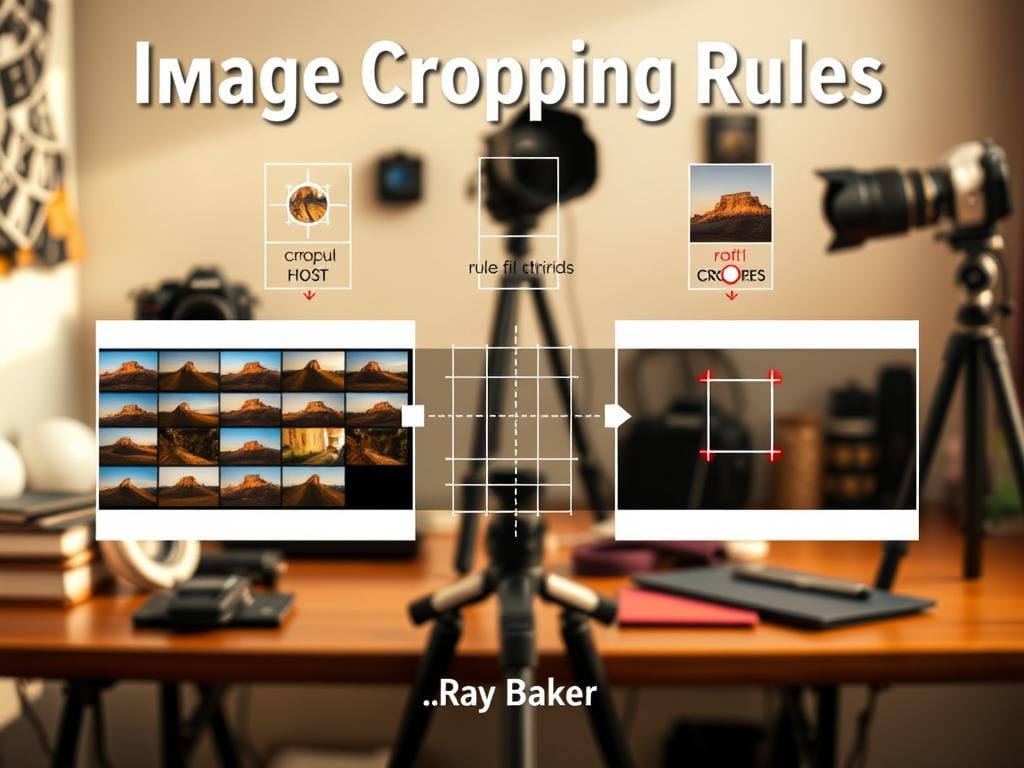
Are your best photos too cluttered or your subject lost? Simple cropping rules can fix this in minutes. Turn those almost-perfect shots into clear, intentional images.
Deliberate cropping is key to improving your photos. Tools like Lightroom or Photoshop can fix composition and remove clutter. They can even change how we see the photo by focusing on different parts.
Think of cropping as a way to tell a tighter story. It’s not cheating; it’s making your photos better. With the right rules, you’ll compose with purpose. Whether it’s a family photo or a professional headshot, you’ll get it right.
Key Takeaways
- Intentional cropping quickly improves focus and removes distracting edges.
- Modern 20–60MP sensors give you room to crop for both web and print.
- Use photo cropping tips to refine the visual story, not to mislead it.
- Lightroom and Photoshop offer non‑destructive workflows—crop confidently.
- Follow basic photography composition rules so crops feel deliberate and balanced.
Why image cropping rules matter for intentional photos
Cameras capture moments. But sometimes, images feel accidental because of clutter or odd framing. Clear image cropping rules help make photos intentional by removing distractions.
Visual problems often come from placement and clutter. A subject stuck in the center or a distracting background can make a photo look unplanned. Using photography composition rules during a crop can rescue the frame and guide the viewer’s eye.
Cropping changes what the viewer sees first. A tighter crop can highlight emotion or texture. It can turn a passive picture into one that tells a stronger story.
Sensor math sets limits and freedoms for cropping. Modern cameras from Canon and Sony have 20–60 MP. At 20 MP, a file can print wide at around 200 DPI.
Practical numbers help understand cropping. A 20 MP image printed at 200 DPI can make a high-quality print over two feet wide. For web sizing, keeping a max dimension near 2048 pixels preserves sharpness.
Use cropping as a tool, not a fix for bad intent. Remove clutter and tighten storytelling, but keep context when it matters. Balancing image cropping rules with respect for the scene keeps photos honest and visually strong.
Crop to focus your viewer’s attention
Good crops guide the eye. Use simple photo cropping tips to spot clutter and decide what to keep. Start by scanning for bright spots, poles, or cars that pull attention away from your subject.
Identifying distracting elements to remove
Look for objects that intersect with faces or hands. Trees, signage, and background people often compete with the main subject. When you remove distractions with a tighter frame, the subject reads cleaner and stronger.
How tighter crops emphasize details like expressions and small props
Tightening a crop brings expressions and props into relief. A close crop on a ring, a smile, or a child’s glance makes those elements the story. Follow image cropping rules that preserve enough resolution for your output.
Real-world example: family photo tightened to highlight interaction
Imagine a family photo where a busy yard and parked cars sit behind the group. Cropping to focus on the parents and child removes distractions and pulls the viewer into the moment. An original 10MP file cropped to about 3030×2028 can make a strong 8×10 or 11×14 print.
Studio photographers at companies like Nikon and Canon use this method for headshots. They crop to remove clutter, meet client needs, and deliver professional clarity. Use these image cropping rules to keep visual intent and adequate resolution.
When you crop, check final size before exporting. Small adjustments to frame and composition often have the biggest impact. Keep practicing these photo cropping tips to learn when to crop tight and when to leave space.
Crop to reframe the subject for stronger storytelling
Reframing by crop turns a neutral snapshot into a purposeful image. Use selective framing to suggest a question, an emotion, or a hidden detail. This way, you guide viewers where to look and what to imagine next.
Place the subject off-center to spark curiosity. An off-center composition invites the eye to travel across the frame. It creates tension that a centered subject often lacks.
Move a subject to one side and leave deliberate empty space on the other side. This makes the scene feel intentional.
Balance empty space with the subject’s gaze. If a person looks left, give them room in that direction. This way, the empty area leads the story.
Follow a simple before-and-after thought process when you reframe subject placement. First, name the emotion or question you want the crop to raise. Next, remove distracting margins and keep breathing room where the viewer’s attention should fall. Last, check the gaze and body language to confirm the empty space reinforces the intended story.
Below is a quick comparison of common reframing choices and the narrative effect they produce. Use it as a reference while you test crops on portraits, street shots, or editorial images.
| Crop Approach | Main Intent | When to Use |
|---|---|---|
| Centered tight crop | Intimacy and focus on detail | Close portraits, product detail, emotional expressions |
| Off-center composition with left empty space | Create wonder or imply what lies beyond | Subject looking right; narrative that points off-frame |
| Rule-of-thirds placement | Balanced tension and natural flow | Landscape subjects, posed portraits, editorial spreads |
| Generous negative space | Isolation or scale; emphasize atmosphere | Environmental portraits, minimalism, conceptual work |
| Tighter crop removing side distractions | Clarify subject and strengthen focus | Busy backgrounds, event photos, group shots |
Crop carefully around moving subjects
When a subject moves, a good crop can make a photo stand out. Use photo cropping tips to add space before movement. This makes the image feel fast and full of action.
Remember image cropping rules to avoid bad cuts. Don’t cut through joints or limbs in weird places. Crop at natural spots like the middle of an arm or the chest for a better feel.
Remove distracting objects in the foreground with cropping. Tightening the frame around the subject makes their path clearer. For example, removing a pipe in front of a running child shows their path better.
In sports photos, leave space in front of athletes moving towards something. This lets their motion and direction shine. A bit tighter crop on their face or body adds drama without losing context.
Wildlife photos also need space for movement, like birds in flight or predators chasing. A careful crop on their face or action makes the photo more powerful. This way, you avoid weird cuts or missing parts.
Be gentle when trimming action shots. Try different crops to find the right balance. This approach creates edits that are both expressive and respectful of the image’s story.
Work with leading lines and compositional guides
Good cropping can make a photo better. Leading lines guide the viewer’s eye. If these lines are off, a careful crop can fix it.
Diagonal and curved lines need space. After cropping, put the subject where the line points. Leave room for the line’s direction to feel right.
Some crops mess up line direction, making it look wrong. Move the subject so lines lead to it, not block it. This makes the photo easier to follow.
Use grids and overlays when cropping. The rule of thirds helps place focal points. The golden ratio guides for a natural feel. Try different guides to see what works best.
Below is a quick comparison to aid decisions when working with lines and overlays during cropping.
| Situation | Recommended Crop Move | Which Guide to Use |
|---|---|---|
| Strong road or rail leading into frame | Align subject near road endpoint, leave lead-in space | Leading lines + rule of thirds |
| Curved path wrapping around subject | Place subject inside curve, keep flow toward open space | Golden ratio overlay |
| Diagonal beam slicing through composition | Recrop to let diagonal guide to subject, avoid chopping limb | Diagonal-focused framing, rule of thirds for balance |
| Busy background with faint guiding lines | Tighten crop to isolate main line and remove distractions | Leading lines and simple grid |
Keep balance and respect negative space
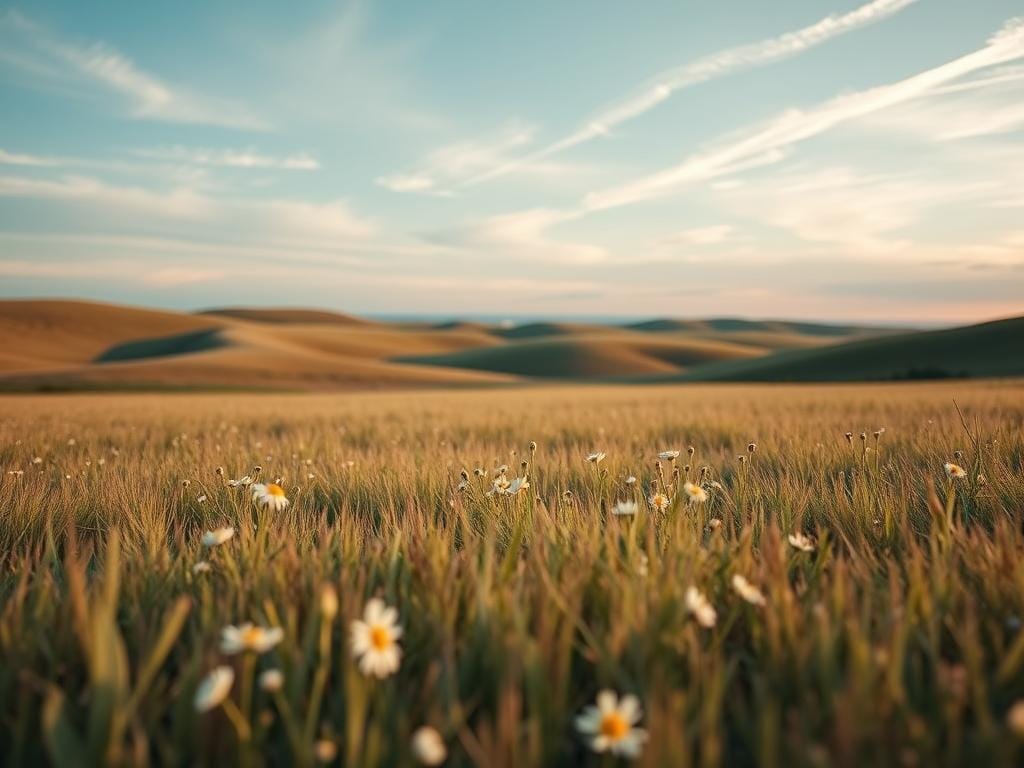
Good crops make images feel open while keeping the main part clear. Use rules to see if empty space helps or hurts. Small changes can fix balance without needing to take new photos.
Assessing empty space: too much vs. purposeful breathing room
First, think if empty areas add or take away from the image. Too much sky or ground can pull eyes away. Cut it if it doesn’t help the story.
Use empty space to show size, mood, or movement. It should lead eyes to important parts of the photo.
Visual weight and how cropping redistributes it
Visual weight comes from color, contrast, and size. Moving subjects or changing frames changes focus fast.
Cropping brings closer what’s important. This makes small things like rings or textures stand out. Make sure the eye moves smoothly through the photo.
Examples: portraits, landscapes, and editorial crops
For portraits, follow a guide to keep the head in view and balance space. This makes expressions clear and the photo calm.
In landscapes, cut too much sky or ground to focus on the main point. A small crop can make depth and lines stronger, guiding the viewer.
Editorial crops should tell the story first. Reframe to show context that supports the caption. Avoid cutting things that change the story’s meaning. Crop to tell the story, not to fit it.
Mindful cropping: avoid misrepresentation and ethical issues
Cropping changes what we see. It’s important to keep the context and meaning right. Good cropping practices avoid misleading edits.
Context matters: don’t change meaning by removing key elements
Removing parts of the image can change the story. Photojournalists must ensure the frame doesn’t alter the narrative. It’s best to keep elements that show who, where, and when.
Respectful framing of people: avoid demeaning or offensive crops
Cropping should respect the subjects. Avoid cuts that make people look awkward or dehumanized. Getty Images and studios follow strict ethical cropping rules to keep client trust.
Photojournalism considerations and accuracy
Photojournalism needs to be transparent about edits. Small changes can change how we see things. Document major crops to keep credibility.
Practical steps to follow:
- Preserve context whenever it affects story meaning.
- Apply ethical cropping only for composition, never to mislead.
- Keep original files and note substantial edits for review.
- Train teams on visual ethics; reference professional guidelines such as those linked at digital image ethics.
Clear rules help avoid misunderstandings. Use cropping rules to enhance clarity and beauty. Practice ethical cropping to ensure accuracy in photojournalism.
Practical portrait cropping guide
Good portrait crops start with clear decisions about where to stop the frame and why. Use straightforward image cropping rules to keep subjects flattering. This avoids accidental visuals that distract from expression and story.
Where to crop limbs and why to avoid joints
Never cut at joints like elbows or knees. A crop that severs a joint looks like an amputation. It pulls attention from the face.
Stop mid-limb, on a clothing line, or at the torso center. This makes the crop feel intentional and natural.
Headroom, chest crops, and eye placement rules
Follow simple headroom rules so portraits feel comfortable. Too much space above the head creates distance. Too little makes the frame claustrophobic.
Aim to place the eyes roughly one-third down from the top. Or on a rule-of-thirds intersection to connect with the viewer.
For chest or three-quarter crops, leave room above the shoulders. This space reads as natural. When you crop tighter, nudge the eyes slightly above center to maintain balance.
Aspect ratios for portraits: where to crop for web vs. print
Choose aspect ratios for portraits based on use. Vertical ratios like 4:5 and 8:10 suit head-and-shoulders work. Square crops work well for social feeds. Full-bleed verticals help editorial spreads stay dramatic.
For web, keep a longest side near 2048px to preserve detail without bloating files. For print, plan around 200–300 DPI. A crop at roughly 1982×1321 prints as a 4×6 at 300 DPI, so pick your crop with output size in mind.
These portrait cropping guide points and image cropping rules will help you make quick, consistent decisions. Use headroom rules and mindful aspect ratios for portraits. This keeps results polished for both web and print.
Technical considerations: resolution, DPI, and output size
Knowing the numbers behind a crop makes editing easier. Mix pixels and inches in your mind. Simple math helps decide if a crop works for print or screens.
Remember image cropping rules. They help balance your creative vision with technical limits.

Megapixels for print
A 20MP camera makes big prints possible. At 200 DPI, a 20MP image can be up to 27 inches. But small prints need fewer pixels.
For example, a 4×6 print at 200 DPI needs about 1MP. This means you can crop a lot and get a print-ready image if you plan ahead.
Web sizing
For social media and websites, aim for a max dimension of 2048px. This size works for Facebook, Instagram, and Flickr. But bigger sizes might be needed for galleries or client work.
Match the export size to where it will be used. Don’t always export the biggest file.
Non-destructive cropping workflows
Keep originals safe by working non-destructively. Lightroom and Photoshop let you crop without losing data. Save different versions for print and web.
This way, you keep your original images and deliver the best files for each use.
Practical checks before you export
- Figure out needed pixels by multiplying inches by DPI for print.
- Check pixel dimensions if you crop a lot. Make sure they meet print targets.
- Use 2048px as a web sizing rule unless a platform says differently.
- Change layout or choose a different image if cropping would lower resolution too much.
By using simple math and non-destructive cropping, you get more flexibility. This way, you can follow image cropping rules confidently. You keep your creative vision and technical quality in check.
Creative cropping choices: aspect ratios and mood
Creative cropping changes how an image feels. It uses rules to set a mood and guide emotions. This makes a photo feel like a chosen frame, not just a random cut.
Square, panoramic, and cinematic crops and their emotional effects
A square crop makes things feel close and personal. It focuses on round or central subjects. Street photographers and Instagram users often use it to make scenes simple and powerful.
Panoramic crops make scenes bigger. They’re great for landscapes and city views. These crops show off wide views and motion.
A cinematic crop adds drama and space. Filmmakers use it to show distance or to set up scenes. Photographers use it to create tension or grandeur.
When to break composition “rules” for creative results
Rules like the rule of thirds help make strong crops. But breaking them can lead to interesting results. Try different aspect ratios to see what works best.
Work without harming your original image in Lightroom or Photoshop. This lets you try different crops without losing your original.
Examples: turning a rectangular shot into a compelling square crop
Think of a photo with a single acorn on a textured stump. Changing it to a square crop makes it more focused. It becomes more intimate and intentional.
Try this with portraits, objects, and small scenes. Compare different crops. See which one fits your mood best.
Crop for layouts and publication needs
Images for print and web need to fit and breathe. Good cropping rules keep the photo’s story alive. First, think about the visual impact, then the technical specs.
Prioritizing visual impact over forcing an image to fit a layout
Editors at big names like National Geographic and The New York Times don’t like tight crops. They want to keep the story’s essence. Make sure facial expressions and gestures are clear.
Plan for different crops. A magazine spread might need a full-bleed frame. But a sidebar might do better with a looser crop. Always choose the crop that tells the story best.
When to change the layout instead of over-cropping the photo
Changing the layout can save the photo’s quality. If a tight crop is needed, think about a wider layout. This keeps the photo looking good and avoids bad cuts.
Work with art directors and production teams early. This avoids last-minute changes. Crop images together, not as an afterthought.
Preparing images for editorial spreads and social media formats
Make different sizes for print and online. You’ll need full-bleed, vertical, square, and landscape versions. Keep a high-resolution master and web-sized copies.
Label files clearly with size and orientation. Studios like N. Lalor Photography follow rules for clients. Always check social media sizes before you export.
- Create at least three crops for every assignment: wide, square, and tall.
- Keep a non-destructive master so you can revert if editorial cropping goes too far.
- Match DPI and pixel dimensions to the final use to avoid resampling artifacts.
Practical workflow and quick-check crop checklist
Remember, “measure twice, cut once” is a good rule. Take photos with a plan, then crop them later. Keep the original photos safe in Lightroom or Photoshop. This way, you can try different crops without losing your photos.
Here’s a checklist for cropping: first, find the main subject and what the photo is for. Then, remove things that distract and make the subject stand out. Make sure there’s enough space for moving things in the photo.
Don’t crop at joints, but instead, crop at natural breaks. Use rules like the rule of thirds or golden ratio. Check if the space around things is balanced. Make sure the photo is big enough for printing or the web.
Always be honest with your photos. Don’t change them so much that they’re not true. Make sure your photos are the right size for where you’re sharing them. Keep copies of your photos safe.
For quick tips, here’s what to do: remove clutter, leave space for movement, and don’t crop at joints. Use a grid to help with placement. Share your photos at 2048px for the best look.
Remember, use tools like Lightroom and Photoshop. Use good cameras like the Nikon D7100. Give credit when you can. Follow these tips to make your photos better fast. Stay sharp, Ray Baker.
FAQ
How much can I safely crop a photo without losing print or web quality?
What are quick rules to stop photos feeling “accidental” with a simple crop?
When does cropping become misleading or unethical?
How do I crop portraits to stay flattering and professional?
Struggling to get consistent photography clients?
Get More Photography Clients