
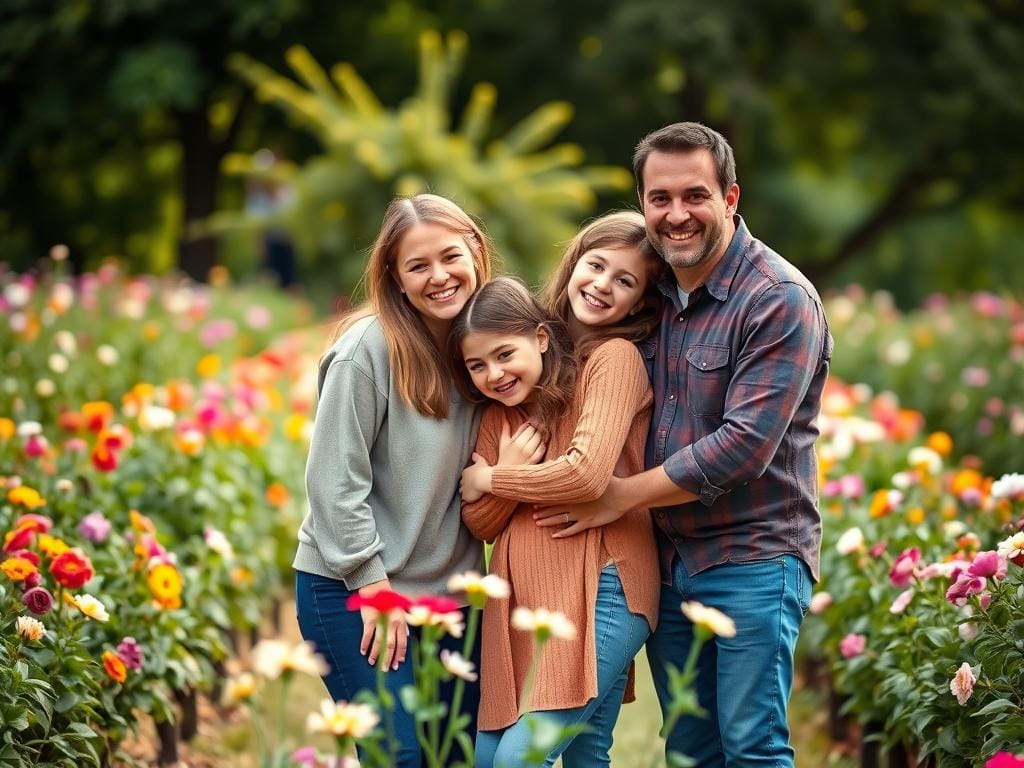
Are your family photos stiff and forced? Want them to look like everyone is just hanging out? Use movement and quick moments to make them feel real.
This section has easy tips for family photos. Learn to make posing feel like a hangout. Discover simple ways to relax everyone’s body and face. And find quick prompts for real smiles, not fake ones.
Lindsay Blackman has been taking family photos for over 13 years. She loves outdoor shoots from June to October. She walks with families, kneels to meet kids, and puts kids between parents.
She also swaps parents for one-on-two shots. This way, both parents get special moments. Instagram helps by sharing behind-the-scenes and short clips. This makes clients feel more at ease.
Guidebooks share five key tips. Movement is better than being stiff. Focus on each other, not the camera. The photographer guides hands and feet.
Authenticity is more important than perfection. And the photographer leads the flow. Below, you’ll find techniques and prompts to make photos feel natural and real.
Key Takeaways
- Prioritize movement to replace stiff poses with natural expressions.
- Use layered compositions and sandwiching to create intimacy and depth.
- Swap parents for one-on-two portraits so both caregivers are represented.
- Teach families simple prompts ahead of time—clients respond well to visual examples on Instagram.
- Lead the session: direct hands, feet, and small actions to keep moments authentic.
family photo posing ideas
Start with clear, friendly language to ease nerves and guide movement. Place family photo posing ideas near the top of your script and web copy so parents find practical help fast. Simple phrases like “walk and chat” or “snuggle in a little closer” invite real connection and make posing families naturally feel easy.
Why phrasing matters in SEO and storytelling
Words shape both search results and session mood. Using conversational tags such as natural family poses and family photography tips helps captions rank on Instagram and Google. Clear prompts reduce confusion, speed the shoot, and deliver images that read as honest moments.
Primary problem: stiff, awkward group photos
Most families freeze because they expect a formal pose and a forced smile. That tension shows in hands locked at sides and shoulders pushed forward. The result is portraits that feel distant.
Immediate solutions photographers and parents can use
Begin with motion to break the freeze. Holding hands while walking or asking siblings to whisper creates interaction. Use short, specific directions: switch weight to one foot, tuck a chin, wrap an arm. These steps turn family photography tips into quick wins.
- Lead with a playful phrase to prompt genuine looks.
- Swap wide shots for a tight parent-and-children frame after a few walking shots.
- Use soft, safety-first touch cues so kids respond without stress.
Use movement to dissolve stiffness: walking, chasing, and spinning prompts
Begin with movement to relax shoulders and bring smiles. Walking, chasing, or spinning can capture real moments. These actions help families feel natural and keep everyone’s energy up.
Why movement creates real expressions
Movement helps people relax and forget about looking perfect. When kids run or parents move, faces soften. This leads to real laughter and genuine moments that look great on social media.
Practical prompts to try during a session
- Walk and look at each other: hold hands and take four slow steps, then pause for a shared look.
- Run-then-stop: have children sprint toward parents, stop on cue, and hug for a real in-between expression.
- Spin one child: rotate a child by the hands for a surprised, joyful face while parents watch.
- Chase circles: parents chase kids in a short loop to trigger energetic smiles without shouting directions.
Camera settings and lens suggestions for movement shots
Use fast shutter speeds to catch the best moments. For running, aim for 1/500s or faster. For a blur effect, use slower speeds.
Enable continuous AF (AF-C) and burst mode to track faces. Choose lenses in the 35–85mm range for easy switching between shots.
Use apertures between f/2.8 and f/5.6 for clear images. These settings work well with tips for natural family photos.
How to pose families of four so it feels effortless
When working with a family of four, aim for flow and connection. Swap single static shots for small sequences. Use simple movement, small shifts, and quick prompts to keep everyone relaxed. These ideas help you capture both classic and playful frames in one session.
Holding hands and walking variations for symmetry and motion
All four holding hands while walking toward the camera creates a timeless look. Have parents each hold a child, keep stride even, and ask them to look at one another or at the camera. For mixed ages, let the older child lead or place the older child between parents while one parent carries the baby to keep the group connected.
Try slight variations: parents in the middle with kids at the ends, or staggered steps where one parent slows so the frame breathes. These changes produce multiple usable images without extra posing time.
Sandwich kids between parents for intimacy
Place children between parents for closeness and easy interaction. Parents can kneel or stand at the sides and gently squeeze the kids in. A prompt like “squeeze in more” often elicits real giggles and soft faces.
Matching heights by kneeling helps balance the frame and boosts emotional connection. For infants, have a parent hold the baby while the other parent leans in to create layered intimacy.
Two-in-front/two-in-back layer to add depth and storytelling
Stagger the group to add visual depth. Put two people slightly in front and two slightly behind, keeping the back pair visible by angling shoulders and heads. Use a shallow depth of field to emphasize your chosen subject while the back pair supports the story.
Variations include kids front with parents back, or a parent-child pair in front with the remaining pair behind. Rotate through classic full-group, movement sequences, parent-centered frames, and layered shots to build a balanced gallery.
| Pose | When to use it | Quick prompt |
|---|---|---|
| All holding hands, walking | Outdoor strolls, golden hour, relaxed sessions | “Walk toward me and talk about last weekend.” |
| Parents in middle, kids at ends | Symmetry focus, balanced portraits | “Parents look at each other, kids look at camera.” |
| Older child leading | Mixed ages, show leadership and play | “Older one, lead the parade!” |
| Sandwich with parents kneeling | Close-up intimacy, playful moments | “Hug in tight — squeeze in more!” |
| Two front / two back | Storytelling, depth, editorial feel | “Front pair stay crisp, back pair lean in.” |
Posing one parent with both children to highlight unique bonds
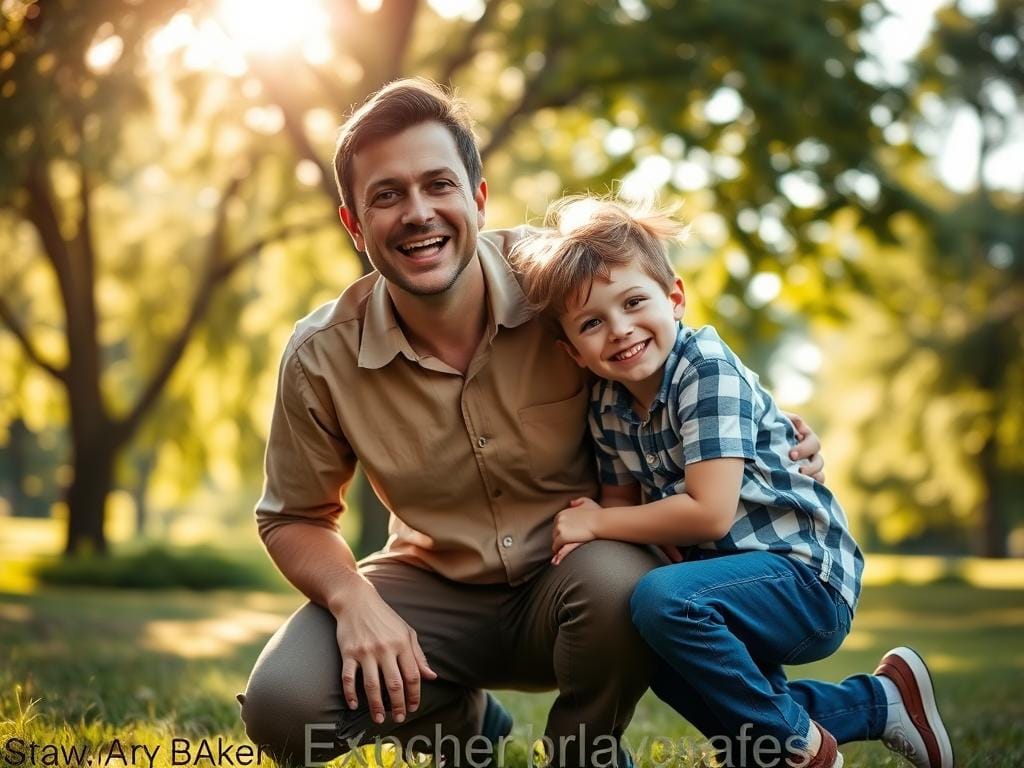
One-parent-with-both-kids frames show special moments that group photos might miss. Use simple techniques to keep it cozy. Kneel or squat so kids lean into the parent naturally.
Hold a toddler on your knee or let an older child snuggle in at your hip. This adds warmth without being stiff.
Choose tight and wide crops to tell different parts of the story. Tight framing focuses on faces and small gestures. Wide framing shows posture, environment, and how hands and feet interact.
Switch between a zoom lens and moving physically to change perspective fast.
Framing and cropping for emotional impact
Tight crops make you feel like you’re in on a secret. Wide shots show more, like body language and context. Mix both for a complete story in albums and wall prints.
Prompts to get natural reactions
Use action prompts that encourage connection, not perfection. Ask for neck hugs, cheek kisses, or a quick whisper. Try saying, “Both give mom a kiss on three,” for simultaneous cheek kisses.
These cues lead to real smiles and laughter, which look better than forced poses.
Swapping parents so both get their one-on-two portraits
Plan a quick swap for each parent to have their own one-on-two set. Swap fast to keep energy up and kids interested. Capture tight emotional shots, then wider shots before switching.
For more ideas and prompts, see this guide on family posing: family photo posing guide.
| Shot type | Purpose | Quick prompt | Lens suggestion |
|---|---|---|---|
| Tight head-and-shoulders | Capture expressions and small touches | “Whisper a secret in mom’s ear” | 85mm or 70–200mm zoom |
| Mid-length (waist up) | Show arm wrapping and body language | “All three squeeze in close” | 35–85mm |
| Wide full-body | Context and playful movement | “Walk and give a group hug on the move” | 35mm or 24–70mm |
| Simultaneous kiss | High-reward, candid emotion | “On three, both kids kiss mom’s cheeks” | 50–85mm prime |
Use family photography tips that focus on connection over perfect poses. Let kids be themselves. Use gentle direction to make posing feel spontaneous. These techniques create cherished frames for years.
One child with both parents pose to center the child
Put one child between mom and dad for calm, real portraits. Use soft touch and quiet voices to settle the child. Small, quiet squeezes help get gentle smiles for child-centered portraits.
How to create calm, grounded portraits
Ask parents to lean in and put hands on the child’s shoulders or wrap arms around them. Encourage them to look down while the child looks up. Keep directions short and soft to help children relax.
Swap children quickly to capture each sibling’s turn
Keep parents in the same spot for quick child swaps. For toddlers, use a pickup by dad or mom to keep them steady. Rotate siblings one at a time for each child’s moment.
Compositional tips for tight head-and-shoulders vs full-body versions
Tight head-and-shoulders shots focus on expressions and small gestures. Move in close to capture these details. Full-body shots show posture, clothing, and environment. Offer both types for varied keepsakes.
| Shot Type | What it Emphasizes | How to Direct |
|---|---|---|
| Head-and-Shoulders | Facial expression and small touches | Have parents lean in, lower voices, capture three to five frames quickly |
| Three-Quarter | Hands, upper body posture, and connection | Step back slightly, include shoulders to hips, keep hands on shoulders |
| Full-Body | Environment, stance, and family spacing | Show feet placement, use gentle prompts, swap children without moving parents |
For more ideas, see a gallery at family-of-four poses. Use these tips to make each child shine in family photos.
Bring faces together: parents kneeling to kids’ level
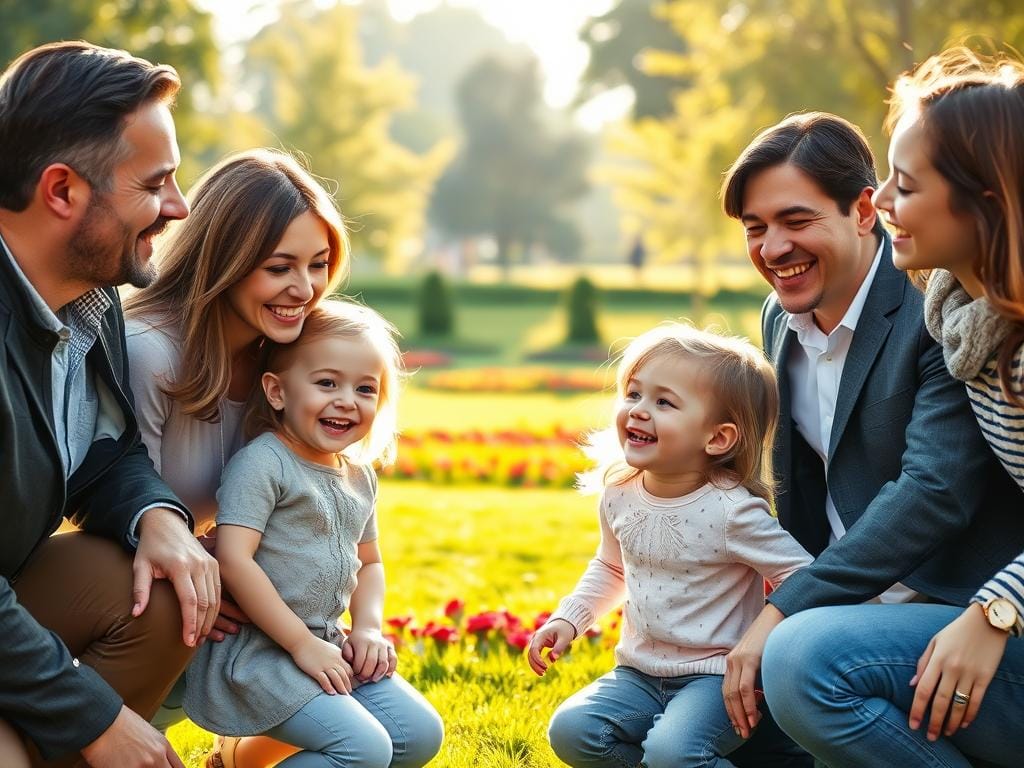
Kneeling or squatting makes parent and child faces the same level. This small change makes their interactions feel real and close. It’s great for posing families naturally to show connection without fake smiles.
Why matching eye level improves connection
When eyes are on the same line, we see the relationship right away. Lowering adults makes them seem closer and invites gentle eye contact. Photographers say faces look warmer and more intimate when this happens.
Alternatives when kneeling isn’t possible
Stools and benches are good for quick changes. Ask one parent to sit while the other kneels or sits back on their heels. This creates different height lines.
Putting a child slightly higher on a step or lap helps align faces. This is useful when there’s not enough space or mobility.
Styling advice so parents can move comfortably
Choose clothes that let parents bend and reach easily. Avoid flowy maxi dresses that get in the way. Opt for breathable fabrics and soft denim instead.
Neutral colors are best for photos. They let faces be the main focus. Try a slight diagonal height between parents to guide the eye through the frame.
This small change prevents a flat look and supports layered compositions. Use these tips during the shoot to keep things natural and flexible.
Look-at-each-other prompts to remove camera pressure
Short, fun prompts help families relax. They make natural poses. Ask simple questions that make everyone look at each other, not the camera.
Silly, specific prompts that trigger genuine reactions
Use lines like “Who loves pizza more?” or “Point at the person who sleeps the latest.” Lindsay’s method uses real habits to make everyone laugh. Teens often open up when their quirks are teased in a kind way.
Try fun dares like “Show your best movie villain face” or “Whisper the silliest nickname.” These make for natural poses on camera.
How to sequence prompts to build from quiet to playful moments
Begin with calm prompts to focus everyone. Ask them to look at one child, lean foreheads together, or hold a short silence. These quiet moments capture soft, intimate shots.
Slowly add sillier prompts. Mix calm with fun prompts. A calm shot, then a silly one, then calm again. This mix captures both tender and lively moments.
Using these prompts with older kids and teens to break resistance
With teens, use prompts that interest them or make them a little shy. Mention a favorite band or a private joke. Keep it light and private to avoid making them feel exposed.
Let teens suggest a prompt. This gives them control and makes them more likely to participate. These tips are key for working with preteens and teens who often resist formal poses.
Two front / two back and layered compositions for visual interest
Start by placing two people slightly closer to the camera. The other two should be a step or two behind and offset. Lindsay’s two-front/two-back technique keeps faces visible and adds depth without awkward blocking. This setup works well as one of the core family photo posing ideas when you want a natural, relaxed look.
How to stagger subjects so everyone is visible
Shift the rear pair laterally so they peek between the front pair. Ask the front subjects to turn their shoulders toward each other. That small angle opens sightlines and reduces overlap. For kids, lower your camera so their faces sit between adult heads.
Using shallow depth of field to keep focus on your chosen subject
Choose a wide aperture like f/2.8–f/4 to keep the front pair sharp and gently soften those behind. This draws the eye to your intended subject and forms a pleasing visual hierarchy. When children are in front, the soft background suggests motion and story; when parents lead, the blur centers interaction.
Variations for families of three and solo-child sessions
For a trio, bring the single child forward and place parents slightly back and offset. The child becomes the focal point while the parents create a supportive frame. In solo-child sessions, either include soft parental silhouettes in the background or exclude adults entirely for a tight, child-forward portrait.
Mix movement into layered setups to boost candid moments. Let kids step forward, then have parents follow slowly. That activity creates honest reactions that fit into layered family compositions and offers practical family photography tips during the same frame.
| Scenario | Lens & Aperture | Staging Tip | Typical Result |
|---|---|---|---|
| Two front / two back (kids front) | 35–85mm, f/2.8–f/4 | Lower camera; angle shoulders toward center | Kids sharp, parents softly blurred for motion feel |
| Two front / two back (parents front) | 50–85mm, f/3.5–f/5.6 | Parents closer; kids staggered behind | Adult-child interaction becomes focal point |
| Family of three | 35–85mm, f/3.2–f/5 | Child forward, parents offset and slightly back | Clear center subject with supporting layers |
| Solo child | 35–85mm, f/1.8–f/4 | Use or omit parents in soft background | Strong child focus; story or pure portrait |
Practical portrait photography techniques to flatten awkwardness
Make sessions calm by using tools and moves that reduce stiffness. Start with a simple plan: warm light, a friendly prompt, and camera settings that let you react. These techniques help you stay present and capture real moments.
Camera and lens choices for flattering family portraits
Choose lenses in the 35–85mm range for natural perspective. Use mid-range primes or zooms from Canon, Nikon, Sony, or Fujifilm that you trust. For groups, stop down to f/4–f/5.6 to keep everyone sharp.
When shooting close-up interactions, open to f/2.8 for soft backgrounds. These tips simplify decisions and speed up sessions.
Lighting basics: golden hour, soft shade, and fill flash tips
Golden hour brings warm skin tones and forgiving light. Expose to preserve highlights and let shadows fall softly. If the sun is high, move into open shade to avoid harsh contrast.
Use a reflector to lift eyes and soften shadows. For backlit scenes, add a subtle fill flash or a small portable strobe. This balances faces and background without overpowering natural light.
Quick exposure and focus settings to keep sessions moving
Keep camera settings simple: continuous AF with face-detect, burst mode for candid bursts, and shutter speeds at or above 1/250s. Raise to 1/500s or more for running or active prompts.
Choose spot or face-priority AF to lock on eyes. Pair that with ISO auto limits that preserve image quality. These settings let you focus on posing and prompts.
Fast, practical workflow
Start with one steady setup: test exposure on the closest face, confirm focus tracking, then call a short prompt. Use simple posing ideas like a walk, a whisper, or a gentle spin to trigger natural reactions.
When you keep exposure and focus simple, sessions move faster. Families relax, you shoot more frames, and the awkwardness flattens into genuine connection.
How to guide hands, feet, and posture without sounding bossy
Small, friendly directions can make stiff frames look warm and connected. Use clear tips that feel like a chat. Keep your cues short and kind. Let everyone know you want natural interaction, not perfect symmetry.
Simple cues for hands
Ask for easy placements like one parent tucking a hand in a pocket. Another can lay a gentle palm on a shoulder. Suggest wrapped arms around a child to create warmth.
Say, “squeeze in more” when siblings drift apart. These ideas make touches look authentic without overposing.
Foot placement and stagger
Avoid a straight line by offsetting weight onto one leg. Stagger front-to-back positions. Turn torsos slightly to create diagonal lines that soften posture.
For couples, ask one person to step a half-step forward. These small moves help reduce stiffness.
Micro-prompts to keep moments natural
Whisper a tiny action like “tickle your brother” or “tell them your secret.” Micro-prompts trigger real reactions without loud direction. Use them between camera clicks so laughter and eye contact feel earned.
Guide with supportive language and brief demonstrations. Phrases like “rest here” and “lean in a touch” work better than commands. This approach helps everyone relax and keeps the session moving.
Styling, locations, and prep that make natural posing easier
Choose clothes that move well. Lindsay Blackman says wear neutral, comfy outfits. Add layers for easy movement.
Styling should focus on texture and matching, not exact colors. Soft patterns and solid colors are best. They make faces stand out.
Find places where you can move freely. Parks, beaches, and fields are great for family photos. They let kids play and families move around.
In the Pacific Northwest, June to October has good light. But these ideas work all year. Look for big spaces, safe paths, and shade.
Bring snacks, a favorite toy, and extra shoes. This keeps everyone happy. Start with simple movements to get everyone relaxed.
Choose a photographer who knows how to make you smile. They should use fun, clear cues that fit your family.
Quick tips: 5 easy family photo ideas to break stiff smiles. 1) Walk hand in hand and look at each other. 2) Find out who loves pizza most. 3) Give quick kisses on both cheeks. 4) Sneak up behind parents. 5) Share funny secrets into a parent’s ear.
Want to share? Send this list to a friend who loves taking photos. Remember, adjust for everyone’s needs and safety. Weather and age can change how you use these ideas.
FAQ
What are quick fixes for stiff family photos?
Why does phrasing matter during a session and for web copy?
How does movement help create natural expressions?
What practical movement prompts should I use?
What camera settings and lenses work best for movement sequences?
How do I pose a family of four so it feels effortless?
What is the sandwich pose and when should I use it?
How does the two-front/two-back technique work?
How should I frame one-parent-with-both-kids portraits?
How do I swap parents efficiently during a session?
How do I pose one child with both parents to center the child?
Why kneel to get parents’ faces closer to kids’ level?
What alternatives exist when kneeling isn’t feasible?
How should families dress to allow natural movement?
What are effective “look-at-each-other” prompts?
How should prompts be sequenced during a session?
How do I work with older kids and teens who resist posing?
How do I stagger subjects so everyone remains visible in layered compositions?
What variations work for families of three or solo-child sessions?
What camera and lens choices flatter family portraits?
What lighting basics help make portraits feel natural?
What quick exposure and focus settings keep sessions moving?
How do I guide hands and feet without sounding bossy?
What micro-prompts work best to trigger real reactions?
How can I use shallow depth of field strategically in group shots?
Any quick shareable prompts I can send clients before their session?
Are these techniques adaptable for accessibility or mobility limits?
Struggling to get consistent photography clients?
Get More Photography Clients