
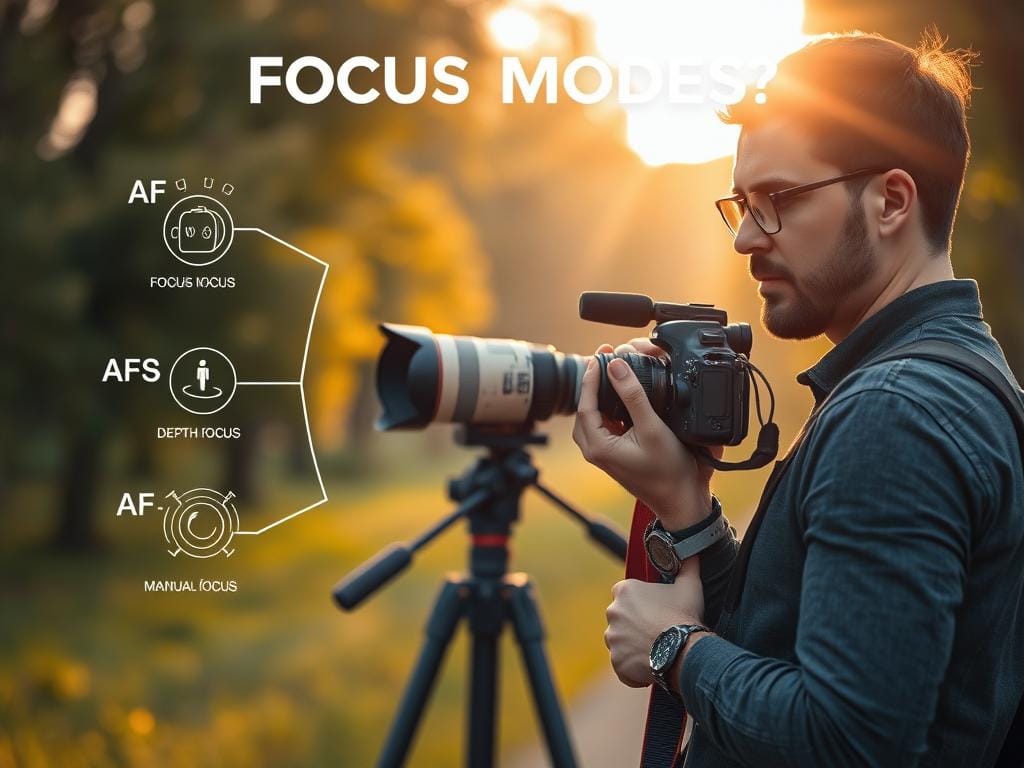
You’ve seen a perfect moment go by because your camera focused on the wrong thing. This shows us something key: we can’t leave focus to chance. The answer isn’t spending more on cameras. It’s learning how to use your camera’s focus modes.
It’s about setting the right autofocus settings and using tools like back-button focus. This way, you control when the camera focuses.
Ready to fix those missed shots? Learn when to use AF-S and AF-C. And avoid the “spray and pray” method. With easy steps and tips for Sony A7 III and A7 IV, you’ll get sharp photos every time.
Key Takeaways
- Missed shots usually come from relying on automatic focus behavior — decisive mode choice solves most problems.
- Understanding AF-S, AF-C, AF-A (and DMF) is the fastest route to consistent sharp photos tips in varied shooting situations.
- Single vs continuous autofocus matters: pick AF-S for static subjects and AF-C for moving ones to boost keep rates.
- Back-button focus gives you instant control and cuts down on menu switching, making autofocus settings photography work for you.
- Modern Sony bodies are quick, but the right setup and lens pairing are key for reliable results.
Understanding focus modes explained: why focusing is the first step to sharp photos
Focusing is the first step to a sharp photo. Before you think about ISO or how things are arranged, choose the right focus mode. This helps the camera focus on your subject.
What photographers mean by focus modes
Focus modes tell the camera how to find and lock focus. You have single-shot (AF-S or One-Shot), continuous (AF-C or AI Servo), automatic switching (AF-A or AI Focus), and hybrid/manual assist modes like DMF on Sony. Single-shot locks focus once it finds it. Continuous keeps adjusting focus while you hold the shutter button.
Automatic switching tries to switch between single-shot and continuous based on how fast the subject is moving. Hybrid modes let autofocus grab an initial lock, then you can fine-tune it manually.
How focus decisions affect depth of field and composition
The focus distance determines the sharpest plane. Aperture decides how much area in front of and behind that plane stays sharp. Wide apertures mean a shallow depth of field, so a small focus error can mess up your shot.
Using AF-S with a single point lets you lock focus on a subject, then move the camera and keep control. But, choosing AF-C while moving the camera is risky because it will keep adjusting focus.
Common mistakes that cause missed focus (including “spray and pray”)
Using all AF points and letting the camera choose often focuses on the nearest object. This could be grass, a branch, or a shoulder. Relying on AF-A for important shots can lead to unpredictable switching when the meter detects motion.
“Spray and pray”—taking many photos without focusing—can make your shots inconsistent, even with good equipment.
Mismatching mode to subject is a common mistake. Using continuous AF for portraits or single-shot for sports can lead to missed shots. Not testing your equipment together can cause surprises. Older lenses from Rokinon and some Sigma can act differently on Sony A7 bodies than native Sony or Zeiss optics.
Practical takeaway: learn each mode’s behavior, set a focus point, and avoid letting the camera choose unless speed is more important than precision. Consistent results come from pairing intent with the right autofocus settings and knowing when to use single vs continuous autofocus.
| Focus Mode | Behavior | Best Use | Common Pitfall |
|---|---|---|---|
| AF-S / One-Shot | Locks focus once when achieved | Portraits, landscapes, and static subjects | Fails on moving subjects if used incorrectly |
| AF-C / AI Servo | Continuously adjusts while shutter held | Sports, wildlife, and moving subjects | Recompose is unsafe; focus may shift from intended point |
| AF-A / AI Focus | Attempts to auto-switch between AF-S and AF-C | Run-and-gun situations needing flexibility | Can flip unpredictably and choose wrong subject |
| DMF / Manual Focus Assist | AF then allows manual refinement | Macro, product, and critical landscape focus | Requires practice to avoid accidental defocus |
Autofocus settings photography: the essential AF-S, AF-C, and AF-A explained
Choosing the right autofocus mode is key. It helps your camera focus when it matters most. This guide explains AF-S, AF-C, and AF-A to help you choose the best for your shot.
AF-S (Single-shot) — best use cases and recomposing technique
AF-S locks focus once you press autofocus. It’s great for portraits, landscapes, and product shots where you need precision.
To change your shot, place the single AF point on the subject’s eye. Press the shutter half-way or use back-button focus to lock focus. Then, move and shoot. This stops the camera from focusing on the wrong thing when you change your shot.
AF-C (Continuous) — tracking motion and when to hold focus
AF-C keeps updating focus while you hold the focus button. It’s best for sports, wildlife, and kids in motion because subjects move a lot.
Keep pressing the AF-ON or shutter half-way for steady tracking. Use tracking-area modes like Lock-On AF or Expand Flexible Spot to catch more. Some lenses and cameras work better than others in continuous mode.
AF-A/AI Focus — why automatic switching can confuse more than help
AF-A tries to switch between single and continuous modes based on movement. It’s meant to be helpful, but cameras often switch at the wrong time.
In scenes with many subjects or important shots, AF-A can be unpredictable. Many photographers choose AF-S or AF-C instead. This way, they avoid surprises.
| Mode | Behavior | Best Use | Pro Tip |
|---|---|---|---|
| AF-S (Single-shot) | Focus locks after activation | Portraits, landscapes, product shots | Use a single central point, hold focus, then recompose |
| AF-C (Continuous) | Focus updates while button held | Sports, kids, wildlife, moving subjects | Use tracking areas and hold AF-ON for steady tracking |
| AF-A / AI Focus | Auto-switches between AF-S and AF-C | Casual shooting when you want one-mode convenience | Avoid for critical work; choose AF-S or AF-C instead |
Single vs continuous autofocus: when to pick each for consistent sharp photos
Choosing between single and continuous focus is key for the shot you want. This guide helps match autofocus to your scene. It also gives sharp photos tips for real shoots.
Stationary subjects, portraits, and landscapes — choose AF-S
AF-S (single-shot) is best for things that don’t move. Portraits, buildings, and landscapes look great with a fixed focus point.
Press the shutter half-way to lock focus. Then, move to place your subject where you want. Many pros use AF-S as their go-to for steady shots.
Sports, kids, wildlife — choose AF-C and pair with suitable focus areas
AF-C (continuous) is for moving subjects. It’s great for catching runners, kids playing, and birds in flight.
Use AF-C with Lock-On AF, Expand Flexible Spot, or Zone AF for better tracking. Make sure your shutter speed is high to freeze the action. Test your lens and camera for autofocus before big shoots.
Switching pitfalls and the time-cost of changing modes mid-moment
Switching modes in the middle of a shot can cost you. Fumbling with dials during a sequence wastes time and messes up your flow.
Try back-button focus to avoid switching modes all the time. Assign AF to a thumb button for continuous tracking and focus locking. Sony, Canon, and Nikon cameras let you customize buttons for quick mode changes.
- Set AF-S for composed, static scenes to maximize accuracy.
- Use AF-C for active, unpredictable subjects and pair with area modes suited for tracking.
- Adopt back-button focus to simulate both behaviors without toggling menus.
Back-button focus: the quick fix that stops your camera from guessing
Back-button focus lets you focus and shoot separately. By using a rear button for AF, you avoid refocusing when you press the shutter half-way. This simple change helps you react faster and get better results.
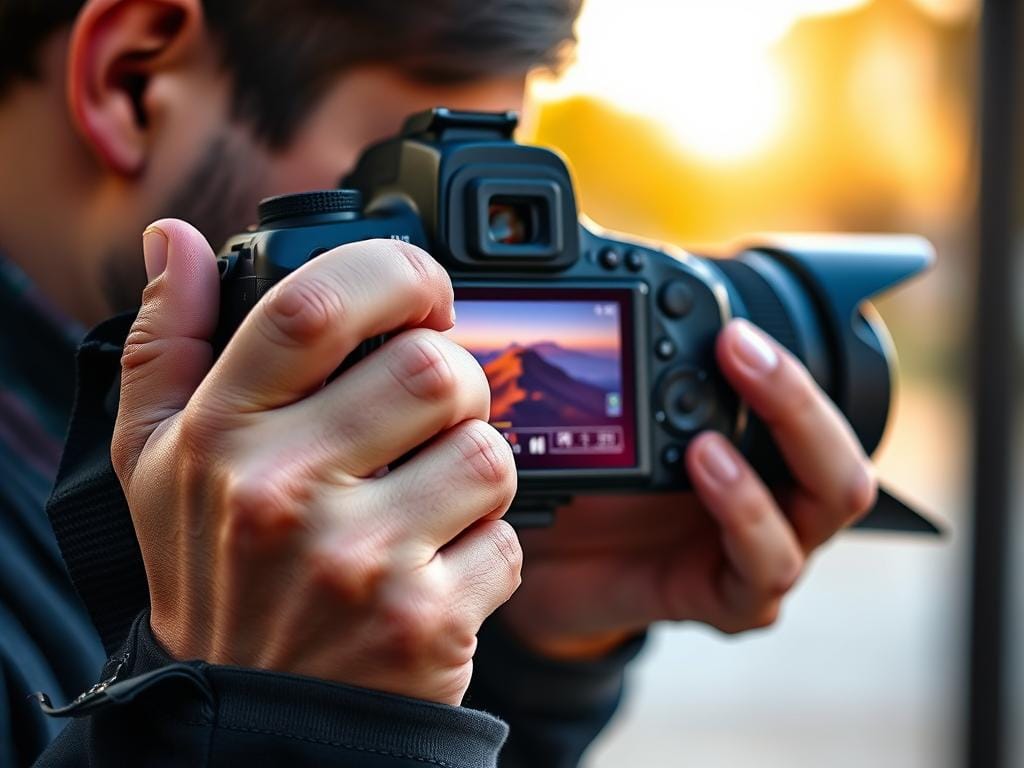
This method is easy but powerful. You can keep the AF button pressed for tracking moving subjects. Tapping it once locks focus, so you can change your shot without losing focus.
It works like this: holding the button is like AF-C for following subjects. Tapping and releasing is like AF-S for locking focus. This makes switching between tracking and single-shot easy, without needing to change menus.
Many pros use back-button focus for good reasons. At a wedding, you can focus on a face, then change your shot without losing focus. In sports or wildlife, it helps you track and freeze fast subjects. It’s also great for focus stacking or bracketing, keeping focus consistent.
It might take some time to get used to it. But many say they take better photos faster after a few tries. It works well with DMF and fine-tuning for precise shots.
Here’s a quick comparison to try back-button focus and see how it improves your photos.
| Use Case | Shutter Half-Press Behavior | Back-Button Focus Behavior | Best Practice |
|---|---|---|---|
| Portraits, recomposing | Camera may refocus on shutter press and shift point of focus | Tap AF-ON to lock, recompose, then press shutter independently | Use single-tap lock for precise eye focus |
| Action, sports, wildlife | Need to hold half-press; inconsistent if fingers move | Hold AF-ON to track continuously, release to lock for bursts | Hold for tracking, release for steady composition |
| Focus bracketing/stacking | Risk of accidental refocus between frames | Lock focus with AF-ON to keep the plane steady between frames | Use back-button lock to maintain consistent focus steps |
| Macro and DMF work | Switching modes or fighting autofocus can slow workflow | Use AF-ON to autofocus, then fine-tune manually without menu changes | Pair with DMF for quick AF plus manual refinement |
| Learning curve | Instant familiarity for most; habits form around shutter | Requires practice; most users prefer it after adapting | Give it a week of deliberate practice to gain speed |
How to set up back-button focus on Sony (newer menu system)
Set up back-button focus on Sony to make autofocus faster. This stops the camera from refocusing every time you press the shutter. Follow these steps for the newer Sony menu layout on recent A7 and A9 bodies. Try each step with a simple subject to see how it works.
Start by setting your camera to AF-C or DMF. Open AF/MF > Focus Mode and pick AF-C for continuous tracking. Choose DMF if you want autofocus first, then manual fine-tune.
AFM initially acts like AF-S. So, use it when you expect a brief lock then a tweak.
Turn off AF w/ Shutter to stop the half-press from focusing. Find “AF w/ Shutter” in AF/MF and turn it off. This makes focusing only with the AF-ON button and stops accidental refocus during important moments.
Map the AF-ON function to a button you like. Go to Setup > Operation Customize > Custom Key Settings while in photo mode. Pick the button you want, confirm AF-ON is assigned, and test it. Some Sony models have AF-ON preset. Make sure it’s mapped to avoid surprises.
Turn off focus beeps for quiet shooting. Go to Setup > Sound Option > Audio Signals and turn off the focus or confirmation beeps. This keeps wildlife and wedding scenes quiet while you work with back-button focus.
Practice the new workflow: press and hold AF-ON for tracking with AF-C, or tap AF-ON to lock focus and recompose. Use this routine to understand the difference between continuous tracking and a single focus lock. Pairing this setup with the right focus area sharpens results fast.
How to set up back-button focus on Sony (older menu system)
Older Sony cameras have great autofocus tools. But, the menu layout can hide the settings you need. This guide will help you set up back-button focus for portraits, wildlife, or sports.
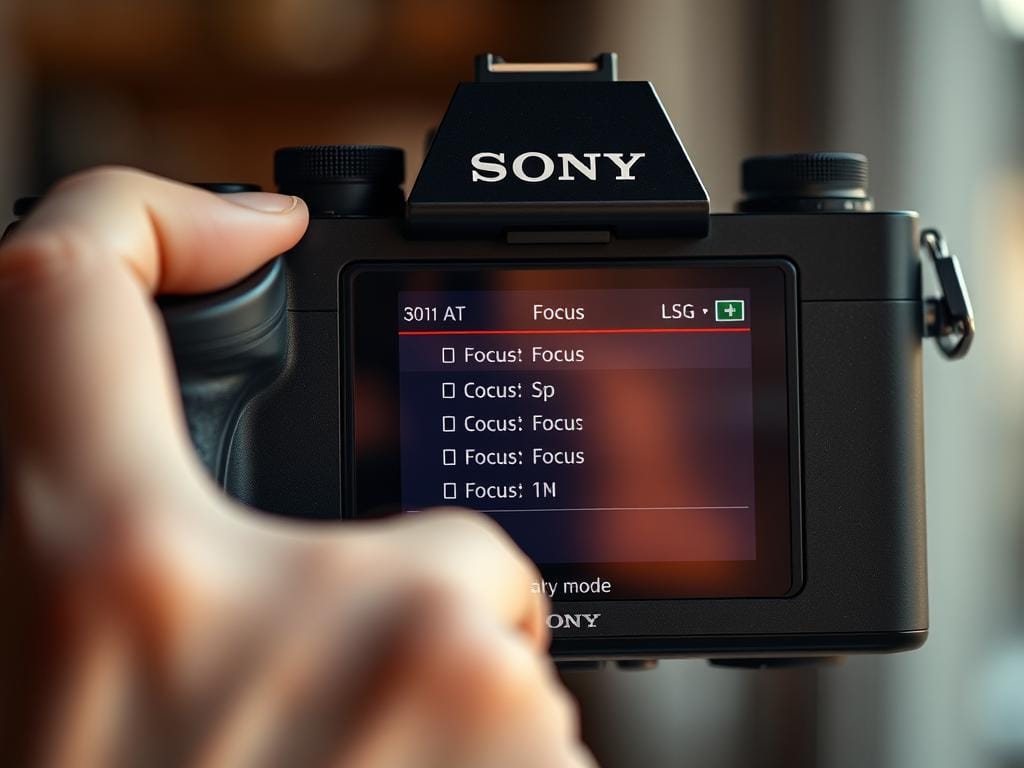
Find Focus Mode
Open the Camera 1 tab and go to AF1. Find Focus Mode and choose AF-C for continuous tracking. Or DMF for a mix of autofocus and manual.
Turn AF w/ Shutter off
Stay in the Camera 1 autofocus pages. Find AF w/ Shutter and turn it off. This stops the shutter half-press from starting focus.
Map AF-ON
Go to the Camera 2 tab and open Custom Operation1. Then, Custom Key Settings in photo mode. Assign AF-ON to your preferred button.
Some older models need you to be in the photo icon to map. Press AF-ON to lock focus. Hold it to track, and release to keep focus.
Troubleshooting tips
If AF-ON doesn’t work right, check the lens side switches. An AF/MF or full-time manual switch can change settings. Make sure you’re in photo mode.
Practice by tapping AF-ON, moving the subject, and checking if the camera tracks or holds focus.
The steps above make back-button focus work well on older Sony cameras. Use these settings and choose the right Focus Mode for your needs. This way, you’ll get consistent results when timing is important.
Focus points and focus area selection: pick the right point, not the most points
Where your camera focuses is more important than how many points it shows. A lens can only focus on one distance. If all points are active, it might focus on something not your subject.
Keep your settings simple and clear. Think of focus modes as a workflow, not just features. This helps you choose between single-point and area methods in autofocus settings.
Why “more AF points” doesn’t equal better focus
Many think more autofocus points mean sharper images. But it’s not that simple. With many points active, the camera picks one. This choice can be unpredictable in complex scenes.
Center point and single-point AF for precise subject selection
Single-point AF, often the center point, gives consistent results. Aim at the key part of your subject, like the nearest eye in a portrait. Lock focus and then adjust if needed. This is great for shallow depth of field or tight shots.
Flexible Spot, Expand Flexible Spot, and Zone — pros and cons
- Flexible Spot: Move a small spot to a chosen area. Good for precise placement when you can shift the point quickly. On bodies without a joystick this can slow you down.
- Expand Flexible Spot: Uses a small primary point plus neighboring points if focus struggles. Keeps control while improving hit rate on tricky subjects.
- Zone: Covers a larger block where the camera decides within the zone. Works well in busy scenes or when the subject fills an area. Less precise than single-point AF and may pick the wrong element inside the zone.
Practical rules to follow
- Choose single-point/center for portraits and any shot requiring exact focus.
- Pick Expand Flexible Spot or Lock-On when tracking moving subjects for a balance of control and camera help.
- Avoid leaving every AF point active during critical shallow-DOF work to reduce focus errors.
These choices depend on your camera setup and subject. Learning about focus points selection will help you avoid missed shots. It makes focus decisions faster in the field.
Practical Sony autofocus areas and features to exploit
Sony cameras have many focus areas and tools. They need a little practice to use well. This guide helps you know when to use automatic settings and when to choose others.
Wide area makes framing easy by finding the subject for you. It’s great for beginners and scenes with one main subject. But, it might pick the wrong subject in busy scenes.
Zone gives you more control but not as precise as a single point. It focuses on a part of the frame. Use it in busy scenes where your subject is in one area.
Center area focuses on the middle of the frame. It’s good for photographers who like to recompose after focusing. This area is useful in scenes where your subject is in the center.
Lock-On AF and Center Lock-On track subjects after you focus. They’re perfect for kids and subjects moving in the frame. Lock-On with Expand Flexible Spot is great for active subjects. Center Lock-On tracks without needing to hold a button, but you need to press another button to start.
Eye AF focuses on the subject’s eye. It’s great for portraits and works well in low light. Make sure it works on your lens and camera.
Using Sony autofocus areas well depends on good autofocus settings. Use AF-C for moving subjects and AF-S for static scenes. Test your camera and lenses to see how they track and focus.
| Focus Area / Feature | Best Use | Strengths | Weaknesses |
|---|---|---|---|
| Wide Area | Beginners, simple single-subject frames | Fast setup, automatic subject detection, minimal thinking | Can choose wrong subject in crowded scenes |
| Zone | Busy scenes with predictable subject placement | Balance of speed and control, fewer missed targets than Wide | Less precise than Flexible Spot for small subjects |
| Center Area | Recompose technique, deliberate framing | Reliable lock when you place subject centrally | Requires recomposition skill, not ideal for erratic subjects |
| Lock-On AF (Expand Flexible Spot) | Running kids, sports, unpredictable horizontal motion | Predictive tracking, excellent for subjects that cross frame | May lose subject when occluded or exiting frame edge |
| Center Lock-On | Continuous tracking without holding button | Keeps lock on subject with less finger work | Needs extra input to start, can struggle with heavy occlusion |
| Eye AF | Portraits and candid faces | Targets eyes directly, raises portrait hit rate | Fine details like lashes or hair can confuse detection |
DMF and manual assist: fine-tuning focus for critical shots
Direct Manual Focus (DMF) mixes fast autofocus with manual control. It’s great when you need a quick AF lock and then a small tweak to get it perfect. This method is key for photographers who want sharp focus fast.
DMF first locks focus, then you can adjust with the lens ring. On Sony cameras, this acts like single-shot AF. It won’t follow moving subjects, making it good for steady scenes.
When DMF outperforms full manual or AF modes
Use DMF for photos where things don’t move much. This includes landscapes, buildings, close-ups, products, and portraits. It’s faster than switching modes in menus. DMF is also better when autofocus struggles or focuses on the wrong thing.
Using focus assist/zoom in manual adjustments without breaking workflow
Use built-in focus magnification and peaking while adjusting focus. Many Sony models zoom in as you move the focus ring. This lets you check sharpness at the pixel level. Use peaking to quickly check focus and zoom in only when needed.
Practical workflow tip
- Pair DMF manual assist with back-button focus. Press AF-ON to engage AF, then refine with the focus ring for micro-adjustments.
- Keep shutter release separate to avoid accidental refocusing when you press the shutter.
- Use magnification sparingly to maintain composition and speed.
Sharp photos tips
Use DMF with the right aperture and steady camera. Choose a smaller aperture for more depth of field. Check focus closely with magnification and peaking before taking the photo.
Brief reminders
- DMF saves time over toggling modes for small corrections.
- It behaves as single-shot AF on Sony cameras, so plan for static subjects.
- Use focus magnification and peaking to confirm critical focus without breaking your flow.
Sharp photos tips: pairing focus mode with aperture, shutter speed, and lenses
To get sharp images, think about more than just autofocus. Match your camera settings with aperture, shutter speed, and lens strengths. This combo helps avoid missed shots and gets you sharp photos faster.
Depth of field affects how forgiving your photos are. Wide apertures like f/1.4–f/2.8 have a thin DOF. You need to focus exactly on the right spot, like the closest eye in a portrait.
For wide apertures, use single-point AF and back-button focus. This gives you precise control. It helps avoid the camera focusing on the wrong spot when you change your shot.
For a bigger depth of field, use f/5.6–f/11. This is good for group shots, landscapes, and when tracking is tricky. Smaller apertures can handle small focus errors, making more photos sharp.
Shutter speed affects motion blur, not focus. Use high shutter speeds to freeze fast subjects. For kids and sports, aim for 1/500s or faster, based on how fast they move and your lens.
For motion blur, lock focus first if the motion is predictable. Use AF-C for tracking during blur. This keeps your main subject sharp while adding creative blur.
Not all lenses work the same with autofocus. Some budget 50mm lenses might struggle in low light. But, high-end lenses like Sony G Master or Zeiss usually work better on cameras like the A7 III or A7 IV.
Test your lens and camera combo before important shoots. Check how well they track, perform in low light, and use Eye AF. If needed, switch to a known-good lens for reliability.
Here are some easy pairings for different shots:
- Portraits: AF-S or back-button AF + single point + aperture set for desired DOF.
- Action: AF-C + Lock-On or Expand Flexible Spot + shutter speed matched to subject speed.
- Event/reportage: smaller aperture, wider AF area, and steady shutter speed to raise keep rates.
Do a quick pre-shoot checklist to avoid last-minute issues. Make sure you know your focus modes, camera settings, and lens AF switches. This helps you stay focused and avoid mistakes.
| Scenario | Recommended AF Mode | Aperture Range | Shutter Speed Guideline | Lens Notes |
|---|---|---|---|---|
| Studio portrait | AF-S / Back-button AF | f/1.4–f/2.8 | 1/125s+ (subject static) | Use fast prime with reliable Eye AF |
| Children at play | AF-C + Expand Flexible Spot | f/2.8–f/5.6 | 1/500s–1/2000s | Prefer native zoom or G Master for consistent tracking |
| Group or event | AF-S or Wide area with back-button | f/5.6–f/11 | 1/125s–1/500s | Any sharp lens; stop down to increase DOF |
| Creative motion blur | AF-C (or lock then recompose) | Varies by effect | Slower speeds like 1/30s–1/125s | Lock focus when possible or use proven tracking lens |
| Landscape / macro | AF-S then fine-tune with manual or DMF | f/8–f/16 | Use tripod, shutter speed varies | Choose lenses known for edge-to-edge sharpness |
Practice routine and troubleshooting: give yourself time to adjust and fix common problems
Start a focused practice routine. Test one thing at a time. For example, try 30 minutes of AF-C with Lock-On at 1/500s, then 30 minutes of AF-S with single-point at f/1.8 for portraits.
Practice in real-life situations. Chase kids, track birds, or do headshots. Use back-button focus by tapping or holding AF-ON until it feels natural.
Fix problems by making simple changes. If the camera focuses on the background, use center single-point or Flexible Spot. If it hunts in low light, open the aperture or use focus assist.
Keep a list of your gear. Make sure firmware is up to date. If optics are wonky, get them serviced. Remember, it takes time to get used to new things.
Test your skills in different lighting and situations. This will help you master focus modes and get sharp photos every time.
FAQ
What are the core focus modes and how do they behave?
Why does choosing the wrong focus mode cause missed shots?
When should I use AF-S versus AF-C?
Is AF-A (automatic switching) a good idea for general shooting?
What is back-button focus and why should I use it?
How do I set up back-button focus on modern Sony A7 cameras (A7III/A7IV and newer menus)?
How do I set up back-button focus on older Sony menu systems?
What AF-area selection should I use for portraits with shallow DOF?
When should I use Expand Flexible Spot, Zone, or Wide-area AF?
How does Lock-On AF work and when is it useful?
How and when should I use DMF (Direct Manual Focus)?
How do aperture and shutter speed interact with focus choices?
Do lenses affect autofocus reliability with Sony bodies?
What are quick troubleshooting steps when focus keeps missing?
How long will it take to adjust to back-button focus and new AF workflows?
Struggling to get consistent photography clients?
Get More Photography Clients