
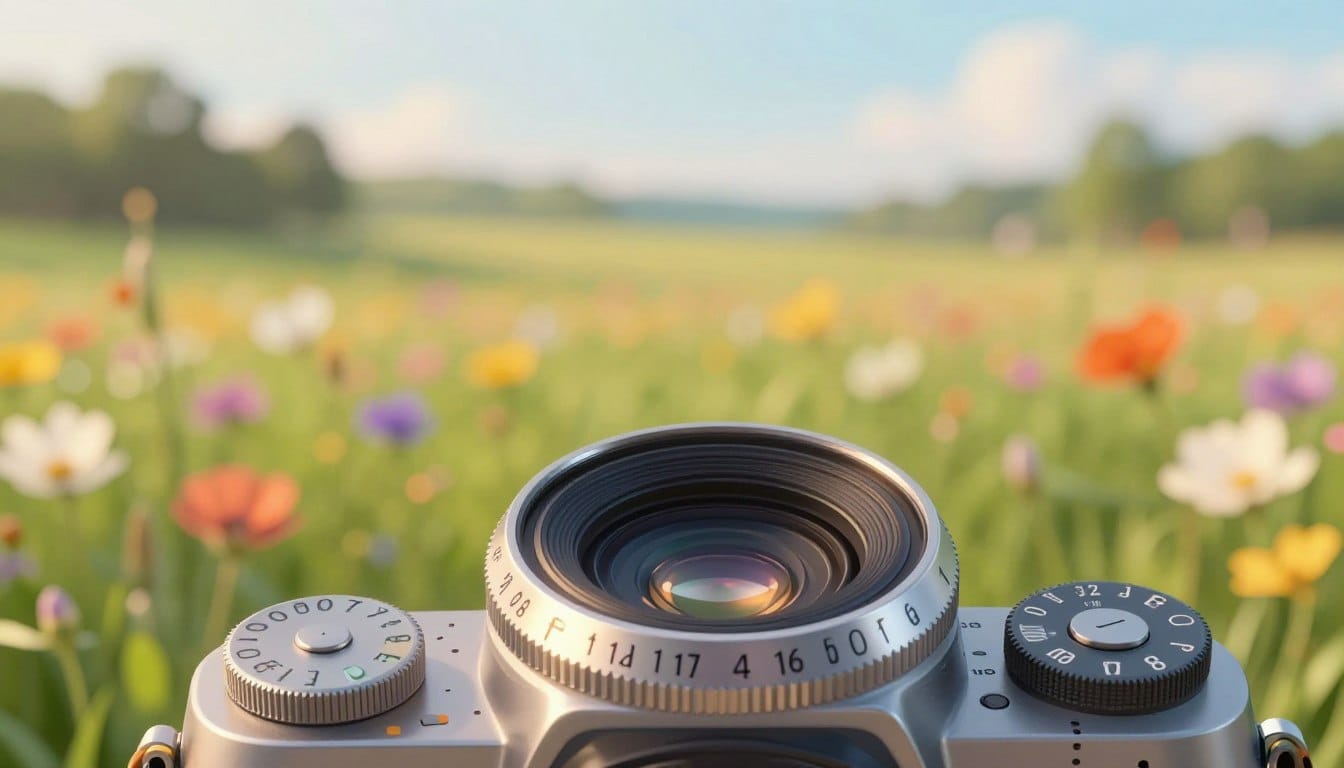
Have you ever wondered why some photographs seem to pop while others feel flat and uninspiring? The secret often lies in the lens settings, particularly aperture. This powerful tool can transform your images, creating stunning backgrounds that make your subjects stand out.
Many beginners struggle with their camera settings, often feeling overwhelmed by the options available. If you find your subjects blending into a messy background, you are not alone. Understanding how to manipulate aperture can help you isolate your subject, producing that coveted professional look.
In this article, we will guide you through the basics, moving you away from auto mode and empowering you to take control of your creative output. Grab your gear and prepare to elevate your photography skills as we simplify these complex concepts into actionable steps.
Key Takeaways
- Mastering aperture is essential for achieving beautiful background blur.
- Adjusting this setting can help isolate your subject effectively.
- Learning these techniques can elevate your photography from amateur to professional.
- Understanding your camera’s capabilities is key to creative expression.
- Even seasoned photographers can benefit from revisiting this fundamental concept.
Understanding Aperture and Its Impact on Photography
Some photos draw you in, while others barely register; what makes the difference? The answer often lies in the aperture, which serves as a crucial element in photography. This physical opening in your lens acts like a doorway, determining how much light reaches your camera’s sensor.
Historically, the understanding of light began with early experiments. In the 10th century, the Arabian scientist Abu Ali Hasan explored the properties of light using glass spheres. His foundational work laid the groundwork for modern optical science.
Mastering this concept is vital for any photographer. Widening the aperture allows more light to enter, making it essential for shooting in low-light conditions. Conversely, narrowing the opening limits light, which is useful in bright settings. By adjusting the aperture, you not only manage exposure but also control how much of your scene remains sharp.
| Aperture Setting | Light Entry | Scene Sharpness |
|---|---|---|
| Wide (f/1.4) | High | Shallow Depth of Field |
| Medium (f/5.6) | Moderate | Balanced Depth of Field |
| Narrow (f/16) | Low | Deep Depth of Field |
Identifying Common Background Blur Challenges
The backdrop of your images can significantly alter their impact. A distracting background can easily pull focus away from your main subject. Recognizing this is the first step toward better photography.
If you spot trash cans, power lines, or busy crowds behind your subject, it’s time to adjust your settings. A professional photographer understands that the background should complement the subject, not compete for attention.
By employing a shallow depth of field, you can transform a chaotic urban environment into a soft, painterly wash of colors. This technique highlights your subject beautifully. Remember to look through your viewfinder and ask yourself: does the background add to the story, or is it just a visual nuisance?
For more tips on achieving that perfect blur, check out this helpful guide.
How to Use Aperture in Photography for Creative Control
The art of photography often hinges on the decisions you make behind the lens. When you stop letting the camera dictate your settings, you unlock creative potential. Making intentional choices about your aperture is the first step.
Choosing a wide aperture is a deliberate artistic decision. It isolates your subject, allowing it to stand out against a blurred background. This control helps dictate the mood of your image, whether you want a dreamy, romantic feel or a sharp, documentary style.
Experimenting with different aperture values reveals how the camera can transform a scene. Each setting changes the character of your image based on your vision. Mastering these settings leads to consistent results, allowing you to capture exactly what you envision.
| Aperture Setting | Effect on Subject Isolation | Recommended Use |
|---|---|---|
| f/1.4 | Strong Isolation | Portraits |
| f/4 | Moderate Isolation | Close-ups |
| f/8 | Minimal Isolation | Landscapes |
Decoding F-Stops and Depth of Field Dynamics
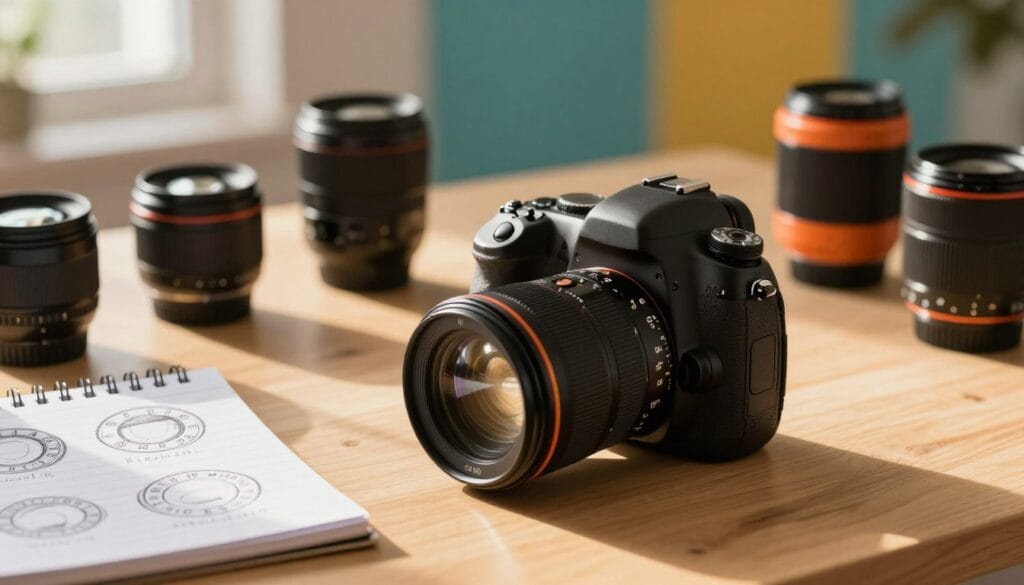
Understanding the intricacies of f-stops can elevate your photography game. The f-stop number is a mathematical ratio that defines the size of the aperture opening in your lens. In 1858, John Waterhouse revolutionized the industry by introducing selectable aperture sizes, allowing photographers more control over their images.
When using a 50mm lens at f/8, your depth of field is approximately 2 feet. This setting keeps a larger portion of the scene in focus. However, switching to f/2 reduces the depth of field to just 0.6 feet, resulting in a dramatic background blur that emphasizes your subject.
Charles Chevalier was instrumental in refining lens technology during the 1800s. His work led to the development of iris diaphragms, which are still used today. While f/1.4 is a common maximum aperture for low-light situations, f/32 is often the smallest aperture setting. Be cautious, as using such a small size can introduce unwanted diffraction.
Understanding these numbers is vital. A higher f-stop number actually results in a smaller physical opening in your lens, affecting both exposure and sharpness.
Selecting the Perfect Aperture Settings for Your Shot
Choosing the correct aperture can dramatically influence the quality of your photos. It’s essential to understand the different modes available on your camera to maximize your creative potential.
Aperture Priority mode, often marked as ‘A’ or ‘Av’, allows you to set the aperture while the camera manages the shutter speed. This feature is particularly useful for beginners. It enables you to see how your aperture choices affect the final image.
Daniela Cuevas, a talented photographer on Unsplash, demonstrates the importance of selecting the right aperture. Her landscape images showcase how the correct settings can create immersive scenes.
On the other hand, Manual mode offers total control over all settings. This is crucial in complex lighting conditions, allowing you to adjust both aperture and shutter speed as needed. For landscapes, a different aperture is often required compared to portraits, ensuring the desired sharpness.
Integrating Shutter Speed, ISO, and Aperture for Balanced Exposure
Creating stunning images requires understanding the interplay of exposure elements. The exposure triangle consists of aperture, shutter speed, and ISO, which must work in harmony to create a perfectly balanced image.
If you decide to use a wide aperture to let in more light, you must adjust your shutter speed to ensure the image is not overexposed. ISO acts as the third pillar, allowing you to increase your camera’s sensitivity to light when you cannot widen your aperture any further.
Balancing these three settings is a skill that takes practice, but it is the foundation of all great photography. Remember that changing your shutter speed to compensate for a small aperture can lead to camera shake, so use a tripod if necessary.
If you are ready to take your professional journey to the next level, click here: Want to Start Your Own Photography Business?
Techniques for Achieving Beautiful Shallow Depth of Field
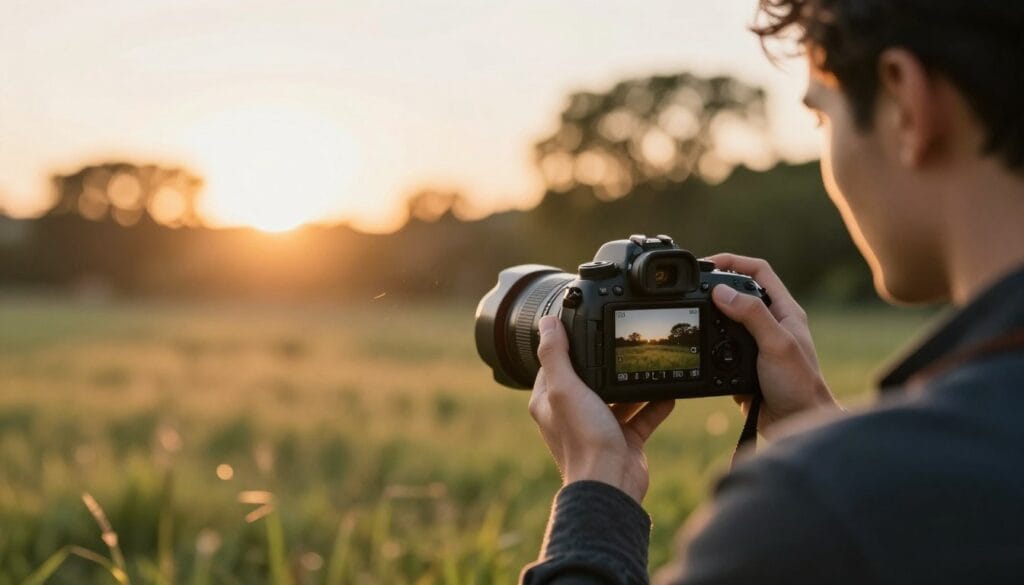
Every photographer knows that the right techniques can elevate an image from ordinary to extraordinary. One of the primary methods for achieving a beautiful shallow depth of field is by using wide apertures. This approach helps isolate your subject from a busy background, creating a stunning effect.
For instance, Aaron Burden captured a remarkable image of a bee that perfectly illustrates the power of a shallow depth of field. The subject stands out beautifully against a soft backdrop, drawing the viewer’s attention.
Bokeh, the aesthetic quality of the blur in out-of-focus areas, is another technique that enhances your images. Photographers like Osman Rana showcase the artistic potential of bokeh effects in their work.
To achieve the best results, use your widest aperture and get as close to your subject as your lens allows. This combination creates a beautiful, creamy blur that makes your subject pop instantly.
Troubleshooting Common Aperture Issues in Low Light
Low light conditions can be tricky for photographers, often leading to frustrating results. When faced with dim lighting, you might feel inclined to use a very small aperture. However, this can lead to diffraction, which diminishes the sharpness of your images.
Diffraction occurs when light waves pass through a tiny opening, resulting in a loss of detail. This is particularly noticeable at settings like f/22. If your photos appear soft, check your settings to see if you’ve mistakenly set your aperture to a high number, a common error among photographers.
Instead of closing your aperture too much, consider using a faster lens or increasing your ISO. These adjustments can help maintain a clean, sharp image even in challenging lighting conditions. Always test your lens to find its “sweet spot,” which is typically a few stops away from the widest aperture setting.
Optimizing Camera Settings and Lens Choices for More Light
The right combination of camera settings and lens choices can significantly enhance your ability to capture light. Understanding these elements is essential for photographers aiming to improve their craft.
Choosing the right lens is just as important as your camera settings, especially if you want to capture more light in dark environments. Prime lenses are often preferred by professionals because they typically offer a wider maximum aperture than standard zoom lenses.
When you invest in a lens with a wide aperture, you gain the ability to shoot in conditions that would be impossible with a kit lens. This investment can elevate your photography by allowing for better performance in low-light situations.
Additionally, explore the different modes on your camera to see how they handle aperture. Some modes are designed specifically for fast-paced action or low-light scenarios, making them invaluable tools in your photography toolkit.
A high-quality lens will allow you to push your aperture to its limits while maintaining excellent image quality and sharpness. This combination can make a noticeable difference in your final images.
| Lens Type | Maximum Aperture | Best Use |
|---|---|---|
| Prime Lens | f/1.4 – f/2.8 | Low-light conditions |
| Standard Zoom Lens | f/3.5 – f/5.6 | General photography |
| Wide-angle Lens | f/2.8 – f/4 | Landscapes |
Creative Tips and Aussie-Inspired Humor in Photography
Capturing the perfect image often comes with a side of humor and unexpected mishaps. If you’ve ever tried to photograph a kangaroo in the outback, you know that having the wrong aperture can lead to a blurry disaster.
I once spent an entire afternoon trying to capture a sunset, only to realize I had my aperture set to f/22. The result? A dark, muddy mess that made my heart sink.
It’s a bit like trying to surf at Bondi Beach with a surfboard that’s far too small; you might look the part, but you’ll end up in the drink!
Don’t be afraid to make mistakes. Even the best photographers have had their fair share of “what was I thinking” moments in the field. The best way to learn is to get out there, make a few blunders, and laugh about them while you refine your technique.
Final Reflections on Mastering Aperture for Better Background Blur
Creating memorable images is a blend of art and science, each shot a unique expression. Mastering aperture is a journey that transforms your photography from mere luck into a deliberate, creative process.
By controlling depth of field, you gain the power to dictate what viewers see in your images. Remember, every aperture choice is a balance between light, sharpness, and the artistic blur you wish to achieve.
Keep practicing with your camera, experimenting with various f-stops, and observing how light alters your shots. Your photography will evolve as you start using these tools to tell your visual stories with confidence and precision.
FAQ
What is the purpose of aperture in photography?
How does aperture affect depth of field?
What are f-stop numbers?
How can I achieve a blurred background in my photos?
What is the relationship between shutter speed and aperture?
What is the difference between aperture priority and manual mode?
How can I minimize diffraction in tight settings?
What lens should I choose for portrait photography?
How do I know which aperture mode to use?
What are some tips for achieving stunning bokeh effects?
Struggling to get consistent photography clients?
Get More Photography Clients