
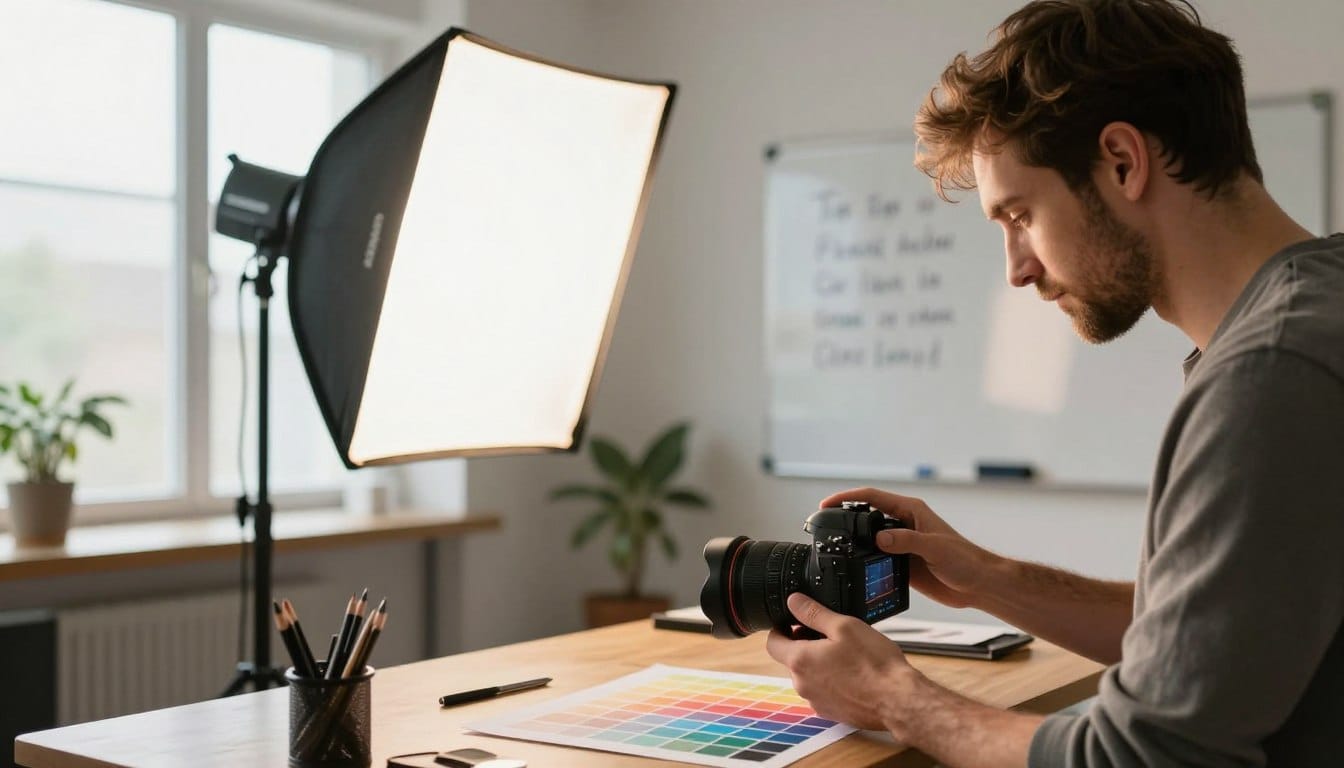
Have you ever taken a photo and wondered why your subject looks like they’ve been trapped in a blue-tinted freezer? You’re not alone! Many struggle with odd color casts that can ruin an otherwise perfect shot.
Understanding how to adjust color settings in your camera is crucial for achieving natural-looking images. The secret lies in mastering the art of adjusting light interpretation. This skill allows you to turn muddy highlights into crisp, professional results in just a few simple steps.
Whether you’re shooting in the harsh midday sun or under flickering indoor bulbs, grasping how your camera interprets light is the first step toward creative control. Stop letting your camera dictate the mood of your shots. Instead, learn to use these techniques to ensure your colors are vibrant and accurate.
For a deeper dive into mastering this essential skill, check out this resource.
Key Takeaways
- Mastering color adjustments can enhance your photos significantly.
- Understanding light interpretation is key to achieving accurate colors.
- In-camera settings can prevent unwanted color casts.
- Post-processing tools can help fix color issues quickly.
- Experimenting with different light conditions improves your skills.
Understanding White Balance in Photography
Color temperature is a crucial concept in photography that directly affects how your images appear. It is measured on the Kelvin scale, where values below 5000K lean toward warm, yellowish tones, while those above 5000K shift toward cool, bluish hues. Understanding this scale is essential for achieving accurate color representation in your photos.
For instance, a candle flame sits at a low 2000K, creating a warm glow, while a clear blue sky can exceed 10,000K, imparting a cooler tone. Your camera’s sensor interprets these varying temperatures differently than the human eye, often capturing unwanted color casts. “The role of light in color accuracy is paramount,” as the sensor does not adapt like our eyes do.
By learning the relationship between Kelvin values and color, you can anticipate when adjustments are necessary. This knowledge empowers you to achieve a neutral, professional look in your images, ensuring that your subjects are represented accurately and beautifully.
Identifying the Problem: When Photos Have Unnatural Colors
Unnatural colors in photos can be a common frustration for many. Understanding how to identify these issues is the first step in correcting them. Often, unwanted tints appear as an orange glow under tungsten bulbs or a blue hue in shaded areas.
For example, when your subject stands under a street lamp, the camera may misinterpret skin tones. This can lead to an overly warm or muddy appearance. Common color casts occur when the camera’s sensor is overwhelmed by a dominant light source that strays from the standard neutral point.
If you notice your whites appear gray or shadows have a strange magenta tint, your settings may not be effectively neutralizing ambient light. Learning to spot these issues in the field allows for adjustments before taking the shot, saving time and effort during editing.
- Identifying a color cast is crucial for fixing your images.
- Fluorescent lighting can introduce a greenish tint, affecting skin tones.
- Pay attention to how light sources impact your photos.
- Adjust settings based on the light conditions to achieve better results.
Quick Fixes to Get Your Colors Back on Track
Isn’t it annoying when your camera captures colors that don’t match reality? Fortunately, there are quick solutions to get your colors back on track. Most modern cameras can perform a basic white balance correction in under 90 seconds using the Auto White Balance (AWB) mode.
To fix your colors in 60-90 seconds, simply switch your camera to Auto White Balance (AWB) and take a test shot to see if the color cast disappears. If the auto white setting fails to produce a neutral result, manually select the ‘Cloudy’ or ‘Tungsten’ preset to force the camera to compensate for the specific lighting.
For those in a rush, shooting in RAW format is the ultimate safety net. This format allows you to adjust the white balance perfectly after the shoot is over. Remember that the auto white setting is designed to handle most standard conditions, but it will often struggle when you are dealing with mixed light sources.
By keeping your camera in a state of readiness, you can ensure that your color temperature is always close enough to neutral to make final adjustments a breeze.
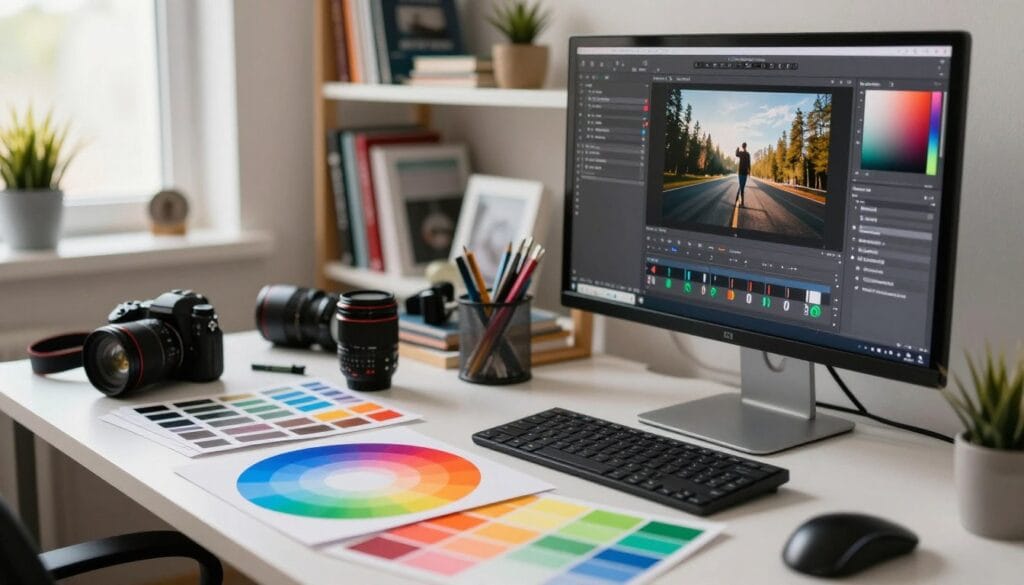
white balance photography tips for Every Situation
Navigating through various lighting conditions requires a keen understanding of your camera’s settings. This is especially true when choosing between auto white and custom settings. Each option has its advantages and limitations.
Auto White Balance (AWB) is generally effective for color temperatures between 3000K and 7000K. However, it can struggle in certain situations. For instance, large areas of a single color, like a bright green field, can confuse the camera.
When deciding between auto white and manual control, consider your environment. Complex lighting often demands a more careful approach to color management. Trusting the auto white balance means relying on the camera’s internal algorithm to interpret the scene’s color temperature accurately.
On the other hand, custom settings offer the precision needed for professional work. This is particularly beneficial in studio settings where the light source remains constant. Mastering the transition between these two modes gives you the flexibility to handle everything from spontaneous street photography to carefully controlled product shoots.
| Setting Type | Best Use | Pros | Cons |
|---|---|---|---|
| Auto White Balance | General shooting | Convenient and fast | Can misinterpret colors |
| Custom Settings | Studio and controlled environments | Precision and accuracy | Requires more time and knowledge |
| Preset Modes | Specific lighting conditions | Quick adjustments | Limited flexibility |
In-Camera Techniques to Master White Balance
Mastering your camera’s settings can transform your images from ordinary to extraordinary. Understanding how to use presets effectively and setting a custom white balance are key techniques every photographer should know.
Using presets effectively requires you to understand that the ‘Shade’ setting adds warmth to counteract the cool blue light found in shadowed areas. Presets like ‘Tungsten’ or ‘Fluorescent’ are pre-programmed to neutralize specific light sources, making them a great starting point for beginners.
To perform a custom white balance, place a neutral gray card in front of your lens, take a reference shot, and tell your camera to use that as the baseline. Many photographers find that using a gray card is the only way to achieve perfect color accuracy when shooting products for high-end commercial clients.
By taking the time to set a custom white balance before you start shooting, you ensure that every single image in your series has a consistent color profile.
| Technique | Description | Best Use |
|---|---|---|
| Presets | Pre-programmed settings for common light sources | Quick adjustments in varied conditions |
| Custom White Balance | Using a gray card for precise color accuracy | Studio and product photography |
| Shade Setting | Adds warmth for shadowed areas | Outdoor shooting in the shade |
Enhancing Your Images in Post-Processing
Is it frustrating when your camera fails to capture the true essence of a scene? Fortunately, software like Adobe Lightroom and Photoshop offers powerful tools to enhance your images significantly. With these programs, you can make practical adjustments to achieve the color accuracy you desire.
In Lightroom, the eyedropper tool is your best friend. It allows you to sample a neutral area in your image, instantly adjusting the temperature and tint sliders for optimal balance. This simple step can dramatically improve the overall look of your photo.
For those seeking advanced corrections, Photoshop provides more control. Using adjustment layers, you can target specific color channels, allowing for precise tweaks that go beyond basic sliders. If you shot your image in RAW format, you can modify the white balance without losing quality, a major advantage over JPEG files.
Here are some practical tips for effective adjustments:
- Use the eyedropper tool in Lightroom to find a neutral gray point.
- In Photoshop, leverage adjustment layers for targeted corrections.
- RAW images allow complete white balance changes without quality loss.
- Fine-tune the tint in Lightroom to eliminate any green or magenta casts.
- Modern editing software can rescue color fidelity with just a few clicks.
| Software | Key Feature | Best Use |
|---|---|---|
| Adobe Lightroom | Eyedropper tool for neutral sampling | Quick adjustments |
| Adobe Photoshop | Adjustment layers for color channels | Advanced corrections |
| RAW Format | Flexible white balance adjustments | High-quality image editing |
Creative Approaches: Using White Balance for Mood and Storytelling
The choice of color in your images can significantly influence how viewers perceive the scene. By adjusting the settings on your camera, you can create different emotional responses through color.
For instance, adding a cool blue cast to a landscape can evoke a sense of peace or cold. In contrast, a warm yellow cast can create a nostalgic, sunset-like mood.
Here are some creative ways to use color casts:
- Deliberately choose a setting that does not neutralize the light to enhance the mood.
- For a moody, cinematic look, shift your settings toward the cooler end of the spectrum.
- Warming up a photo can make a portrait feel more inviting and intimate.
- Breaking the rules of color accuracy allows you to tell a more compelling story.
- Experimenting with these artistic color casts helps develop a unique signature style.
| Color Cast | Effect | Best Use |
|---|---|---|
| Cool Blue | Evokes calmness or cold | Landscapes and winter scenes |
| Warm Yellow | Creates nostalgia | Sunsets and intimate portraits |
| Neutral | Standard color accuracy | General photography |
Adapting White Balance for Different Lighting Conditions
Capturing the perfect shot requires adapting your settings to the unique lighting conditions around you. Each environment presents its own challenges, whether you’re outdoors or indoors. For example, the light on a cloudy day is much cooler compared to the warm hues of sunset during the golden hour.
When shooting indoors, be ready to tackle mixed light sources. Daylight streaming through a window can clash with warm artificial lights, creating a tricky scenario for your camera. Daylight settings usually offer a neutral balance, but heavy clouds or fog can alter this. In such cases, adjusting your white balance is crucial to keep colors accurate.
Urban environments pose their own challenges as well. Streetlights often cast a strong orange glow, requiring a lower Kelvin value to neutralize. Practicing in various situations helps you quickly identify the light source. This skill ensures your colors remain true to life, no matter the conditions.
A 7-Day Plan to Improve Your White Balance Skills
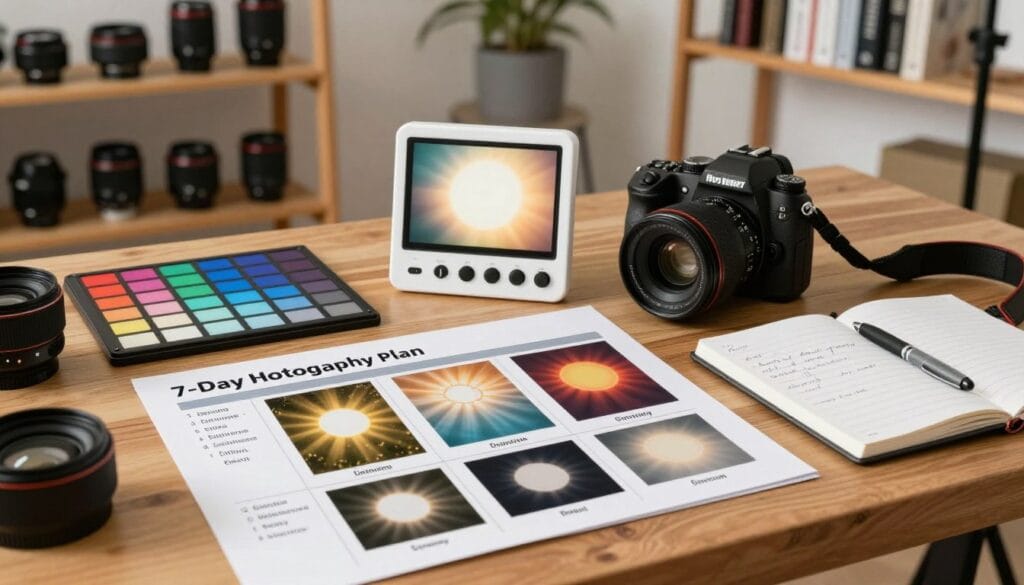
Do you want to elevate your photography by mastering color adjustments? A structured 7-day practice plan can help you transition from relying on auto settings to confidently managing manual Kelvin control.
Here’s a step-by-step guide to enhance your skills:
- On the first day, shoot the same subject using different white balance presets. Observe how the colors change in real time.
- On the second day, use a gray card to set a custom white balance. Compare these results to your camera’s automatic mode.
- Dedicate time each day to analyze your photos in post-processing software. This will help you improve the color accuracy of your RAW files.
- By the end of the week, you should be able to estimate the color temperature of a scene before picking up your camera.
- Consistent practice is key. This will make technical concepts second nature, allowing you to focus on composition rather than settings.
Final Reflections on Your White Balance Journey
Your exploration of color management can transform your approach to capturing moments. Mastering this skill is a journey that elevates you from a casual shooter to a photographer who understands the language of light.
While technical accuracy is important, your creative vision should always be the primary reference point for your final images. Many professional photographers rely on auto settings for quick shots but know when to switch to manual for total control.
Don’t hesitate to experiment with your camera settings. The best way to learn is through trial and error in various environments. Keep practicing and shooting, and soon fixing strange colors will become an effortless part of your creative process.