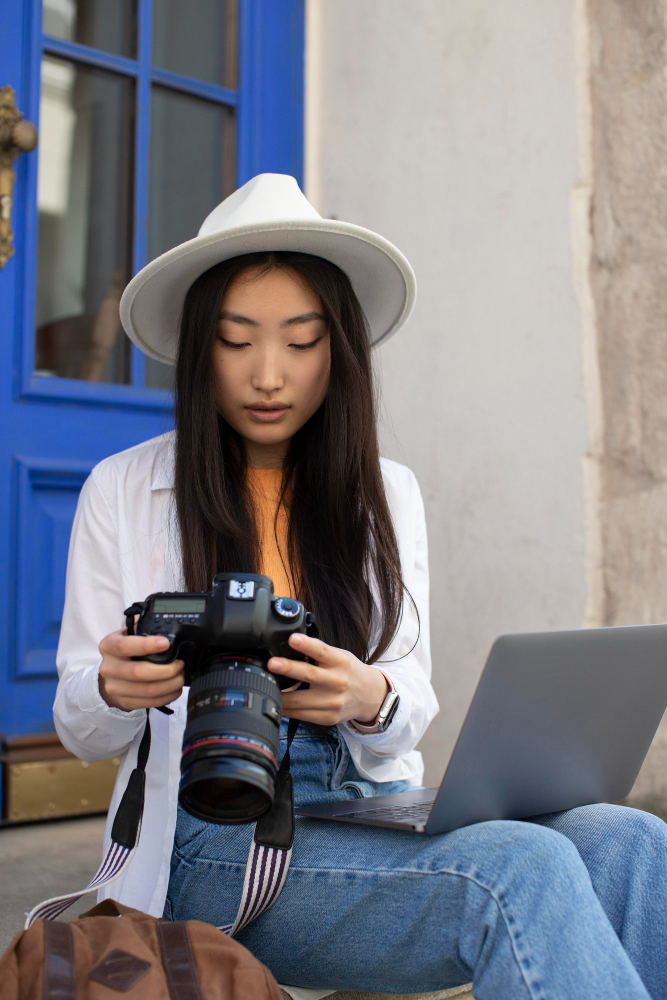
How often do you find that the outdoor portrait you are about to take is the only chance you’ll ever get before the subject is leaving to go on a long trip? Or perhaps the sunset will never be the this beautiful again during these few moments. Or a rare bird just landed right in front of you. These things happen all the time, and you have to be prepared or that perfect picture will forever exist only in your memory, as a “might have been”. Here are ten tips on reducing the risks of outdoor portrait failure, so that you will be able to catch life when it happens.
1. Capture the candid moments. Candid photography is about capturing spontaneous moments. It is neither posed nor forced; it is not intrusive. The idea is to get people to either ignore the camera and continue with their activities and treat you as a fly on the wall. Photos taken this way tend to look more realistic. For instance, taking a photo at a kid’s birthday party while they don’t know you’re around. If you’re interacting with the people you want to photograph, instead of the forced smile you get after you say ‘cheese’, try making them laugh.
2. Get down to your subject’s level. If you shoot all of your subjects from your level, they might appear disproportionate. Try squatting down to shoot kids and pets, to get them at eye level. Getting low also is useful even for presenting your subject as taller, more authoritative, or more important.
3. Watch the head space in shooting portraits. When shooting close-up in portrait, the rule of thumb is to fill two-thirds of the frame with your subject, leaving just enough space above their head. This will improve your composition by filling the frame with your subject instead of with empty space.
4. Shoot in portrait instead of landscape. This is worth exploring if you’re photographing people, pets, or buildings. When shooting in a landscape orientation there really isn’t any way of getting close enough without still leaving empty space next to the subject. For some reason, even though digital cameras are not bound by the limitations of earlier models, manufactures still don’t get the concept that the camera should either be made to be easy to manipulate in both orientations, or have multiple frame setting that can work no matter how the camera is held.
5. Avoid distracting backgrounds that detract from your subject. The background is after all just as important as the person you’re shooting. Take a minute to look through the viewfinder, searching for distractions, such as lampposts or trees behind your subject that look like they’re growing from their head. Sometimes just moving your subject a little makes all of the difference.
6. Avoid direct sun. The light is softer in the early morning and late afternoon, and much more pleasing than harsh direct sunlight. Unless it’s cloudy, midday is the worst time of the day to photograph people outdoors. Either people will squint, or their eyes will be cast in shadow, or the shadows in the background will become black blobs in the picture. If this is your only choice, don’t forget to use a lens hood to avoid flare, and never shoot directly into the sun.
7. Use fill flash. When the sun is behind your subject, your camera’s light sensor might misread the scene and calculate that there’s enough light hitting the subject and the flash won’t automatically fire. Manually override this function and use flash to fill in dark shadows and balance the exposure.
8. Focus on your subject. You’ve lost the photo if the background is in focus and your subject is not. If you press the shutter halfway down, most cameras have a focus point that will display in the viewfinder. Setting the focal point to your subject with a wide expanse of open space behind them will make the background blurry, which may be a good or bad thing depending on the effect you were going for.
9. Get up close and personal. That’s the funny thing about the outdoors; it’s so roomy! But don’t be fooled into standing just anywhere and snapping away. In some cases, you might even want to crop so closely that you cut out part of the subject, in order to focus on their face.
10. Shoot at highest possible resolution. You never know when you are going to get that one shot that deserves to be enlarged. These days, memory on cameras is hardly a concern; computer memory is literally dirt cheap. If you got stuck with a dinky model with a USB port, carry a USB flash-memory thumb drive, the kind that fits on a key chain. These things can store some ten gigabytes by the time of this writing, and probably more by the time you read it. And use image formats that have no-loss compression, or even no compression at all, such as PNG, TIFF, and RAW.Most often good results are gained from portrait photos when you are in control of the subject’s pose.
You can get instant access to affective posing techniques and control at mastering camera friendly poses for portraits here.

