
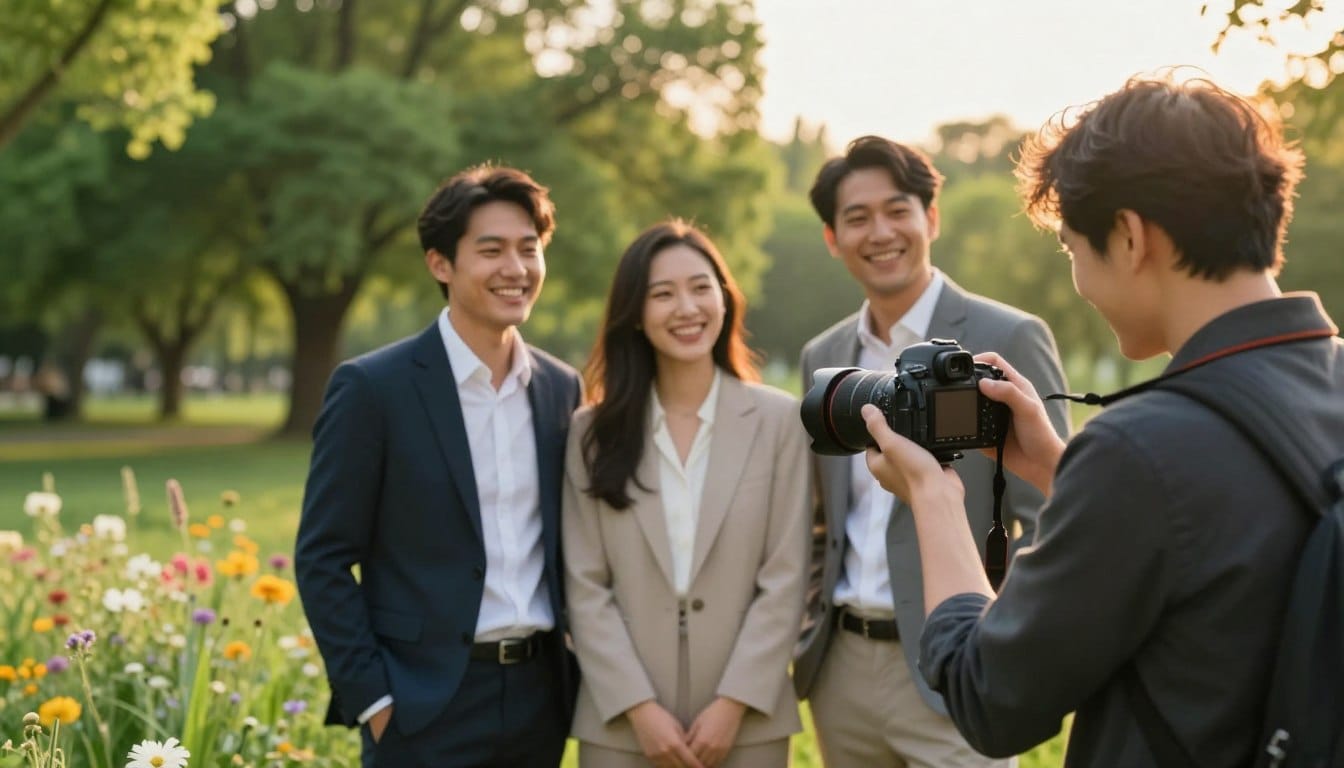
Capturing stunning outdoor portraits can be both challenging and rewarding. Each setting presents unique obstacles, yet mastering these can lead to incredible results. Understanding natural light is essential. It influences how your subjects appear and can dramatically affect the mood of your images.
The team at GotPhoto offers valuable insights to help you elevate your photography skills. They provide practical tips on essential camera settings and choosing the right locations. While the unpredictability of weather can be daunting, it adds a dynamic element to your work.
Professional photography is not solely about having the latest gear. It’s about your connection with the subject and the environment. This guide will help you navigate through the key steps needed to ensure your images are clear, sharp, and composed with professionalism.
Key Takeaways
- Mastering natural light is crucial for outdoor photography.
- Practical tips can enhance your portrait photography skills.
- Weather changes can create unique opportunities for stunning shots.
- Your interaction with subjects is key to capturing their essence.
- Focus on clarity and composition for standout images.
Understanding Outdoor Lighting for Portraits
Understanding the nuances of natural light is vital for capturing striking portraits. Light is the fundamental basis for all successful photography. Kent DuFault emphasizes this in his premium guide, Understanding Light Book One. By mastering light behavior, you can create stunning images that resonate with viewers.
Moreover, you can enhance your skills by studying the Natural Light Video Course created by award-winning photographer Mitchell Kanashkevich. This course teaches you how to effectively utilize natural light, which is crucial for achieving the desired look in your subjects.
When shooting on an overcast day, the soft and diffused light provides a balanced appearance. This is often easier to manage than direct sunlight, which can create harsh shadows. If you encounter such shadows, positioning your subject in the shade can help ensure even lighting on their face.
Understanding how light behaves in various conditions allows you to capture a stunning image without relying solely on expensive artificial lighting equipment. For more tips on lighting, check out this resource or this guide.
| Condition | Light Type | Effect on Subject |
|---|---|---|
| Sunny Day | Harsh | Strong shadows, high contrast |
| Overcast Day | Soft | Even lighting, reduced shadows |
| Golden Hour | Warm | Flattering tones, soft shadows |
Choosing The Right Time and Location
The choice of when and where to photograph can make all the difference. Understanding the golden hour and blue hour is essential for capturing stunning images. During these times, the light is softer and warmer, creating a beautiful glow that enhances your subject’s features.
Utilizing the Ephemeris tool is a critical step for any photographer. This tool allows you to track the sun’s position at any specific location. By planning your shoot during the golden hour, you can achieve that soft, warm glow that flatters skin tones in every portrait.
When scouting for locations, look for diverse backgrounds like waterfronts or forests. These areas can provide compelling settings for your photography. Always ensure that the environment complements your subject rather than distracting from the main focus of your portrait.
Additionally, check the time of day on the Ephemeris map. This will help you ensure the sun is positioned correctly for the specific look you want to achieve.
| Time of Day | Lighting Effect | Best Use |
|---|---|---|
| Golden Hour | Soft, warm glow | Enhancing skin tones |
| Blue Hour | Cool, calming light | Creating dramatic effects |
| Noon | Harsh light | Not ideal for portraits |
Camera Settings and Equipment Essentials
Mastering your camera’s settings is key to capturing breathtaking images. Understanding how aperture, ISO, and shutter speed work together will greatly enhance your photography skills.
Mastering Aperture, ISO, and Shutter Speed
To isolate your subject, use a wide aperture like f/2.8 on your lens. This setting creates a shallow depth of field, beautifully blurring the background. Keeping your ISO between 100 and 200 ensures sharp photos without unwanted grain.
A fast shutter speed of 1/250 or faster is necessary to freeze motion. This is crucial for maintaining clarity in dynamic environments. As David Veldman suggests, carrying a 5-in-1 reflector is essential for managing contrast and filling in shadows effectively.
Essential Gear and Accessories for Outdoor Portraits
Using a tripod is vital if you plan to work with slower shutter speeds. This will help maintain perfect focus on your subject, ensuring that every shot is crisp and clear.
For more tips on improving your photography skills, check out this resource.
Composing Compelling Outdoor Portraits
Creating visually captivating outdoor portraits requires a keen eye for composition. By focusing on the arrangement of elements within your frame, you can significantly enhance the impact of your images.
Applying the rule of thirds is a classic technique that involves placing your subject off-center. This method creates a more engaging portrait, drawing the viewer’s attention naturally.
You can also utilize natural elements like branches or archways to frame your subject. This technique adds significant depth to your outdoor portrait composition.
Incorporating leading lines, such as rivers or fences, guides the viewer’s eye toward the subject. This makes your picture more interesting and visually compelling.
When composing your shots, consider how the background interacts with the subject. This ensures the environment enhances the overall story of the portrait.
Creative composition is essential for making your outdoor portraits stand out. By effectively utilizing the natural world, you can transform standard snapshots into memorable images.

how to shoot better outdoor portraits
Capturing compelling images requires a delicate balance between natural and artificial lighting. This balance is crucial, especially in bright conditions where details can be lost. David Veldman showcases this technique by using a Speedlight to maintain proper exposure on his subject’s face against a bright sky.
One effective method is the fill-flash technique. This approach adds light to the foreground, preventing the background from becoming overexposed when the sun is behind your subject. It allows for a more even exposure throughout your photo.
To isolate your subject from the background, consider using a telephoto lens with a wide aperture. This creates a smooth, out-of-focus area that draws attention to your subject. Remember to adjust your camera settings to account for the sun’s brightness, which often requires adding artificial light for a balanced exposure.
Mastering the balance between natural and artificial light is a fundamental way to reach your full potential in photography. With practice, you can create stunning portraits that highlight your subject beautifully.
Creative Use of Shadows and Highlights
The interplay of shadows and highlights can dramatically enhance your photography. Using these elements effectively adds depth and interest to your images.
Backlighting is a powerful strategy where the sun is positioned behind your subject. This technique creates a beautiful halo effect in your portrait, adding warmth and depth.
Additionally, reflectors are essential tools for bouncing light back onto your subject’s face. They help soften shadows and fill in crucial details, especially in high-contrast environments.
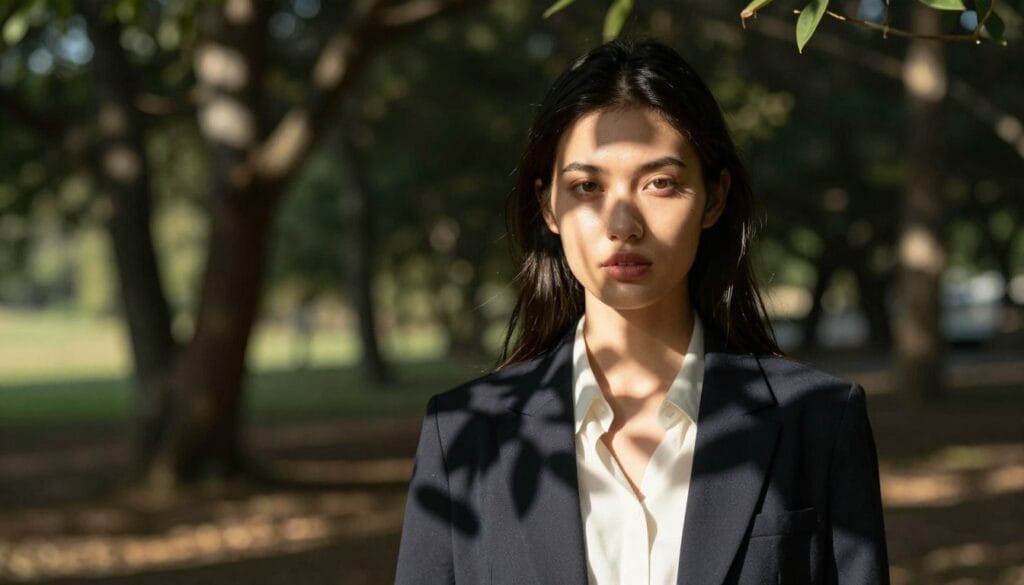
Creative uses of shadows, like dappled light filtering through leaves, can introduce drama without obscuring facial features. When the sun is bright, using a diffuser or finding shade is vital to prevent your subject from squinting.
Experimenting with these techniques allows you to control the mood of your photos, creating a more professional look in any environment.
Efficient Workflow and Post-Processing Tips
A smooth workflow and effective post-processing can elevate your photography to new heights. Utilizing tools like Adobe Lightroom allows you to adjust exposure and color balance, ensuring your images look professional.
Streamlining your workflow is crucial for maximizing creativity. Here are some tips to help you achieve consistent results:
- Import your photos into Adobe Lightroom after your shoot to adjust exposure and color.
- Follow a structured workflow that includes scouting locations and planning camera settings.
- Use editing software to correct images that may appear washed out by the sun.
- Enhance the mood of your portraits by fine-tuning highlights and shadows during post-processing.
- Consistent results come from a reliable editing process that saves time and boosts creativity.
Conclusion
Creating memorable images in natural settings can be a fulfilling experience. Mastering portrait photography requires a mix of technical skill and adaptability to ever-changing weather conditions.
Understanding natural light, reflectors, and proper camera settings allows you to capture stunning portraits in various locations. Each session presents a chance to refine your unique style while showcasing the humanity of your subjects.
Always keep a list of potential locations and be ready to adjust your plans if the weather changes. With practice and the right tools, you will find that shooting in nature becomes one of the most rewarding aspects of your photography journey.
Stay focused,
Ray Baker.