
 The newest technology revolutionizing SLR digital photography techniques is high dynamic range images (HDR or HDRI). Think about some of the shots you take when you are out and about with your digital camera.
How often do you think you have that great shot of your dogs running along a beach? You take a look at it on your screen and you are excited it looks great. But, when you download the image it does not have the depth of feel you saw when you took it. A digital image cannot capture the full range of light of the subject. You usually get something less than you expect. But this is true of any camera. It is difficult to catch the minute detail in one shot. The only way to create HDR images is to merge several exposures of the original photograph into one to replicate the depth and quality of reality.
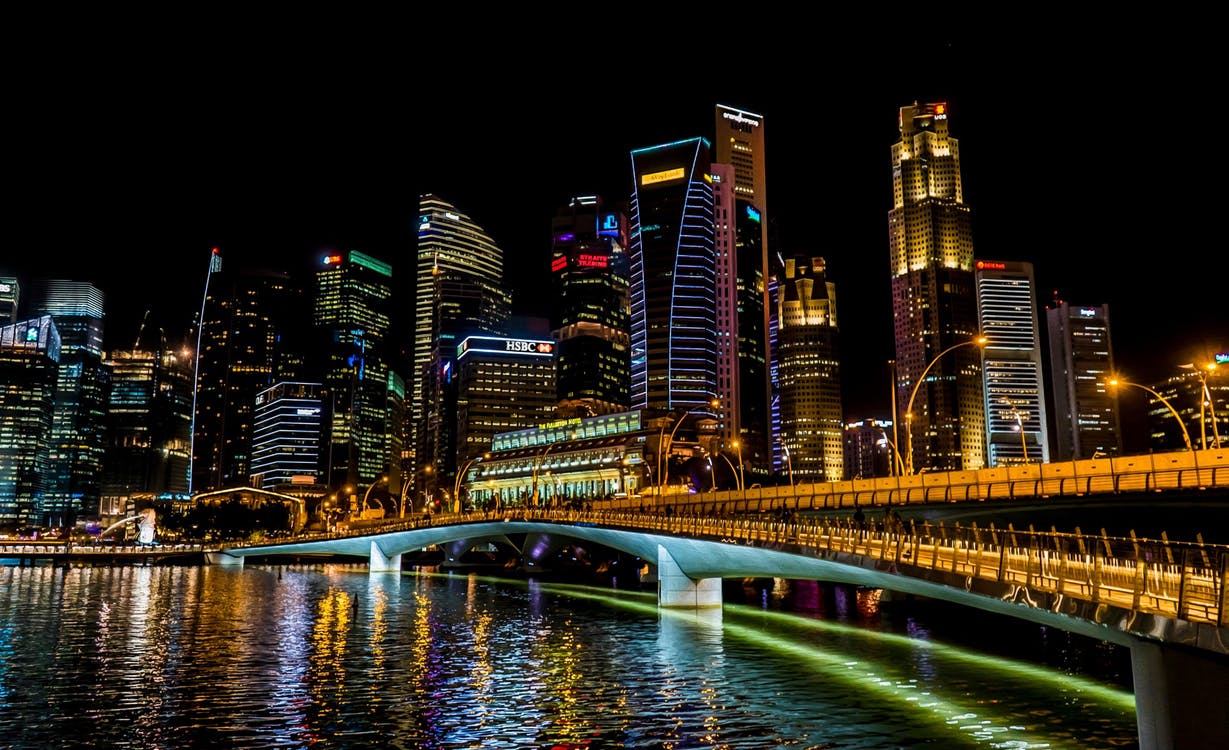
Light is full of life, it constantly moves and changes the illusion of what you see momentarily. Especially through a camera lens. This is where HDR imaging comes to the rescue. It is essentially a manipulation technique where you can use HDR imaging on all parts of photography editing, storing, taking and end result.
Editing HDR Images
The three things you must consider when editing HDR images are brightness levels, the graphics user interface for HDR editing and the size of the image. Five or more exposures are recommended. The more exposures the more the lens will capture the smallest spectrums of light so the HDR process improves blending the tonal details.
Photoshop is software that has a process for creating HDR images and creates separate files that record all the details for each image (ISO, shutter speed, aperture) to assess the light levels in them. It then creates a HDR file using 32 bits, instead of 8 or 16 bits, to determine color channels.
While HDR produces great results, overdoing the merging process can distort the subject. The better the light and tone of the original photography the better the end result.
Storing HDR Images
JPEG and GIF formats only have 8 bit per channel of storage so they can not be used for HDR images. Formats like PNG and RAW have 16 bits per channel and are suitable for storing HDR images.
Taking HDR Images
Well, contrary to the hype you can not actually take an HDR image. They are manipulated. How you achieve that is to take several photos with different exposures of the same subject. You then merge them into one dynamic image using digital software to manipulate your images.
Remember, we pay a price for everything we do in life and photography. The possible downside of HDR imaging reduces contrast between the tones. Be aware of this and use your editing technology to strike a balance. If you want to learn some advanced Photoshop techniques check this guide (see the list there).
Special Note: Good results with digital backdrops, backgrounds and image editing are often more easily achieved with step by step video tuition rather than trying to absorb a five hundred page book or guide. Why? Because you can actually see what needs to be done and how to do it.
If this takes your interest and you want to try it, this link provides the first of a string of free tuition videos straight after registering your interest. All you have to do is register your email address. Then, after confirming your receipt of a test email, we send the backdrop (background) and image editing videos to your inbox. It all takes a few seconds surprisingly. Later, you will be given an option to join the club but that’s up to you. You will also be informed if the club is closed for new members.
Struggling to get consistent photography clients?
Get More Photography Clients