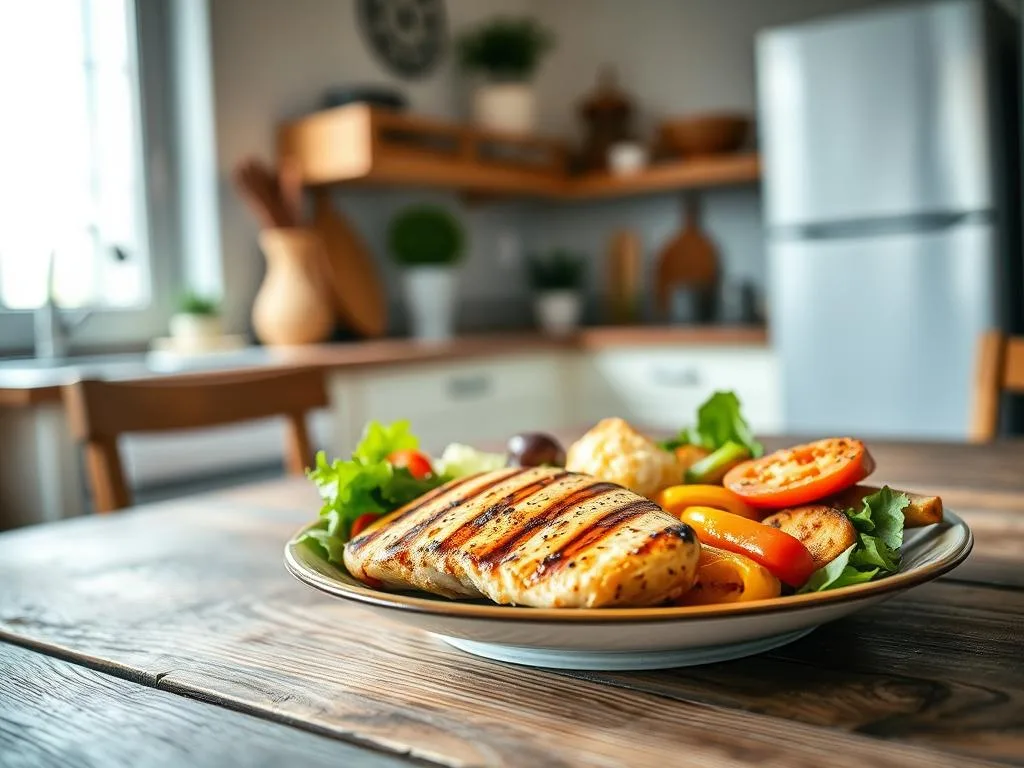
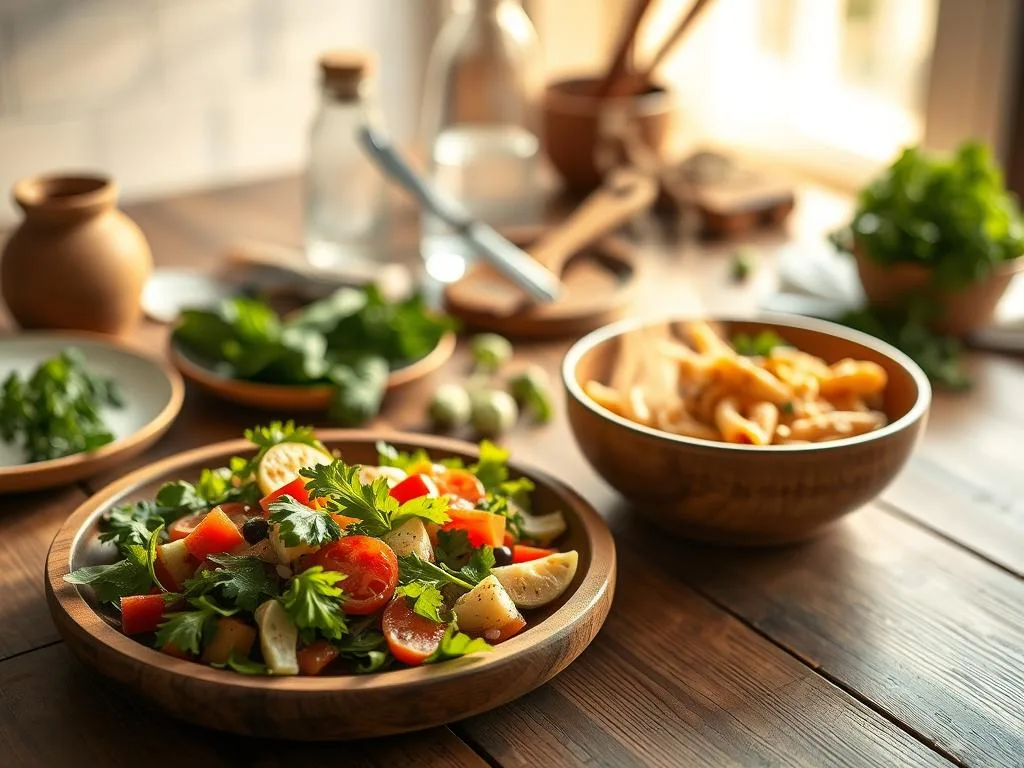
Your sandwich, pasta bowl, or salad doesn’t need a big makeover. Bad light is usually the problem. Fix the light first, and then you can style it easily.
In this section, you’ll learn a quick fix. Use side (or back) light, a diffuser, and a reflector. This will make your food look better with just a few simple steps. These tips will make your food look amazing using natural light.
Lighting is key in photography. It’s like painting with light. For soft light, place your food next to a window. Use a diffuser to soften the light and a reflector to fill shadows.
Also, use a tripod and choose your camera angle early. This will help you style your shot better. Later, we’ll show you how to use artificial lights too.
Key Takeaways
- Bad lighting makes simple meals look dull - fix the light first.
- Use the quick-fix framework: side/backlight + diffuser + reflector for soft, flattering light.
- Natural light food photography gives a reliable, portable starting point before you mix in artificial lights.
- Lock your camera on a tripod and choose your angle early to style the scene to the shot.
- Mastering this foundation makes advanced photography techniques for food far easier to learn.
Why mastering food photography lighting solves the “looks-boring” problem
Many home cooks and content creators struggle when their dishes look flat on camera. They face issues like blown highlights, blocked shadows, and dull textures. Feeling overwhelmed about gear and technique makes it harder.
First, figure out what’s missing in your shot. Is the plate dull? Do sauces look like blobs? Is the scene too shadowless?
Identifying these problems helps you use specific tips to fix them. Good composition is also key. Lock your camera and arrange props before changing light direction.
Lighting brings out texture, moisture, and freshness. Side and backlight show edges and highlights. This makes crusts look crisp and leaves dewy.
Highlights and shadows are important. They add depth and make foods look three-dimensional. A simple fix uses side or backlight, a diffuser, and a reflector.
Place your set near a window for natural light. Use a diffuser to soften rays. A reflector lifts shadows and brings out texture.
Choose the right tools for your shot. Soft light is good for salads, while high contrast works for meats. Decide the mood first to save time.
Use these tips to check your shots: move the light, swap diffusers, or adjust the reflector. Doing this often trains your eye to fix dull photos easily.
food photography lighting: foundational natural light setup
Put your shoot next to a window. Think of the window as a sun you can move. For natural light food photography, this rule helps with every choice.
Start with the window on one side or behind the dish. Add a diffuser between the glass and plate. Then, use a reflector to soften shadows on the opposite side of the light.
Window placement and choosing side versus backlight
For depth and texture, set the window to the side. Side light vs backlight is about how much detail you want to show. Backlight makes things glow, great for drinks, soups, or foods that are see-through.
Where to put the camera relative to the light
For a 0-45° shot, put the camera beside the subject. The light should be about 90° to the lens. This angle works well with a tripod for steady shots.
For 90° overhead shots, the light can be from the side or behind. Backlight at a high angle makes edges crisp and looks nice.
Why sidelight is the go-to for most simple meals
Sidelight shows crumbs, steam, and gloss well. It makes roasts, salads, and sandwiches look good. Sidelight is quick and easy to use for most food shots.
- Start with the window at the side for texture.
- Place a diffuser closest to the window to soften highlights.
- Hold a reflector opposite the light to lift shadow detail.
Diffusers and reflectors: your two essential light-manipulation tools
Two simple items help control light. A diffuser softens harsh rays and tames contrast. A reflector bounces light back to shadowed areas.
Both tools speed up styling and keep colors consistent. They help you work faster when building a scene.
What a diffuser does and where to place it
A diffuser spreads light, making highlights gentler and shadows softer. Place it between the light source and your plate. Start with the diffuser closer to the light.
This creates a broad, even light that flatters textures. It also reduces glare on glossy ingredients.
Use translucent fabrics, a collapsible disc, or a softbox for LEDs. For quick setups, clip a thin shower curtain or tracing paper to a stand. Thinner materials give harder light, thicker layers give more wrap.
Reflector types and using them to fill shadows
Reflectors come in white, silver, gold, and translucent. White foam core gives soft fill. Silver boosts contrast and highlights. Gold adds warmth for a sunnier mood. Translucent panels can act as diffusers too.
Position a reflector opposite your light to lift shadows. Larger reflectors give gentler, more even fill. Use smaller reflectors or metallic surfaces for stronger contrast and highlights.
Cheap vs pro gear recommendations that work under $100
You don’t need an expensive kit to improve. For under $100, get a 5-in-1 collapsible reflector and a diffuser. Or a Neewer 24″ with handle for portability.
A Neewer 40″ x 60″ collapsible panel is a smart buy if your budget allows. White and black foam core boards are key for shaping light and blocking spill. They cost very little.
Add inexpensive clamps, a small C-stand, or table clamps. You’ll have a flexible, durable setup. It’s perfect for café shoots.
When using artificial light, clamp reflectors to stands to mimic a window. Pair a diffuser with a reflector to maintain consistent light. This combo keeps your workflow steady and your images reliable.
Soft light vs hard light: choosing mood for simple dishes
Light sets the mood for a plate. Pick soft light for gentle texture and true color. Choose hard light for drama and punch. These choices shape composition, exposure, and the final feel of the image.
Soft light shows food with soft-edged shadows that flatter most dishes. Use a large window, a sheet diffuser, or a softbox to create even falloff. The result keeps highlights controlled and brings out texture without harsh contrast. This approach works well when your aim is natural, appetizing realism.
Hard light produces crisp, defined shadows and higher contrast. Reduce the light source size or add a reflector head on a continuous LED to tighten the beam. Hard light helps emphasize structure and separation between elements on the plate when you want a bold look.
When building mood lighting for food, control ambient sources. Turn off mixed indoor lights and cover windows if you need a pure artificial scene. Use a small modifier, grid, or reflector to aim highlights where they matter most without creating color cast problems.
Soups benefit from soft side or backlight to show gloss, steam, and depth. Use a white reflector to lift deep shadows and keep the broth from looking flat. These food photo tips make liquids look more inviting.
Roast chicken calls for soft side light to reveal skin texture and moisture. Add a small hard accent, like a focused LED with a reflector head, to create crisp highlights on the skin. The combination keeps the image warm while adding appetizing contrast.
Salads and fruit respond beautifully to backlight or strong side light to enhance translucency and freshness. Diffuse the main light enough to avoid blown highlights on wet greens. A rim of hard light can add sparkle on droplets while preserving the overall soft impression.
Use this quick comparison to choose your approach:
| Quality | Soft Light | Hard Light |
|---|---|---|
| Shadow Edge | Soft-edged, gentle falloff | Sharp, well-defined |
| Typical Use | Everyday dishes, soups, salads | Roasts, plated mains, editorial drama |
| How to Create | Large diffuser, window, softbox | Smaller modifier, reflector head, bare LED |
| Effect on Texture | Reveals detail without harsh contrast | Emphasizes crisp edges and structure |
| Practical Tip | Use a reflector to fill shadows | Mask ambient light to avoid mixed color |
| Best For | soft light food photography, natural looks | hard light food photography, high-contrast shots |
Keep practicing with both styles and vary distance, modifier size, and angle. Small moves alter mood dramatically. These food photo tips will help you balance softness and drama for every simple dish.
How time of day affects natural food photography lighting
Time changes how food looks on camera. Light gets stronger, softer, and warmer from dawn to dusk. Knowing these changes helps you find the best times for natural light food photography.
Morning, midday, golden hour - what each gives you
Morning light is cool and soft. It’s great for foods like yogurt or pastries. Shadows are gentle, so you don’t need reflectors for a light look.
Midday light is bright and direct. It makes highlights pop and contrasts stand out. Use a diffuser to soften harsh shadows and keep highlights bright.
Golden hour light is warm and soft. It makes food look inviting and rich. Many photographers love golden hour for its cozy, cinematic feel.
Season and weather considerations for consistent results
Seasons change the sun’s path and color. Winter sun is warmer and lasts longer. Summer sun is higher and stronger in midday.
Clouds act like a diffuser. Overcast days give soft, even light. Clear skies offer directional light that shows texture. Watch the weather to match it with your dish.
Exercise: mapping your home’s light by the hour
Do this simple drill for lighting practice. Set alarms every hour and check each room with a camera or phone. Note the window direction, shadow length, color, and how light hits a plate.
Do it on different days to see how weather and seasons change. Find the best hour for each room. Over time, you’ll have a map for natural light that works for every shoot.
Practical camera angles and how they interact with light
Choosing the right camera angle changes how light sculpts a dish. There are two main ways: a 0-45° view and a strict overhead. Each angle needs special lighting and depth-of-field to show texture, layers, or empty space.
The 0-45° view: depth, layers, and side light benefits
The 45 degree food photography shows depth and stacked elements. Side light at this angle makes soft shadows. These shadows show crumb, glaze, and steam well.
Use a tripod to keep the frame steady. Then, adjust props and garnish to fit the camera’s view.
For a clear subject and a blurry background, use a shallow focus. Aperture settings of f/2.8-f/5.6 work well. These settings make the main subject sharp and the background soft.
The 90° overhead angle: shapes, negative space, and backlight use
Overhead food photos are great for graphic layouts and flat-lay stories. Backlight or high sidelight makes rim highlights on items like citrus or thin slices. Negative space helps with composition when everything is under the lens.
To keep everything in focus, use smaller apertures. Aim for f/8-f/16 for sharpness across the frame.
Aperture and DOF tips to pair with your lighting choices
Aperture tips for food photography are about clarity and mood. Wide apertures focus on one thing; narrow apertures show the whole scene. Choose your aperture based on your angle and light, then adjust ISO and shutter speed.
For side light at 45°, open up for subject isolation. For overhead shots, stop down for detail across layers. Small changes in aperture make big differences in texture and form.
Styling and composition that complements your lighting
Start by locking the camera and building the scene around that fixed frame. This method-styling to the camera-keeps proportions, depth, and highlights predictable. Place the main dish first, then add a close foreground element and a softer background layer to create depth without clutter.
Styling to the camera: lock the shot then build the scene
Set your tripod and frame the shot before you move any props. With the camera fixed you can test small adjustments to plates and utensils and see how those changes affect shadow and highlight. That makes styling food photography faster and more deliberate.
Using lines, layers, and framing to guide the eye
Use diagonal and parallel lines to add motion and energy. Place repeating shapes, such as round bowls on a square board, to create rhythm. Layers-foreground, middle, background-work well at a 45° angle for depth.
Frame around the key ingredient to clarify the story. A simple napkin fold or a fork handle can act as a visual guide toward the focal point. Remove any prop that fights with the subject or creates competing highlights.
Composing for light: nudging shiny or reflective foods into flattering highlights
Reflective surfaces obey the rule of angle of incidence equals angle of reflection. Tilt plates, bowls, or a spoon slightly to catch the light and produce appetizing highlights on syrup, glaze, or broth. Small rotations can turn a dull surface bright without changing your light source.
When composing for light, keep contrast under control. Use a reflector to fill harsh shadows, or move a diffuser closer to soften a hotspot. Match your props to the light: matte textiles and wooden boards pair with soft window light, while glazed ceramics can benefit from a stronger, directional sidelight.
| Task | Why it matters | Quick tip |
|---|---|---|
| Lock the frame | Keeps proportions and highlight placement consistent | Mount the camera on a tripod before arranging props |
| Add layers | Creates depth and storytelling in 45° shots | Use foreground elements slightly out of focus to lead the eye |
| Use lines and repetition | Directs attention and adds visual harmony | Combine shapes like rounds on squares for contrast |
| Tilt reflective foods | Produces flattering highlights and appetizing shine | Rotate the plate a few degrees toward the light source |
| Control competing props | Prevents distraction from the main subject | Remove items that cause unwanted reflections or color casts |
| Match props to light | Ensures cohesive mood and texture rendering | Choose matte surfaces for soft light, glossy for stronger sidelight |
Making artificial light look natural for dependable shoots
First, decide what natural light you want to copy. Do you want soft cloudy light, bright sun, or warm golden-hour glow? Collect pictures on a mood board to study shadows and colors before lighting.
After picking your goal, set up your LED food photography gear. Use an LED like the Godox SL-150W for daylight. Add diffusion to soften the light or use a reflector to mimic a window.
Turn off other lights and cover windows to keep the color right. This helps you match natural light perfectly.
Small changes can make a big difference. Use a 7″ reflector or grid for harder shadows. Or, try a softbox or silk panel for softer light. Test each change to see how it changes the mood.
Reflectors and flags are key. Use a white or silver reflector to fill shadows. Add a black flag to deepen shadows. This makes your artificial light look real.
Try different lighting techniques. Use side-back light for texture, backlight for translucence, and rim light for separation. Keep notes on your setup to repeat what works.
Remember, small changes can make a big difference. Move the LED, swap a grid for a reflector, or adjust the reflector angle. These tweaks help your LED food photography look natural and consistent.
On-location and portable setups for lifestyle food photos
When you’re not in your studio, you need to pack light and think fast. A portable food photography setup that fits in a bag is key. It lets you move quickly during shoots. Start with small gear that mimics natural light and reduces glare.
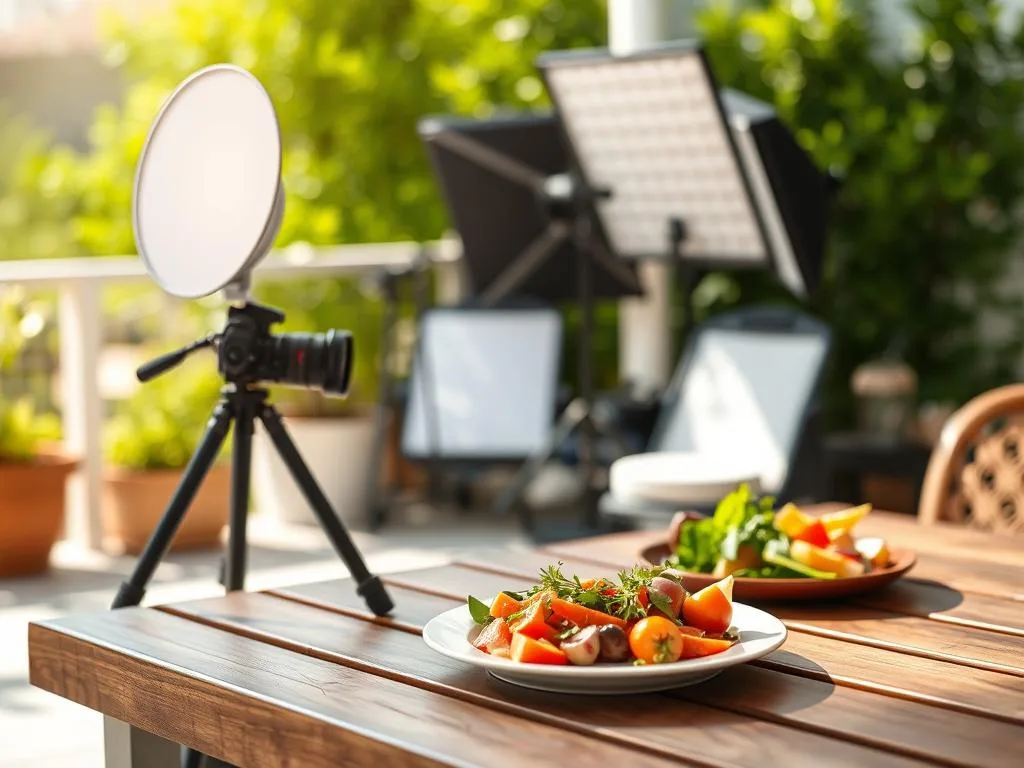
Light stands, small diffusers, and hand-held reflectors that travel
Use a Neewer 24″ collapsible diffuser or a similar soft panel. Collapsible reflectors, foam core boards, and A-clamps are light and versatile. Small LEDs like the Aputure MC or Godox LEDP series are great for food shoots. They don’t need heavy batteries.
Overhead tripod rigs for café/restaurant shoots
For overhead shots, use compact rigs and supports. Bring two light stands or C-stands, a 40″ extension arm, and a tripod ball head. The Manfrotto 055 Aluminum Tripod with an XPRO ball head is great for stable shots in tight spaces.
Quick checklist for shooting in unfamiliar light
- Check the window direction and find the strongest light source.
- Bring a diffuser, a 5-in-1 reflector, foam core board, and A-clamps for quick light adjustments.
- Carry a small continuous LED as a backup light source.
- Have a lightweight overhead arm and a sturdy tripod for overhead shots.
- Don’t forget spare batteries, gaffer tape, and a basic toolkit for quick fixes.
Tip: Clamp a reflector to a stand and place the LED as the “window.” Turn off room lights or cover other windows. This makes your setup faster and helps you get the look clients want.
Editing and exposure: preserving the light you created
Good lighting on set can be lost in post when edits go too far. Try to keep the story your light gave by making small exposure and color changes. Use RAW files to recover details without losing highlights.
Exposure basics
Set in-camera exposure to avoid clipped highlights. If the brightest whites are safe, you can later brighten darker areas. This keeps sauces and crusts looking good.
Use the histogram and highlight warnings in your camera or Lightroom to check for blown areas. First, protect highlights, then adjust contrast to keep the light that shows form.
Color temperature and white balance
Match your white balance to the source light. For window shots, make small shifts through the day. For studio LEDs, set the color temperature or use a custom white balance on your camera. Avoid mixed lighting; it creates odd casts that distract from freshness.
When adjusting white balance in food photos, choose natural tones. Aim for skin and bread tones that look real, not overly warm or cool. Small changes keep the scene believable.
Non-destructive edits to enhance the lighting story
Use Lightroom, Capture One, or another non-destructive editor. Work with local tools like radial filters and brushes to dodge and burn along the original light direction. This enhances depth without breaking texture.
Keep clarity and texture controls low on glossy items. Overuse makes highlights look plastic. Instead, reduce highlights, add subtle shadow recovery, and use small local contrast boosts where the light should sing.
- Save edits as snapshots or virtual copies to test variations.
- Use a calibrated monitor to judge color and exposure accurately.
- When exporting, keep a master RAW edit so you can revisit white balance food photos later.
Treat editing food photos as a continuation of your shoot. Guard the original light, nudge exposure food photography wisely, and choose non-destructive tools so the plate keeps the look you created.
Exercises and drills to train your eye for better lighting
Practice makes taste better. Short, easy tasks help you see light better. These drills improve your eye for capturing home meals.
Single-bowl exercise
Look at one bowl or plate in different rooms. Set alarms every hour for two days. Note the light, shadow, and color.
Write how these changes affect the look and feel. Then, take a photo with a camera without styling. Compare your shots with different cameras and settings.
Pinboard habit
Make a Pinterest board with 50 images you like. Group them by lighting type: soft, contrasty, warm, and cool.
Look at your groups to see what you like. This turns your favorites into ideas for your shoots.
Mini-challenges for gear and speed
Do drills that focus on one thing at a time. First, use only a diffuser. Then, a reflector. Lastly, use both.
Set a timer to recreate a Pinterest image. Use natural light or a single LED with a reflector. See how fast you can do it and what you learn.
Map your home light
Make a log from your single-bowl notes. Mark the best light spots in your home. Use this map to plan your shoots.
Weekly routine
Choose one drill each week and do it three times. Change dishes and angles but keep the light the same. Keep track of your progress.
Shareables, takeaways, and next steps for steady improvement
Keep these tips simple: start with sidelight and backlight. Use a diffuser to soften light. Add a reflector to lift shadows. A diffuser and a white foam board can help you create many looks.
For quick tips, aim for soft light. Try 45° and 90° angles to see how they change texture and mood.
Practical light mapping is the next step. Walk each room hourly for two days. Note the light direction, color, and shadow strength. This will help you create repeatable setups.
Here are two shareables you can copy: Tips list - 1) Shoot next to a window with a diffuser between window and subject. 2) Use a white foam board opposite the window to lift shadows. 3) Choose 45° for depth or 90° for graphic flat-lays. Friend message - “Hey - quick tip: if your dinner photos look flat, try shooting beside a window with a thin curtain (diffuser) and hold a white board opposite to brighten shadows. Works wonders in 5 minutes.”
Want to Start Your Own Photography Business? Use these tips as a habit. Do small daily drills, map light for two days, and swap between sidelight and backlight. Check out Neewer diffusers, Manfrotto tripods, and Godox LEDs. Adobe Lightroom or Capture One can help keep your light.
Results will vary by space and taste. Adapt the steps and repeat them. Stay focused, Ray Baker.