
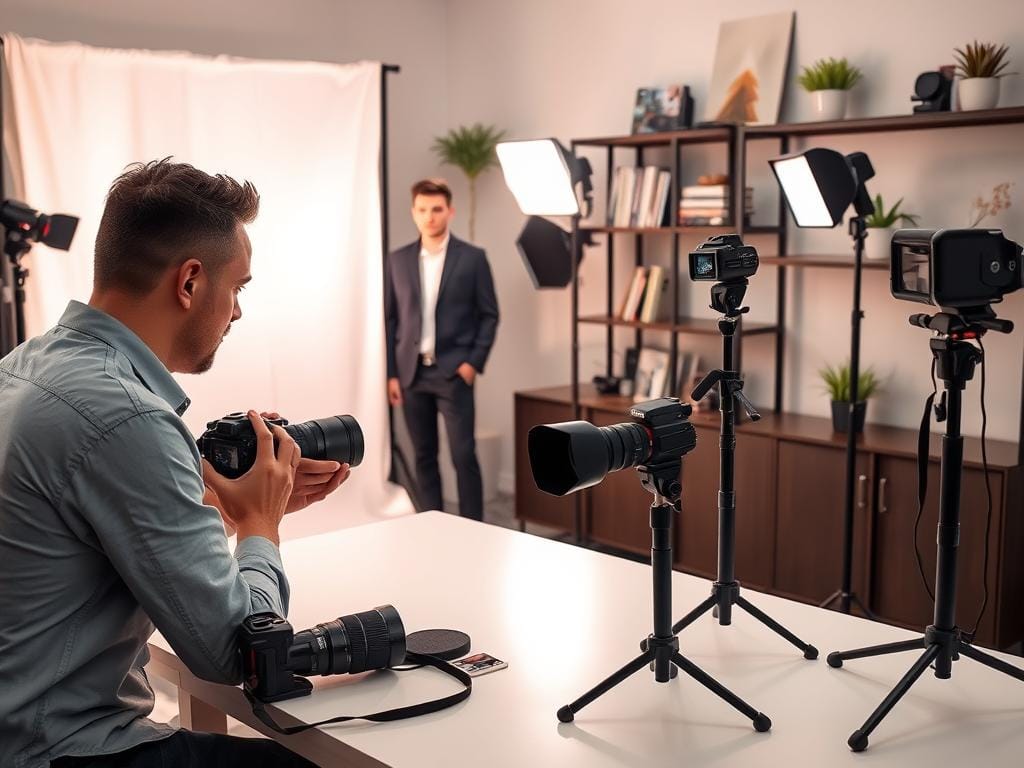
Are you tired of dull indoor photos? Learn easy flash tricks to make your pictures pop in minutes. You don’t need expensive studio equipment.
This section will teach you flash photography basics. You’ll learn to control shadows, keep natural light, and make subjects stand out. Remember, flash works best when used with shutter, aperture, and ISO.
Think of flash as a fourth way to control exposure. Use a small light to fill shadows, balance bright backgrounds, or add a hair light. For indoor portraits, a diffuser, bouncing off walls or ceilings, and manual flash power make a big difference.
Quick tips: use manual flash when you can, angle or bounce the head for softer light, and change flash power for different effects. Try a small bounce card or a paper diffuser if you don’t have a softbox. These small changes can make your photos look like they’re from a magazine.
Key Takeaways
- Treat flash as an exposure tool alongside shutter, aperture, and ISO.
- Use manual flash power for predictable indoor portrait lighting.
- Bounce or diffuse the flash to avoid flat, harsh portraits.
- Start subtle: low-power fill often looks more professional than blasting the subject.
- Practice simple setups and review results on Instagram or with peers to refine your style.
Understanding flash photography basics for indoor portraits
Good indoor portrait lighting starts with reading the scene. Look at which areas are bright and which are in shadow. Flash helps balance the subject and background without losing mood.
Fill flash is a subtle tool. It lifts shadows on faces when the background or overhead sun is stronger. Use it for subjects backlit, in shade with a bright window behind, or with harsh overhead light.
Small flash power, like 1/32 to 1/16, often gives a natural look for casual portraits.
On-camera flash can complement ambient light. Aim the flash head toward a ceiling or wall to bounce light. This softens shadows. Changing beam angle and tilt helps keep the subject isolated and room highlights intact.
Sometimes, you should underexpose the subject on purpose. If a venue or landscape is important, dial the subject down slightly. This keeps the background detailed. Editorial portraits use this for drama.
Practical steps: meter the ambient, then add fill flash to taste. Start low and increase flash power for heavy backlight. For scenes with window light, start with subtle fill flash for portraits. Raise it only if shadows are distracting.
| Situation | Recommended Flash Action | Typical Power Range |
|---|---|---|
| Backlit subject with bright window | Use fill flash to lift face, preserve window detail | 1/16 to 1/8 |
| Subject in shade, bright background | Subtle fill to match ambient, bounce if available | 1/32 to 1/16 |
| Overhead harsh sunlight indoors | Fill to soften under-eye and chin shadows | 1/16 to 1/8 |
| Editorial or dramatic look | Underexpose subject for mood; add controlled flash as rim or key | 1/64 to 1/8 depending on distance |
Setting up your camera: balancing ambient exposure and flash
Flash adds a new variable to exposure. It lets you control the look by separating the background from the subject. First, decide how much background light you want. Then, adjust the camera exposure and flash power.
Using shutter speed to control background exposure
Shutter speed is key for balancing ambient exposure. A faster shutter makes the background darker and isolates the subject. A slower shutter adds more background detail.
Start with shutter speed for the mood you want. For a dark background and motion freeze, use 1/200s or faster. For more background, try 1/60s to 1/125s and use flash to freeze the subject.
Aperture choices for depth of field and flash efficiency
Aperture affects depth of field and flash power. Wide apertures (f/1.8-f/2.8) give shallow DOF and need less flash. Narrow apertures (f/5.6-f/11) increase DOF but need more flash.
First, set aperture for the DOF you want. Then adjust flash power. Changing lenses from wide to normal may change framing and background blur.
ISO strategy to minimize noise while keeping flash power reasonable
Keep ISO for flash low to reduce noise. Raise ISO only if needed for ambient or when flash power is too high.
Work in this order: shutter for background, aperture for DOF, ISO for noise, then flash power. Manual flash mode offers predictable results and better shutter speed control.
- Pick shutter speed for ambient mood.
- Set aperture for subject sharpness and flash efficiency.
- Use the lowest ISO that keeps noise acceptable and flash power manageable.
- Adjust flash power last to fine-tune exposure balance.
Manual flash control vs TTL: why manual is often better indoors
Choosing between manual flash control and TTL changes your indoor portraits. Manual lets you set a fixed flash output. This makes exposures the same every time.
Predictability is key for consistent skin tones and highlights. With manual, you control the balance between ambient and flash. You also decide power, direction, and the subject’s relationship to the background. This is why pros prefer manual for studio-style indoor work.
TTL vs manual flash is a tradeoff for quick changes in light or movement. TTL reacts to changing scenes and saves time. For beginners, TTL is safer while learning exposure basics.
Practice bracketing with TTL. Use flash exposure compensation to adjust results. Once you find a baseline in TTL, switch to manual. This gives consistent results and makes color and highlight handling easier.
Start shoots in manual flash mode whenever possible. Use TTL as a backup for events or fast-paced shoots. Treat flash power as an element you set, then adjust aperture, shutter speed, and ISO to shape depth of field, ambient brightness, and noise.
| Scenario | Recommended Mode | Why it works |
|---|---|---|
| Controlled portrait session | Manual flash control | Repeatable results, exact power and balance between flash and ambient |
| Fast-moving event | TTL with compensation | Dynamic response to changing light, quick starts for beginner flash photography |
| Mixed lighting that stays steady | Manual after TTL baseline | Set manual power once you determine correct exposure, then maintain consistency |
| Testing and learning | TTL for trial, switch to manual | Allows learning exposure behavior quickly, then practice manual control for creative mastery |
Diffusion and modifiers that make flash look natural
Soft, controlled light makes flash look good. Start with small, cheap solutions. Then, add bigger ones as needed.
Affordable diffusers and bounce cards that soften light
Small diffusers like plastic caps or dome diffusers soften harsh light. Bounce cards attach to the flash head. They send light to the subject when ceilings are too high or dark.
Use diffusion for flash on-camera to tame harsh highlights. Pair a bounce card with a swivel head. This aims reflected light precisely onto the face for natural catchlights.
Using softboxes, small umbrellas, and DIY diffusion for portraits
Softboxes for speedlights offer controlled falloff and cleaner shadows. For tight spaces, compact softboxes and small umbrellas are great. They stay close to the subject while keeping the light even.
DIY options like translucent paper or a translucent shower curtain work well. They reduce contrast and keep ambient context when mixed with room light.
Practical tips for modifier placement indoors
Aim your modifier to bounce off a large surface like a white ceiling or light-colored wall. This spreads light evenly. Keep a softbox or umbrella close to the subject to soften edges.
Watch for color casts from painted walls. If the room tint is strong, correct white balance or add a small gel to the flash. Use direct diffusion and a bounce card for soft, frontal illumination without losing contrast when ceilings are high or dark.
- Place softboxes indoor portrait lighting equipment slightly above eye level for natural shadows.
- Combine diffusion for flash with a reflector opposite the key light to lift shadows subtly.
- Choose affordable flash modifiers that match your shooting style so setup time stays short.
Bouncing and angling your flash for flattering light
Changing how you use your flash can make a big difference. It can turn harsh light into soft, flattering light for indoor portraits. Just a little bit of adjustment can change shadows, soften highlights, and make photos look better.
For low ceilings, try bouncing the flash up. This spreads the light across the ceiling. It makes the light look natural and softens shadows under the chin and nose.
If ceilings are high, dark, or textured, use a white bounce card. Point the flash at the card to soften the light. This keeps the light soft without adding another light source to the photo.
Small changes in angle can make a big difference. A tiny tilt can move shadows under the eyes. A small turn can shape cheekbones. Try small changes to find what works best for each face.
Here are some tips to try:
- Low ceilings: full ceiling bounce for even fill and soft highlights.
- High or dark ceilings: pull-out bounce card or angle the flash at a nearby wall.
- Portraits needing subtle modeling: tilt the flash slightly off-axis for gentle side light.
Using the flash head swivel makes these adjustments easy. Move the head up, down, left, or right to see how it changes the photo. Each move affects the catchlights and shadows. Watch how the eyes change with small direction shifts.
| Situation | Flash Move | Effect on Portrait |
|---|---|---|
| Low ceiling (white) | Direct ceiling bounce | Even soft light, minimal shadows, natural skin tones |
| High or dark ceiling | Use pull-out bounce card or angle at wall | Controlled fill, avoids dark color cast, retains depth |
| Need facial shaping | Slight left/right tilt with flash head swivel | Improved contouring, pleasing shadows, subtle drama |
| Close-up portrait | Small upward tilt | Reduces under-eye shadow, softens jawline |
On-camera flash techniques that avoid the “snapshot” look
On-camera flash can look great with the right angle and power. Small changes can make it look like part of the scene. Use tilt and subtle offsets for a flattering light.
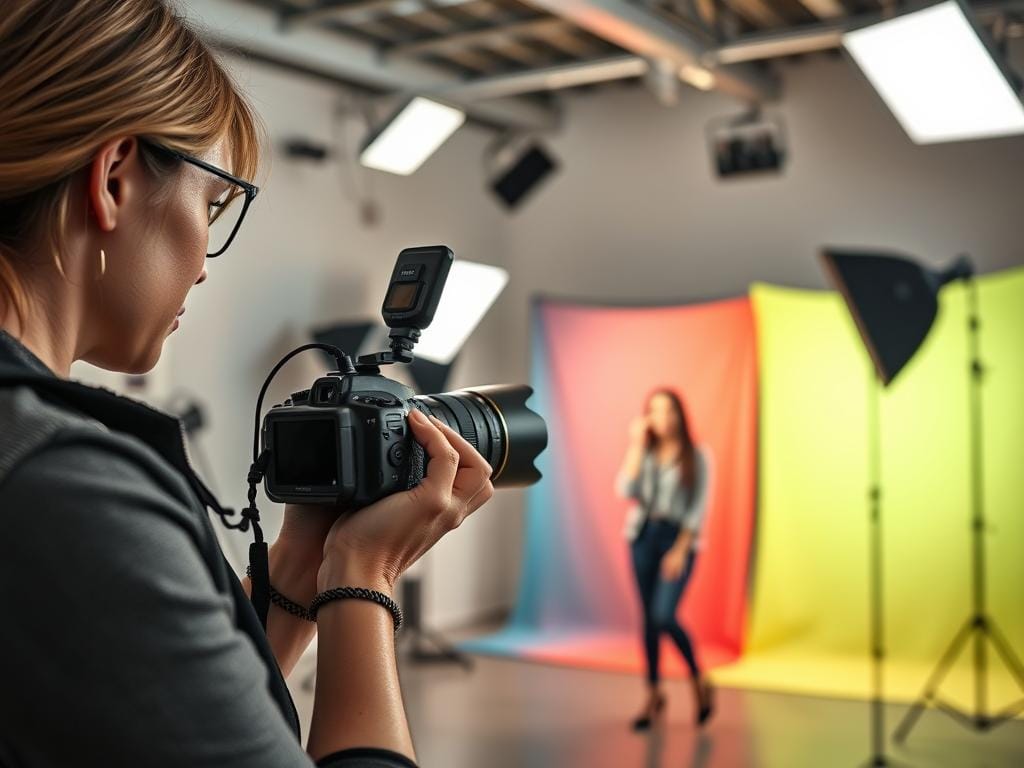
Tilting the head up a bit or angling the flash off-axis gives soft fill. This avoids harsh shadows and the snapshot look. Use a modest shutter speed to blend the flash with ambient light.
Reflections in the room add depth. Aim the flash to catch these surfaces without harsh spots on skin. This makes the flash feel part of the scene, not added on.
Change your focal length to change the look. Wider views include room features, while tighter frames focus on the face. This helps create a natural indoor portrait lighting.
Use a small flash tilt with low to moderate power. This keeps the background in focus and avoids a cutout look. Props and furniture can hide the flash source, making the light seem natural.
Below is a quick reference to compare approaches and expected results for common on-camera setups.
| Setup | Flash Angle | Shutter/ISO | Use Case |
|---|---|---|---|
| Subtle tilt + low power | Up one increment, slight off-axis | 1/30-1/125, ISO 200-400 | Even fill, preserves background, avoids snapshot look |
| Bounce to ceiling | 180° swivel, aimed upward | 1/60-1/125, ISO 100-400 | Soft, flattering light for small rooms, natural indoor portrait lighting |
| Use reflections | Off-axis toward reflective surface | 1/30-1/80, ISO 200-800 | Added depth, editorial feel, integrated environment highlights |
| Drag the shutter | Slight forward angle | 1/15-1/60, ISO 100-400 | Motion blur in background, frozen subject, dynamic look |
Off camera flash tips to lift indoor portrait quality
Moving a speedlight off the camera lets you control light better. You can shape faces and add depth. These tips help make portraits look great without needing a lot of gear.
Basic off-camera setups with one speedlight
Put one speedlight on a light stand for a clean light. Aim it at a 45-degree angle for a classic look. Use a softbox or diffuser to soften the light while keeping it directional.
Try two quick setups. First, put the speedlight high and behind the subject for a rim light. Second, move it to camera left for a warm key light.
Wireless triggers, stands, and safe placement in event spaces
Choose reliable triggers like PocketWizard, Godox, or Canon. Check batteries and test sync before starting. Use sturdy stands and tape cables down to avoid tripping.
In crowded rooms, place stands outside walk lanes. Shorten stands for better stability. Use sandbags or heavy bags to keep stands steady. This keeps your work smooth and safe.
Creating separation from background with rim or hair light
A small speedlight near the back makes a bright rim. This rim light increases contrast and makes the subject pop.
Control the rim light’s power to avoid overpowering skin. Use grids or barn doors for tighter beams. This method gives crisp separation without flaring the lens.
Quick checklist
- Test trigger sync and spare batteries.
- Use sandbags on stands and clear walkways.
- Start with low power on rim lights and raise gradually.
- Switch to grids or small modifiers to tighten beam when needed.
Controlling flash power and distance for consistent exposures
Getting steady results indoors starts with simple choices. Manual flash power control gives you predictable light. It also means longer recycle times. This helps keep highlights right and your mood just right.
Learn the guide number flash basics. This lets you change settings to match real distance changes. The guide number formula links flash output, aperture, and distance clearly. Knowing this makes moving the light faster than adjusting in-camera.
Start with low power like 1/32 or 1/16 when you begin a shoot. Take a test shot and increase power only if needed. This saves battery life and keeps shadows soft.
Distance is key. Doubling the distance from flash to subject needs roughly four times the flash power. If you can move the light, get closer before increasing power to avoid harsh highlights.
Set a baseline with a quick test. Note the power, distance, aperture, and ISO. Keep these notes handy. Small adjustments to flash power control or moving the head will get you to the target exposure faster.
For consistent frames across a set, use the same starting power and repeat the test routine whenever you change lens or background. This habit delivers exposure consistency flash across a batch of portraits.
| Action | Starting Setting | When to Change |
|---|---|---|
| Initial test shot | 1/32 power, subject 8-10 ft, f/4, ISO 200 | Subject underexposed or too dark background |
| Increase flash | Move to 1/16, then 1/8 | Highlights weak after moving closer |
| Adjust distance | Step 2-4 feet closer | Need richer skin tones without raising power |
| Maintain ambient | Lower power and slower shutter for mood | Background looks flat or too dark |
| Repeatable setup | Record power, distance, aperture | New lens, room, or subject height |
Creative uses: gels, grids, and mixing color temperatures
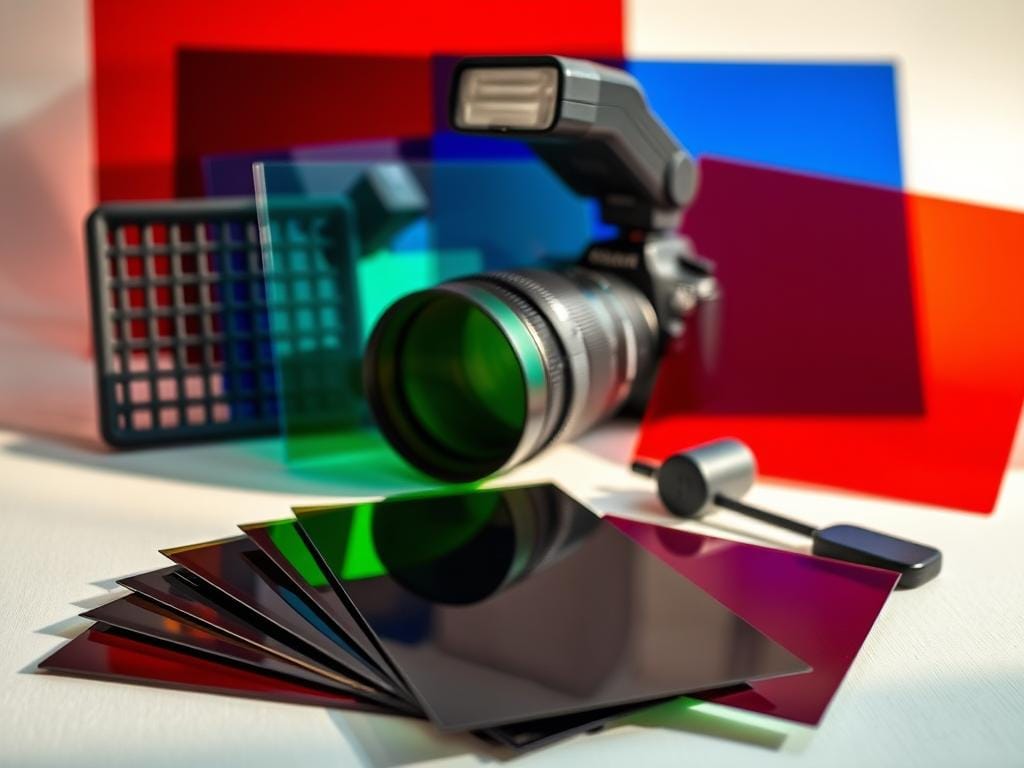
Small tools can make indoor portraits look amazing. Using colored gels and grids can change the mood and separate subjects. Here are tips for your next shoot.
Using gels to add mood or match ambient color
Put a CTO gel on your flash in tungsten-lit rooms. It matches the warm light and keeps skin tones right.
Use colored gels for special effects. A purple or amber gel on a background light adds a cool touch. Try small gel strips for hair and clothes.
Grids for tighter light control and punchier highlights
Grids for flash control make the light beam narrower. They’re great for rim or hair lights to avoid lighting the whole room.
Use a grid with a colored gel for cool effects. The grid keeps the colored highlight focused, adding energy.
Balancing daylight and tungsten indoors for natural skin tones
Adjust the camera white balance to match the main light source. Use gels to correct the secondary light instead of changing the camera’s balance.
For indoor portraits, use a CTO gel on your flash. For window-lit scenes, cool the flash with a CTB gel. This keeps skin tones consistent and the scene believable.
| Use | Tool | Typical Setting | Practical Tip |
|---|---|---|---|
| Match tungsten ambient | CTO gel on speedlight | Full CTO or 1/2 CTO | Set white balance to tungsten and meter for subject |
| Accent background | Colored gel + grid | Medium grid, colored gel | Flag the main light so the accent stays isolated |
| Rim or hair light | Small grid | 10°-20° grid | Place behind subject, raise slightly above head level |
| Window daylight blend | CTB gel on flash | Full CTB or 1/2 CTB | Set WB to daylight and balance flash power by test shot |
Test quickly, then refine. Use gels for flash to add color or correction. Use grids for flash control when you need tight highlights. Keep mixing color temperatures purposeful so skin tones remain natural while the scene gains character.
Common mistakes beginners make with indoor flash
Beginners often treat a speedlight like a strong lamp. This leads to indoor flash errors that take away mood and depth. A flash that overpowers the ambient light makes a scene look flat and clinical instead of natural.
Practical fixes are simple. Lower the flash power, bounce it off a ceiling or wall, and add a small diffuser. These steps help avoid flash pitfalls and bring back texture in skin tones and background details.
Overpowering subjects and losing ambient context
Cranking up the flash power makes subjects pop but loses the room’s atmosphere. You lose the color from lamps, window light, and subtle shadows that give a scene life. Start with flash set two stops lower than TTL would suggest, then raise power only if needed.
Use shutter speed to preserve background exposure. A slower speed keeps ambient visible while the flash freezes the subject. This balance prevents common beginner flash photography mistakes that look amateurish.
Relying solely on TTL without testing results
TTL can be helpful during run-and-gun shoots. But trusting it without test shots causes inconsistent exposures across frames. Test TTL, then switch to manual power for repeatable results when you understand how your flash behaves in a room.
Bracket flash power during a quick setup. Take three shots at different flash levels. Compare them and pick the setting that preserves mood while keeping the subject properly lit.
Ignoring simple modifiers that dramatically improve results
A small diffuser, bounce card, or folded index card changes the quality of light more than higher power. Softening light removes harsh highlights and shrinks unflattering shadows on faces. These tools are cheap and easy to carry.
Reflectors and small softboxes from Godox or MagMod deliver smoother transitions and more flattering catchlights. Using modest modifiers avoids flash pitfalls that beginners face when they rely solely on bare-on-camera light.
| Problem | Quick Fix | Benefit |
|---|---|---|
| Overpowering subject | Reduce power by 1-2 stops; bounce flash | Restores ambient context and natural mood |
| Blind reliance on TTL | Test TTL, then set manual power for consistency | Repeatable exposures across similar shots |
| No diffusion or modifiers | Add diffuser, bounce card, or small softbox | Softer light, fewer harsh highlights, better skin tones |
| Wrong shutter/aperture combo | Use slower shutter to keep background; set aperture for depth | Balanced subject and background exposure |
| Not bracketing flash | Bracket three power settings quickly | Find best exposure without guesswork |
Practical shooting workflow for fast, repeatable results
Start with a simple plan to stay calm during busy shoots. First, set a reliable camera exposure. Then, add flash to shape the subject. This makes setups faster and keeps the look consistent.
A quick test routine to set baseline flash power
Take a quick test shot at the camera exposure you want. Use a handheld meter or review the histogram on-camera. Set the speedlight to a baseline flash power of 1/32 to 1/16 for most indoor portraits.
Adjust flash power in small steps. Change one thing at a time: flash, shutter, aperture, or ISO. Record the final settings so you can repeat the look later.
Checklist for event shoots: battery, sync, backup flash
- Fully charged batteries for all speedlights and triggers.
- Reliable wireless triggers and spare sync cords.
- At least one spare speedlight on-site as a backup.
- Light stands, clamps, and a basic set of modifiers like a small softbox or bounce card.
- A notebook or phone note with the event flash checklist details and favorite setups.
Use an on-camera backup flash in crowds. Confirm trigger channels at the start and swap batteries between runs to avoid surprises.
How to keep consistent style across a shoot
Work in manual flash mode when possible. Manual settings remove guesswork and lock in the look you want. Repeat modifier placement and distance for each subject to keep shadows and highlights consistent.
Make short setup notes: power, modifier, distance, camera settings. Use those notes to recreate the style quickly for groups, couples, and different rooms. Small records save time and keep your results repeatable.
Post-shoot tips: editing flash-lit indoor portraits
Start by editing calmly and carefully. Open RAW files and set a global white balance and exposure. This makes editing easier and keeps skin tones natural.
Minor retouching vs over-processing skin and highlights
Be gentle with skin texture. Use spot healing and frequency separation carefully. Keep pores and fine lines while fixing blemishes.
Fix blown highlights from flash by adjusting exposure and using local highlight recovery. Don’t overdo it with smoothing or clarity boosts. These tips help keep skin looking natural.
Color correction with mixed-temperature lighting
Begin with a global white balance when light and flash mix. Make local adjustments on faces and backgrounds to match tones. Use HSL or curves gently to blend daylight and tungsten casts.
If gels were used, keep the colors by isolating them. Adjust skin separately to keep creative color grading clean.
Preserving natural look while enriching contrast and clarity
Use subtle tone curves to build contrast, not heavy sliders. Add dodge and burn to shape faces and bring back depth. Use clarity or texture carefully to enhance detail without harming skin.
End with a soft vignette and check for hue shifts on lips and eyes. Apply final retouching tips to make faces believable and the image polished.
Shareable tips list
Keep this list handy for quick learning and sharing. Use manual flash mode for sure results. Start with a low setting like 1/32 or 1/16.
Control the background light with shutter speed. Use aperture for depth and flash power.
Soften light with a diffuser or bounce it off a surface. Use a small softbox or umbrella for better light. Angle the flash and pull out the bounce card for a flattering fill.
Start with low flash power and increase as needed. Move the speedlight closer instead of raising power. Try gels for color matching and grids for sharp accents.
Always carry spare batteries, a reliable trigger, and a backup speedlight. Do a quick test before shooting to set your baseline. Note your favorite settings for consistent results.
- Manual flash: predictable control, quick adjustments.
- Shutter speed: set background tone.
- Aperture: controls depth and flash falloff.
- Diffusion: softens highlights and skin tones.
- Power strategy: start low, move closer, then increase.
- Gels and grids: add mood and precision.
- Pack extras: batteries, trigger, spare flash.
For a handy indoor portrait flash checklist, check out Neil van Niekerk’s tips at flash photography techniques. These tips help you get reliable results in different situations.
Share these flash photography basics with friends. Save them on your phone for quick reminders. The list is perfect for social media and as a one-page cheat sheet.
Shareable friend message
Hey - I’ve been fighting flat indoor photos too. A quick fix is to switch your speedlight to manual. Then, bounce the flash off the ceiling or use a small diffuser. Set power to about 1/32.
Dial the shutter to keep the background how you want it. Then, tweak the flash power only as needed. This works every time.
For a simple flash photography basics share, talk about testing angles. Use small modifiers like a Rogue FlashBender or a Gary Fong diffuser. If the room has mixed color temperatures, try minor gels.
Always favor manual mode for repeatable results. Bring spare batteries and a backup speedlight when shooting events.
This beginner flash intro message invites you to indoor lighting. It’s short, editable, and ready for messenger or email. It sums up the problem and a fast solution. It also encourages you to try bouncing, changing angles, and adjusting power for better portraits.